Are you tired of looking at old, dirty, and unsightly hardware on your cabinets? Cleaning the hardware is an easy and cost-effective way to refresh the look of your kitchen or bathroom.

How to clean hardware from cabinets is an essential step in maintaining the overall appearance and functionality of your kitchen or bathroom. Over time, cabinet hardware such as knobs, pulls, and hinges can accumulate dirt, grease, and grime, which not only diminishes their aesthetic appeal but also affects their operation.
Regularly cleaning these components can extend their lifespan and keep your space fresh and tidy.
Whether your cabinet hardware is made of metal, wood, or plastic, knowing the proper cleaning techniques and materials is crucial to achieving the best results without causing damage.
What Will You Need?
To effectively clean your cabinet hardware, you will need the following materials:
- Mild dish soap or all-purpose cleaner
- Warm water
- Microfiber cloths or soft-bristled brush
- Toothbrush
- White vinegar or lemon juice (depending on the type of metal)
Once you have gathered these materials, it’s time to start cleaning!
10 Easy Steps on How to Clean Hardware From Cabinets
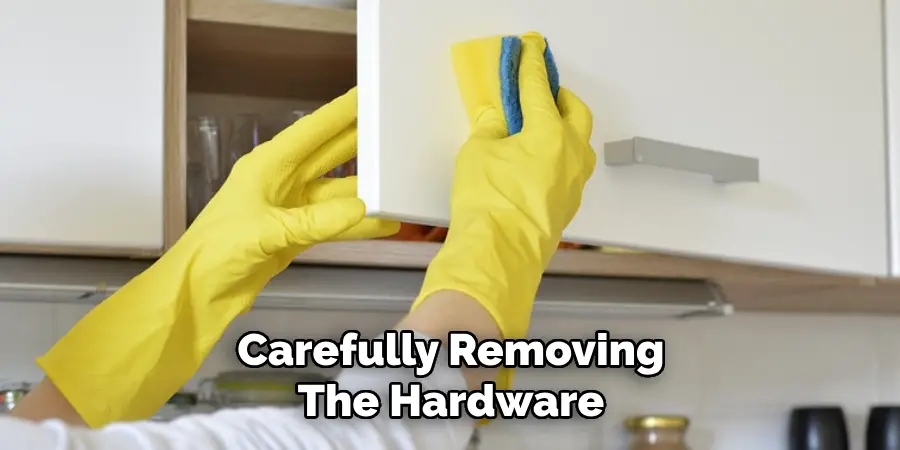
Step 1. Remove the Hardware:
Start by carefully removing the hardware from the cabinets using a screwdriver. Ensure you have a designated area to keep all the screws and parts together so they don’t get misplaced. Removing the hardware allows you to clean the hardware itself and the areas of the cabinet that may have accumulated dust or residue around the fixtures.
This step is crucial as it permits a more thorough cleaning, ensuring all parts, including the usually hidden or hard-to-reach areas, are free from dirt and grime. It is a good idea to label each piece and its corresponding location if you are working with various types of hardware to ensure easy reassembly.
Step 2. Soak the Hardware:
Prepare a cleaning solution by mixing warm water with a few drops of mild dish soap or an all-purpose cleaner. Submerge the hardware in the solution for about 15-30 minutes. This soaking process helps loosen any built-up dirt, grease, or grime, making cleaning more accessible in the following steps.
For metal hardware, consider adding a small amount of white vinegar or lemon juice to the solution to help break down any tarnish without harsh chemicals that could harm the finish. Ensure the hardware is fully immersed and allow the solution to work magic.
Step 3. Scrub the Hardware:
After soaking, gently scrub the hardware with a soft-bristled brush or a toothbrush. Pay close attention to any detailed areas or crevices where grime might be more stubborn. Avoid using abrasive tools, which could scratch or damage the surface. Continue scrubbing until the hardware is visibly clean, removing all dirt and buildup.
If the hardware is particularly dirty, you may need to soak and wash more than once. Rinse thoroughly with clean water to remove any remaining soap or cleaning solution, and pat dry with a microfiber cloth.
Step 4. Rinse Thoroughly:
Rinse each piece of hardware thoroughly under running water to remove any remaining cleaning solution. This step ensures no soap residue is left, as it could lead to sticky spots or dull surfaces once dry.
If water alone doesn’t rinse off all residue, gently wipe the hardware with a damp microfiber cloth before giving it a final rinse. It’s essential to rinse all surfaces, including any small grooves or decorative elements, to make sure every part is free from cleaner. After rinsing, proceed to dry each piece meticulously to prevent water spots or rusting.
Step 5. Dry the Hardware:
Once rinsed, immediately dry the hardware with a clean microfiber cloth. Patting each piece dry prevents water spots and reduces the risk of rusting, particularly for metal hardware. Pay special attention to any crevices or intricate details where water might linger.

Ensuring the hardware is thoroughly dry is vital before moving on to any further cleaning steps or reassembling, as residual moisture can lead to damage or tarnishing over time. Once all pieces are dry, set them aside in a dry, safe area while you prepare for the next steps in the cleaning process.
Step 6. Polish the Hardware:
Consider applying a small amount of metal polish or a homemade polish made from equal parts of vinegar and water for metal hardware. Use a clean microfiber cloth to gently buff the surface in circular motions, bringing back the shine and reducing any signs of wear or tarnish.
Ensure you follow the manufacturer’s instructions if using a commercial polish to prevent damage to coatings or finishes. Polishing enhances the look of the hardware and adds a protective layer that can help resist future tarnishing. Once polished, use another clean cloth to wipe off any excess polish and make sure the surface is smooth and gleaming.
Step 7. Reinstall the Hardware:
Once the hardware is clean and polished, it’s time to reinstall it back onto the cabinets. Begin by carefully aligning each piece with its designated location, referencing any labels or notes taken when the hardware was initially removed.
Use a screwdriver to securely fasten each screw, taking care not to over-tighten, which could damage the hardware or the cabinet surface. Once all pieces are attached, check to ensure they are functioning properly and are aligned correctly, providing both the appearance and usability of your cabinets are beautifully restored. This final step completes refreshing your cabinet’s hardware, leaving your space renewed and well-maintained.
Step 8. Final Touch-Up:
Before considering the cleaning process complete, inspect the hardware and the cabinet surfaces for any remaining streaks or missed spots. Use a clean microfiber cloth to wipe away any fingerprints or streaks that may have formed during reinstallation.
Gently buff any visible surfaces to enhance the overall shine and ensure a spotless finish. Additionally, check for any squeaks or loose elements that might have been overlooked and correct them as necessary. This final touch-up ensures the cabinets and hardware look their best and function smoothly, providing a satisfying conclusion to your cleaning project.
Step 9. Maintain Regularly:
Establish a routine maintenance schedule to keep your hardware looking its best and functioning smoothly. Regularly dust the surfaces with a microfiber cloth to prevent dirt accumulation and reduce the frequency of deep cleaning. Consider inspecting the screws and fixtures periodically to ensure they remain tight and secure.
You might occasionally reapply a metal polish and a protective coating for metal hardware to sustain its luster. These simple maintenance steps will extend the life and appearance of your hardware, ensuring your cabinets continue to look fresh and well-kept throughout the year. Regular upkeep not only preserves the integrity of the hardware but also reduces the need for more intensive cleaning sessions, saving you time and effort in the long run.
Step 10. Organize Your Supplies:
After cleaning and restoring your cabinet hardware, take a moment to organize your cleaning supplies for future use. Store cleaning solutions, polish, microfiber cloths, and brushes in a designated space, ensuring they are easily accessible for routine maintenance.
Clearly label any homemade cleaning solutions to avoid confusion during future cleaning tasks. By keeping your supplies organized, you simplify the process for next time, making regular maintenance more efficient and reducing the need for last-minute trips to the store. This organization saves time and helps maintain a tidy home environment.
Following these ten steps, you can successfully clean and maintain your cabinet hardware, preserving its appearance and functionality for many years.
5 Things You Should Avoid
- Using Harsh Chemicals: Avoid cleaning solutions that contain harsh chemicals, as they can damage the finish on your cabinet hardware and potentially cause discoloration or corrosion.
- Scrubbing with Abrasive Materials: Avoid using steel wool or abrasive scrubbers. These materials can scratch the surface of your hardware, leading to unsightly marks and a dull appearance.
- Soaking Hardware for Too Long: While soaking can effectively loosen grime, submerging hardware for an extended period can lead to rust or damage to its finish.
- Ignoring Wipe-Downs After Cleaning: Always dry the hardware thoroughly after cleaning. Leaving moisture on the surfaces can cause water spots or encourage rust development over time.
- Don’t Use Excessive Force: Be gentle when cleaning your hardware, and avoid using excessive force. This can cause damage or breakage, especially on delicate pieces like knobs or handles.
While it may be tempting to use aggressive cleaning methods to remove built-up grime and dirt, it’s important to remember that cabinet hardware is often made of sensitive materials such as brass, copper, or silver.

Conclusion
How to clean hardware from cabinets is a crucial aspect of maintaining the overall aesthetic and functionality of your kitchen or bathroom.
By using gentle, effective cleaning techniques and avoiding harsh chemicals or abrasive tools, you can preserve the quality of your hardware for years to come.
Regular maintenance, such as dusting and occasional light polishing, will keep your hardware looking pristine and feeling smooth to the touch. Following the outlined steps ensures that any grime or tarnish is efficiently removed without compromising the integrity of the materials.
Ultimately, the care you invest in maintaining your hardware reflects in your cabinets’ enduring appeal and usability, making the effort worthwhile and rewarding.