
Do you want to close the ceiling vents in your office but don’t know how? It is important to know how to close office ceiling vents. It can be a daunting task, considering that most offices have many different sizes and types of vents. The good news is that with a few simple steps, you can close them up quickly and easily.
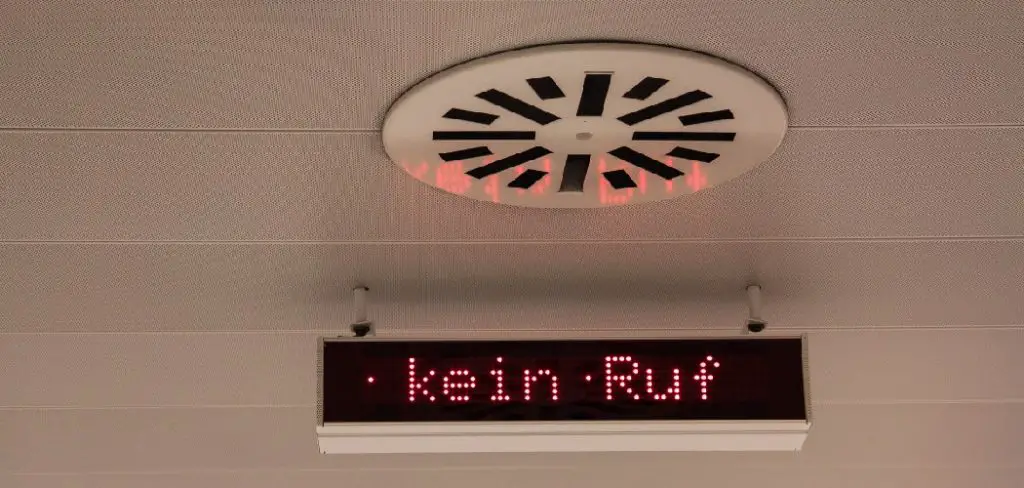
In this blog post, we’ll discuss how to properly close office ceiling vents so your space remains comfortable while keeping energy costs low. We’ll include all the necessary steps required to safely seal each vent based on its size and type. Following these guidelines will help ensure efficient closure and successful insulation! So let’s get started…
Tools You Will Need
- Specified tools for the particular type of vent
- Ladder or stool for reaching higher vents
- Phillips head screwdriver
- Hammer
5 Steps Guide on How to Close Office Ceiling Vents
1. Gather the Necessary Tools
To close office ceiling vents, it’s important to gather all tools necessary for the job. The proper tools will vary according to the size of the vent and should include a screwdriver and a hammer that are suitable for installation.
Having these essential supplies on hand will help ensure that closing the ceiling vent is completed efficiently without any unnecessary complications. Furthermore, having the right equipment for the job may save time and energy ensuring a successful result.
2. Place a Ladder or Step Stool
It’s sensible to close your office ceiling vents when heating or cooling your space – you don’t want conditioned air going to waste. But reaching those vents can be a pain, especially if they’re high up.
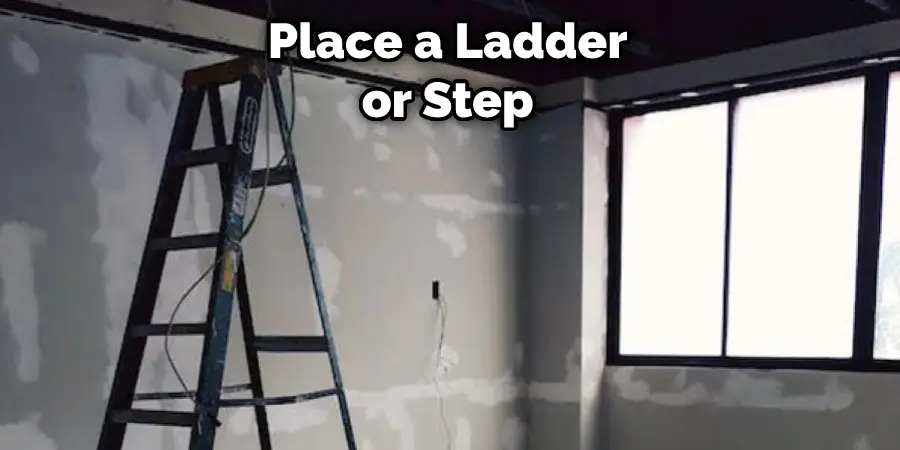
A simple solution is to place a ladder or step stool underneath the vent, so you can easily access it when you need to. Not only will this make closing the vents a breeze, but it’ll also help you avoid any potential accidents.
3. Unscrew Any Screws and Carefully Remove Them
Closing office ceiling vents can help to keep the air circulating in your workspace. Before you can seal up a vent, though, you’ll need to first make sure that it is properly disconnected from the ceiling. To do this, search around the edge of the vent for any visible screws and use a screwdriver to carefully unscrew them.
Once all the screws are released, you can then safely remove the vent and close off your office’s airflow. If once disconnected, there are no visible screws but something else appears to be holding it in place, consult a professional before trying to remove it yourself.
4. Place Some Insulation Behind the Vent
Ensuring the vents of your office ceiling are properly closed and airtight is important for energy conservation. Installing insulation behind the vent before re-attaching it is a simple yet effective way to increase efficiency and minimize air leakage.
It only takes about five minutes but can result in significant cost savings for your business by reducing heat loss during cold weather and cooling loss during hot weather. In addition to viewing cost savings, sealing off vent openings also helps with noise filtration and maintaining consistent indoor temperatures – two critical components for a successful work environment!
5. Reattach the Vent
If your office ceiling vent isn’t properly secured, it can cause leaks during heavy rainfall. To avoid water damage, it’s important to reattach the vent using a Phillips head screwdriver.
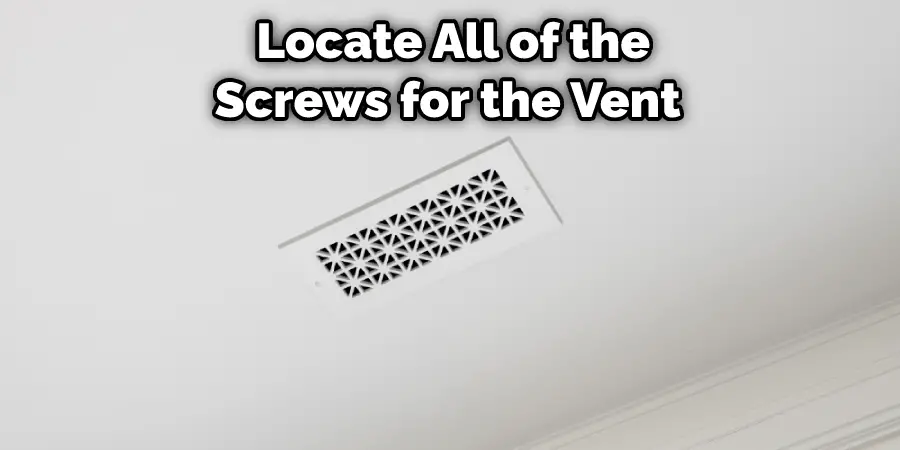
First, locate all of the screws for the vent and ensure that they are present and unscrewed. Once this is done, begin to tighten them with a Phillips head screwdriver until the vent is securely attached.
Be sure not to make any screws too tight or overtighten as this could damage or break them. If done correctly, you will have not only secured the vent but also given it the best possible seal against future rainwater!
Closing office ceiling vents can be a daunting task – especially if you’re not familiar with the process. However, with the right tools and knowledge, it’s easy to get the job done in no time at all!
With these five simple steps, you’ll be on your way to an energy-efficient, noise-filtering workspace that’s ready to go! So, what are you waiting for? Get started today and start benefitting from the cost savings of a properly sealed office ceiling vent!
Tips to Close Office Ceiling Vents
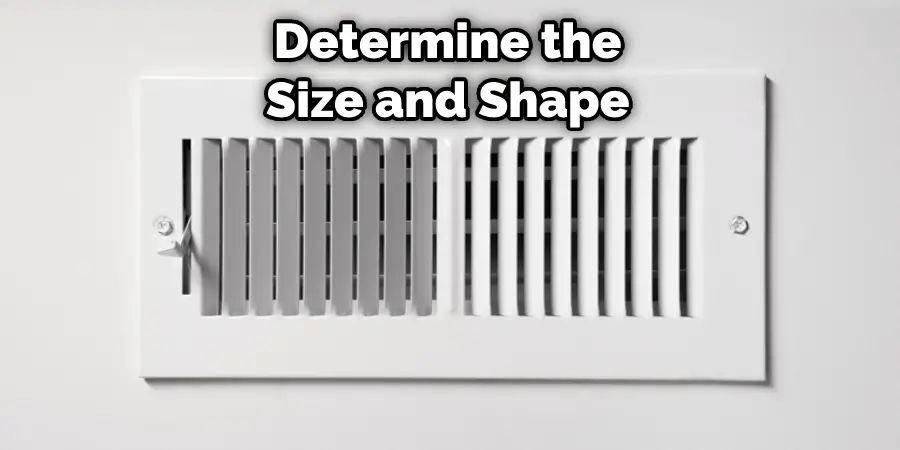
- The first step in closing office ceiling vents is to inspect them. You will need to determine the size and shape of the vents, as well as how many there are. Additionally, you will need to make sure that the vents are free of any debris or obstructions.
- Once you have inspected the vents, you will need to measure them. This will help you to determine what size and type of closure you will need. Additionally, it is important to measure the area around the vents so that you can ensure that the closures will not interfere with any other objects in the area.
- There are a variety of different types of closures that can be used to close office ceiling vents. Some common options include plastic caps, metal covers, and foam plugs. You will need to choose a closure that is appropriate for the size and shape of your vents. Additionally, you will need to consider whether or not you want a permanent or temporary closure.
- Once you have chosen the type of closure, you will need to install it. If you are using a temporary closure, such as foam plugs, you can simply insert them into the vents. If you are using a permanent closure, such as metal covers, you will need to screw or bolt them into place.
- After you have installed the closures, it is important to test them to ensure that they are working properly. One way to do this is to turn on a fan in the room and see if the air is still able to flow through the vents. If air can flow through, then the closures are not working properly and will need to be replaced or adjusted.
By following these steps, you can easily close office ceiling vents and make sure that they are properly sealed. This will help to improve the overall energy efficiency of your workspace while also reducing sound levels and preventing water damage. So what are you waiting for? Get started today!
How to Seal Office Ceiling Vents for Improved Energy Efficiency?
Installing energy-efficient ceiling vents in your office is a great way to cut costs while improving efficiency. Sealing these vents properly is essential to achieving maximum energy efficiency.
The process is surprisingly simple and can be completed using materials commonly found around the office, such as duct tape and foam weather stripping.
First, check the vent if it contains any loose screws or gaps; if so, tighten the screws or caulk the gaps before moving forward with sealing the vent. Then tear off strips of duct tape along each side of the opening; this will serve as a barrier between the two sides of the envelope our air seal creates. Finally, apply foam weatherstripping as a sealer along each side perimeter.
For an extra boost, use mastic caulk around to corners for an even stronger seal. Properly sealed ceiling vents could mean significant energy savings over time – well worth the effort!
How to Keep Rainwater Out With Properly Installed Ceiling Vents?
Keeping moisture out of a building with properly installed ceiling vents is key to avoiding costly repairs to the roofing and structure. The first step in protecting a home or business from rainwater is to use the right-sized vents. Vents should be installed according to the manufacturer’s instructions.
Be as flush as possible with the roof, and limit exposure to weather elements. Additionally, they should extend at least 6 inches beyond all edges of the roof so that any accumulation of rainwater will quickly drain away from the roofing material.
Once installed, vents must be regularly inspected for any blockage or any other damage caused by wind, rain, snow, or ice. By monitoring these vents and making sure they are properly maintained, property owners can ensure that water will not seep into the ceiling during rainy weather and cause damage to their buildings.
How Different Types of Closures Can Be Used to Close Office Ceiling Vents?
When it comes to closing office ceiling vents, there are many different types of closures available. One type is a snap closure, which uses metal or plastic rings that clip together. Alternatively, you could opt for an adhesive foam or rubber closure for insulation purposes.
Some ceiling vent closures may require screws to be inserted into the frame for a secure fit, while others close with magnetic strips and can be easily opened and closed depending on the temperature of the room.
Finally, bellows-style closure systems have airtight seals that can be adjusted to reduce noise pollution and control airflow in a space. Each one of these closure systems has its unique benefits, so it’s important to take time to consider which one would best suit your particular purpose.
Conclusion
So there you have it, a three-step process to close your office ceiling vents. You should carefully determine how to close office ceiling vents.
We hope this was helpful and that you can put these tips to use the next time you need to close your office ceiling vents. As always, feel free to reach out to us if you have any questions or need help with anything. Thanks for reading!