
Are you bothered by the glare of fluorescent lights in your home or office? Fluorescent lights can cause headaches and eye strain, especially if you are sensitive to light. However, there are ways to cover fluorescent lights that can reduce glare and provide a more comfortable environment for you.
Covering fluorescent lights is an effective way to soften their harsh glow, improving the ambiance and comfort of any space. Whether in a home office, classroom, or retail environment, the right coverage technique can transform the impact of lighting on an area’s aesthetics and its occupants’ well-being.
In this guide, we will walk through various methods of how to cover fluorescent lights, from simple DIY solutions to more sophisticated options, providing step-by-step instructions to achieve a more diffused and welcoming light in your environment.
What are the Use Cases for Covering Fluorescent Lights?
There are several reasons why you should cover fluorescent lights. The lighting in your office or workspace may be too harsh and cause discomfort, or maybe you want to create a more intimate atmosphere in a room with bright fluorescent lighting. Here are some common use cases where covering fluorescent lights can be beneficial:
- Reducing Glare: If you experience eye strain or headaches due to the glare from fluorescent lights, covering them can help reduce their intensity and alleviate discomfort.
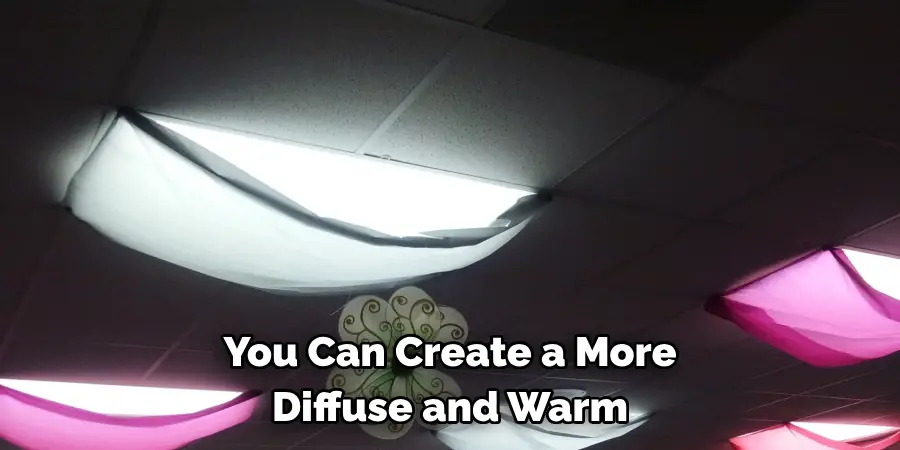
- Creating a Softer Ambiance: Fluorescent lighting can sometimes feel harsh and industrial, but by covering it, you can create a more diffuse and warm atmosphere in your space.
- Enhancing Privacy: In shared office spaces or open-concept environments, covering fluorescent lights can help create a sense of privacy and reduce distractions.
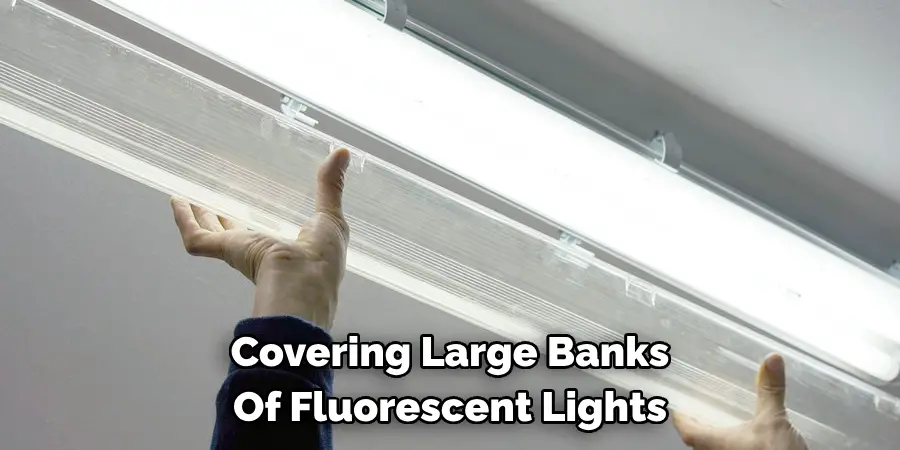
- Reducing Energy Consumption: Covering large banks of fluorescent lights can help reduce the amount of energy they emit, leading to cost savings on your electricity bill.
What Materials Can Be Used to Cover Fluorescent Lights?
The materials you choose for covering fluorescent lights will depend on your budget and personal preference. Here are some common options:
- Fabric: One of the most affordable and straightforward ways to cover fluorescent lights is by using fabric. You can use any lightweight, semi-opaque material such as muslin, gauze, or even sheer curtains.
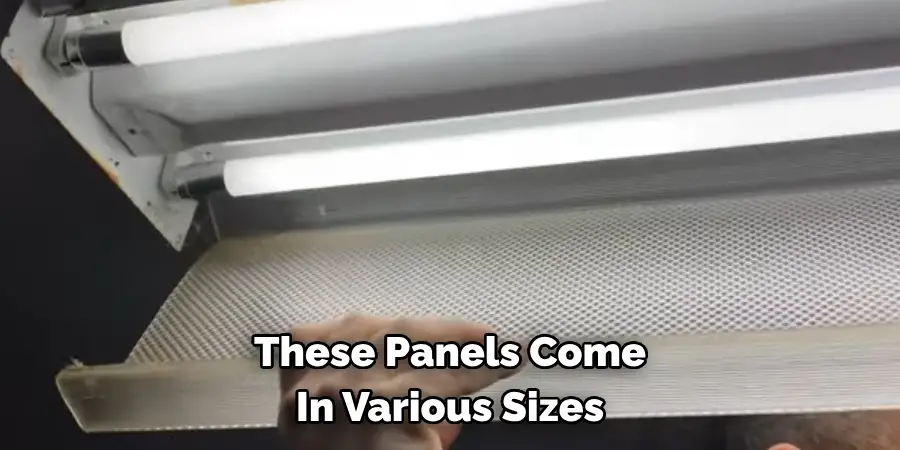
- Diffuser Panels: These panels come in various sizes and materials and are specifically designed for covering fluorescent lights. They are usually made of acrylic or polycarbonate and can be easily cut to fit your light fixtures.
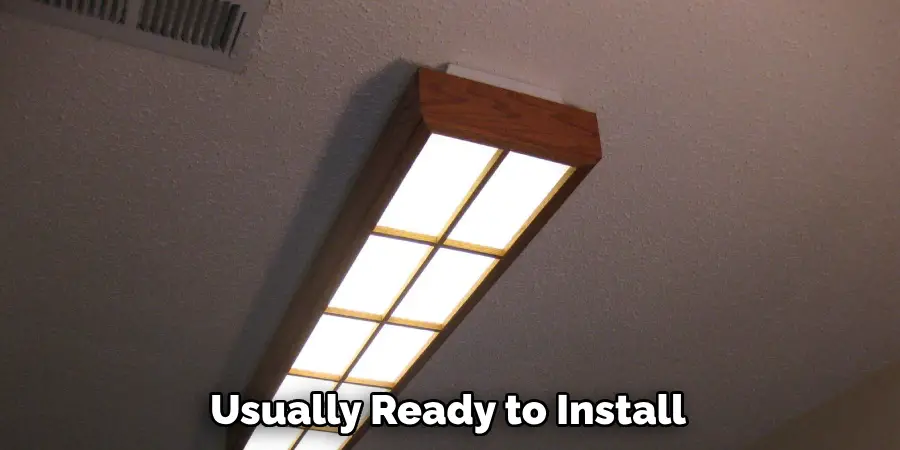
- Decorative Light Covers: If you want to add personality and style to your space, decorative light covers are a great option. They come in a variety of designs, from nature-inspired patterns to abstract art, and can be easily installed over your fluorescent lights.
- DIY Options: If you prefer a more hands-on approach, many DIY solutions cover fluorescent lights. These include using aluminum foil or parchment paper as reflectors or creating a fabric-covered frame to fit over the light fixture.
Now that we’ve covered the different materials you can use let’s dive into the step-by-step process of covering fluorescent lights.
10 Easy Steps on How to Cover Fluorescent Lights
Step 1. Measure Your Light Fixture:
The first step in covering fluorescent lights is accurately measuring your light fixture. This ensures that whatever material or cover you choose will fit perfectly. Use a tape measure to determine the length and width of the fixture. If your light cover is inside the fixture, measure the interior dimensions. For an external cover, like fabric or frame, measure the exterior and consider adding a few inches on each side for proper coverage. Write down these measurements as you will need them to select or create your cover.
Step 2. Choose Your Covering Material:
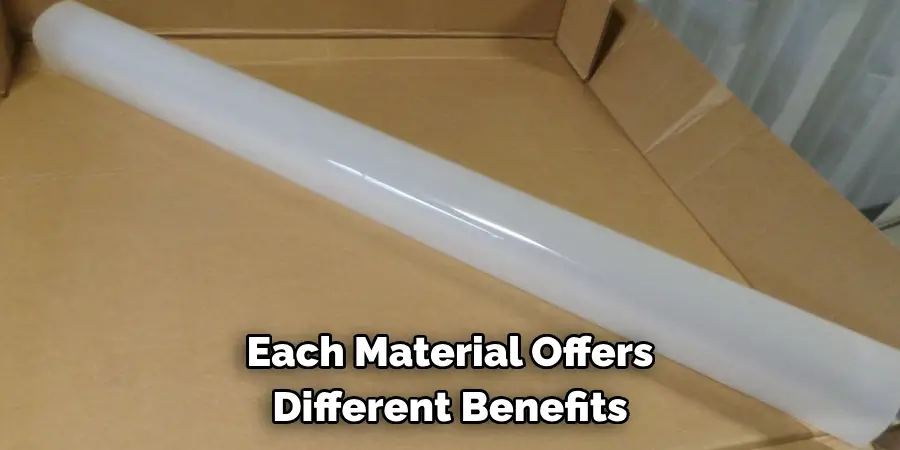
Once you have your measurements, decide on the material you’d like to use based on the above guidelines. Consider the purpose of covering the lights—are you aiming for reduced glare, a specific aesthetic, or perhaps energy savings? Each material offers different benefits; fabrics create a soft ambiance, diffuser panels offer a neat and professional look, and decorative covers can add personality to your space. Consider also your skill level if you’re planning a DIY route. Make your choice based on what best meets your needs and capabilities.
Step 3. Prepare Your Covering Material:
After selecting your preferred material, prepare it for installation. If you’re using fabric, ensure it’s clean and cut it to the size you’ve measured, leaving extra material on each side for easy installation. You might need to cut diffuser panels to fit your fixture’s dimensions—use a fine-tooth saw for acrylic to prevent cracking. Decorative light covers are usually ready to install but double-check their fit against your measurements. If you opt for a DIY solution, gather all the necessary materials and tools before starting your project. This preparation step is crucial for a smooth installation process.
Step 4. Turn Off the Power to the Light Fixture:
Before beginning the installation of your chosen cover, it’s essential to ensure your safety by turning off the power to the light fixture. Locate your home or office’s electrical breaker box and switch off the circuit breaker that supplies power to the fluorescent lights. This precaution prevents the risk of electrical shock and allows you to work on the fixture safely. Double-check that the power is off by flipping the light switch in your working room.
Step 5. Remove the Light Bulbs and Diffuser (If Applicable):
With the power safely turned off, the next step is to remove the fluorescent light bulbs and any existing diffuser or cover that’s part of the fixture. Carefully twist each bulb out of its socket and set it aside in a safe place to prevent damage. If your fixture has a plastic diffuser or a cover, gently remove it according to the manufacturer’s instructions. This might involve pressing on specific clips or sliding the diffuser out of its frame. Clearing the fixture of bulbs and diffusers provides easier access for installing your new cover.
Step 6. Install Your Covering Material:
Installation will vary depending on the type of cover you’ve chosen. If you’re using fabric, carefully place it over the fixture and secure it at the corners with clips or double-sided tape. Ensure the fabric is taut to avoid sagging but not so tight that it stretches out of shape. For diffuser panels or decorative covers, align them with the fixture’s frame and gently snap or slide them into place, following any specific instructions they came with. If you’re employing a DIY solution, attach your homemade cover securely, ensuring it will stay in place without obstructing the light or presenting a fire hazard. During installation, handle all materials and the light fixture itself with care to avoid damage.
Step 7. Reinstall the Light Bulbs and Diffuser (If Removed):
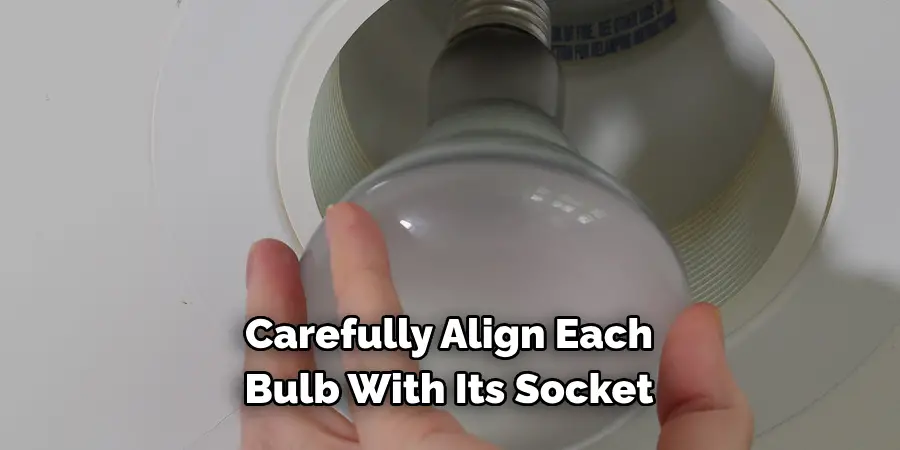
After your new cover is securely in place, it’s time to reinstall the fluorescent light bulbs and any diffuser you might have removed. Carefully align each bulb with its socket, and twist it gently until it locks into place. If your fixture included a diffuser, place it back according to the manufacturer’s instructions, ensuring it fits snugly within the frame. This step restores the functionality of your light fixture while allowing you to enjoy the benefits of your new cover.
Step 8. Turn the Power Back On:
Once everything is securely in place, you can safely turn the power back on to your light fixture. Head back to your electrical breaker box and switch the circuit breaker that supplies power to the fluorescent lights. This action restores electricity to the fixture, allowing you to test the effectiveness of your new covering material immediately. When you flip the switch in your room, pay attention to how the light diffuses with your chosen cover, checking for any adjustments that might be needed to achieve the desired lighting effect.
Step 9. Make Any Necessary Adjustments:
After turning the power back on and observing how the new cover affects the light, you may find that some adjustments are needed. If the light is too dim, choose a more transparent material or adjust the position of the fabric to allow more light through. Conversely, if the light is still too harsh, consider adding another layer of fabric or opting for a denser diffuser panel. Adjust the cover as needed, ensuring it’s secure and still meets your requirements for aesthetics and functionality. This step is crucial for achieving the perfect balance of light in your space.
Step 10. Enjoy Your Customized Lighting Solution:
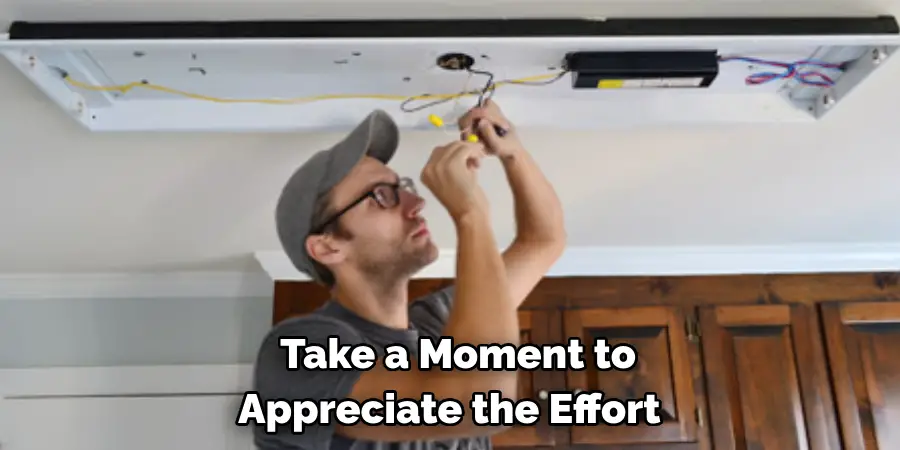
With all adjustments made and your cover securely in place, it’s time to enjoy the improved ambiance and functionality of your space. Your customized lighting solution meets your specific needs and adds a personal touch to your environment. The ideal lighting can enhance a room’s productivity, mood, and overall aesthetics. Take a moment to appreciate the effort and creativity you’ve put into this project, knowing that you’ve effectively transformed a basic necessity into an element of your personal style.
By following these ten steps, you can easily install a cover for your fluorescent light fixture. Remember to prioritize safety by turning off the power and handling materials with care throughout the process.
5 Additional Tips and Tricks
- Consider Light Quality: When selecting materials for your cover, think about the quality of light you desire. Some fabrics or materials can alter the color temperature of the light, affecting the overall mood of the space. Test your material under the fluorescent light to ensure it meets your needs before installation.
- Regular Maintenance: Keep your newly installed light cover clean for optimal light diffusion and to maintain the appearance of your space. Dust and clean your cover regularly according to the material’s care instructions to prevent dust accumulation, which can dim the light over time.
- Fire Safety: Always use non-flammable materials or with a low flammability rating, especially when they are close to light fixtures. This precaution minimizes the risk of fire hazards in your space.
- Aesthetic Consistency: If you cover multiple fluorescent light fixtures in the same area, ensure that all covers match or complement each other for a cohesive look. Consistent aesthetics can significantly enhance the overall design and feel of the room.
- Seek Professional Advice if Unsure: If you’re uncertain about the materials or installation process, don’t hesitate to consult with a lighting professional or interior designer. They can offer valuable insights and suggestions tailored to your specific situation, ensuring that you achieve the desired outcome safely and effectively.
With these additional tips and tricks, you can confidently install and maintain your fluorescent light covers, adding a touch of style and functionality to your space.
5 Things You Should Avoid When Covering Fluorescent Lights
- Ignoring Safety Standards: Never use materials that are flammable or not rated for close proximity to heat sources. Safety should be your top priority. Ensure that the materials you choose for your light cover conform to fire safety standards to prevent any risk of fire hazards.
- Blocking Ventilation: It’s crucial to allow for adequate ventilation around the lighting fixtures. Avoid using materials or installation methods that completely seal off the light fixture, as this can lead to overheating and potentially damage the fixture or shorten the lifespan of the bulbs.
- Using Opaque Materials Without Testing: Completely opaque materials may block too much light, making your space darker than intended. Test the material under the fluorescent light before installing it to ensure it allows the right amount of light through for your needs.
- Skimping on Measurements: Before cutting or preparing any cover material, make sure to measure your light fixture accurately. Ill-fitting covers can look unprofessional, reduce the effectiveness of the diffuser, and may even pose a safety risk if they interfere with the fixture’s operation.
- Overcomplicating the Installation: Stick to simple, proven methods for covering your fluorescent lights. Overly complex installations not only make the process more difficult but can also make future maintenance or removal of the covers much harder than necessary.
By avoiding these common mistakes, you can ensure a successful and safe installation of your fluorescent light covers. Remember to always prioritize safety and practicality over aesthetics when it comes to covering any lighting fixtures.
What is the Disadvantage of Fluorescent Lights?
While fluorescent lights offer many benefits, there are also some disadvantages to consider. Here are a few potential drawbacks of using fluorescent lighting:
- Harshness: Fluorescent lights can be quite harsh and uncomfortable for people with light sensitivity or certain medical conditions such as migraines or epilepsy. The flickering and buzzing sounds they emit can also bother some individuals.
- Disposal Concerns: Fluorescent bulbs contain a small amount of mercury, which can harm the environment if not disposed of properly. This means they should be handled and recycled carefully to prevent any harmful effects on the ecosystem.
- Higher Initial Cost: Compared to traditional incandescent bulbs, fluorescent lights have a higher upfront cost. This may deter some individuals from choosing this type of lighting, especially for smaller spaces or projects.
- Reduced Light Output Over Time: As fluorescent bulbs age, they may produce less light output than when they were first installed. This means that the light may gradually become dimmer and may need to be replaced more frequently than other types of lighting.
Overall, despite these disadvantages, fluorescent lights are still a popular and widely used lighting option due to their energy efficiency and cost savings in the long run. It’s important to consider all factors carefully before deciding if fluorescent lighting is the right choice for your needs and space.
How Do You Block Fluorescent Lights?
There are several ways to block or cover fluorescent lights, such as:
- DIY Fabric Cover: One of the easiest and most cost-effective methods is to create a fabric cover using a lightweight, breathable material like cotton or linen. Simply measure and cut the fabric to fit over the light fixture, leaving enough room for ventilation. You can use clips or magnets to attach the fabric cover to the fixture.
- Diffuser Panels: Clear or frosted diffuser panels specifically designed for fluorescent lights can also be used to block or soften the light. These panels are typically made of acrylic and can be easily cut to fit your light fixtures.
- Paper Shades: Simple paper shades, such as rice paper or parchment paper, can be used to cover fluorescent lights. Cut the paper to the desired size and shape, and use clips or magnets to attach it to the fixture. This method allows some light to pass through while still blocking the harshness of bare bulbs.
- Specialty Light Covers: There are also specialty light covers that are designed specifically for fluorescent lights available for purchase. These covers come in a variety of styles and designs, from decorative options to light-softening diffusers.
Whichever method you choose, carefully measure and test the cover material before installation to ensure it meets your lighting needs while being safe and practical.
Conclusion
How to cover fluorescent lights can dramatically improve the aesthetics of a room, reduce glare, and create a more inviting atmosphere.
Whether you opt for a DIY fabric cover, diffuser panels, paper shades, or specialty light covers, the key is choosing a method that meets your specific needs regarding light diffusion, aesthetics, and safety. It’s important to avoid common pitfalls such as ignoring safety standards, blocking ventilation, using opaque materials without testing, skimping on measurements, and overcomplicating the installation.
With the right approach, you can enhance the quality of light in your space while ensuring a safe and effective solution. Remember, the goal is not just to cover the fluorescent lights but to do so in a way that complements your space and contributes to a pleasant, well-lit environment.