Are you wondering how to delete security camera footage? You’re in the right place.
In today’s surveillance-heavy world, security cameras play a pivotal role in ensuring the safety and security of our surroundings. Whether it’s for residential purposes, in businesses, or for public safety, these cameras constantly record hours of footage to protect and monitor.
However, with the accumulation of data comes the responsibility of managing it—particularly the deletion of outdated or unnecessary footage to safeguard privacy and optimize storage space. Deleting security camera footage may seem straightforward, but it requires a careful approach to maintain the integrity of the system and comply with legal guidelines.
This guide aims to provide a comprehensive overview of the steps for deleting security camera footage, ensuring that both security and privacy concerns are adequately addressed.
What are the Benefits of Deleting Security Camera Footage?
Before delving into the steps, let’s take a look at why it’s important to delete security camera footage regularly.
- Protect Privacy
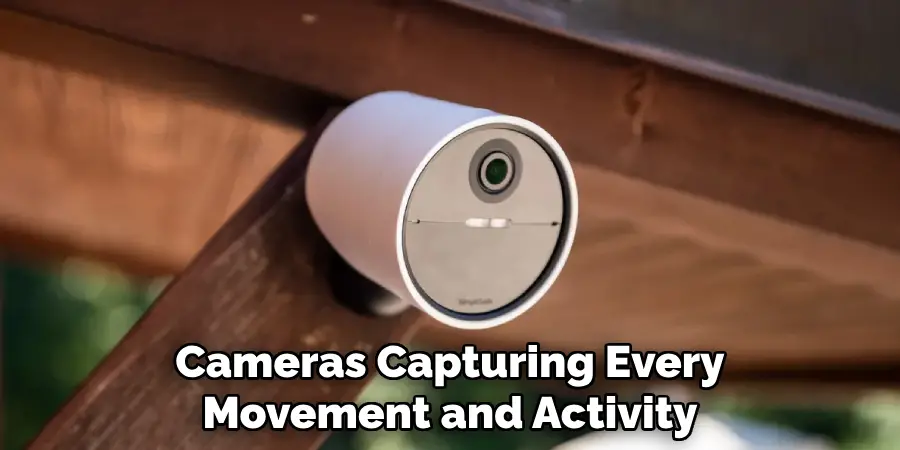
With cameras capturing every movement and activity, it’s crucial to respect individuals’ right to privacy by deleting their data when it’s no longer needed. Retaining recordings for extended periods can lead to privacy breaches and potentially expose sensitive information.
- Optimize Storage Space
Security camera footage takes up a considerable amount of storage space, especially for high-resolution cameras. By deleting old and unnecessary footage, you can free up storage space for new recordings and avoid the additional costs of expanding storage capacity.
- Comply with Legal Regulations
Various laws govern the use and retention of surveillance footage, such as the General Data Protection Regulation (GDPR) and the California Consumer Privacy Act (CCPA). These regulations require businesses to have clear policies for data retention and deletion to protect individuals’ rights and avoid legal consequences.
These are just some of the benefits of regularly deleting security camera footage. Now, let’s move on to the steps on how to do it effectively.
What Will You Need?
Before you begin, make sure you have the following:
- Access to Camera System
To delete security camera footage, you will need access to the camera system. This can be either through a physical control panel or remote access using a computer or mobile device.
- Storage Device
Most security cameras store footage on an external storage device, such as a hard drive or cloud storage. Make sure you have access to these devices before attempting to delete footage.
Once you have these requirements, follow the steps below to delete security camera footage.
10 Easy Steps on How to Delete Security Camera Footage
Step 1. Log in to Your Security System:
The first step in deleting security camera footage is to log into your security system. This can typically be done through a secure web interface, a mobile app provided by the camera manufacturer, or directly on the recording device itself. It’s crucial to ensure that you have the necessary credentials, such as a username and password, to access the system.

If your system requires two-factor authentication, make sure you have access to the secondary verification method, such as a mobile phone or an email account, to receive the one-time code. Logging in is a critical step as it ensures that only authorized individuals can access and delete security camera footage, protecting the system from unauthorized access and potential data breaches.
Step 2. Navigate to the Storage Settings:
After successfully logging into your security system, the next step is to locate the storage or footage management settings. This is typically found in the system’s main menu or dashboard. Look for sections labeled as “Storage,” “Recording,” “Archive,” or similar terms.
This area of your system’s interface will allow you to manage and view all recorded footage. It’s essential to familiarize yourself with the layout and options available in this section, as it will enable you to efficiently select and manage the footage you intend to delete.
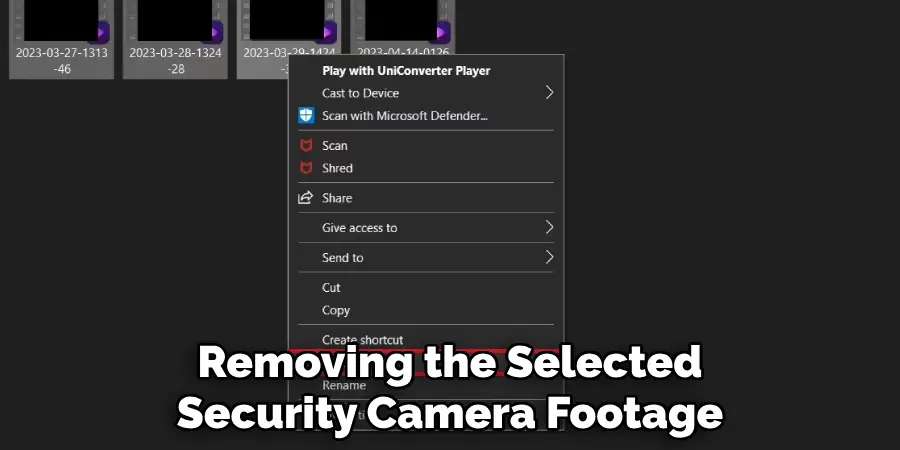
Step 3. Select the Footage to Delete:
Once you are in the storage settings, you will see a list of recorded footage, often organized by date, time, and camera location. From here, carefully review the footage to identify which recordings are no longer necessary and can be deleted. Some systems may allow you to preview the footage before deletion to ensure it is not needed.
If you are managing a large volume of recordings, many systems offer search and filter tools to help you find specific footage based on certain criteria, such as dates, times, or event types. Select the footage you wish to delete by checking the corresponding box or clicking on the footage directly, depending on your system’s interface.
Step 4. Confirm the Deletion:
After selecting the footage you wish to delete, you will usually encounter a prompt or a confirmation button to proceed with the deletion. This step is crucial as it acts as a safeguard against accidental deletion of important footage. Make sure to carefully review your selections one last time before you confirm the deletion.
The system may ask you to type in a verification code or confirm your credentials again for an added layer of security. Once you are certain about your decision, proceed to confirm the deletion. It’s important to note that once footage is deleted, it may be irrecoverable, so this step should be approached with caution and certainty.
Step 5. Wait for the Deletion Process to Complete:
After confirming the deletion, the system will begin the process of removing the selected security camera footage. Depending on the amount of footage being deleted and the performance of your system, this process may take a few seconds to several minutes. It’s important to be patient and wait for the deletion to be completed fully before proceeding with any other actions.
Avoid closing the system interface or disrupting the deletion process, as this might lead to partial deletion or system errors. Once the deletion is successfully completed, you should receive a notification or a confirmation message indicating that the selected footage has been permanently removed from your storage device.
Step 6. Verify the Deletion:
Once the deletion process has been completed, it’s prudent to verify that the footage has indeed been removed from your storage device. Navigate back to the storage or footage management settings where you initially selected the footage for deletion.
Look through the storage to ensure that the deleted footage is no longer present. Some systems may have a “deleted items” folder or a recycling bin where deleted files are temporarily stored before being permanently removed. Check these areas as well to confirm that the footage is not simply moved but is actually deleted. Verification provides peace of mind and ensures that your storage management actions have been successfully implemented.
Step 7. Clear the System Cache (If Applicable):
After confirming the deletion of the footage, it’s beneficial to clear your security system’s cache if this feature is available. Clearing the cache can help ensure that all remnants of the deleted footage are removed from the system, preventing any potential privacy issues or unauthorized recovery of the footage.
To clear the cache, look for this option within the system’s settings or maintenance section. The process may vary depending on the system you are using, so refer to the manufacturer’s instructions if necessary. Once the cache is cleared, your system will not only have more free space but will also potentially run more efficiently.
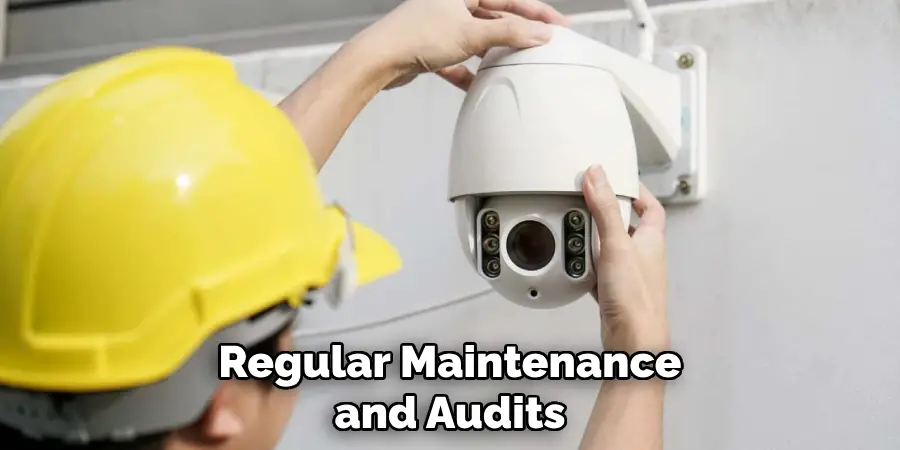
Step 8. Conduct Regular Maintenance and Audits:
Regular maintenance and audits of your security system are crucial to ensure its optimal functioning and to maintain the integrity of your stored footage. This involves checking system performance, updating security protocols, and verifying storage capacities to prevent unforeseen issues.
Regular audits allow you to assess and adjust your recording settings, storage management policies, and deletion schedules based on current needs or security policies. Additionally, it’s an opportunity to identify any anomalies or unauthorized access attempts, ensuring your security system remains secure and effective at all times.
It’s advisable to set a regular schedule for these maintenance checks and audits, whether monthly, quarterly, or as dictated by the needs of your environment.
Step 9. Review Legal and Compliance Obligations:
It is imperative to stay informed about legal requirements and compliance obligations related to the retention and deletion of security footage. Different jurisdictions may have specific laws dictating the minimum or maximum retention periods for security video recordings, especially in public or semi-public areas.
Additionally, there may be regulations regarding the protection of individual’s privacy and how footage should be handled or destroyed. Consulting with legal counsel to understand these obligations can prevent legal complications and ensure that your practices are in compliance with all relevant laws and regulations.
Regularly reviewing these obligations and adjusting your policies accordingly is a critical step in responsibly managing your security system’s footage.
Step 10. Implement a Data Backup and Recovery Plan:
Having a data backup and recovery plan is essential in the management of security footage. Despite diligent deletion and maintenance practices, unforeseen events such as system failures, cyber-attacks, or physical damages can lead to the loss of critical footage.
Implementing a robust backup solution ensures that copies of important video recordings are stored in a secure, off-site location or cloud storage, where they can be accessed and recovered if needed. Regular backups should be scheduled according to the importance and sensitivity of the footage, with frequent testing of the recovery process to ensure data integrity and system reliability.
By following these steps and implementing responsible practices, you can effectively manage the deletion of security camera footage while maintaining security, privacy, and compliance.
5 Additional Tips and Tricks
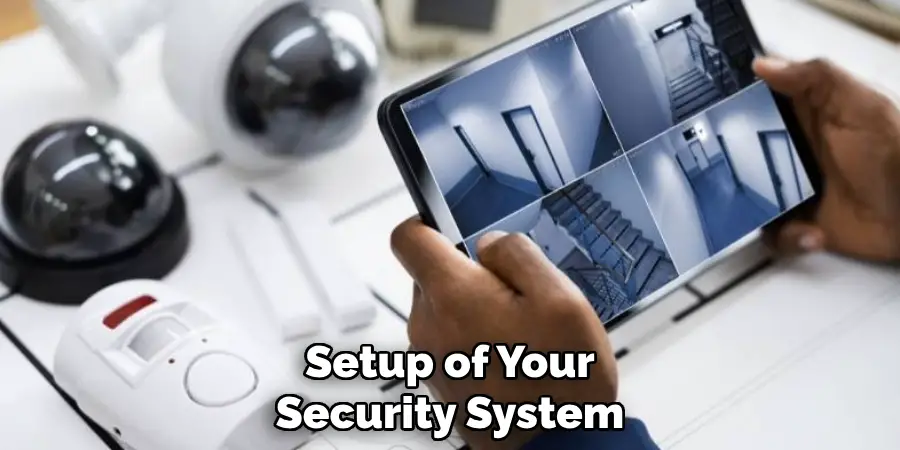
- Understand Your System’s Architecture: Before proceeding, it’s crucial to comprehend the setup of your security system. Whether it’s IP-based or analog, understanding where recordings are stored (on local storage devices, cloud, or both) can significantly ease the deletion process.
- Utilize the System’s Management Software: Most modern security cameras come with dedicated software, which often includes features to manage and delete footage. Familiarize yourself with this software and look for bulk delete options to efficiently manage space.
- Consider Legal Implications: Always be aware of the legal standpoint regarding the deletion of security footage. In certain jurisdictions, retaining footage for a set period may be mandatory, and improper deletion could lead to legal complications.
- Secure Deletion Process: When deleting sensitive footage, pressing ‘delete ‘may not be enough. Use methods that overwrite the data to prevent possible data recovery. Ensuring the footage is unrecoverable protects privacy and security.
- Regular Maintenance Schedule: Implement a routine check-up and maintenance schedule for your security system. This not only includes physical cleaning of the cameras but also managing storage by deleting old footage that’s no longer needed, ensuring optimal performance of your security system.
With these additional tips and tricks, you can effectively manage your security camera footage while also maintaining the integrity of your system.
5 Things You Should Avoid
- Ignoring Data Protection Laws: Avoid dismissing the importance of local and international data protection laws. Deleting footage without considering these laws can result in legal penalties and damage to your reputation.
- Deleting Footage Too Soon: Don’t delete footage before the advised retention period, as it may be needed for future evidence. Ensure you’re aware of the minimum duration you’re required to keep recordings.
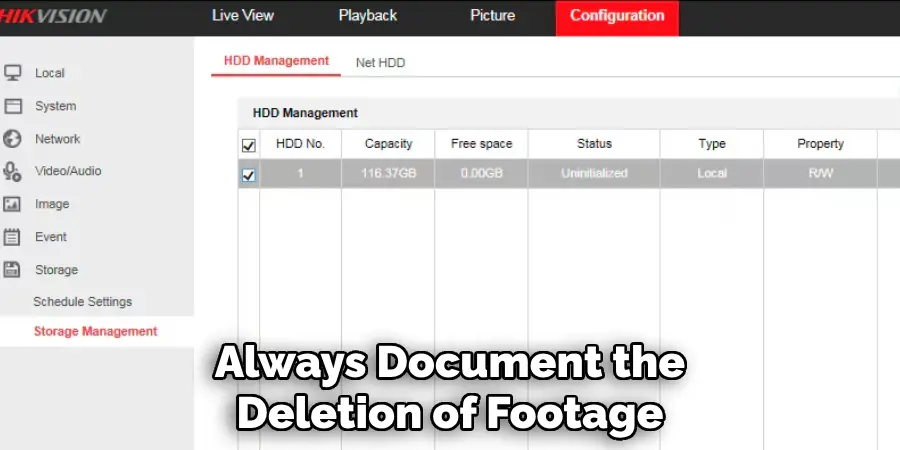
- Lack of Documentation: Always document the deletion of footage, specifying what was deleted, when, and by whom. This helps in maintaining transparency and accountability, particularly in legal scenarios.
- Forgetting to Back Up Important Footage: Before deletion, ensure that any footage that might be of importance, whether for legal reasons or for future reference, is backed up in a secure location.
- Manual Deletion Without Confirmation: Avoid manually deleting footage without double-checking what is being deleted. Accidentally erasing important recordings can lead to significant issues, especially if the footage is needed for investigative purposes.
By avoiding these mistakes, you can effectively manage your security footage without any unnecessary complications.
Do Security Cameras Save All Footage?
Many people often wonder if security cameras save all footage, and the answer is not a simple yes or no. The amount of footage that can be saved depends on various factors, such as the storage capacity, recording settings, and duration of retention.
Most modern security cameras come with options for continuous recording or motion-activated recording. In continuous recording mode, the camera will store all footage until the storage is full, and then it will overwrite the oldest recordings. In motion-activated recording mode, the camera will only record when it detects movement, resulting in less footage being stored.
Additionally, your system’s storage capacity plays a significant role. If you have limited storage space, you may need to regularly delete old footage to make room for new recordings.
How Can You Recover Deleted Footage?
If you accidentally delete important footage or need to retrieve deleted recordings for legal purposes, there are several methods for recovering them. These include using data recovery software, contacting the manufacturer for support, or seeking assistance from a professional data recovery service.
However, it’s essential to note that the success of recovering deleted footage depends on various factors, such as how long ago it was deleted, the type of storage device, and if any data overwriting has occurred. This is why regularly backing up important footage is crucial to ensure its availability in case of accidental deletion.
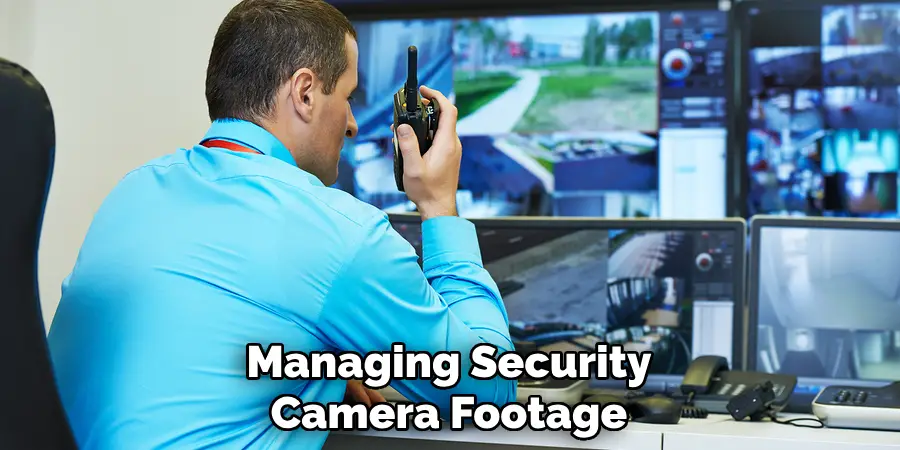
Managing security camera footage can be daunting, but with proper knowledge and precautions, it can be done efficiently. By understanding your system’s architecture, utilizing management software, and following legal protocols, you can effectively manage and delete footage while also ensuring its security and privacy.
Remember to regularly maintain your system and avoid common mistakes to streamline the process even further. The more you know about your security system, the better equipped you’ll be to manage its footage. So keep learning and stay informed!
How Can You View CCTV Footage on a Phone?
With the advancements in technology, viewing CCTV footage on your phone has become easier than ever. Here are a few methods to access your security camera footage on your phone:
- Using the Manufacturer’s App: Most major security camera manufacturers offer dedicated mobile apps for their systems. These apps allow you to view live footage and access recordings remotely.
- Connecting to a Network Video Recorder (NVR): If your security cameras are connected to an NVR, you can access the footage by connecting your phone to the same network and using a compatible app.
- Using Cloud Storage: Some security camera systems offer cloud storage options, allowing you to access your footage from anywhere with an internet connection.
- Setting up Remote Access: With the right configuration, you can access your security system remotely through a web browser on your phone. This requires some technical expertise and may not be available for all systems.
It’s important to note that accessing CCTV footage on a phone may require specific settings or configurations, so it’s best to consult the manufacturer’s instructions or seek professional assistance if needed.
Conclusion
In conclusion, the management and deletion of security camera footage require a comprehensive understanding of your system’s architecture, a careful approach to storage management, and a keen awareness of legal obligations.
Employing the management software provided with your security system, understanding the legal implications of footage deletion, and adhering to a rigorous maintenance schedule are key strategies to effectively manage your footage.
Furthermore, ensuring the secure deletion of footage not only protects individual privacy but also aligns with data protection laws. By avoiding common pitfalls such as premature deletion or failure to back up crucial footage, you can safeguard against potential complications.
Ultimately, a disciplined approach to managing and deleting security camera footage not only enhances the security and efficiency of your surveillance system but also ensures compliance with legal standards and the protection of privacy rights.
Hopefully, this guide has provided valuable insights and tips on how to delete security camera footage. Good luck!