
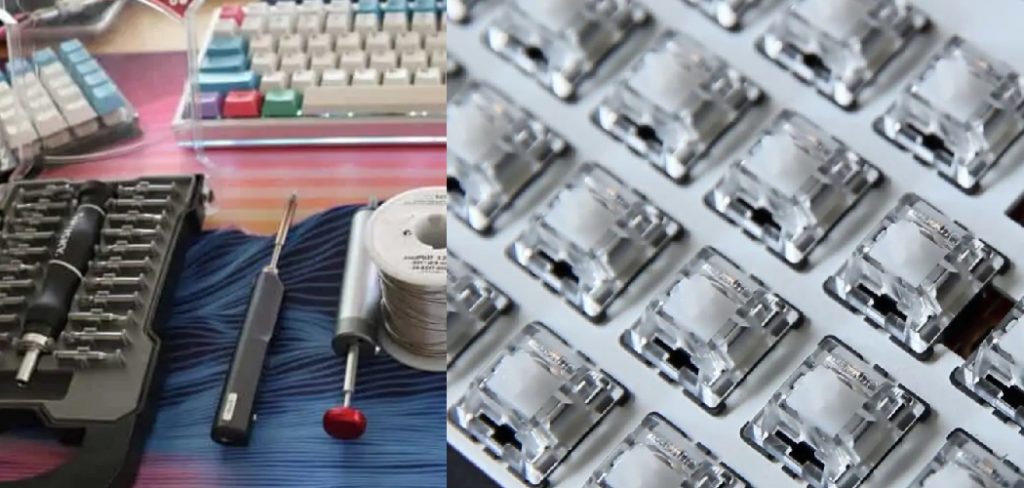
There are a few ways to desolder switches. You can use a soldering iron, a desoldering station, or a hot air gun. In this blog post, we’ll show you how to desolder switches using a soldering iron.
This is the most common way to desolder switches, and it’s the method we use most often. However, remember that there are other methods of desoldering switches, so if this one doesn’t work for you, try one of the other methods listed below.
What Are Desolder Switches?
Desolder switches are devices that allow you to disconnect a circuit board trace without damaging the trace. They’re commonly used in PCB prototypes and testing, and they’re also used in some production boards.
There are two types of desolder switches: mechanical and solid-state. Mechanical desolder switches are the most common type. They have moving parts that contact the traces on the PCB, and they’re actuated by a lever or switch.
Solid-state desolder switches don’t have any moving parts. Instead, they’re actuated by an electric current that flows through the device and can be either normally open or normally closed.
Why Should You Desolder a Switched?
Switched are devices that complete or interrupt the path of an electric current. They are used to control the flow of electricity in everything from toasters to TVs.
When a switch is damaged or no longer functioning properly, it must be replaced. The process of removing a switch from a circuit board is called desoldering, and there are several reasons why you might need to do this.
First, if the switch is burnt out, it can no longer properly control the flow of electricity. Second, if the switch is damaged, it may cause the circuit to short out, leading to fires or electrical shocks.
Finally, if you’re replacing a switch with a new one, you’ll need to desolder the old switch first. Whatever the reason, desoldering a switch is a relatively simple task that anyone can learn to do. With a little practice, you’ll be able to remove any switch quickly and safely.
How to Desolder Switches Step by Step Guide
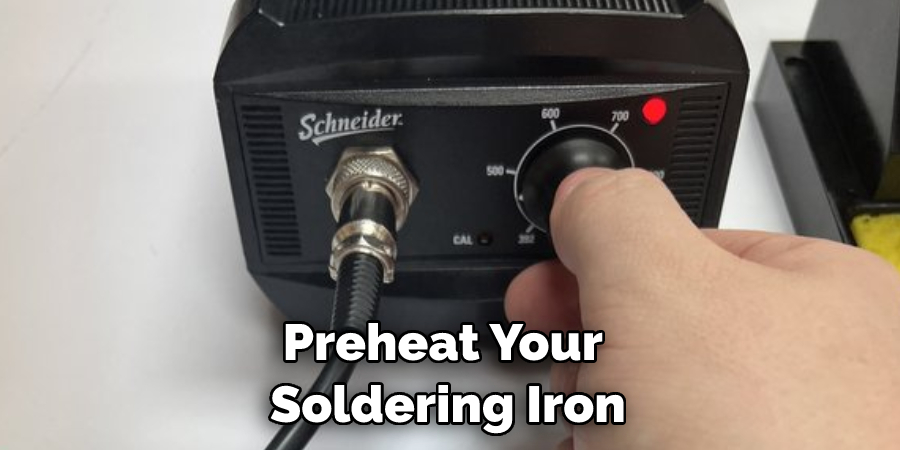
Step 1: Preheat Your Soldering Iron
This is important because you don’t want your switches to cool down too much while you’re soldering. If your iron is too cold, it will make the process of soldering harder and could damage your switches. The best way to preheat your iron is to set it to its highest setting and let it heat up for a few minutes before you start soldering.
Step 2: Place the Switch in the Holder
The next step is to place the switch in the holder. This is a simple task, but a couple of things to keep in mind. First, make sure that the switch is placed so that the two halves of the switch are separated.
This will allow you to access both sides of the switch. Second, make sure that the switch is flush with the top of the holder. This will ensure that the heat from the soldering iron is evenly distributed across the switch.
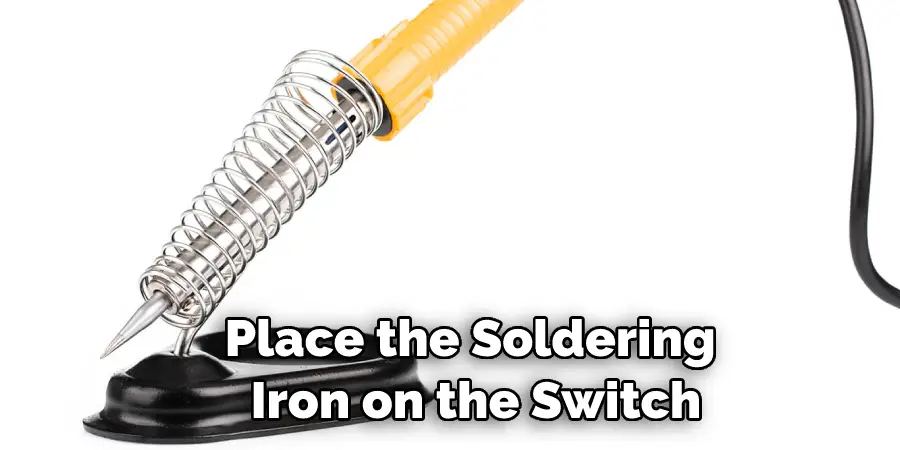
Step 3: Place the Soldering Iron on the Switch
Now that the switch is in the holder, it’s time to place the soldering iron on the switch. The soldering iron should be placed on the side of the switch with two pads. These are the pads you will heat up to remove the switch.
Step 4: Wait for the Switch to Melt
It’s important to wait for the switch to melt before you try to remove it. It will be very difficult to remove if the switch is not melted. You can tell when the switch is melted because it will be shiny and smooth.
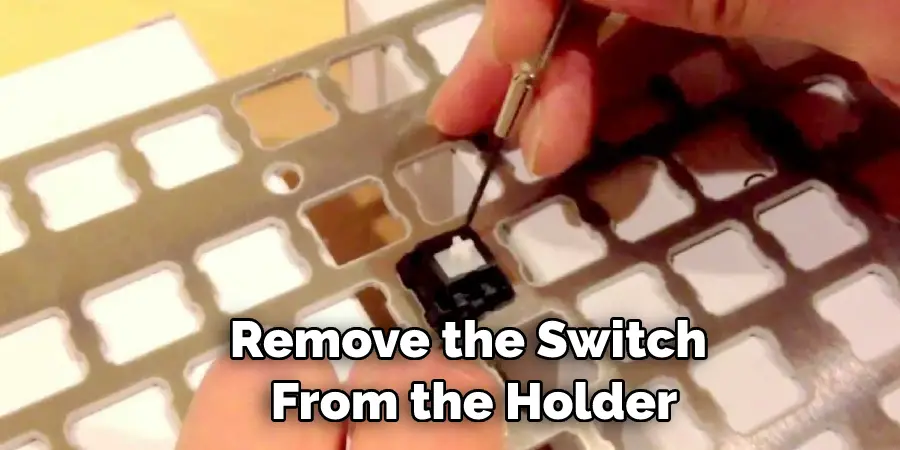
Step 5: Remove the Switch from the Holder
Once the switch is melted, you can remove it from the holder. Be careful not to touch the soldering iron to the switch while doing this. The best way to remove the switch is to use a pair of needle-nose pliers.
Step 6: Remove the Soldering Iron from the Switch
The last step is to remove the soldering iron from the switch. This is a simple task, but a couple of things to keep in mind. First, make sure that the switch is in the off position. If it is not, you could damage the switch.
Second, make sure that you do not touch the switch with the soldering iron. This could also damage the switch. Finally, remove the soldering iron from the switch and set it aside.
Now that you know how to desolder switches, you can replace them with new ones. Remember to practice safety when working with electricity. If you’re not sure how to do something, always ask a qualified professional for help.
The Different Types of Solder and How to Choose the Right One for Desolder Switches
Choosing the right solder type is important when it comes to desoldering switches. The most common types of solder are lead-based and lead-free. Lead-based solder has a lower melting point, making it easier to work with. However, it can be more harmful to your health if inhaled.
Lead-free solder has a higher melting point, making it more difficult to work with. However, it is safer to use and should be your first choice when choosing a type of solder. When it comes to desoldering switches, you need to choose a solder type with a low melting point so that you can easily remove the switch without damaging it.
You also need to choose a type of solder with a high melting point to avoid inhaling any fumes. Solder fumes can be harmful to your health, so it is important to choose a type of solder that will not release any fumes when heated.
How to Desolder a Switch Using the Proper Tools
Desoldering a switch can be difficult and frustrating, especially if you don’t have the proper tools. Luckily, with a few simple steps and the right tools, anyone can desolder a switch quickly and easily. The first step is to heat up the soldering iron and apply it to the joint you want to desolder.
Once the solder has melted, use a desoldering tool to remove the excess solder from the joint. Finally, clean up the joint with some isopropyl alcohol and let it cool before applying fresh solder. With these steps in mind, desoldering a switch is a breeze!
How to Desolder Switches Using a Hot Air Gun
Desoldering switches can be tricky, but it’s important to know how to do it if you ever need to replace a switch or perform other repairs on your electronics. The best tool for the job is a hot air gun, which can be found at most hardware stores. Here’s a step-by-step guide to desoldering a switch using a hot air gun:
1. Begin by heating the tip of the soldering iron and applying flux to the area around the switch.
2. Next, place the tip of the hot air gun against the top of the switch and turn it on.
3. Use the hot air gun to heat up the area around the switch until the solder melts and flows away from the switch.
4. Finally, remove the switch from the circuit board and clean up any excess solder with a soldering iron or other suitable tools.
Tips and Tricks for Perfect Desoldering Switch Every Time!
If you’ve ever worked with electronics, you know that one of the most important skills is a desoldering-the process of removing solder from electronic components. If you don’t do it right, you can damage the components or the PCB itself. Here are some tips and tricks to help you get perfect desoldering every time!
The first step is to ensure that your soldering iron is at the correct temperature. Too hot and you risk damaging the components; too cold and the solder won’t flow properly. The next step is to apply the iron to the joint and wait for the solder to melt. Be patient; you’ll make a mess if you try to rush things.
Once the solder has melted, carefully remove the iron and hold the joint until the solder solidifies again. Finally, use a desoldering braid or vacuum pump to remove any excess solder. With a little practice, you’ll be a desoldering pro in no time!
Frequently Asked Question
What Are Some Symptoms that Indicate a Switch Needs to Be Desoldered?
Some symptoms that indicate a switch needs to be desoldered are if the key is not registering when typed, if there is excessive noise when typing, or if the key feels loose.

Is It Necessary to Use a Desoldering Pump when Desoldering a Switch?
Yes, using a desoldering pump when desoldering a switch is necessary. A desoldering pump helps remove any solder that may be left in the switch. This will help ensure that the switch works properly once it is resoldered.
What Should You Do if The Switch Becomes Damaged During the Desoldering Process?
If the switch becomes damaged during the desoldering process, you will need to remove the switch from the circuit board. Use a knife or small screwdriver to pry the switch from the circuit board. Be careful not to damage the traces on the circuit board.
Conclusion
If you are looking to desolder switches, whether it is for a new project or to fix an old one, we have the perfect guide for you. With this guide, you can do it yourself and save some money in the process. Thanks for reading our post about how to desolder switches. Have any questions? Leave them in the comments below; we would be happy to help!