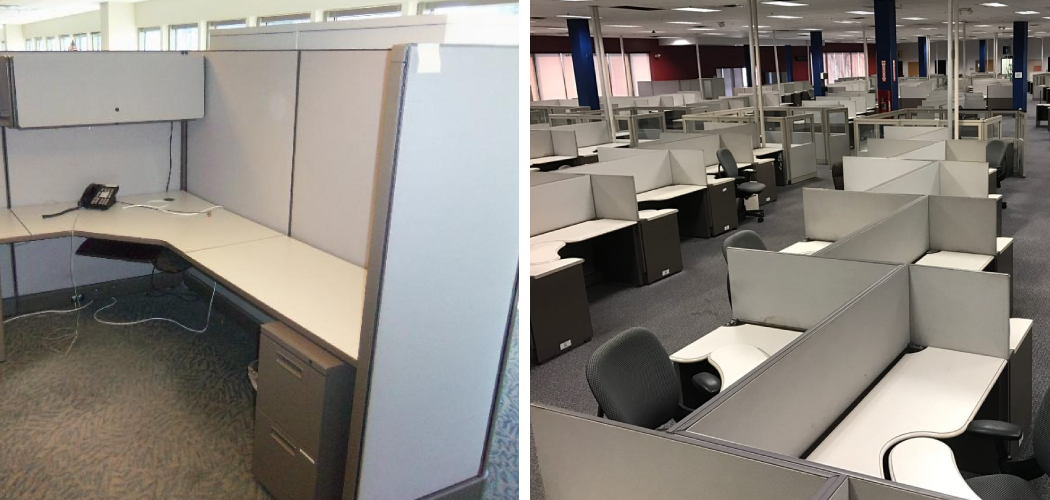
Do you need to take apart your office cubicle and reassemble it in a new location? You’re not alone! Many businesses are moving offices and require the added step of transporting their cubicles as well.
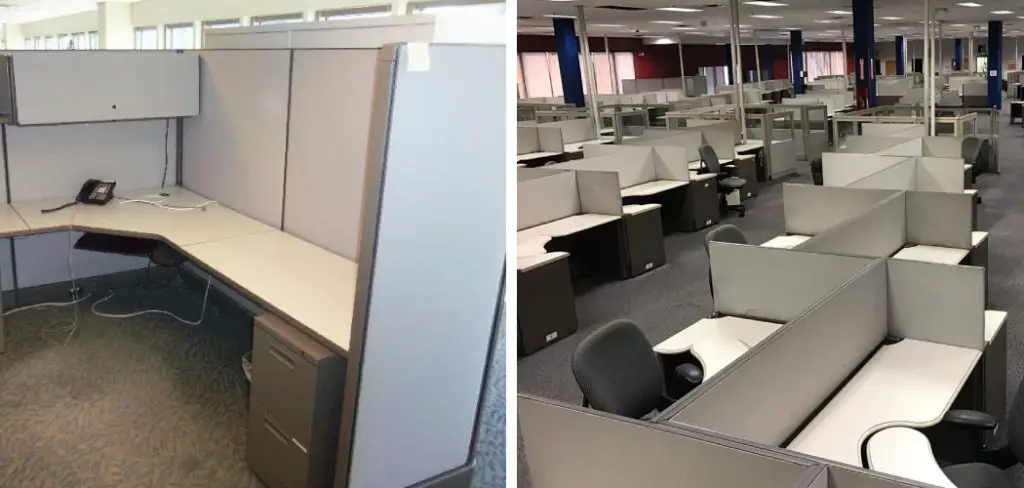
It may seem daunting or overwhelming, but don’t worry – with these helpful tips on how to disassemble office cubicles, you’ll be able to quickly and easily disassemble your cube(s) into transportable pieces.
Depending on the style of cubicle you have, this process can range from easy to slightly challenging; regardless, we’ve created this guide, so you know exactly what needs to be done step-by-step. With our foolproof guidance, soon you’ll find yourself reaching new heights by safely packing up and transferring your old office space in no time!
Is It Necessary to Disassemble Office Cubicle?
Disassembling office cubicles is often seen as a time-consuming and difficult task, but it’s necessary if you’re moving to a different location or need to reconfigure your workspace. The process of disassembling cubicles can be simplified by properly preparing the space, having the right tools, and having enough people to help out with the project.
Ultimately, disassembling office cubicles is a necessary task to be done and can be done in an effective way with proper planning and execution.
Before starting the process, it’s important to plan out how much time will be needed for the disassembly, who will help out with the task, what tools are needed, and where all of the pieces need to go once they have been taken apart. Having this information in advance can make the whole process much easier and more efficient.
It’s also important to consider safety when taking apart cubicles; wear gloves and goggles at all times while handling metal parts to avoid any potential injuries from sharp edges or flying debris. Additionally, ensure that there is enough space for workers to move around freely and safely while taking apart cubicles.
Once the task has been planned, gather all of the necessary tools: a drill, various screwdrivers, pliers, wrenches, and any other tools that may be needed to properly take apart the cubicles. Depending on the type of cubicle being disassembled, there may also be special instructions or steps that need to be taken in order to ensure everything is taken apart correctly.
Once all of the pieces have been removed from the cubicles and placed in their respective piles or containers for transport, you can begin putting them back together again at your new location or reconfiguring them for a different layout.
10 Methods on How to Disassemble Office Cubicles
1. Prepare the Area:
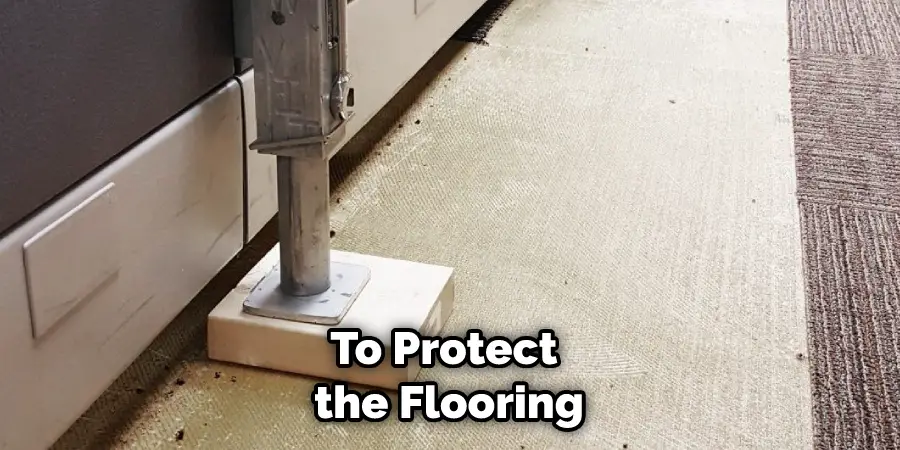
Before disassembling your office cubicles, make sure you have space to do so. Clear any debris or obstacles from the area and lay down a protective covering if needed to protect the flooring. If the cubicles are being relocated, mark off the path for where you want to move them.
While disassembling the cubicles, make sure your workspace is organized and orderly. Make sure to have a good set of tools to get the job done quickly and efficiently. However, be sure to take your time and not rush the process.
2. Remove Fixtures:
Take off all parts that can be unscrewed or detached from the cubicle, such as doors, drawers, panels, accessories, and power cords. If you’re using tools, make sure they’re appropriate for the job. Use a screwdriver to loosen screws, and use pliers to remove staples or other components. Some cubicles may require special tools for disassembly.
Be sure you have the right tools on hand. Be careful not to break or damage any fixtures and components during removal. If you’re unsure of how to remove something, ask an experienced colleague for help.
3. Separate Components:
Separate the components of each cubicle (e.g., walls, frames). This makes it easier to disassemble and transport each one separately. To do this, you may need to unscrew some components, remove the bolts that hold them together and slide out pieces. Once all the components of one cubicle are separated, you can begin taking them apart.
Though it can be tedious, separating the components of the cubicle first will make disassembling it much easier. Additionally, it will make it much easier to move the components out of the building and into a truck for transport.
4. Unscrew Fasteners:
Using a screwdriver or other tools (like a power drill), start taking out all the screws or other fasteners holding the cubicle together. Be sure to take note of which screws came from and where if you plan on reassembling the cubicle. Make sure to keep all the screws and fasteners in a safe place, as you will need them later on.

While doing this, be sure not to damage the cubicle in any way. Try to remember where the screws and fasteners went so when you go to reassemble, everything is in its proper place. Make sure all fasteners are unscrewed properly, and the cubicle can be taken apart easily.
5. Dismantle Connections:
Disconnect all power cords and wiring on the back of the cubicles if applicable; use your hands or pliers to gently pull them apart without damaging anything in the process. Unscrew any mounting hardware and lift the cubicle off its base.
Carefully remove the panels from the brackets and set them aside for storage or disposal as needed. Dispose of all pieces responsibly according to local guidelines. Make sure you’ve removed all components before continuing on with the next step.
6. Label Parts:
Label each part with a permanent marker before placing them together in a box or designated area, so it’s easier to identify and assemble later on if needed. Make sure to use the same number system for each cubicle when labeling parts. This will make it easier to keep track of which parts need to be placed together and in what order.
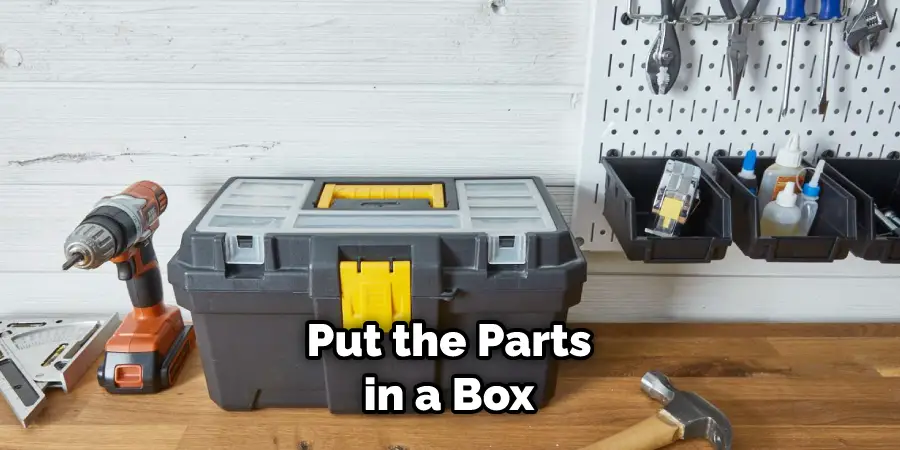
Be sure to label all screws, connectors, brackets, caps, and other parts so that you know exactly where everything goes when it comes time to reassemble the cubicle. Once everything is labeled, put the parts in a box and store it away for future use.
7. Stack Plates:
Place each component on its side in order to stack plates properly without deforming them during transport or storage; use bubble wrap or another packing material to cushion individual plates. Stack the plates on top of one another, being sure to leave a few inches between each plate for stability.
Securely tape or tie the stack together in order to make it easier to lift and carry as a unit. Label or mark all pieces so you know where they belong when reassembling your cubicle later. While most pieces are similar, they can vary slightly from one cubicle to another, so it’s important to ensure your parts go back together in the same way.
8. Lift Carefully:
When lifting up bigger components of an office cubicle, take precautions as some may be heavier than expected; ask for help when lifting heavy objects to avoid injury or dropping them accidentally during the disassembly process. Secure one end of the component before attempting to lift it off, and be sure to keep it level.
Place the components in an organized area once they have been removed from the cubicle for easy reassembly or transportation. Although it might take extra time, remember that safety is essential when disassembling office cubicles.
9. Dispose of Cubicles:
Once everything is dismantled, you can either reuse all parts individually or dispose of them properly according to local regulations; check with your local recycling center for more information on how to properly handle large items such as these. If you are donating, have the organization pick up or arrange for transportation.
Disassembly is time-consuming and can be labor intensive; however, it produces many opportunities to reuse, repurpose, or donate the cubicles and their component parts. While it may seem daunting at first glance, taking the time to disassemble office cubicles can be a great way to save money, reduce environmental impact, and support the community.
10. Put Everything Away:
Place all disassembled components in their designated areas away from direct sunlight and moisture; keep track of all small hardware pieces that may have been misplaced during this process by labeling them accordingly before storing them away. Additionally, make sure to discard any debris that may have been created during the disassembly process.
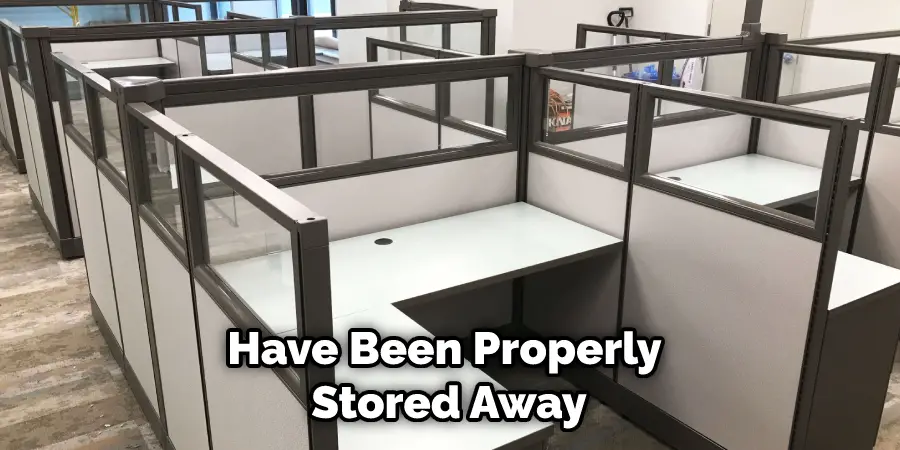
Once all components have been properly stored away, you can begin the process of reassembling your office cubicle to its original state. It is important to remember that a properly disassembled and stored cubicle set can last for many years and provide an ideal workspace for your employees.
Conclusion
Disassembling office cubicles is an excellent way of saving space, minimizing costs, and reorganizing your workspace efficiently. Following our instructions correctly can ensure that your workplace looks just as great as before!
If you need further guidance or would like assistance in getting started on your project, please contact us today so we can help get you going with ‘How to Disassemble Office Cubicles.’