Are you looking to add a bit of pizzazz to your room’s decor? Do you want to breathe some new life into an old piece of furniture? Is there an upholstered chair you’ve loved for years but could use sprucing up?
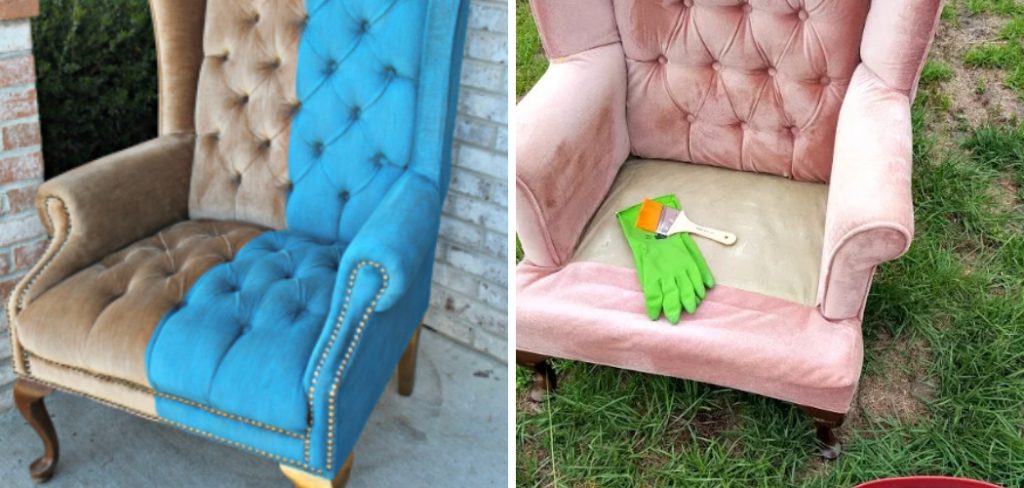
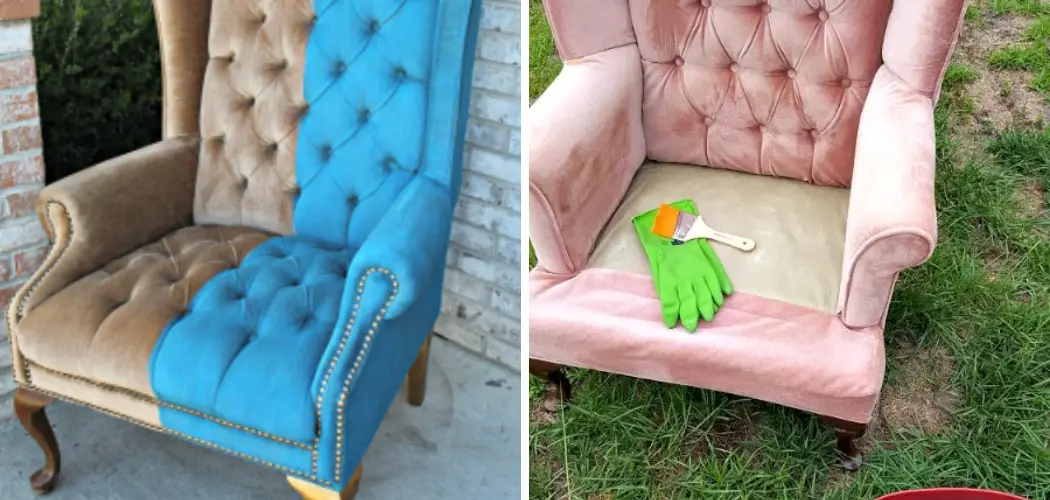
Dyed upholstery chairs are all the rage and can take the aesthetic of any space up a notch. Whether you’re looking for bright, fun colors or something more subtle and classic, this tutorial will show you how to dye your chair fabric easily.
With just a few simple supplies and some time, you can easily stain your upholstered chair to give it the inviting look and feel it deserves. Along with step-by-step instructions and helpful tips, it won’t be long before you have your masterpiece ready to impress! Read on for everything you need to know about how to dye upholstered chair–spruce up that old piece of furniture in style!
Necessary Items
Before you begin, make sure you have all the necessary items ready. Here are the things you’ll need to dye your upholstered chair:
- Drop cloth or plastic sheeting
- Protective gloves
- Upholstery fabric dye (in desired color)
- Bucket or large container
- Water
- Sponge or paintbrush
- Stir stick or spoon
10 Steps on How to Dye Upholstered Chair
Follow these ten easy steps to transform your upholstered chair into a beautiful and unique piece of furniture:
Step 1: Preparing Your Workspace
First things first, you’ll want to prepare your workspace. Lay down a drop cloth or plastic sheeting to protect the area from spills or drips. Wear protective gloves throughout the process to avoid staining your hands.
Step 2: Mixing the Dye
Next, mix the upholstery fabric dye according to the manufacturer’s instructions. This typically involves mixing the powder or liquid dye with water in a bucket or large container until it is evenly dissolved.
Step 3: Wetting Your Fabric
Before applying the dye, you’ll want to ensure the fabric is damp. This will help the dye absorb more evenly and avoid any patchiness. You can use a spray bottle or sponge to dampen the fabric lightly.
Step 4: Applying the Dye
Apply the dye onto your upholstered chair in even strokes using a sponge or paintbrush. Make sure to work in small sections and cover the entire surface of the fabric. You can also experiment with techniques such as ombre or tie-dye for a unique look.
Step 5: Blending Colors
To create a multi-colored effect, you can blend colors by overlapping them on the fabric before they dry. This will create a beautiful gradient effect. Just make sure to work quickly before the dye dries.
Step 6: Letting the Dye Set
After applying the dye, let it sit for at least an hour (according to the manufacturer’s instructions) before rinsing. This will allow the color to be fully set into the fabric. If you’re looking for a more vibrant color, you can let it sit longer.
Step 7: Rinsing
Once the dye has set, rinse your upholstered chair with cold water until the water runs clear. This will remove any excess dye and prevent it from bleeding onto other surfaces.
Step 8: Letting It Dry
After rinsing, let your chair dry entirely before using it. Depending on the fabric and climate, this can take anywhere from a few hours to overnight. You can also use a fan or hairdryer on a low setting to speed up drying.
Step 9: Protecting Your Fabric
You can apply a fabric protector spray to protect your newly dyed fabric from fading. This will also help repel any stains in the future and keep your chair looking fresh for longer. Just make sure to test it on a small, inconspicuous area first.
Step 10: Enjoy Your Newly Dyed Chair!
Congratulations, your newly dyed upholstered chair is ready to be used and admired! You can now proudly show off your one-of-a-kind piece of furniture to friends and family. Make sure to maintain it by regularly vacuuming and spot cleaning as needed to keep it looking fresh and vibrant for years to come.
8 Additional Tips
Here are a few additional tips to make your upholstered chair dyeing process even more accessible and more successful:
1. Test the Color
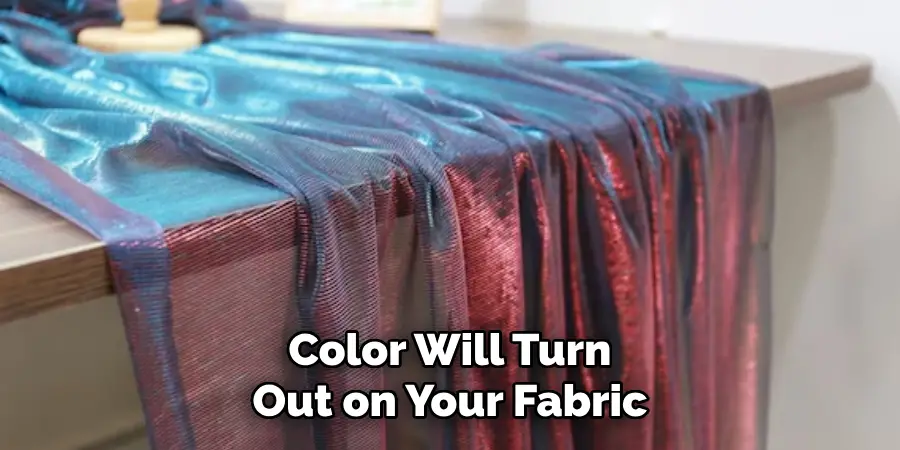
Before dyeing the entire chair, test the color on a small, inconspicuous area first. This will give you an idea of how the color will turn out on your fabric. You can constantly adjust the dye concentration or color if needed.
2. Protect Your Hands
Wearing protective gloves throughout the process will prevent staining your hands and protect your skin from any harsh chemicals in the dye. Make sure to choose gloves that are durable and waterproof.
3. Use a Wetting Agent
A wetting agent, such as dish soap or fabric conditioner, can help the dye absorb more evenly into the fabric. Add a small amount to your dye mixture before applying it to the chair. This is especially helpful for denser fabrics.
4. Use Hot Water
If your fabric allows it, using hot water to mix the dye can help it absorb faster and produce a more vibrant color. Just make sure not to use too hot water, as it can damage some fabrics.
5. Protect Your Workspace
In addition to covering your workspace with a drop cloth or plastic sheeting, you can place an old towel or sheet underneath the chair to catch any drips. This will make clean-up easier and protect your floors or surfaces.
6. Work in Good Lighting
Working in a well-lit area can help you see any missed spots or uneven areas while applying the dye. This will ensure your chair turns out evenly dyed and looks its best.
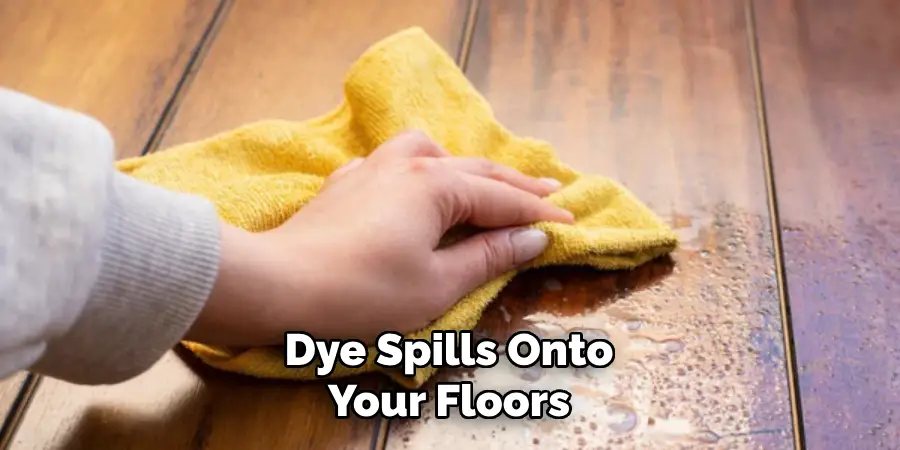
7. Clean Up Spills Immediately
If any dye spills onto your floors or surfaces, clean it immediately with a damp cloth. This will prevent the dye from staining and becoming more difficult to remove later.
8. Experiment with Different Techniques
Feel free to experiment with dyeing techniques, such as ombre or tie-dye, to create a unique look for your upholstered chair. You can also mix multiple colors to create a custom shade that reflects your style. Have fun and get creative with the process!
Overall, dyeing an upholstered chair is a fun and easy way to give new life to old furniture. With a few simple steps and some creativity, you can transform your chair into a beautiful and unique piece that will be the centerpiece of any room. So go ahead and give it a try; the result will be well worth the effort!
Frequently Asked Questions
Can Any Type of Fabric Be Dyed?
Most natural fabrics, such as cotton, linen, and silk, can be successfully dyed. However, synthetic materials like polyester or rayon may need to take the dye better or produce different results. It’s best to check with the dye manufacturer for specific fabric compatibility.
Is Dyeing an Upholstered Chair Messy?
As with any DIY project, there is a potential for some mess. However, taking proper precautions, such as using protective gloves and covering your workspace, can significantly reduce the mess and make clean-up easier.
How Long Will the Color Last?
The longevity of the color will depend on various factors, such as the fabric, the dye used, and how well it was applied. To ensure your newly dyed chair stays vibrant for longer, vacuum and spot-clean it regularly as needed and protect it from direct sunlight. Consider re-dyeing it every few years to refresh the color.
Can I Dye a Dark-Colored Chair to a Lighter Color?
It can be challenging to lighten the color of a dark fabric, and it may not achieve the desired results. It’s best to stick with similar or slightly darker colors than the original fabric color.
However, if you’re willing to put in extra effort, techniques such as bleaching or dye stripping can help achieve a lighter color. Always test on a small area before attempting to dye the entire chair. With these tips and techniques in mind, you can transform your old or outdated upholstered chairs into stunning new pieces that will add character and charm to your home.
Conclusion
Decrying an upholstered chair is a great way to give an old piece of furniture new life. Depending on your chosen materials, it can be relatively easy and cost-effective. As long as you are patient and methodically follow the steps laid out in this tutorial, you should have no trouble transforming that dull, neglected chair into a beautiful accent piece. Show off your updated chairs with pride at your next get-together!
Do you have any questions about upholstered chairs? Come over to read how to dye upholstered chairs today, and let us help answer them. We’re sure you’ll be delighted with the results you achieve with our top-quality products. So don’t waste more time – pick up your supplies immediately and start customizing!