
Rocking chairs offer comfort and a perfect spot for relaxation. They come in various designs and styles, but sometimes, you might feel that your rocking chair needs a facelift.
Painting your rocking chair can help you achieve that. However, if you have never painted a piece of furniture before, it can seem like a daunting task. Don’t worry; we’ve got you covered. In this post, we will guide you on how to paint rocking chair to give it a new lease of life.
Can You Paint a Rocking Chair?
A rocking chair is a perfect addition to any home. Its gentle swaying soothes and relaxes us, making it the ideal place to kick back and read a good book.
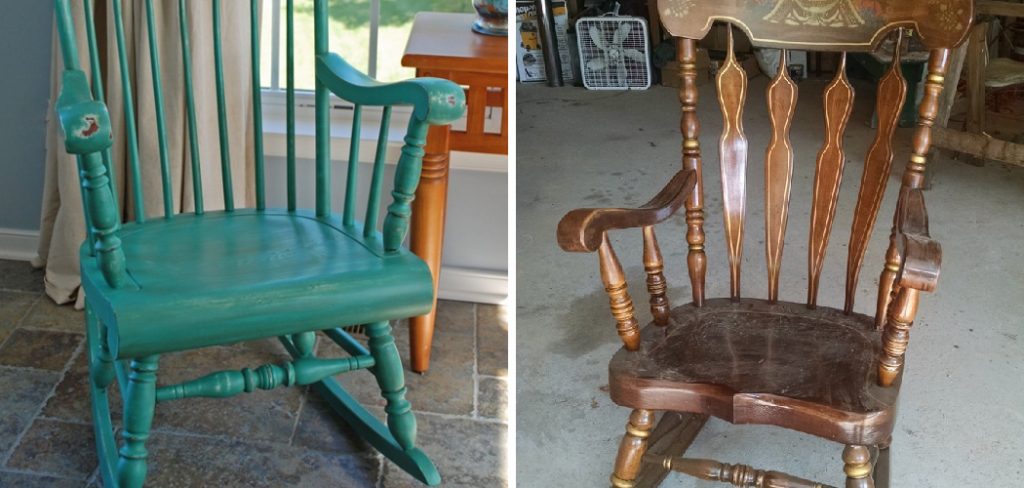
But what if your rocking chair is looking a little worn and outdated? Have you ever wondered if you could paint it?
The answer is a resounding yes! You can paint a rocking chair and transform it into a stunning piece of furniture that perfectly complements your home’s decor.
From bright and bold colors to classic neutrals, the possibilities are endless. With a little elbow grease and some creativity, you can take your old, tired rocking chair and give it a new lease on life.
Why Should You Paint Rocking Chair?
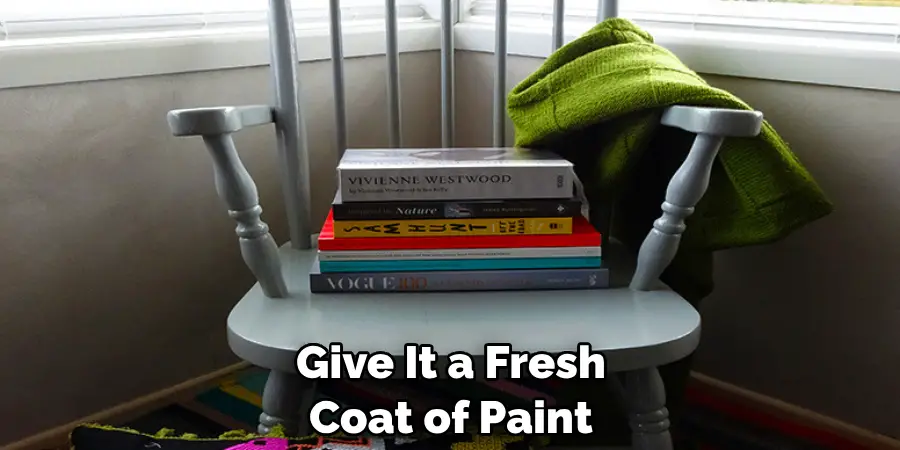
There’s no denying that a well-crafted rocking chair can bring calming comfort to any living space. But adding a fresh coat of paint can elevate the charm and style of this beloved piece of furniture.
Not only can painting a rocking chair instantly transform its appearance, but it can also help protect it from wear and tear. Whether you opt for a bold hue or a more subdued shade, a newly painted rocking chair can become the centerpiece of any room.
Plus, it can be a fun DIY project that allows you to express your creativity. So, instead of settling for a plain, worn-out rocking chair, give it a fresh coat of paint and let it bring new life to your home.
The Ultimate Guide on How to Paint Rocking Chair
1. Gather the Necessary Tools and Materials
To get started, you must gather the necessary tools and materials. This includes sandpaper, paintbrushes, a degreaser, a spray bottle, a primer, the paint you choose, and a sealer.
Gather these tools and materials in one place to make your painting project more efficient. Also, wear protective clothes like gloves and goggles to protect yourself from the harsh chemicals in the painting process.
2. Prepare the Chair for Painting
Now that you have the tools and materials, you must prepare the rocking chair for painting. Start by removing the cushions and any other detachable parts.
Then, sand the chair with sandpaper to smoothen its surface and remove rough spots. This helps the primer stick to the surface of the chair better. After sanding, use a degreaser with water to clean the chair and rinse it with a hose. Allow the chair to dry completely before you apply the primer.
3. Apply the Primer
Before painting, apply a layer of primer to the chair to create a smooth surface for painting. Wait for the primer to dry before applying another layer.
This allows the primer to adhere well to the surface and makes it easier for the paint to stick. You can consider using a spray primer for uniform coverage on all parts of the chair.
4. Apply the Paint
Choose the paint color you want to use and apply it to the chair. Use a good quality paintbrush to ensure even coverage. Wait for the first layer of paint to dry completely before applying another layer.
Depending on your chosen paint, you may need several coats to achieve the desired look. Once you’re satisfied with the color, allow the paint to dry before adding a sealer.
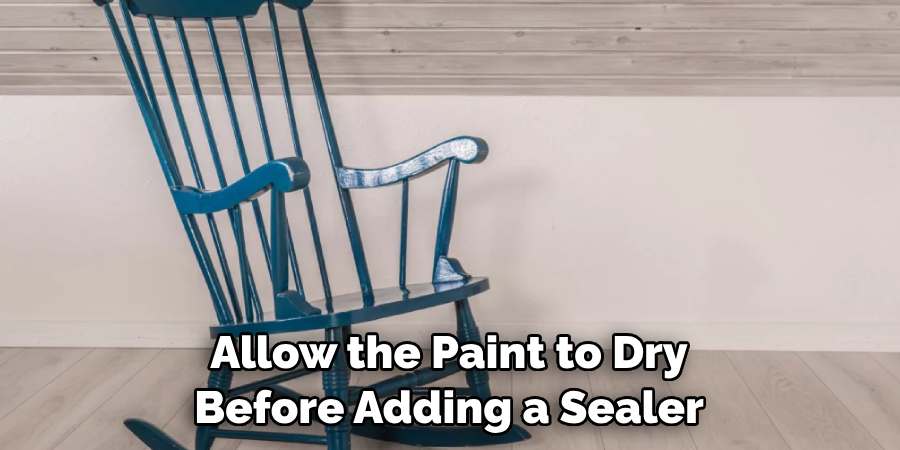
5. Seal the Chair
A sealer adds a protective layer to the painted chair and helps maintain its color for longer. Like painting, apply the sealer in thin layers and allow each layer to dry before adding another one. This will prevent any streaks or bubbles from forming on the surface of your rocking chair.
6. Consider Distressing or Stenciling
Consider distressing the paint or adding stencils if you want to give your rocking chair a unique look. To distress the paint, lightly sand the edges of the chair to give it a vintage look. For stenciling, use painter’s tape to create a design on the chair and carefully fill in the design with a different paint color.
7. Let the Chair Dry Completely
After painting, stenciling, or distressing, let the chair dry completely before using it. This will ensure that the paint and sealer are fully cured and not easily damaged. Once it’s dry, you can add any cushions or detachable parts back onto the chair and enjoy your newly painted rocking chair!
Now that you know how to paint a rocking chair, get creative and give new life to an old piece of furniture. Your rocking chair will quickly look new with the right tools, materials, and techniques!
5 Considerations Things When You Need to Paint a Rocking Chair
1. Surface Preparation
When preparing to paint a rocking chair, it is important to ensure the surface is clean and free of dirt, dust, and debris. A thorough cleaning with soap and water or a degreaser can help to remove any oils or grease that may be present on the surface.
Once cleaned, sanding the surface with fine-grit sandpaper will help create a smooth finish that is ready for painting.
2. Primer
Applying a primer before painting your rocking chair will help to ensure that the paint adheres properly and lasts longer. Primers are available in oil- and water-based formulas, so choose one that best suits your needs. When applying primer, it is important to follow the manufacturer’s instructions regarding drying times before moving on to the next step.
3. Paint Type
The type of paint you choose for your rocking chair will depend on where it will be used and how often it will be exposed to moisture or sunlight. Acrylic latex paint is generally recommended for indoor use as it provides good coverage and durability without yellowing over time.
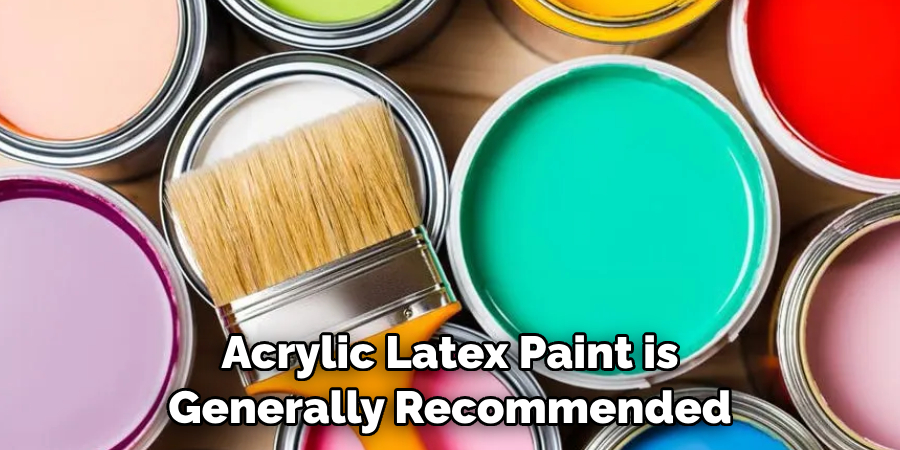
For outdoor use, an alkyd enamel paint is typically best as it provides superior resistance to moisture and fading from UV exposure.
4. Color Selection
Choosing the right color for your rocking chair can be tricky, but there are some tips you can follow to ensure you get it right. Consider the other colors in the room where your rocking chair will be placed; selecting a complementary color will help tie everything together nicely.
If you want something neutral but still interesting, opt for a shade of gray or brown with subtle hints of another color like blue or green for added interest.
5. Finishing Touches
Once your rocking chair has been painted, adding some finishing touches can really bring out its beauty! Consider adding some decorative accents like stencils or decoupage elements such as fabric scraps or wallpaper cutouts for an extra special touch.
You could also consider sealing the paint with a clear coat sealant if you want extra protection against wear and tear from daily use.
Benefits of Paint Rocking Chair
Something is calming and timeless about sitting in a rocking chair. With a fresh coat of paint, your rocking chair becomes a statement piece in any homeroom. Not only can a newly painted rocking chair add a pop of color to your decor, but it can also bring health benefits.
The gentle back-and-forth motion can help release tension and reduce stress levels. It can also improve circulation and promote relaxation. With all these benefits, it is no wonder that many people choose to paint and cherish their rocking chairs for years to come.

Some Common Mistakes People Make When Trying to Paint Rocking Chair
Painting a rocking chair can be a fun and rewarding project, but it’s important to avoid some common mistakes that people make. One mistake is rushing through the preparation process.
Skipping steps like cleaning and sanding the wood can lead to a poor finish that doesn’t adhere well. Another mistake is using the wrong type of paint. Indoor paint, for example, may not hold up to the wear and tear of an outdoor rocking chair.
It’s important to choose the right type of paint for the job. Finally, trying to paint too quickly can result in drips and uneven coverage. Taking one’s time and painting with a steady hand will result in a beautiful finished product that can be enjoyed for years. Painting a rocking chair can be a fun and successful DIY project by avoiding these common mistakes.
Conclusion
Painting your rocking chair is an easy and cost-effective way to breathe new life into an old piece of furniture. With these simple steps, you can have your rocking chair looking as good as new.
Remember to take your time and be patient throughout the process. Also, ensure you have all the materials and tools you need before you begin, and follow all safety precautions. Thanks for reading our post about how to paint rocking chair, and happy painting!