Are you facing issues with your solar light not turning on even when it’s dark? The problem may lie with the sensor.

If your solar lights are failing to brighten up your nights, the issue may often lie with the light sensor. These sensors are crucial for enabling solar lights to turn on at dusk and off at dawn automatically. Over time, they can become obstructed, misaligned, or simply malfunction due to various reasons, including dirt accumulation or wear and tear.
Fixing a solar light sensor is not only an environmentally friendly approach, but it can also save you money and improve the security and aesthetics of your outdoor spaces.
This guide will provide you with step-by-step instructions on how to fix solar light sensor, ensuring that your garden or walkway is properly illuminated once more.
What are the Benefits of Solar Lights?
Before we dive into the process of fixing solar light sensors, let’s quickly review the benefits of using solar lights.
- Environmentally Friendly: Solar lights use renewable energy from the sun, making them a sustainable and eco-friendly option for outdoor lighting.
- Cost-effective: Since they don’t rely on electricity, solar lights can save you money on your energy bills.
- Easy to Install: Solar lights are easy to install and require minimal maintenance, making them a hassle-free choice for outdoor lighting.
- Versatile: Solar lights are available in various styles and designs, and they can be used for various purposes, such as accent lighting or security lighting.
- Enhance Safety and Security: Solar lights can improve visibility in outdoor areas, making them safer to navigate at night. They can also act as a deterrent for potential intruders.

Now, let’s get into the process of fixing your solar light sensor.
What Will You Need?
Before we dive into the steps, here are some of the tools and materials you will need to fix your solar light sensor:
- Screwdriver (Phillips or flathead, depending on the type of screws used in your solar light)
- Soft cloth or cotton swabs
- Rubbing alcohol or mild soap and water solution
- Needle-nose pliers (optional)
- Replacement parts (if necessary)
Once you have all the required tools and materials, let’s move on to the steps for fixing the solar light sensor.
10 Easy Steps on How to Fix Solar Light Sensor
Step 1: Check for Obstructions
When your solar light does not turn on automatically, the first thing to do is check for potential obstructions. Over time, debris like dirt, leaves, and cobwebs can accumulate around the sensor, blocking it from receiving enough sunlight to activate properly. Using a soft cloth or cotton swab, gently clean around the sensor to remove any obstructions.
Step 2: Clean the Sensor
Sometimes, the problem may not be an obstruction but dirt or grime build up directly on the sensor itself. This build-up can impede the sensor’s ability to detect changes in light, preventing the solar light from switching on or off correctly.
To clean the sensor, dampen a soft cloth or cotton swab with a little rubbing alcohol or a mild soap and water solution. Gently wipe the surface of the sensor to remove any dirt, dust, or grime. Be careful not to apply too much pressure, as the sensor may be delicate and susceptible to damage.
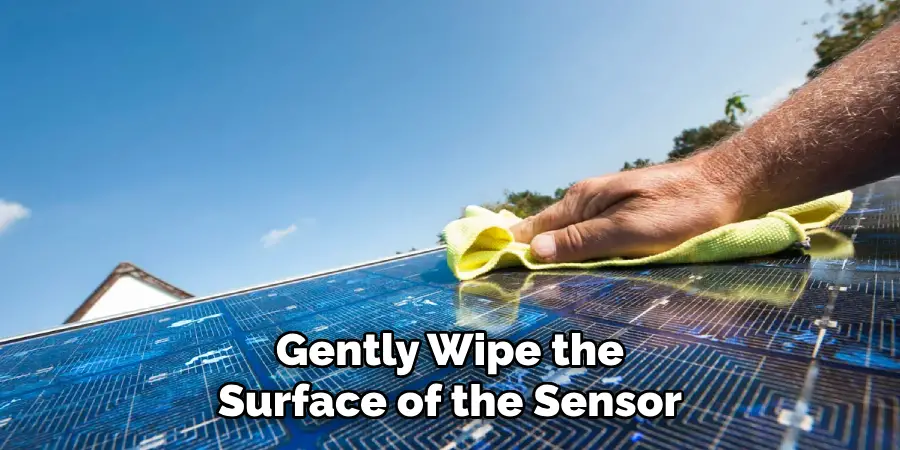
After cleaning, allow the sensor to dry completely before testing the light again. It’s important to ensure that no moisture remains on the sensor, as this could affect its functionality.
Step 3: Ensure Proper Placement
If cleaning the sensor doesn’t solve the issue, the next step is to ensure that the solar light is placed in a location where it receives ample sunlight during the day. Solar lights need to be placed in an area that gets direct sunlight for several hours to charge efficiently.
If the solar light is in a shaded area, consider relocating it to a sunnier spot. Trees, buildings, or other structures can sometimes block sunlight, so it’s crucial to find an open area where the sensor can receive direct sunlight throughout the day. This will ensure that your solar light has enough power to operate correctly when it gets dark.
Step 4: Check and Replace Batteries
After ensuring the solar light sensor is clean and correctly positioned, the next critical step is to check the batteries. Most solar lights come with rechargeable batteries that store the solar energy collected during the day.
Over time, these batteries can degrade and lose their ability to hold a charge, which may result in the lights not turning on at night. Use your screwdriver to open the battery compartment—this is usually located on the back or bottom of the solar light.
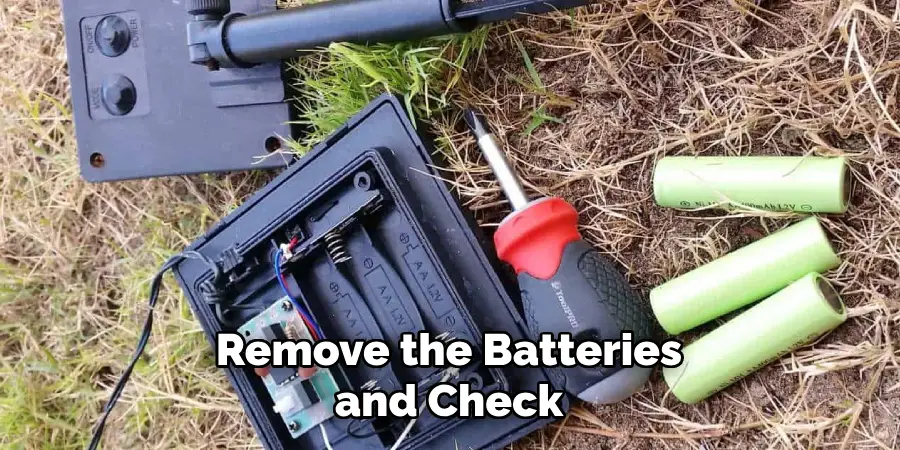
Remove the batteries and check for any visible signs of corrosion or damage. If the batteries appear to be in poor condition, replace them with new rechargeable batteries of the same type and capacity. After replacing the batteries, charge the solar light under direct sunlight for a full day to ensure optimal performance.
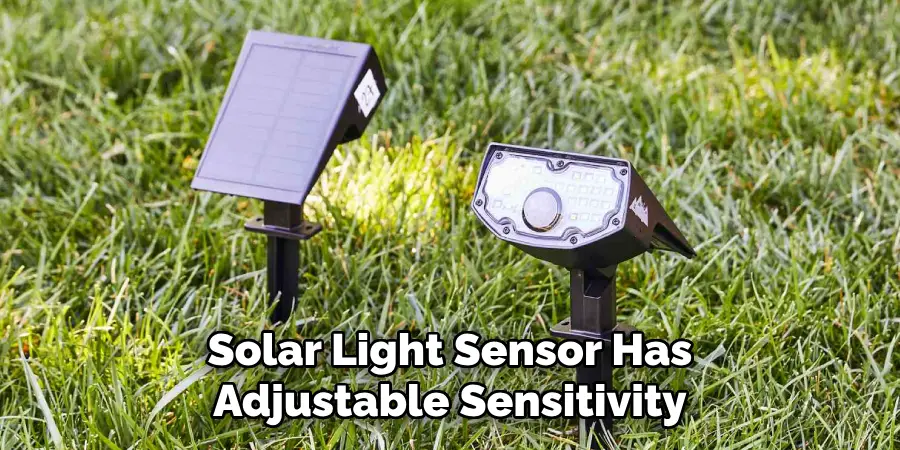
Step 5: Adjust the Sensitivity Settings
Many solar lights come with adjustable sensitivity settings for the light sensor. This feature allows you to control how much darkness is needed before the light turns on. If your solar light is not turning on as it gets dark, it might be set to a higher sensitivity, requiring more darkness to activate.
Locate the sensitivity adjustment knob or switch on your solar light—this is often found near the sensor. Gently adjust it towards a lower sensitivity setting, which should allow the light to turn on earlier in the evening. It’s a good idea to test the light over a couple of nights and make further adjustments as necessary to find the optimal setting for your needs.
Step 6: Reset the Solar Light
If the solar light still does not function correctly after following the previous steps, a full reset might be necessary. Sometimes, solar lights can benefit from being reset to their factory settings, especially if they have been experiencing issues like not turning on or off as expected. To reset your solar light, first, turn off the light or disconnect it if possible.
Leave it off for a few seconds, then turn it back on or reconnect it. This process can help clear any settings that may have been inadvertently changed and restore the light to its default operational mode. Allow the light to charge in direct sunlight for a day before testing its function again in the evening.
Step 7: Inspect and Repair Wiring
After resetting your solar light, if it still does not function as expected, inspect the wiring for any signs of damage. Frayed wires, loose connections, or corrosion can prevent the solar panel from charging the battery efficiently, leading to malfunctions. Carefully examine the cables and connections between the solar panel, light, and battery.

Use needle-nose pliers to carefully repair or reattach the wires if you notice any visible damage or loose connections. In cases of severe damage, it might be necessary to replace the specific part of the wiring or consult with a professional for more complex repairs.
Always ensure the solar light is turned off or disconnected before attempting any repairs to avoid injury. After making any necessary repairs, allow the solar light to charge in direct sunlight and test its functionality again in the evening.
Step 8: Consult with a Professional
If, after following all the previous steps, your solar light still fails to work properly, it may be time to consult with a professional. Solar lights are generally straightforward in design, but complex issues can arise that require expert analysis and intervention. Look for a reputable technician who specializes in solar or outdoor lighting systems.
They can provide a thorough inspection and identify problems that might not be apparent to the average person. Professional repair services can ensure that your solar light is restored to optimal functionality or advise you on the possibility of needing a replacement.
Remember, attempting complex repairs on your own without the proper knowledge can lead to further damage, so seeking professional help can be a cost-effective and safe solution.
Step 9: Perform Regular Maintenance
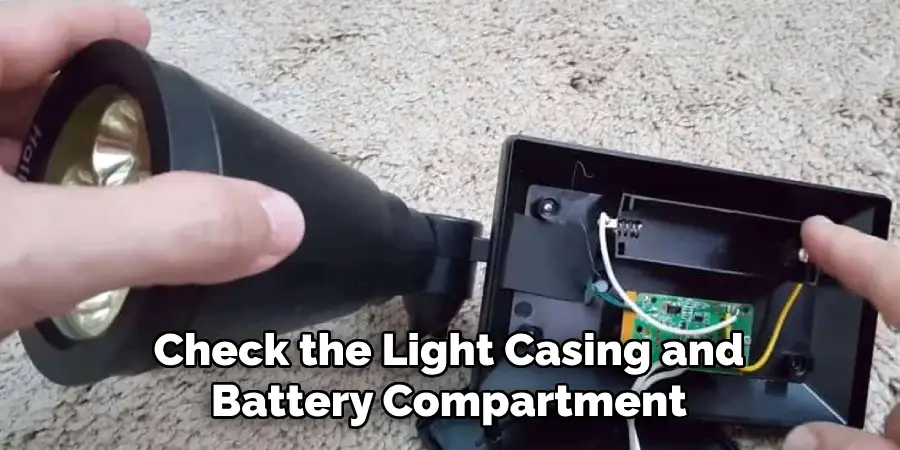
Regular maintenance is crucial to ensure the long-term functionality and efficiency of your solar light. Establishing a routine cleaning and inspection schedule can prevent many common issues associated with solar lights. At least once a month, wipe down the solar panel with a soft, damp cloth to remove any dust, dirt, or debris that might hinder sunlight absorption.
Also, check the light casing and battery compartment for any water ingress or signs of wear and tear that could affect performance. By being proactive with maintenance, you can extend the lifespan of your solar light, reduce the need for repairs, and ensure it remains a reliable source of lighting for your outdoor space.
Step 10: Evaluate Solar Light Placement
It’s essential to regularly evaluate and, if necessary, adjust the placement of your solar light to ensure it receives optimal sunlight. Over time, new obstructions, such as growing trees or newly constructed features in your garden, can cast shadows on the solar panel, reducing its exposure to sunlight.
Additionally, the angle of the sun changes with the seasons, which might affect how much sunlight your solar light receives. Inspect the area around your solar light every few months to make sure there are no new obstructions. Consider moving the light to a more open area or adjusting its angle towards the sun to improve charging efficiency and overall performance.
By following these steps and implementing regular maintenance, you can keep your solar light in top working condition and enjoy the benefits of sustainable and cost-effective lighting for years to come.
5 Additional Tips and Tricks
- Clean the Sensor Regularly: Dust, dirt, and other debris can accumulate on the solar light sensor, impeding its ability to function properly. Gently wiping the sensor with a soft, clean cloth can help maintain its sensitivity.
- Reposition of the Light: Sometimes, the issue stems from the solar light being placed in a location that doesn’t receive adequate sunlight. Relocating the light to a spot with better sun exposure can significantly improve its performance.
- Check for Obstructions: Ensure that no physical obstructions, such as branches or overhangs, block the sensor. These can prevent the solar light from detecting changes in light and thus affect its operation.
- Replace the Batteries: Solar lights store energy in batteries during the day to power the light at night. Over time, these batteries can wear out. Replacing old batteries with new ones can restore the light’s functionality.
- Adjust the Sensitivity Settings: If your solar light sensor has adjustable sensitivity settings, tweaking these may help. Some sensors may be too sensitive or not sensitive enough, causing them to either not light up at all or remain on all the time. Adjusting these settings can help you find the right balance for your needs.
With these additional tips, you can ensure that your solar lights continue to work effectively and efficiently.
5 Things You Should Avoid
- Avoid Using Harsh Chemicals: When cleaning the sensor, avoid abrasive cleaners or harsh chemicals. These can damage the sensor’s surface, negatively impacting its functionality. Stick to mild detergents or simply use a damp cloth.
- Do Not Paint Over the Sensor: While customizing or painting your solar lights to match your outdoor decor might be tempting, never paint over the sensor. This can block light from reaching the sensor, preventing it from working correctly.
- Avoid Disassembling the Sensor Unnecessarily: Unless you are knowledgeable about the inner workings of solar lights, avoid taking apart the sensor. Improper disassembly can lead to damage or reduce the sensor’s effectiveness.
- Do Not Ignore the Manufacturer’s Instructions: Always refer to the manufacturer’s guidelines when attempting to fix or adjust the sensor. The manufacturer could provide specific instructions for troubleshooting that are essential for maintaining the warranty and functionality of the light.
- Avoid Covering the Sensor During the Day: Some people cover the sensor to test if the light works without waiting for dusk. This is not recommended as it can confuse the sensor’s light-detection capabilities, leading to poor performance. If you need to test the light, do so by briefly covering the sensor with your hand, but avoid leaving it covered for prolonged periods.
By avoiding these common mistakes, you can ensure that your solar light sensor remains in optimal condition, extending the life and efficiency of your solar lighting solutions.
What are the Reasons for Sensor Failure?
There can be several reasons for sensor failure in solar lights, including:
- Physical Damage: Extreme weather conditions or accidental impact can physically damage the sensor, rendering it non-functional.
- Battery Issues: As mentioned earlier, worn-out batteries can prevent the light from storing enough energy to power the sensor at night.
- Environmental Factors: Factors such as excessive dust or debris, moisture, and extreme temperatures can impact the sensor’s performance and lead to failure.
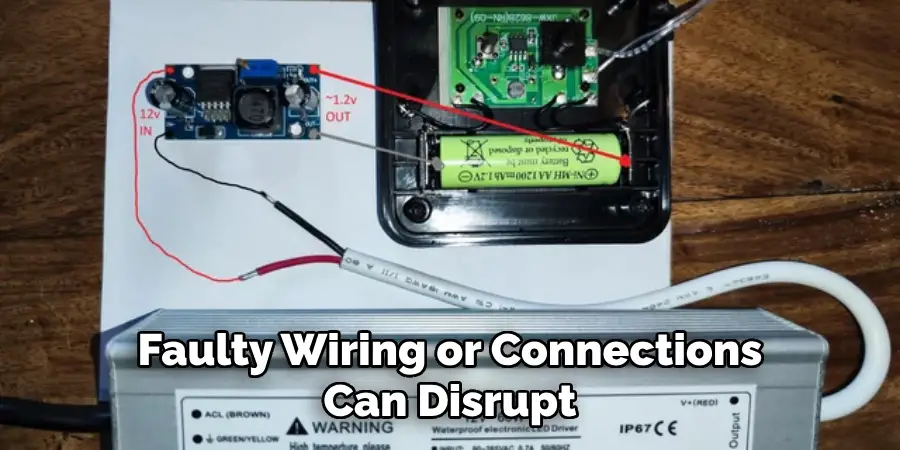
- Electrical Problems: Faulty wiring or connections can disrupt the flow of electricity, causing the sensor to malfunction.
- Old Age: Like any other electronic device, solar lights have a lifespan, and after several years of use, the sensor may simply stop working.
Knowing these potential reasons for sensor failure can help you troubleshoot and prevent future issues with your solar lights.
How Do You Clean a Solar Light Sensor?
Cleaning a solar light sensor is a simple process that can help improve its functionality. Here are the steps to clean your solar light sensor:
- Turn off the Light: Before cleaning, make sure to turn off the solar light to avoid any electrical hazards.
- Remove the Sensor Cover: Depending on your specific model, you may need to remove a cover or panel to access the sensor. Use a screwdriver or other tools if necessary.
- Clean the Sensor: Gently wipe the sensor with a soft, clean cloth to remove any dust, dirt, or debris. Avoid using harsh chemicals that could damage the sensor’s surface.
- Reassemble and Test: Once the sensor is clean, reattach any removed parts and turn the light back on to test its functionality. If it still doesn’t work correctly, refer to the troubleshooting tips mentioned earlier.
Regularly cleaning your solar light sensor can help maintain its sensitivity and prolong its lifespan.
Conclusion
In conclusion, how to fix solar light sensor involves a blend of regular maintenance, strategic positioning, and careful handling. Key practices such as regularly cleaning the sensor, ensuring it’s placed in a location with adequate sunlight, checking for obstructions, replacing old batteries, and adjusting the sensitivity settings are fundamental to keeping your solar lights operational.
Additionally, it’s crucial to avoid actions that could impair the sensor’s functionality, like using harsh chemicals for cleaning, painting over the sensor, disassembling it unnecessarily, ignoring manufacturer instructions, or covering the sensor during the day.
By understanding the common reasons for sensor failure, including physical damage, battery issues, environmental factors, electrical problems, and natural wear over time, you can more effectively troubleshoot and prevent issues with your solar lights.
Remember, regular cleaning and mindful maintenance can significantly extend the life and efficiency of your solar lighting, ensuring that your outdoor spaces remain beautifully illuminated.