Creating an efficient cooling system within your PC setup is essential for maintaining optimal performance and extending the lifespan of your components. One effective method to achieve this is by daisy-chaining your PC fans, allowing for a streamlined and effective cooling mechanism.

This guide on how to daisy chain pc fans aims to introduce you to the fundamentals of daisy-chaining PC fans, covering the benefits, essential tools, and preliminary considerations you need to be aware of before undertaking this DIY project.
Whether you’re a seasoned PC builder or new to customizing your setup, understanding how to properly connect multiple fans can significantly enhance your system’s cooling efficiency.
What is Daisy Chaining?
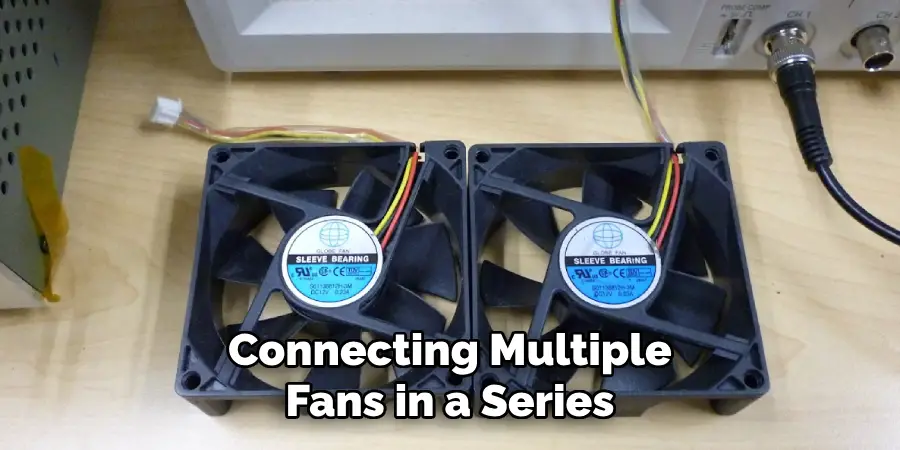
Daisy chaining refers to the process of connecting multiple fans in a series, with each fan connected to the next using cables. This method allows for a single power source to control all the fans in the chain rather than having individual power sources for each fan.
The first fan in the chain is connected directly to the motherboard or a fan controller, while the remaining fans are connected to each other in a serial manner. You can connect up to four fans in a single chain, depending on the power requirements and limitations of your system.
Benefits of Daisy Chaining PC Fans
Improved Airflow:
By connecting multiple fans in a series, you can create a more efficient airflow within your PC case. This helps to move warm air away from components and replace it with cooler air, resulting in better cooling performance.
Space-saving:
Daisy chaining allows for a neater and more organized setup, as it eliminates the need for multiple cables and power sources. This is especially beneficial in smaller PC cases where space is limited.
Cost-effective:
By using a single power source to control all fans in the chain, you can save on the cost of purchasing multiple fan controllers or splitters.
Tools Required
Before you begin daisy-chaining your PC fans, make sure you have the following tools on hand:
SATA Power Cables:
These cables are used to connect the fans to the power supply unit (PSU).
Fan Cables or Splitters:
You will need these to connect one fan to another in a serial manner.
Screwdriver:
This is needed for securing the fans and any additional mounting hardware.
Considerations
Before daisy chaining your PC fans, there are a few factors to keep in mind:
Power Supply:
Make sure your PSU has enough power and the appropriate connectors to support all the fans in the chain. It’s recommended to have a higher wattage PSU if you plan on connecting multiple high-performance fans.

Fan Type:
Not all fans can be daisy-chained, so make sure to check the specifications of your fans before attempting to connect them.
Fan Speed:
Daisy chaining can affect the overall speed of your fans, so it’s essential to consider this when planning your setup. Connecting too many fans in a chain can result in a decrease in each fan’s individual speed.
10 Step-by-step Guidelines on How to Daisy Chain Pc Fans
Step 1: Planning Your Fan Configuration
Before you start connecting your fans, plan out the layout and placement of your fans in your PC case. This will help you determine the ideal length and type of cables needed. The fans in the chain should be placed close to each other for efficient airflow. It’s also essential to consider the direction of airflow for each fan.
You can use software tools like Speedfan to monitor your fan speeds and adjust them if needed. The last fan in the chain should be placed near an exhaust vent. But ideally, all fans should be set to blow air in the same direction. You can also use different colored fans to help keep track of the airflow direction.
Step 2: Preparing your Fans
If your fans come with pre-attached cables, you can skip this step. However, if they don’t, you will need to attach fan cables or splitters to each fan before connecting them in a chain. Make sure to secure the connections with zip ties or electrical tape to avoid any loose cables. It’s also recommended to test the fans individually before connecting them in a chain.
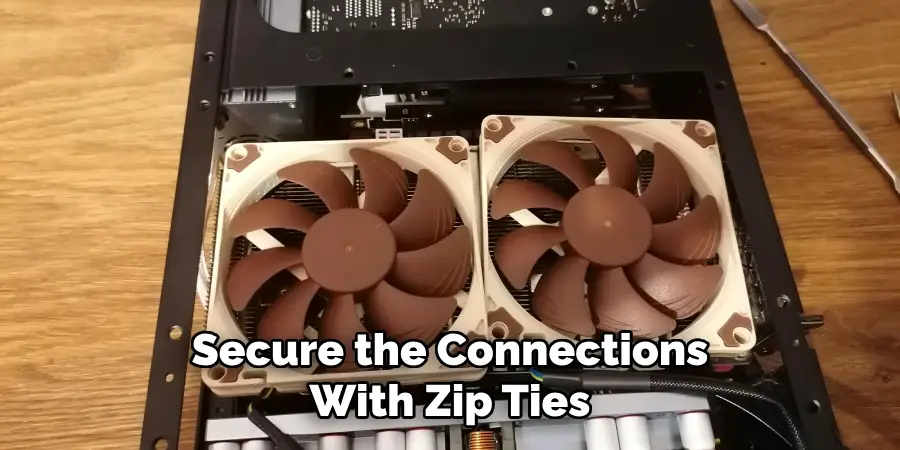
The last thing you want is to have one faulty fan affect the entire chain’s performance. You can use a fan speed controller to test each fan’s speed and make sure they are working correctly. It’s also useful to label each fan in the chain to easily identify any issues that may arise. But if you’re using the same type of fans, this won’t be necessary.
Step 3: Preparing the SATA Power Cables
Take your SATA power cables and cut them into appropriate lengths based on your fan placement. Strip off a small portion of the outer coating to expose the inner wires. Then, strip off a bit of insulation from each wire end, exposing the copper. If you’re not comfortable cutting or stripping cables, it’s recommended to purchase pre-made SATA power cables instead.
The important thing is to ensure the cables are of the correct length and have all the necessary connectors. But make sure to leave some extra length on each cable in case you need to make any adjustments. It’s always better to have longer cables than shorter ones. This step is crucial in ensuring a neat and organized setup.
Step 4: Connecting the First Fan
Start by connecting one end of your SATA power cable to the first fan. Make sure to match the appropriate wire colors for positive and negative terminals. You can refer to your fan’s manual for this information. Then, connect the other end of the cable to your fan controller or directly to the motherboard’s fan header.
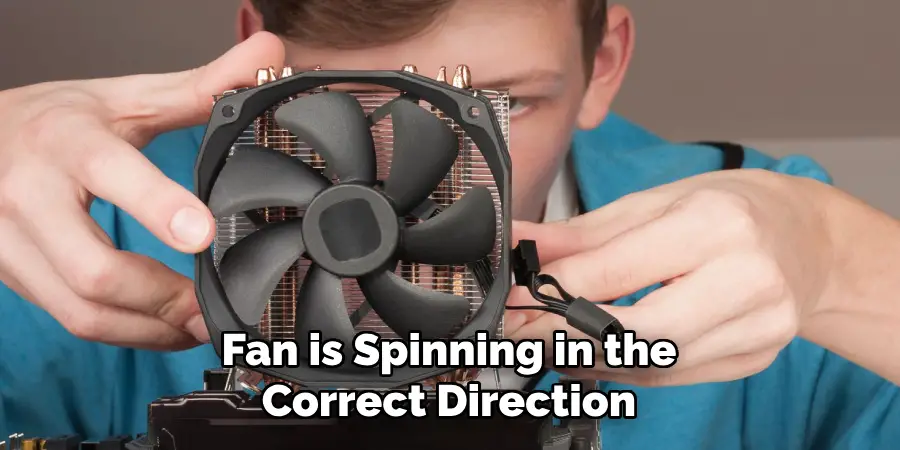
Make sure all connections are secure. Otherwise, the fan may not receive enough power. It’s also essential to make sure the fan is spinning in the desired direction. You can use the software Speedfan to test and adjust fan speeds if needed. It’s always best to double-check everything before moving on to the next step.
Step 5: Connecting the Second Fan
Now, take another SATA power cable and connect one end to the first fan’s unused connector. Then, connect the other end to the second fan’s input connector. This will create a series connection between the two fans. Again, make sure all connections are secure and that the fan is spinning in the correct direction.
You can repeat this process for as many fans as needed, depending on the number of fans you want to daisy chain. You can also use fan splitters instead of individual cables if you prefer. If you’re using splitters, make sure they have enough ports for the number of fans you plan on connecting. It’s also essential to check the power requirements of your fans and make sure the splitter can handle the total wattage.
Step 6: Connecting the Last Fan
Once you have connected all fans in a chain, connect the last fan to a spare SATA power cable from your PSU. Make sure this connection is secure and that the fan is spinning in the desired direction. If you’re using multiple chains, make sure to repeat the process for each chain, connecting the last fan to its own SATA power cable.
The final result should be a series of fans connected to each other and ultimately leading to the PSU. But remember, the last fan in each chain should be placed near an exhaust vent for optimal airflow. You can also connect the last fan to a fan controller if you prefer, as long as it has enough power and connectors. But keep in mind that this may affect the overall fan speed.
Step 7: Securing the Fans
Use screws or any additional mounting hardware provided by your fan manufacturer to secure the fans in their designated spots. This will prevent any movement or vibrations that can affect the chain’s efficiency. It’s also essential to avoid overcrowding the fans, as this can lead to overheating and potential damage.
You can use zip ties or cable management tools to keep the cables organized and tidy. The goal is to have a clean and efficient setup. You can also use fan filters to prevent dust and debris from entering your PC. It’s recommended to clean these filters regularly to ensure proper airflow. It’s also essential to clean your fans periodically to maintain their performance.
Step 8: Testing the Fans
Once all fans are connected, secured, and in their proper place, it’s time to test them. Turn on your computer and check if all fans are spinning at the desired speed. You can use software tools like Speedfan or HWMonitor to monitor your fan speeds and adjust them if needed.
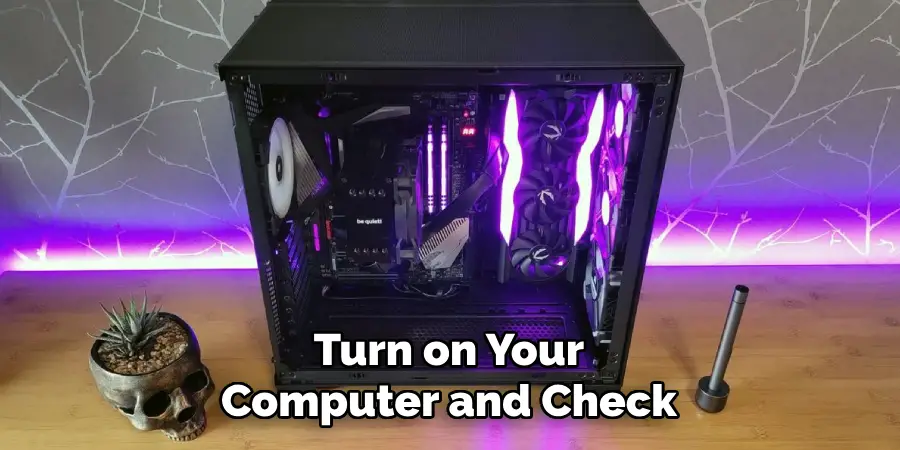
If any fans are not spinning or operating at a slow speed, check all connections and make sure everything is secure. It’s also essential to test the fans under heavy load, such as gaming or video editing, to ensure they can handle it. You can also monitor the temperatures of your components to make sure the fans are efficiently cooling them. If needed, you can adjust fan speeds to achieve optimal performance.
Step 9: Adjusting Fan Speeds
If you notice that some fans are spinning too fast or too slow, you can adjust their speeds using software tools or by adjusting the voltage. However, keep in mind that daisy chaining can affect individual fan speeds, and adjusting one fan can impact the rest of the chain.
It’s recommended to make slight adjustments and monitor their effects on all fans before making any significant changes. You can also consider purchasing a fan controller for more precise speed control. It’s important to regularly check your fan speeds and adjust them if needed, as proper airflow is crucial for maintaining optimal PC performance and preventing overheating.
Step 10: Cleaning and Maintenance
Regularly cleaning your fans and their surroundings is essential for proper maintenance. Dust, dirt, and other debris can accumulate on the fan blades and hinder their performance. Use compressed air or a soft brush to clean the fans and their filters regularly.
You can also consider using high-quality lubricants to keep the fan bearings running smoothly. It’s also important to check the connections and cables regularly to ensure everything is secure. Proper maintenance can extend the lifespan of your fans and prevent any potential issues down the line.

Following these steps on how to daisy chain pc fans should enable you to successfully daisy chain your case fans and achieve optimal airflow in your PC. Remember to take your time and be cautious when working with cables and connections, as one small mistake can affect the entire chain’s performance.
With proper installation, maintenance, and monitoring, you can ensure that your PC stays cool and efficient for all your computing needs. Happy building!
Cable Management and Aesthetics
Aside from the performance benefits, daisy chaining fans can also improve cable management and aesthetics in your PC build. By connecting multiple fans with a single cable, you can reduce clutter and make your build look more organized.
Additionally, using fan splitters or pre-made SATA power cables can further streamline the cable management process. You can also use different colored cables for a more personalized and visually appealing look. However, make sure to still prioritize proper airflow and fan efficiency over aesthetics.
Troubleshooting Common Issues
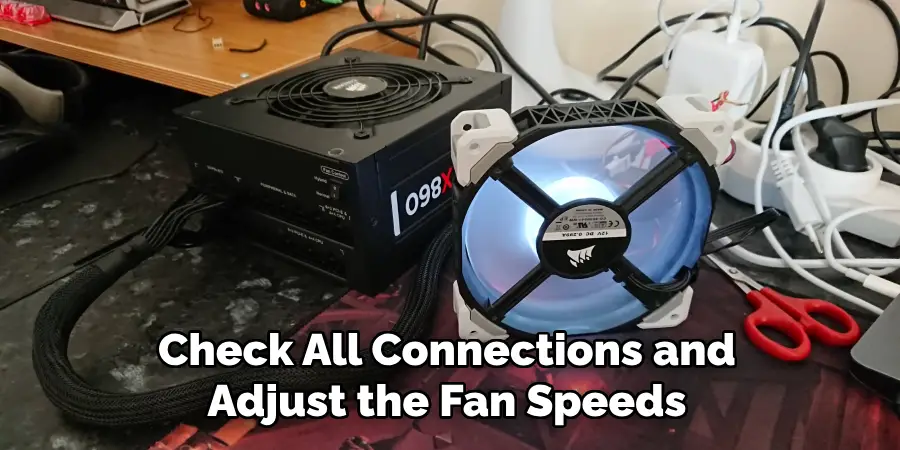
While daisy chaining fans is a straightforward process, there are some common issues that you may encounter. One of the most common problems is fans not spinning or spinning at a slower speed than expected. This can be caused by loose connections, incorrect wiring, or inadequate power supply.
Make sure to check all connections and adjust the fan speeds if needed. Another issue could be noise or excessive vibrations, which can be caused by unsecured fans or an imbalance in the chain. Regular maintenance and proper securing of the fans can prevent these problems. It’s also essential to monitor your PC temperatures and fan speeds regularly to detect any potential issues early on.
Maintenance and Care
Proper maintenance and care are crucial for the longevity and proper functioning of your fans. Regularly cleaning, securing, and monitoring them can prevent potential issues and ensure optimal performance. Additionally, keeping an eye on your PC temperatures and fan speeds will help you detect any problems early on.
It’s also recommended to replace older or worn-out fans to maintain efficient cooling in your system. By following these maintenance tips, you can ensure that your fans will continue to keep your PC cool and running smoothly for years to come.
Do You Need to Get Help From a Professional?
While daisy-chaining fans can be done by anyone with basic PC-building skills, some may prefer to seek professional help. This could be due to a lack of experience or confidence in handling cables and connections.
If you’re unsure about Daisy chaining your fans or encountering any issues during the process, it’s always best to seek help from a professional. They can ensure that your fans are installed correctly and functioning optimally, saving you the time and hassle of troubleshooting any potential issues.
So whether you decide to tackle daisy-chaining fans on your own or seek professional help, just remember that proper airflow is essential for keeping your PC cool and efficient.
Frequently Asked Questions
Q: Can I Daisy Chain Different Types of Fans?
A: Yes, you can daisy chain fans of different sizes and speeds. However, keep in mind that this may affect individual fan speeds, so it’s essential to monitor and adjust as needed. It’s recommended to use fans from the same manufacturer for optimal performance.
Q: Is There a Limit to How Many Fans I Can Daisy Chain?
A: The number of fans you can daisy chain depends on your motherboard and PSU’s capacity and the current draw of each fan. It’s essential to consult your motherboard and PSU specifications before connecting multiple fans in a chain.
Q: Do I Need to Use Fan Splitters When Daisy Chaining?
A: Fan splitters can help streamline the cable management process, but they are not necessary for daisy-chaining fans. You can also use pre-made SATA power cables to connect multiple fans in a chain.
Q: Can I Adjust Individual Fan Speeds When Daisy Chaining?
A: Yes, you can adjust individual fan speeds when Daisy is chaining. However, keep in mind that this may affect the other fans in the chain, so it’s recommended to make small adjustments and monitor their effects before making any significant changes.
Conclusion
In conclusion, daisy-chaining PC fans can significantly improve your computer’s cooling efficiency while keeping cable clutter to a minimum. By following the steps outlined in this guide, you can effectively connect multiple fans using a single power source. Remember to check compatibility, avoid overloading circuits, and ensure proper airflow direction for optimal performance.
With a bit of patience and attention to detail, you can enhance your system’s cooling capability and overall functionality, maintaining a healthier and more stable PC environment. Thanks for reading this article on how to daisy chain pc fans.