
Are you tired of seeing mold growing in your cabinets? Do you want to get rid of it once and for all? Mold can be a common problem in cabinets, especially in damp areas like kitchens and bathrooms.
Mold in cabinets can be an unsightly and potentially harmful problem within your home. Left untreated, it can cause structural damage to your cabinets and pose health risks, including allergies and respiratory issues. Addressing mold growth requires a systematic approach to ensure effective removal and prevent future occurrences. By understanding the causes of mold, identifying the right cleaning solutions, and implementing preventative measures, you can maintain a healthy and mold-free environment in your home.
This guide outlines the necessary steps on how to get rid of mold in cabinets.
What are the Reasons for Mold Growth in Cabinets?
Mold thrives in damp and dark environments, making cabinets an ideal breeding ground. Some common causes of mold growth in cabinets include:
- Leaks: Water leaks from pipes or appliances can create a moist environment within your cabinets, providing the perfect conditions for mold growth.
- High Humidity: Areas with high humidity levels, such as bathrooms and kitchens, are more susceptible to mold growth.
- Poor Ventilation: Lack of proper air circulation can trap moisture in your cabinets, promoting mold development.
- Spills and Stains: Any spilled liquids or food residue left behind in cabinets can provide nutrients for mold to grow.
These factors can contribute to the development of mold in your cabinets, so it’s important to address them to prevent future growth.
What Will You Need?
Before you begin the mold removal process, ensure you have all the necessary tools and materials. This includes:
- Protective gear (gloves, mask, safety glasses)
- Cleaning solutions (bleach, vinegar, borax)
- Scrub brush or sponge
- Bucket for mixing solutions
- Towels or rags
- The water source for rinsing
Once you have all the materials, you can follow these steps to remove mold from your cabinets effectively.
10 Easy Steps on How to Get Rid of Mold in Cabinets
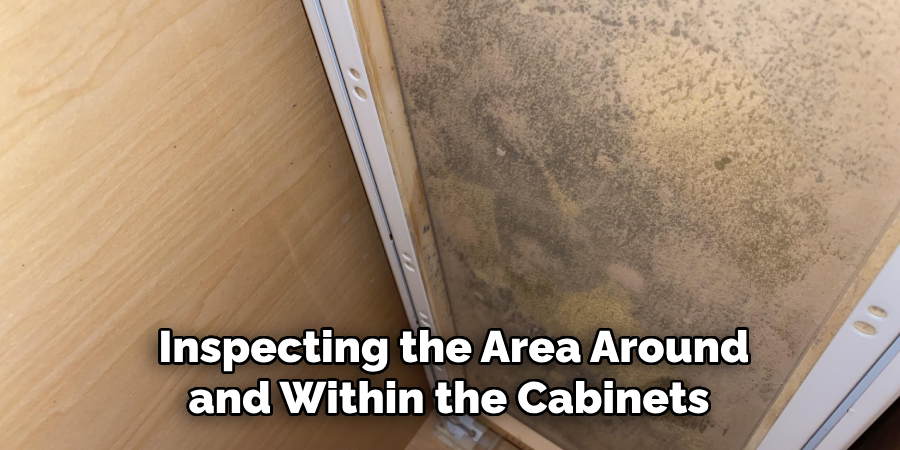
Step 1: Identify the Source of Moisture
Mold thrives in moist environments, so before you can effectively remove it, it’s crucial to identify and eliminate the source of moisture in your cabinets. Start by thoroughly inspecting the area around and within the cabinets. Check for any leaks in plumbing fixtures, such as sinks or pipes that might be causing water to seep into the cabinets. Additionally, the seals around doors and windows should be examined to ensure no water ingress from outside. If your cabinets are in the kitchen or bathroom, they may be susceptible to high humidity. Consider improving ventilation by using exhaust fans or installing a dehumidifier to maintain optimal humidity levels.
Step 2: Clear Out the Cabinets
Before you start cleaning, empty the contents of your cabinets thoroughly. Remove all items, such as dishes, canned goods, or bathroom supplies, and set them aside in a dry area. Clearing out the cabinets prevents the items from getting contaminated during the cleaning process and provides better access to all surfaces that need treatment. Take this opportunity to examine the items for any signs of mold. Discard any items that cannot be adequately cleaned or are severely affected by mold, as retaining them could reintroduce mold spores back into the cabinets later.
Step 3: Protect Yourself
Before tackling the mold, it’s essential to prioritize your safety. Put on protective gear, which includes gloves, a mask, and safety glasses, to avoid direct contact with mold spores and cleaning chemicals. Mold can cause allergic reactions and respiratory issues, so taking these precautions is essential. Make sure the area is well-ventilated by opening windows or using a fan to ensure that any fumes from cleaning solutions do not accumulate in the space where you’re working. Additionally, wear old clothes that you can wash immediately after the cleanup or clothes you don’t mind discarding in case they become contaminated.
Step 4: Prepare Your Cleaning Solution
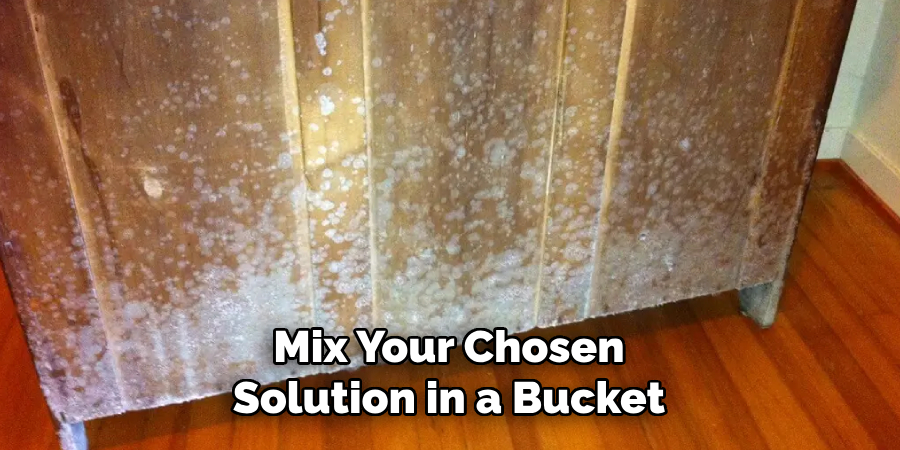
Once you have protected yourself and cleared the area, it’s time to prepare the cleaning solution needed to tackle the mold. For effective mold removal, you can use a mixture of bleach and water (1 cup of bleach per gallon of water), which is effective for killing mold spores. Alternatively, a solution of equal parts white vinegar and water can also be used as a natural and less harsh option.
If you’d prefer, you can use borax dissolved in water (1 cup of borax per gallon of water) as an effective and gentle cleaning agent. Mix your chosen solution in a bucket, following the recommended proportions, and ensure it is well-dissolved before use. Having your cleaning solution ready will make moving on to the next step easier and effectively target the mold without delay.
Step 5: Scrub the Moldy Areas
With your cleaning solution prepared, apply a scrub brush or sponge to the moldy areas of the cabinets. Working in sections, scrub the affected surfaces thoroughly, ensuring that you reach into corners, crevices, and any area where mold is present. Apply enough pressure to lift the mold, but avoid damaging the cabinet surfaces. The scrubbing action will help dislodge mold spores while the cleaning solution works to kill them effectively. After you have scrubbed all the moldy areas, allow the solution to sit on the surfaces for about 10-15 minutes.
Step 6: Rinse and Dry the Cabinets
After allowing the cleaning solution to sit, it’s essential to thoroughly rinse the surfaces to remove any residue of mold and cleaning agents. Use a clean sponge or cloth dampened with water to wipe down all the areas you have treated. Be meticulous to ensure no cleaning solution remains, as leftover residue could lead to discoloration or damage to the cabinets over time. Once rinsed, use towels or rags to dry all surfaces completely. Ensuring your cabinets are thoroughly dried helps prevent mold from re-establishing itself, as moisture is a key factor in its growth. You can also use fans or a dehumidifier to accelerate the drying process, especially in areas more susceptible to humidity.
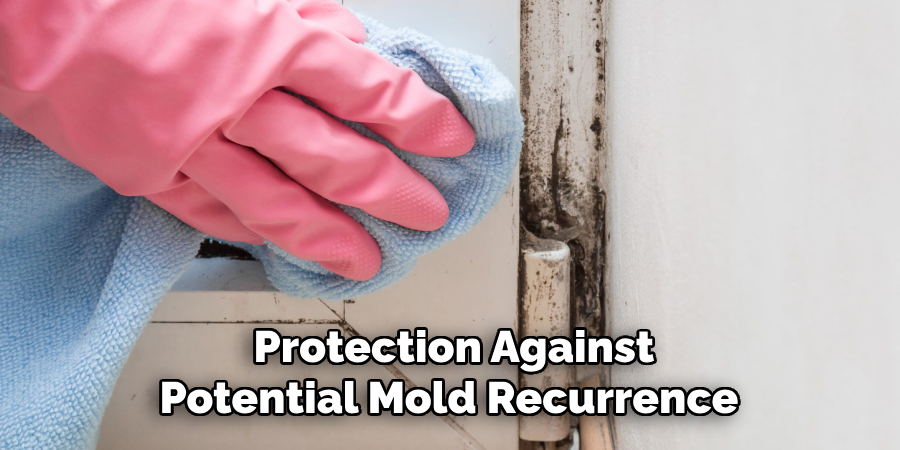
Step 7: Disinfect the Area
After rinsing and drying the cabinets, it’s a good idea to apply a disinfectant to help eliminate any remaining mold spores and prevent future growth. You can use a commercial mold-killing disinfectant or a homemade solution like hydrogen peroxide, known for its antifungal properties. Simply spray the disinfectant generously onto the previously affected areas and let it air dry. This will ensure a thorough sanitization, providing additional protection against potential mold recurrence.
Step 8: Reorganize and Restore Items
Once the cabinets have been thoroughly cleaned, dried, and disinfected, it’s time to reorganize and restore the items you removed earlier. Before placing them back, ensure each item is clean and free of mold. Consider re-evaluating the layout to optimize space and provide good air circulation within the cabinets, which can help prevent future mold growth. Be mindful of storing items that could trap moisture, such as sponges or dishcloths, and keep them dry before returning them to their spot.
Step 9: Monitor and Maintain
After successfully completing the cleaning process, monitoring your cabinets regularly is crucial to ensure mold does not return. Check for signs of dampness or mold growth periodically, especially in humid climates or challenging areas with poor ventilation. Keep cabinets clean by wiping them down with mild detergent and water on a routine basis. Implementing a moisture control strategy, such as silica gel packs or moisture absorbers, can also effectively prevent mold resurgence. Regular maintenance not only preserves the cleanliness of your cabinets but also extends their lifespan, providing peace of mind in your mold prevention efforts.
Step 10: Schedule Regular Inspections
To ensure the long-term integrity of your cabinets and the surrounding area, schedule regular inspections as part of your home maintenance routine. This involves periodically checking for any signs of moisture, leaks, or potential mold regrowth. Performing these inspections seasonally can help address issues before they become severe, allowing for timely interventions. During inspections, also assess the condition of seals, caulking, and any protective coatings you may have applied. Keeping a consistent inspection schedule helps maintain a healthy environment and saves time and effort in preventing mold-related complications in the future.
Following these steps can effectively and safely remove mold from your cabinets. Remember to prioritize safety by wearing protective gear and ventilating the area during the cleaning process.
Conclusion
Successfully eliminating mold from cabinets involves a systematic and thorough approach. First and foremost, it’s essential to prioritize personal safety by using protective gear and ensuring adequate ventilation during the process.
You can effectively combat mold growth by diligently following the outlined steps, from initial safety precautions and cleaning solutions preparation to scrubbing, rinsing, and disinfection. Furthermore, regular monitoring and maintenance, including periodic inspections and moisture control strategies, are vital in preventing mold recurrence. Consistent care and attention safeguard your cabinets’ condition and contribute to a healthier home environment.
Hopefully, the article on how to get rid of mold in cabinets has provided valuable insights and practical tips for effectively handling this common household issue.