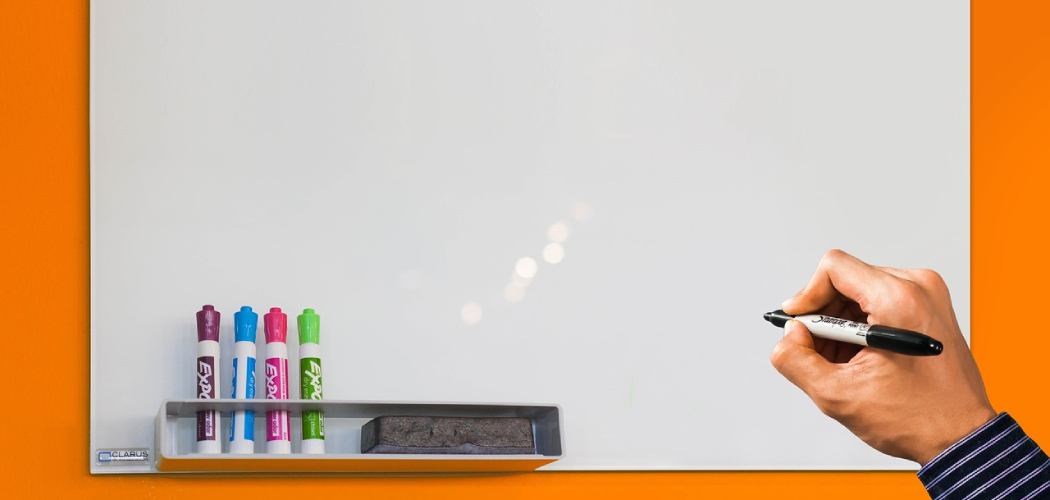
Is your whiteboard covered in tape residue? Don’t worry, you can easily remove it without any harsh chemicals or scrubbing. In this blog post, we’ll show you how to get tape residue off whiteboard using only a few common household items. So read on and get started!

Whiteboards are a great way to communicate with a team. They can be used for sharing ideas, making lists, and more. However, if there is tape residue on the whiteboard, it can be difficult to use. In this post, we will show you how to get that tape residue off your whiteboard.
Why Do We Need to Get Tape Residue Off Whiteboard?
1. Prevent Writing or Drawing on the Board
The tape residue can prevent the whiteboard markers from smoothly gliding on the surface and create uneven or blurry writing/drawing. So It is very i important to remove the tape residue before using your whiteboard again.
2. Maintain Cleanliness
Tape residue left on the board can attract dust and make it appear dirty and unprofessional. So if you want to keep your whiteboard clean, it’s important to remove any tape residue. It will help you maintain a clean and organized workspace.
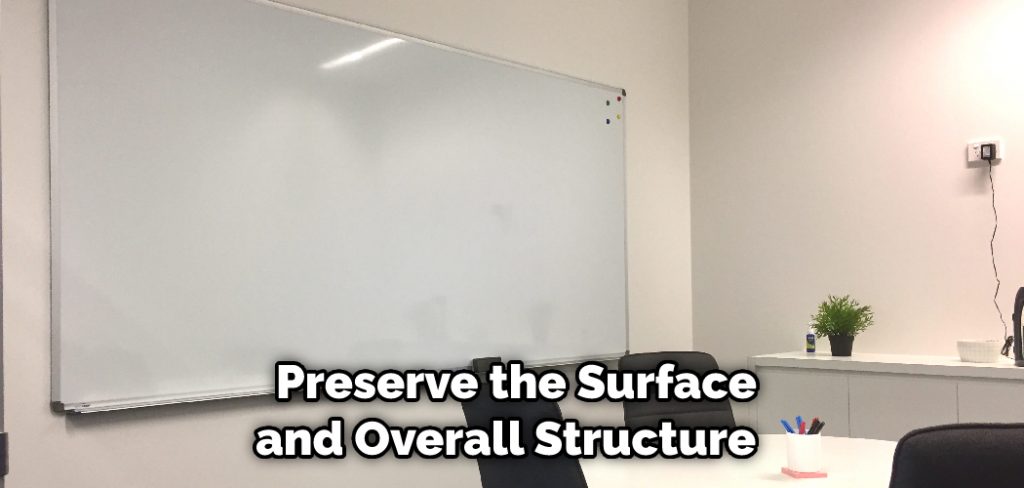
3. Extend Whiteboard Lifespan
Removing tape residue helps to preserve the surface and overall structure of the whiteboard, extending its lifespan. So if You Want to Keep Your Whiteboard in Good Condition, you have to get tape residue off the whiteboard.
4. Prevent Smudging
The tape residue can also smudge whatever is written or drawn on the whiteboard, making it difficult to read or view clearly. So it is important to remove the tape residue. Otherwise, it will be difficult to effectively communicate using the whiteboard.
Things You Will Need to Get Tape Residue Off Whiteboard
- Cleaning cloth or paper towel
- Rubbing alcohol or vinegar
- Q-tips (optional)
8 Ideas About How to Get Tape Residue Off Whiteboard
1. Use a Dry-erase Eraser
Simply rubbing the dry-erase eraser on the residue should lift it off easily. It is very important to make sure the eraser is dry before using it, as a wet eraser can potentially spread the residue around. It works very well in small areas.
2. Use Rubbing Alcohol
Soak a paper towel or cloth with rubbing alcohol and gently rub it on the residue until it lifted off. Make sure to properly dispose of the paper towel or cloth afterward. It can be helpful to test the rubbing alcohol on a small area first to make sure it does not damage the whiteboard surface.
3. Use a Magic Eraser
This household cleaner can easily lift off the stubborn residue with just a light scrubbing. Again, it is important to make sure the eraser is dry before using it on the whiteboard surface. So this can be a bit more expensive option, it is worth a try if the other methods do not work.
4. Use a Hairdryer
Set the hairdryer to its lowest heat setting and hold it about an inch away from the residue for about 30 seconds. Then, use a dry paper towel or cloth to wipe off the heated residue. This is a very easy and quick method, but be careful not to hold the hairdryer too close or leave it on the same spot for too long, as it could potentially damage the whiteboard surface.
5. Use Vinegar
Soak a paper towel or cloth with vinegar and gently rub it on the residue until it lifts off. Make sure to properly dispose of the paper towel or cloth afterward and test the vinegar on a small area first to make sure it does not damage the whiteboard surface.
6. Use WD-40
Spray a small amount onto the residue and let it sit for about 5 minutes before wiping it off with a paper towel or cloth. It is important to properly dispose of the paper towel or cloth afterward and test WD-40 on a small area first to make sure it does not damage the whiteboard surface.
7. Use Petroleum Jelly
Apply a small amount onto the residue and let it sit for about 15 minutes before wiping it off with a paper towel or cloth. It is important to properly dispose of the paper towel or cloth afterward and test on a small area first to make sure it does not damage the whiteboard surface.
8. Use Nail Polish Remover
Soak a paper towel or cloth with non-acetone nail polish remover and gently rub it on the residue until it lifts off. Make sure to properly dispose of the paper towel or cloth afterward and test the nail polish remover on a small area first to make sure it does not damage the whiteboard surface. It is also important to make sure the room is well-ventilated when using this method.
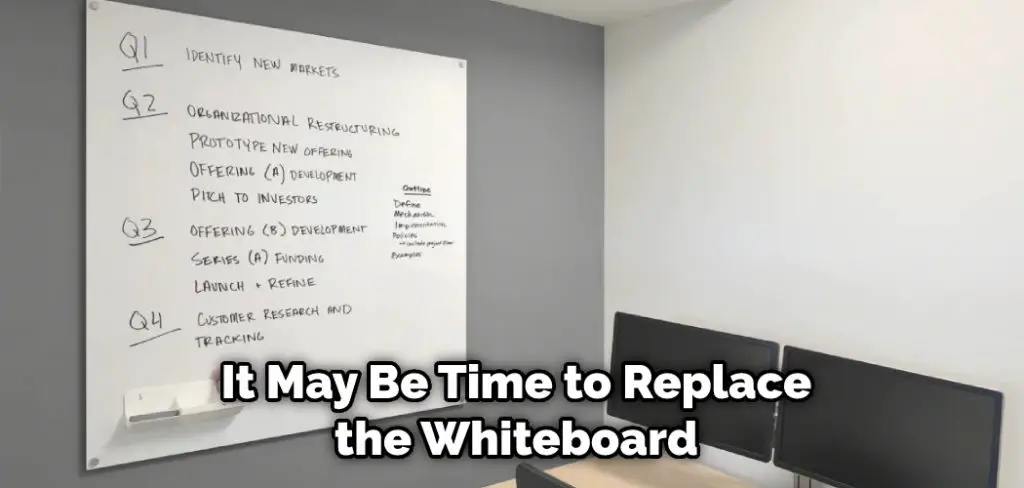
If all else fails, it may be time to replace the whiteboard or have it professionally cleaned. It is important to always follow the manufacturer’s instructions for cleaning and properly disposing of any cleaning materials used.
Things You Have to Keep in Mind While Getting Tape Residue Off Whiteboard
1. Avoid Using Harsh Chemicals
Harsh chemicals can damage the whiteboard surface and leave behind even more residue. Harsh chemicals can also be harmful to your health if inhaled or absorbed through the skin, so it’s best to find gentler alternatives.
2. Don’t Scrub Too Hard
Scrubbing too hard can scratch and damage the whiteboard surface, making it harder for future residue to be cleaned off. Use a soft cloth or sponge and apply gentle pressure while wiping. So do not use rough materials like steel wool or scouring pads.
3. Test in Small Area First
Before using any type of cleaner or method, it is important to test it on a small area first to make sure it does not damage the whiteboard surface. It can also help to follow the manufacturer’s instructions for cleaning and proper disposal of cleaning materials.
4. Give It Time
Removing tape residue may take some time, so don’t be too hasty. Gently wipe away the residue, then let it sit for a few minutes before wiping it again with the cleaning solution. Repeat as necessary until the residue is fully removed.
5. Don’t Use Harsh Objects
Avoid using rough objects like steel wool or razor blades to remove residue. These can severely damage the whiteboard surface and potentially injure you as well. Stick to using soft cloths or sponges for cleaning.
6. Prevent Future Buildup
To prevent future tape residue buildup, try using removable adhesive hooks or magnets instead of tape on your whiteboard. This will save you from the hassle of removing residue in the future.
7. Consider Using Tape Alternatives
Consider using alternatives to tape for hanging things on your whiteboards, such as adhesive hooks or magnets. This will prevent the need for removing tape residue in the future. Alternatively, you can use sticky notes instead of tape for temporary notes or reminders.
8. Properly Dispose of Cleaning Materials
After using any type of cleaner or method, it is important to properly dispose of the cleaning materials used. This can include throwing away paper towels and wiping off the excess cleaner with a dry cloth before disposing of it.
9. Use the Right Cleaning Solution
For any type of residue, a mixture of warm water and mild dish soap should do the job. Or, you can try using rubbing alcohol or white vinegar to remove stubborn residue. So make sure to choose the right cleaning solution for the job and always test it on a small area before fully applying.
10. Replace or Professionally Clean Whiteboard if Necessary
If all else fails, it may be time to replace the whiteboard or have it professionally cleaned. It is important to always follow the manufacturer’s instructions
Conclusion
Use these tips about how to get tape residue off whiteboard the next time you have to get tape residue off your whiteboard. You’ll be able to quickly and easily remove any adhesive with little to no damage. If you need help with your office, contact us today. We offer a variety of services to make your work life easier.
If you find yourself with a whiteboard that has tape residue, don’t worry! There are a few easy ways to get it off. With a little elbow grease and the right materials, you’ll have your whiteboard looking good as new in no time.
Thanks for reading, and we hope this was helpful! If you’re ever in need of office supplies or furniture, be sure to check us out! We carry everything you need to keep your workspace running smoothly.
You Can Check It Out Remove Scratches From Laptop Surface