Properly installing cabinet hardware can greatly enhance the functionality and appearance of your cabinets. By using a template, you can ensure that the hardware is aligned and evenly spaced, creating a professional look with minimal effort. This guide will walk you through the process of how to install cabinet hardware with template, covering everything from selecting the right tools and materials to completing the final steps. Whether you’re updating existing cabinets or outfitting new ones, this method will help you achieve precise and consistent results.
The Importance of Cabinet Hardware
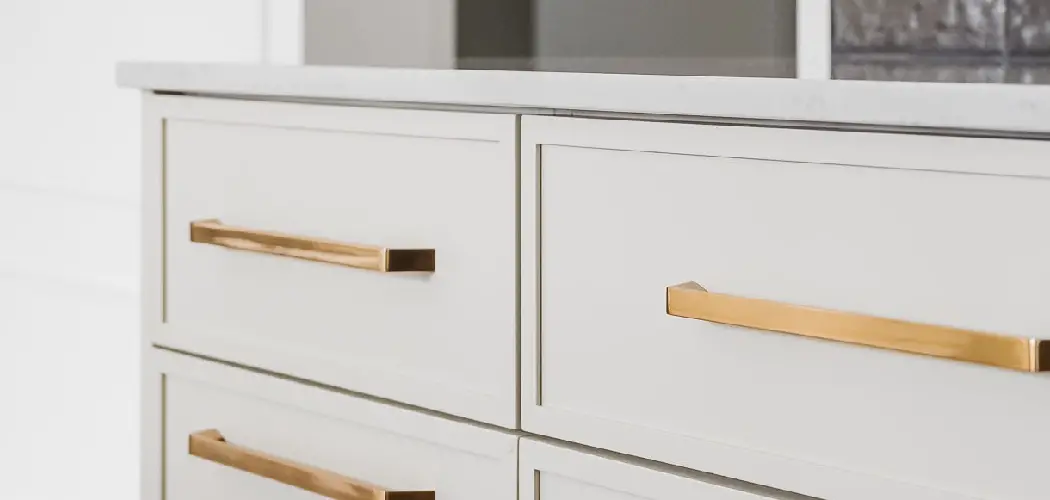
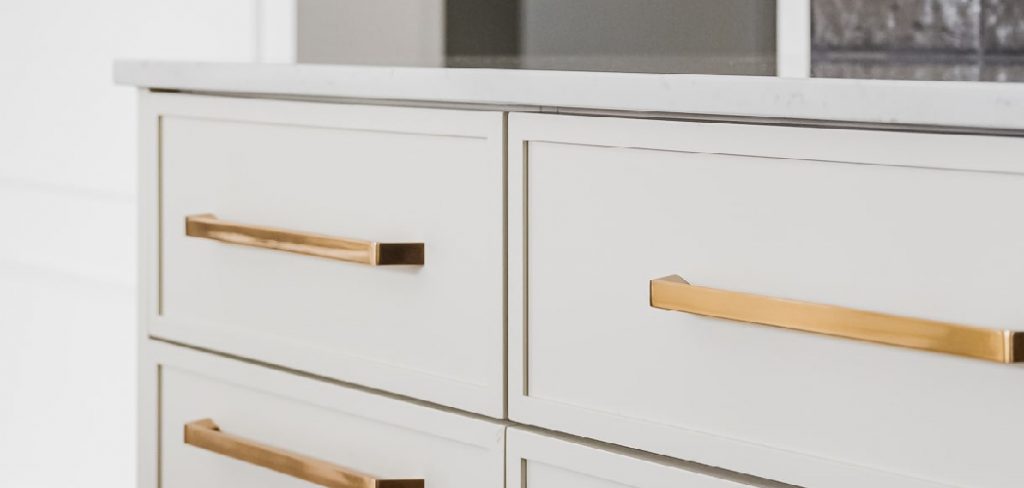
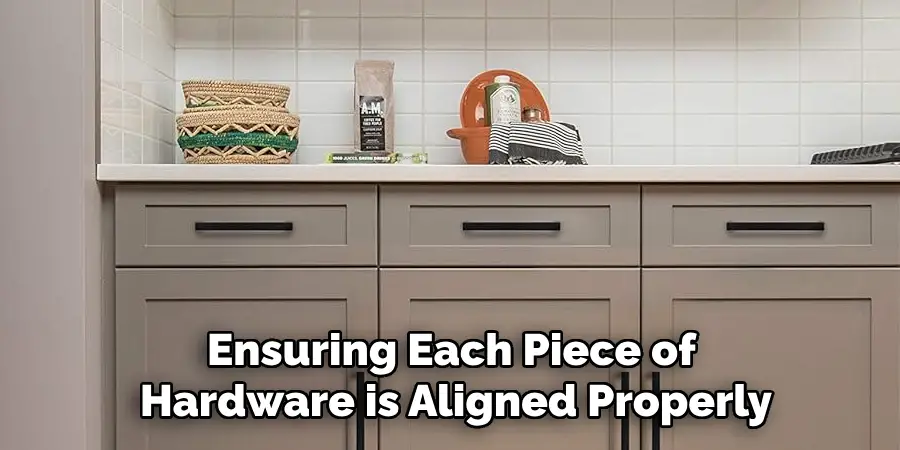
Cabinet hardware plays a vital role in both the aesthetic and practical aspects of a kitchen or bathroom. Functionally, it allows for easy opening and closing of cabinets, ensuring smooth operation and preventing unnecessary wear over time.
From an aesthetic perspective, the selection of handles and knobs is a simple yet effective way to add personality, style, and cohesion to a space. The right hardware can act as a statement piece, subtly complementing the overall design while enhancing the cabinetry. Furthermore, quality hardware can increase the longevity of cabinets by reducing the strain on doors and drawers, helping to maintain their integrity and function.
10 Methods How to Install Cabinet Hardware with Template
1. Gathering the Right Tools and Materials
Before starting, it’s important to gather all the necessary tools and materials to make the process smoother. You’ll need a cabinet hardware installation template, which can be purchased from most hardware or home improvement stores.
Additionally, gather a tape measure, pencil, masking tape, drill, screws (typically included with your hardware), and the appropriate drill bit size for your screws. Having all your tools on hand ensures that the installation process flows without interruptions and that each piece of hardware is installed correctly.
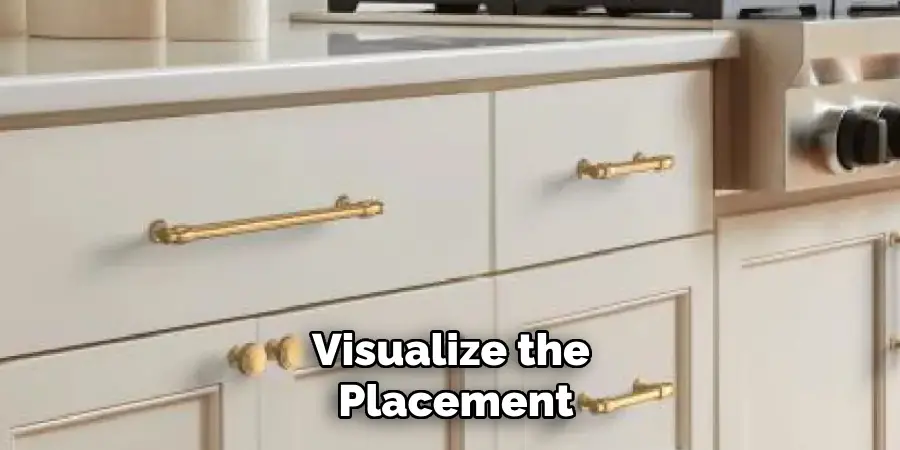
2. Choosing the Right Hardware Placement
Deciding where to place the knobs and pulls on your cabinet doors and drawers is a crucial step in creating a cohesive look. Typically, knobs are placed around 2 to 3 inches from the corner of the door (on the opposite side of the hinge), while pulls are installed in the center of the drawer fronts.
However, there’s some flexibility depending on your personal taste and the size of your cabinets. It’s a good idea to visualize the placement by holding the hardware against the cabinet or drawer fronts, allowing you to see what works best before proceeding with installation.
3. Selecting and Positioning the Template
Cabinet hardware templates are usually designed with multiple holes to accommodate a variety of hardware sizes and placements. Choose the hole on the template that aligns with the size of your hardware and desired placement.
Templates often come with two parts: one for the doors and one for drawers. For cabinet doors, position the template on the inside edge of the door, and for drawers, center the template horizontally and vertically. Make sure the template is level before marking the drilling spots to ensure uniformity.
4. Marking Drill Holes with a Pencil
Once you have the template positioned correctly, use a pencil to mark the drilling spots on the cabinet door or drawer. The template should sit flush against the edge or center, and your pencil marks should be clearly visible at each drilling point.
Be precise with your markings, as these will guide you when drilling the holes for your hardware. Double-check your measurements to avoid misaligned hardware. If you’re installing multiple pieces of hardware, continue marking all the doors and drawers before moving on to the next step, ensuring a consistent placement throughout your cabinetry.
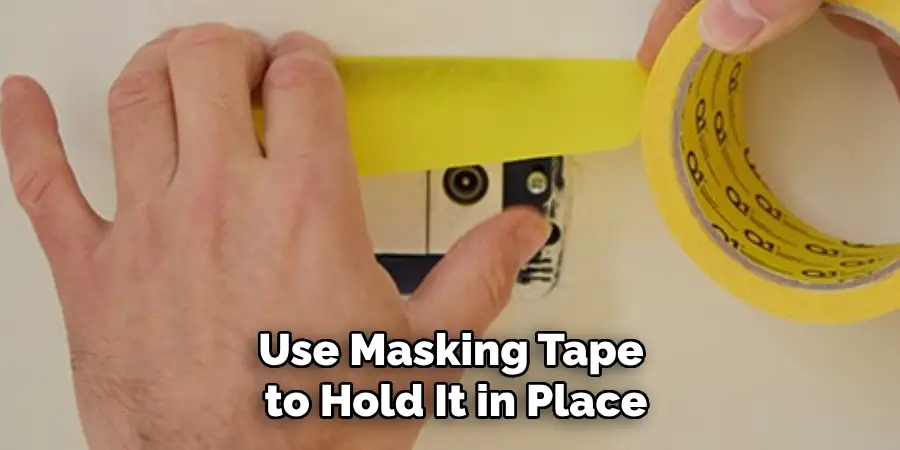
5. Securing the Template with Masking Tape
To prevent the template from shifting while you’re working, use masking tape to hold it in place. Apply a strip of tape on either side of the template to secure it firmly against the cabinet door or drawer. This step is particularly helpful when installing hardware on a large number of cabinets, as it ensures that the template remains in place while you mark or drill. Masking tape is easy to remove and won’t damage the surface of your cabinets, making it a safe and effective way to keep the template steady.
6. Pre-Drilling Holes to Prevent Splintering
Pre-drilling is an important step that ensures a clean installation without causing the wood to splinter. Use a drill bit slightly smaller than the screws provided with your hardware. Align the drill bit with the pencil marks you made using the template and drill through the cabinet door or drawer. Be sure to drill straight to avoid angling the hardware improperly. Pre-drilling also makes it easier to screw in the hardware later, preventing any potential damage to the cabinet material.
7. Installing the Knobs and Pulls
With your holes pre-drilled, it’s time to install the knobs or pulls. Insert the screws through the back of the door or drawer and align them with the holes in the hardware. Hold the hardware firmly in place while tightening the screws with a screwdriver.
If you’re installing pulls, make sure they are aligned perfectly straight. Use a small level if necessary to confirm alignment, especially if you’re installing multiple pulls in a row. Tighten the screws securely, but avoid over-tightening, as this can damage the cabinet surface or strip the screw holes.
8. Checking Alignment and Adjustments
After installing the first piece of hardware, step back and check that it is aligned correctly and sits flush against the cabinet or drawer front. If you notice any misalignment, loosen the screws slightly and adjust the hardware before re-tightening. Ensuring each piece of hardware is aligned properly is essential for achieving a polished, uniform look. If needed, make slight adjustments to ensure the placement is perfect. Checking after each installation allows for minor corrections before moving on to the next door or drawer.
9. Repeating the Process for All Cabinets
Once you’ve successfully installed the first knob or pull, repeat the process for the remaining doors and drawers. Use the template and pencil to mark the drill holes, secure the template with masking tape, pre-drill the holes, and install the hardware. As you repeat these steps, you’ll become more comfortable with the process, making it faster and more efficient. Be sure to maintain consistency with each installation, using the template to ensure that the hardware placement remains uniform across all the cabinets and drawers.
10. Finishing Touches and Clean-Up
After all the hardware is installed, give your cabinets a final inspection to ensure everything is properly aligned and secure. Wipe away any pencil marks or dust from drilling using a damp cloth. If you accidentally made any extra drill holes, you can fill them with wood filler and touch up the paint or stain. Once you’re satisfied with the installation, step back and admire the transformation of your cabinets. The new hardware adds a stylish and functional touch to your cabinetry, and using a template has ensured a professional, cohesive finish.
Troubleshooting Common Issues
Installing cabinet hardware can sometimes present challenges, but most issues can be resolved with a few simple troubleshooting steps. Below are some common problems and their solutions:
Misaligned Hardware
If you find that knobs or pulls are not aligned uniformly, review your template and markings to ensure they were placed correctly. Double-check the alignment of the template on each cabinet, as even slight shifts can cause misalignment. If the issue persists, you may need to adjust the positions of the hardware by loosifying the screws, realigning, and retightening.
Stripped Screws or Holes
Stripped screws or holes can occur if screws are overtightened. If a screw hole is stripped, you can fill it with wood filler, allow it to dry completely, and then drill a new pilot hole. For stripped screws, consider replacing them with the same size screws or those slightly larger in diameter to achieve a secure fit.
Cabinet Surface Damage
Accidental scratches or damage to the cabinet surface can be remedied by lightly sanding the affected area and applying a suitable wood stain or paint. For deeper gouges, wood filler can be used to level the surface before finishing with matching paint or stain.
Loose Hardware

Over time, hardware can become loose through frequent use. Ensure that screws are properly tightened as part of regular maintenance. For a more permanent solution, apply a small amount of thread locker to prevent the screws from loosening again.
Conclusion
Installing cabinet hardware with precision and attention to detail not only enhances the aesthetics of your kitchen or bathroom but also adds functionality. By following the step-by-step process outlined in this guide, you can achieve a professional and uniform look across all cabinets and drawers. Utilizing tools such as templates, masking tape, and levels ensures each knob and pull is installed correctly and securely. While challenges like misalignment or stripped screws may arise, simple troubleshooting steps can effectively address these issues. Thanks for reading, and we hope this has given you some inspiration on how to install cabinet hardware with template!