
Chair pockets can be a convenient and stylish way to store things in your seating area. A chair pocket is a perfect solution if you are looking for an easy way to store magazines, books, remotes, or other items. It’s also inexpensive to add style and organization to any room without taking up too much space.
A chair pocket is a perfect way to add stylish storage to your home or office. They are easy to DIY project that requires minimal tools and resources.
Chair pockets can provide extra seating for guests, help organize various items in your home, and make great conversation pieces as they come in a wide range of designs and styles. In this blog post, You will learn in detail how to make a chair pocket.
Step-by-Step Processes for How to Make a Chair Pocket
Step 1: Inspect Your Chair
Before you start, look at your chair to ensure it is level and that the fabric is not stretched or ripped in any way. This is especially important if you plan on using a heavier material for your pocket. Pick out a sturdy fabric to make the pocket with. Denim or canvas are great choices, as they can hold heavier items without tearing or straining. Make sure it is large enough for your pocket design.
Step 2: Measure and Cut the Fabric
Measure out the fabric for your pocket. How large you want it to be depends on what items you plan to store in it. Once you have determined the size, cut out the material using a pair of scissors or a rotary cutter and a self-healing mat. If desired, you can reinforce the edges with a narrow hem.
Step 3: Attach the Pocket to the Chair
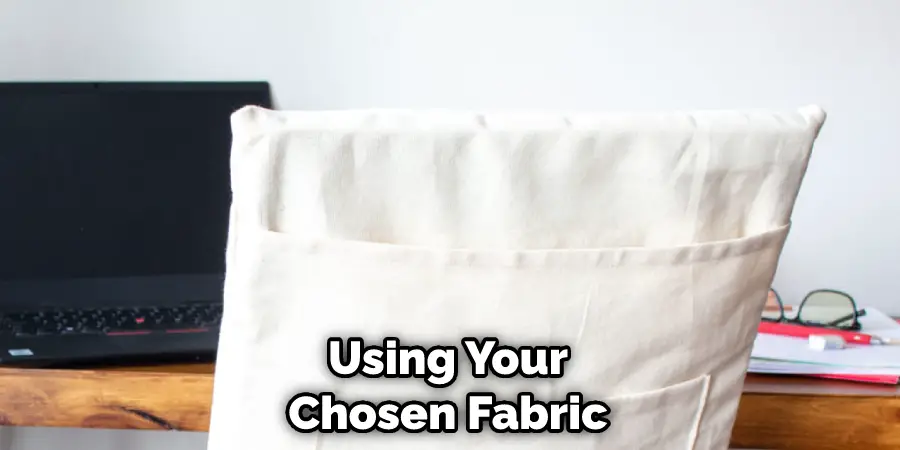
Using your chosen fabric, sew together two pieces of material slightly larger than your pocket’s desired size. Then attach them to the chair. How you do this depends on the type of chair you have.
If your chair has a removable cushion, you can simply lay the pocket on top of it and stitch it in place. For chairs with a non-removable cushion, use upholstery pins to secure the pocket in place.
Step 4: Create the Pockets
Now that your pocket is attached to the chair, you need to create the compartments for storage. To do this, you can either use a zipper for easy access or sew on pockets onto the chair pocket itself.
The next step is to attach velcro strips to hold the pockets in place. Cut two pieces of velcro that are slightly larger than the pocket and attach one to each side of the pocket. This will ensure that the pockets stay securely in place even when you are sitting on the chair.
Step 5: Add D-Rings or Webbing Straps
If desired, you can also add d-rings or webbing straps to your chair pocket. This will give you the option to hang items from the chair, such as utensils or a water bottle.
If desired, you can add grommets to your pocket for better ventilation or drain away any liquids that may accumulate in the pockets. To do this, use a kit with the proper size grommet and instructions to install it.
Step 6: Test It Out
Make sure everything is secure before you start using your new chair pocket. How you test it out depends on what type of fabric you are using. If it’s canvas or denim, try filling the pocket with some heavy items and then sit on the chair to make sure it stays in place.

Safety Tips for How to Make a Chair Pocket
- Always wear protective gear such as safety glasses and gloves when using tools or materials.
- Make sure to secure the chair pocket to your worktable so it stays stable while you are working with it.
- Choose a sturdy fabric for your project that can withstand wear and tear from regular use over time.
- Use a guide or template to help you measure and cut your fabric accurately.
- Be sure to double-check all of the seams and edges for a neat, professional finish.
Making a chair pocket is an easy and fun project that can add extra storage space to any room in your home. By following these safety tips, you can make your chair pocket with confidence and peace of mind.
How Long Does It Take to Complete a Chair Pocket?
Making a chair pocket is a relatively simple and straightforward project. Depending on the complexity of the design, it will usually take between two to four hours to complete.

The most important part of making a chair pocket has the right tools and supplies. You will need fabric, scissors, thread, pins, a needle, an iron, and possibly some batting or other interfacing.
Once you have gathered the necessary supplies, the first step is to cut the fabric for your pocket. Be sure to measure carefully and double-check that all of your measurements are accurate before cutting. Once you’ve cut out the pieces, it’s time to sew them together. If you’re adding interfacing or batting, this should be done before you sew the pieces together.
How Can You Prevent the Corners of Your Pockets From Fraying?
To prevent the corners of your chair pockets from fraying, you’ll want to reinforce them with a zig-zag stitch. This will keep the fabric edges securely in place and ensure they don’t fray over time.
To do this, use an overcast stitch on your sewing machine and sew along both sides of the pocket corners. This will help create a finished look and ensure that your pockets last for as long as possible without fraying.
Another way to help prevent fraying is to use an interfacing material or fusible webbing on the edges of the fabric before sewing it into place. Fusible webbing is a heat-activated material that will add extra stability to the edges and help keep them from fraying over time.
Finally, you can use a fray-check product on the pockets after they have been sewn onto the chair. This will create an invisible barrier between the fabric and any other surfaces, which will help prevent any further fraying or wear and tear.
Why Should You Need to Call a Professional?
Many people enjoy DIY projects, but there are some instances where it is best to call a professional. For example, it is best to call a professional if you need to make a chair pocket.
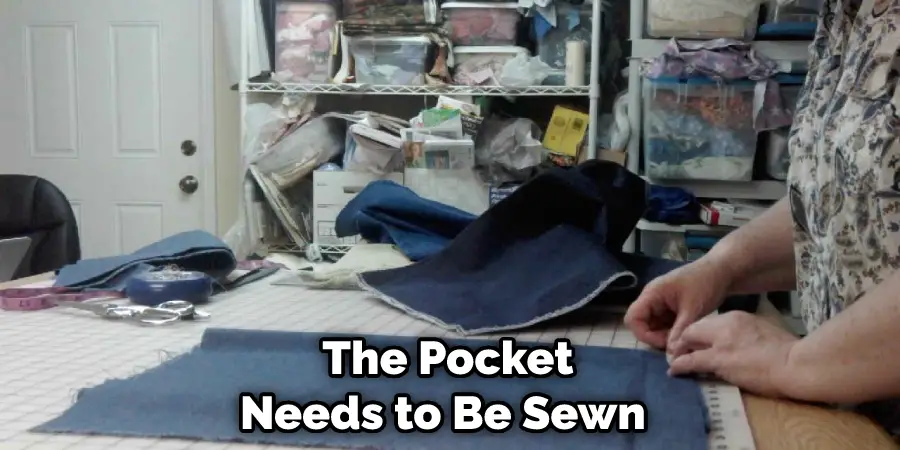
This is because chair pockets are made with a special type of fabric that is not available at most fabric stores. In addition, the pocket needs to be sewn in a certain way so that it does not sag over time. A professional will have the experience and knowledge to ensure that your chair pocket looks great and lasts for many years.
How Much Will It Cost to Make a Chair Pocket?
Making a chair pocket can be a relatively inexpensive project. Depending on what supplies you use and the size of the chair pocket, it generally costs between $5 and $20, although it could cost less if you have some of the supplies on hand. You will need fabric or upholstery, batting or stuffing material, thread, needle, scissors, and pins.
You could also use a sewing machine to make the project go faster. If you do not have a sewing machine, you may want to consider buying one as it can also be used for other projects.
Once you have all of your supplies gathered up, start by measuring the area on the chair where you would like to put the pocket. Cut out two pieces of fabric or upholstery that match your measurements and pin them together, right sides facing each other. Sew all the way around, leaving a small opening to turn it inside out.
Conclusion
One disadvantage of making a chair pocket is the time and effort it takes. Depending on the complexity of design, it can take hours to make a chair pocket from scratch.
Additionally, if you do not have access to or do not know how to use tools like sewing machines, it may be difficult for you to achieve the desired result. Furthermore, if you make a mistake, it can be difficult to undo and may require that you start from the beginning.
Making your own chair pocket is easy and rewarding. It is a great way to add storage, organization, and personality to any chair! With the right materials, tools, and instructions, you can easily create a beautiful and functional pocket that will last for years.
Whether you opt for a simple rectangular shape or an intricate patterned design, you will love the result. I hope reading this post has helped you learn how to make a chair pocket. Make sure the safety precautions are carried out in the order listed.