A zero-gravity chair is a type of lounge chair designed to provide full-body support and comfort. It provides an increased level of relaxation by allowing your body to rest to reduce tension on the spine and back muscles while providing support for your head and neck.

Restringing a zero-gravity chair can be a great way to improve the life of your chair, and save you money on buying new parts or an entirely new chair. Restringing helps to maintain the tension in the frame of the chair and ensures that it remains stable for many years to come. It also helps keep your chair in its original shape, making it easier to recline and relax.
Additionally, restringing can add comfort to the chair by providing a better fit for your body type. Restringing is much more cost effective than replacing parts or buying a new chair, as it can be done quickly and easily with just few simple tools. In this blog post, You will learn how to restring a zero gravity chair.
Importance of How to Restring a Zero Gravity Chair
- Comfort: When a zero gravity chair becomes worn or sags due to age, restringing it can restore lost comfort. The chair will become much more comfortable and enjoyable when the fabric has been completely replaced with new stringing material.
- Longevity: Replacing old stringing material with fresh, strong cords can make your zero-gravity chair last much longer. This can help save you money in the long run as you won’t have to purchase a new chair as often.
- Aesthetics: Replacing the worn fabric with new stringing material can make your zero gravity chair look brand new again, giving it an updated and stylish appearance.
Restringing your zero-gravity chair is an important and necessary step in maintaining its comfort, longevity, and aesthetics. By restringing your chair regularly, you can ensure that it continues to provide you with maximum support and enjoyment for many years to come.
Step-by-step Instructions for How to Restring a Zero Gravity Chair
Step 1: Inspect Your Chair
Check your chair for any signs of damage or wear. If the fabric needs to be replaced, you may need to purchase a new chair instead. Carefully remove all existing cords from the frame of the chair. Use caution not to damage any parts of the frame.

Step 2: Measure The New Cords
Use a measuring tape to measure the length of the cords you need for your zero-gravity chair. You will need enough cord to go around the frame and tie securely when finished. Once you have measured your cord, cut it with scissors or a sharp knife. Ensure that you have enough cord for the entire frame and that each piece is the same length.
Step 3: Secure The Cords
Start at one end of the chair frame and secure the cords in place using zip ties. You can also use staples or small nails to hold the cords in place. Once you have secured all of the cords in place, tie them together at the center point of the chair frame using a strong knot. Make sure that your knot is tight and secure to ensure longevity.
Step 4: Attach The End Of The Cord To The Frame
Attach the end of the cord to the frame using a staple or nail. This will help ensure that the cords do not come undone. Once you have attached all of the cords, test for tension by pulling on each side of the chair frame. If there is any looseness, adjust the tension until it is tight and secure.
Step 5: Attach The Ends To The Chair Arms
Once you have adjusted the tension of the cords, attach them to the chair arms using zip ties or staples. Make sure that they are securely fastened in place. Once you have attached the ends of the cords to the chair arms, tension test again, making sure that the cords are tight and secure.
Tips for How to Restring a Zero Gravity Chair
- Always wear gloves and eye protection when working with any type of hardware or tool.
- Make sure to keep all small parts, such as nuts and bolts, safely organized in a container so that you don’t lose them during the restringing process.
- Use caution when cutting new strings to avoid cutting yourself.
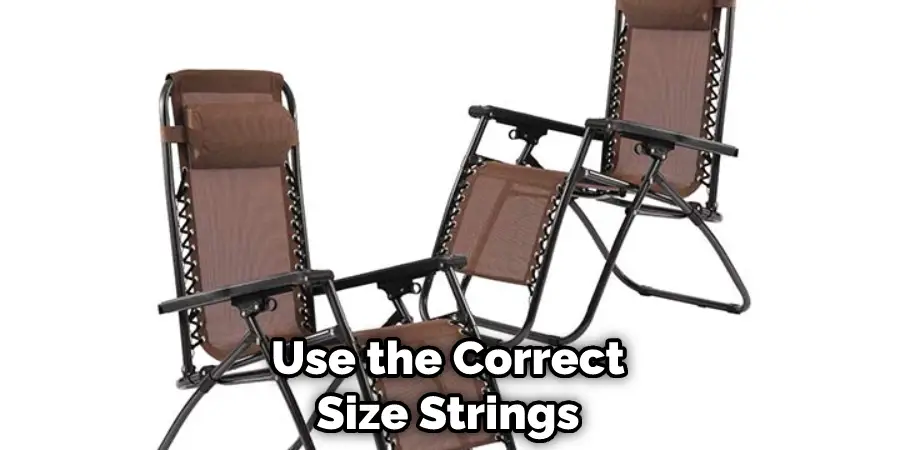
- Make sure to use the correct size strings for your Zero Gravity Chair.
- Test the chair’s tension before sitting in it by pushing down on the frame with your hands to ensure that all strings are correctly restrung and tightened.
For more detailed instructions, refer to your Zero Gravity Chair’s manual for exact instructions on how to restring it. Restringing a Zero Gravity Chair may seem like an overwhelming task, but with the right tools and knowledge, you can easily complete the job safely and efficiently.
What Kind of Tools Do You Need to Restring a Zero Gravity Chair?
Regarding restringing a zero-gravity chair, the right tools can make a big difference. Fortunately, you don’t need any specialized tools – all you need are some basic items that you may already have around your home.
The most important tool is going to be good quality pliers. These will help with removing old cords and also with attaching new ones. A pair of scissors will come in handy, too, for cutting the material for your new cords. You may also want to consider investing in a cord puller – this tool makes drawing the strings through the chair frames or holes easier.
Once you have all your tools, you’re ready to rest your zero-gravity chair. Make sure to follow all of the instructions carefully, and if anything is unclear, don’t hesitate to contact a professional for help.
How Tight Should the Strings Be When You’re Finished Restringing a Zero Gravity Chair?
Once you’ve completed restringing your zero gravity chair, it is important to ensure that the strings fit securely and evenly. The tension of the strings should be just tight enough so that they don’t move when someone sits in the chair.
The strings may become frayed or break under pressure if the strings are too loose. If the strings are too tight, they may cause discomfort or even harm to the person sitting in the chair.
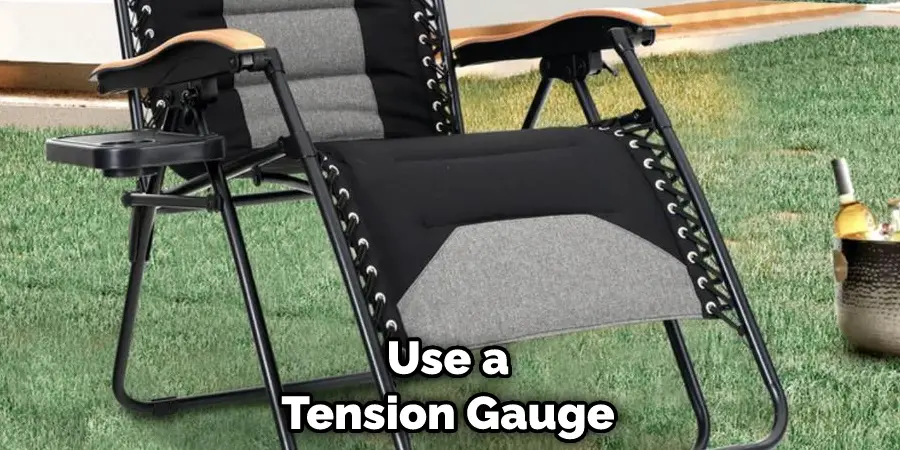
Use a tension gauge to ensure your strings are at the correct tension when you’re finished restringing your zero-gravity chair for optimal comfort and safety. You can adjust the strings if necessary until they measure within a range of 4-6 lbs of tension. This range is comfortable and secure for anyone who sits in a chair.
Finally, check that the strings are evenly distributed across the frame of your zero-gravity chair. You should be able to see some slackness between each string when you move them around by hand. If one of the strings seems to be pulled too tight, loosen it and balance out the other strings accordingly.
How Can You Prevent Future Wear and Tear on the Strings of Your Zero Gravity Chair?
The best way to prevent future wear and tear on the strings of your Zero Gravity Chair is to follow a few simple steps. First, use a mild detergent or soap solution to clean the fabric of your chair. This will help remove any dirt, dust, or debris that may be accumulating on the strings and causing them to fray over time.
Second, store your Zero Gravity Chair in a cool, dry place when not in use. This will help prevent the fabric and strings from getting damaged or stretched due to extreme temperatures. Finally, make sure you inspect the strings regularly for any signs of wear or damage and replace them as soon as possible if necessary.
With regular maintenance, your Zero Gravity Chair will remain comfortable and supportive for years to come.
By following these steps, you can help ensure that the strings of your Zero Gravity Chair remain in great condition and prolong their life span. Learning Restring a Zero Gravity Chair is easy and essential if you want to keep your chair looking and feeling like new.

Conclusion
One of the biggest disadvantages of restrings a zero gravity chair is that you may need special tools, which can be quite time-consuming. This means that this method might not be ideal for you if you don’t have any specialized tools or enough time.
Additionally, if your chair has too much damage due to wear and tear, the entire chair might need to be replaced instead of repaired. Moreover, you must be very careful when restringing a zero-gravity chair, as it can be dangerous if done wrong.
In Conclusion, restringing a zero gravity chair is an easy but important process to keep your chair in top shape and prevent sagging of the fabric over time. To restring a zero gravity chair, you will need some simple tools such as pliers, wire cutters, and new cord or bungee.
You’ll also need to remove the existing cords from the chair and weave the new cord in a crisscross pattern. Once you’ve completed this process, make sure to give the fabric a good stretch to ensure that it’s tight and secure. I hope reading this post has helped you learn how to restring a zero gravity chair. Make sure the safety precautions are carried out in the order listed.