
Are you tired of having to constantly adjust yourself when working at your desk? Suffering from back pain or neck strain due to the lack of ergonomic seating options in most workspaces?
It’s time to invest in an adjustable desk, allowing you to work comfortably without straining your body. In this post, we’ll provide a few tips on how you can make an adjustable desk as well as our top recommended models for both home and office use.
Not only will this be beneficial for your physical well-being, but it could also vastly improve productivity with increased comfort and convenience. So read on how to make an adjustable desk– if you’re serious about taking the leap towards better health and improved efficiency, then these techniques are what you need!
What is an Adjustable Desk?
An adjustable desk, or sit-stand desk, is a piece of furniture designed for users to alternate between sitting and standing while working. It’s height-adjustable, allowing you to switch positions as desired.
Usually featuring a pneumatic lift system or electric motor, most models can be adjusted with ease. However, buying one can set you back quite a bit, especially if you have a specific design in mind or are looking for additional features. So why not make one yourself?
Necessary Materials
- Tabletop Material (Wood, Metal, Etc.)
- Base or Legs to Support Weight
- Electric Motor or Pneumatic Lift System With Controls
- Screws and Drill for Assembling
10 Step-by-step Guidelines on How to Make an Adjustable Desk
Step 1: Measure the Space
Find an area in your office or home where you want to place the desk. Take accurate measurements of the space to determine how big or small your desk can be. It’s important to keep in mind the maximum an adjustable desk can weigh and the weight of your computer and other essentials. But before that, make a rough sketch of how you want the desk to look.

Step 2: Pick Your Top Material
The tabletop could be made from wood, metal or composite material. Wood is easy to work with, cheaper and can give your desk a rustic feel. Metal is durable and offers a modern look, but it’s harder to cut and shape. A composite material is the most expensive of the three, but it’s resistant to scratches and spills. You can also consult a carpenter if you need help cutting the shapes.
Step 3: Choose Your Adjustable Mechanism
The adjustable mechanism typically comprises an electric motor or pneumatic lift system with controls. If you’re looking for a budget-friendly option, consider using hand-cranked lifts as they’re cheaper than their electric counterparts.
Electric motors are the more expensive option, but they offer easy and seamless adjustments. It’s also important to check the weight capacity for these mechanisms, as it will determine how much weight your desk can hold.
Step 4: Assemble the Base or Legs
If you’re using base legs, assemble them according to the manufacturer’s instructions. If you’re making a custom frame from scratch, make sure it is sturdy enough to support the weight of the desktop and other items. You can also add cross beams for increased stability. It’s best to use screws and use a drill to secure the legs in place.
Step 5: Attach the Adjustable Mechanism
Place your adjustable mechanism on top of the base or legs, following the manufacturer’s instructions. Make sure it is securely attached using screws and bolts as necessary. You can also add a cross beam between the legs for added support. But before you attach the desktop, test the mechanism to ensure it’s working correctly.

Step 6: Attach the Top
Place your chosen tabletop material on top of the adjustable mechanism and secure it using screws. Be sure to evenly distribute weight on all sides to prevent any uneven movements when adjusting the height. If you’re using a wooden top, sand down any rough edges and finish it with a sealant for protection. You can also add a grommet hole for cable management.
Step 7: Add Final Touches
To give your desk a polished look, you can paint or stain the base and legs to match the tabletop. Adding casters to the bottom of the legs can also make it easier to move around. You can also add accessories like a monitor arm or keyboard tray for added convenience. It’s always best to personalize your desk according to your needs and preferences.
Step 8: Test the Height Adjustment
After everything is assembled, it’s time to test the height adjustment. Make sure the mechanism is working smoothly, and there are no wobbles or uneven movements. Adjust the height a few times and make sure it locks in place securely. If you find any issues, make the necessary adjustments before using it. You can also refer to the manufacturer’s instructions for troubleshooting.
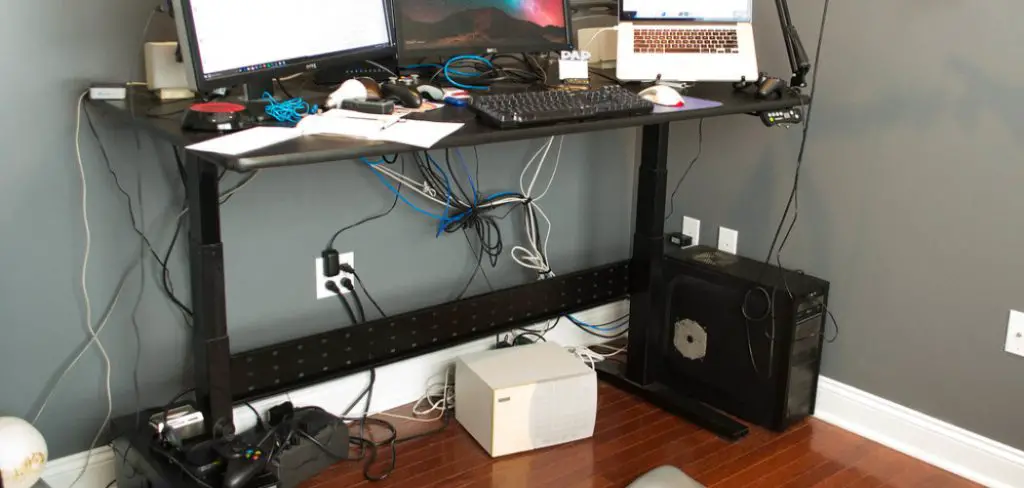
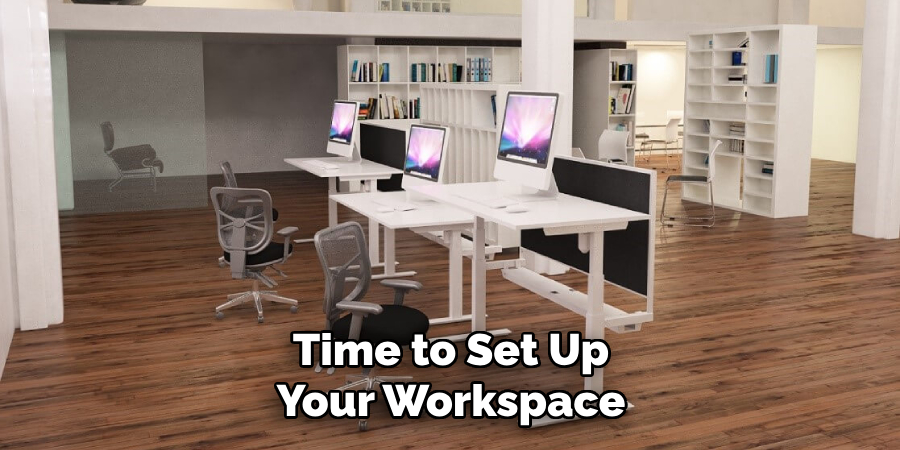
Step 9: Organize Your Workspace
Now that your adjustable desk is ready, it’s time to set up your workspace. Make sure all necessary components like your computer, keyboard, mouse, and other accessories are within reach and at a comfortable height. You can also add items like a standing mat or anti-fatigue mat to support your feet and reduce strain.
Step 10: Enjoy Your Custom Adjustable Desk!
Congratulations! You now have a custom-made adjustable desk that can improve your work experience significantly. You can adjust the height according to your needs, whether sitting or standing, ensuring maximum comfort and productivity.
With proper maintenance and care, this desk will last you for years to come. Enjoy the benefits of better health and increased efficiency with your new adjustable desk! Keep exploring new ways to improve your workspace and overall well-being, and continue making adjustments as needed. Here’s to a healthier and more productive you!
Following these guidelines on how to make an adjustable desk, you can easily make an adjustable desk that meets your needs and preferences without breaking the bank. With a little creativity and effort, you’ll have a functional and personalized workspace that promotes good health and productivity.
Do You Need to Use Professionals?
It’s not necessary to use professionals to make an adjustable desk, but it can be helpful if you’re unsure or need extra assistance. Consult a carpenter or furniture maker if you need help with cutting and assembling materials. You may also consider buying pre-made kits that include all the necessary components and instructions.
However, with careful planning and following these guidelines, anyone can make an adjustable desk on their own. So, gather your tools and materials and get ready to create your very own custom-made adjustable desk! Happy building! Overall, making an adjustable desk can be a fun and rewarding experience that will benefit you in the long run.
Not only does it promote good health, but it also allows for a more comfortable and efficient work environment. So, don’t hesitate to get started on your own adjustable desk project today! So, don’t hesitate to get started on your own adjustable desk project today! Happy building!
Frequently Asked Questions
Q1. How Long Does It Take to Make an Adjustable Desk?
The time it takes to make an adjustable desk varies depending on your skill level and the materials used. It can take anywhere from a few hours to a couple of days.
Q2. Can I Use Any Type of Wood for My Desktop?
Yes, you can use any type of wood for your desktop. However, some types may be more durable or aesthetically pleasing than others.

Q3. How Much Weight Can an Adjustable Desk Hold?
The weight capacity of an adjustable desk depends on the type and quality of the mechanism used. Electric motors typically have a higher weight capacity compared to hand-cranked lifts. It’s important to check the manufacturer’s specifications before purchasing or building your desk.
Q4. Are There Any Safety Concerns When Using an Adjustable Desk?
It’s essential to use caution when adjusting the height of your desk, especially if you have heavy equipment or items placed on it. Always make sure the mechanism is locked in place securely before using the desk. It’s also important to follow proper lifting techniques and avoid overloading the desk.
Conclusion
In conclusion, with a little preparation and the right tools, you can have your very own adjustable desk that will let you work in comfort and reach better efficiency. There’s nothing quite like being able to adjust the height of your desk and chair without any hassle.
Not only do adjustable desks provide ergonomic support for extended periods of working time, but they also help create a sense of convenience that can’t be found with a standard desk.
To make sure you’re getting the most out of this project, make sure to refer to our steps on how to make an adjustable desk throughout the process and pay close attention to the instructions. With some careful planning and a little elbow grease, you’ll be sitting at your brand-new adjustable workstation in no time! So why wait? Start building your perfect desk today!