
Creating an epoxy table is a rewarding DIY project that combines functionality with stunning aesthetics. However, one of the most critical steps in the process is making a proper mold for the epoxy pour. A well-crafted mold ensures the final product is smooth, durable, and shaped perfectly to your design. This guide will walk you through how to make epoxy table mold.
Importance of a Well-Crafted Mold
The quality of your epoxy table heavily depends on the mold you use during the casting process. A well-crafted mold ensures that the epoxy resin cures evenly, preventing imperfections such as uneven surfaces, warping, or unwanted air bubbles.
Additionally, a sturdy and well-sealed mold minimizes the risk of leaks, saving both time and expensive epoxy materials. Proper mold construction also allows for easy demolding, reducing the chances of damage to the finished piece. By investing time and care into building a precise mold, you set the foundation for a professional-grade epoxy table that is both visually striking and structurally sound.
Tools and Materials Needed
To create an epoxy table mold, you’ll need a collection of tools and materials to ensure the process is smooth and successful. Here’s a list of essentials:
- Mold Base Material: Medium-Density Fiberboard (MDF) or plywood is commonly used due to its flat surface and sturdiness.
- Mold Release Tape: A heat-resistant and non-stick tape like Tyvek or HVAC tape to line the mold and prevent the epoxy from adhering to the mold surface.
- Silicone Caulk: Used to seal the edges of the mold and prevent leaks during the epoxy pour.
- Measuring Tape and Ruler: For precise measurements and ensuring your mold dimensions match your design.
- Circular Saw or Table Saw: To cut the base material to the desired size and shape.
- Screws and Screwdriver: To securely fasten the edges and components of the mold.
- Clamps: To hold the mold parts in place while assembling or during the epoxy curing process.
- Sandpaper or Sander: To smoothen the mold edges and ensure a tight seal.
- Protective Equipment: Gloves, safety goggles, and a dust mask to ensure safety when handling tools and materials.
- Plastic Sheeting or Drop Cloth: To cover your workspace and prevent messes during construction and epoxy pouring.
Having these tools and materials ready before starting the project will make the mold-building process more efficient and help you achieve precise and high-quality results.
10 Methods How to Make Epoxy Table Mold
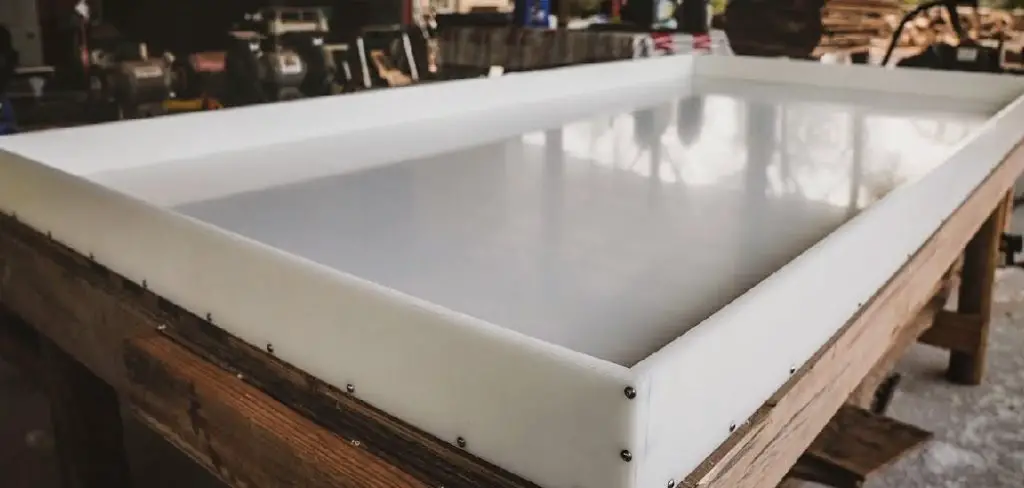
1. Using Melamine Board as a Mold Base
Melamine-coated boards are one of the most popular materials for epoxy table molds due to their smooth, non-porous surface. Start by cutting the melamine board to the size of your table. Attach the side walls using screws or brackets, ensuring tight seals at the edges. Use silicone caulk to seal all seams to prevent leaks. Sand the melamine surface lightly and apply mold release tape or wax for easier epoxy removal after curing.
2. Building a Plywood Mold
Plywood is another accessible material for mold-making. Opt for smooth, sanded plywood to minimize imperfections. Assemble the plywood base and sidewalls with wood screws and brackets. To waterproof the mold, cover the inside surfaces with a thick plastic sheet or a layer of resin, ensuring it is completely sealed. Finish by using painter’s tape or polyethylene tape on all inner surfaces to facilitate removal.
3. Recycling Acrylic Sheets
For a more durable and reusable mold, acrylic sheets are an excellent choice. These are clear, sturdy, and resistant to sticking when coated with mold release agents. Cut the acrylic to size using a table saw, then bond the pieces using acrylic adhesive or silicone caulk. Ensure there are no gaps between the joints by clamping the pieces tightly during the curing process.
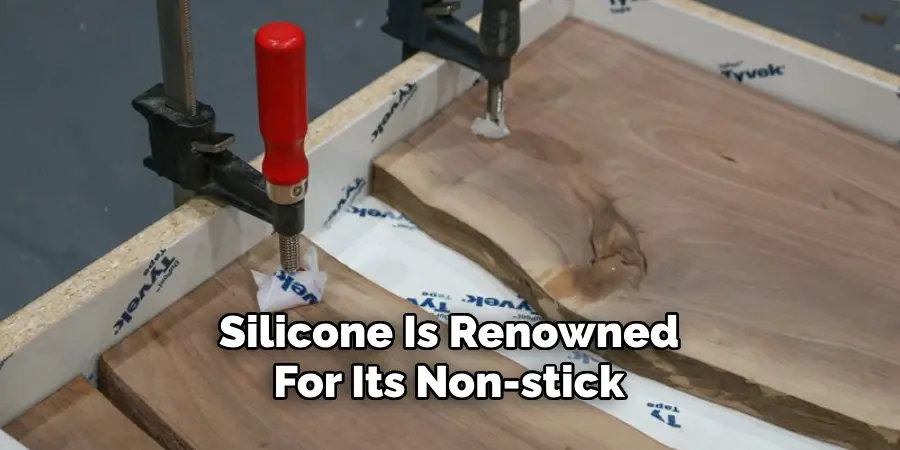
4. Silicone Mold Lining
Silicone is renowned for its non-stick properties, making it an ideal lining for epoxy molds. Create a standard mold using melamine or plywood, then line the inner walls with a layer of silicone. You can apply liquid silicone directly to the mold or use prefabricated silicone sheets. This method is particularly effective for intricate or curved designs, as silicone conforms to the desired shape.
5. Using HDPE Panels
High-Density Polyethylene (HDPE) panels are another professional-grade material for epoxy molds. They are durable, reusable, and naturally resistant to epoxy resin. Assemble the mold by cutting the HDPE sheets to size and fastening them with screws. To ensure a tight fit, add silicone caulk along the edges. HDPE molds require no additional treatment, as epoxy does not stick to them.
6. Mold from MDF Board
Medium-Density Fiberboard (MDF) is a budget-friendly option for making molds. Cut the MDF board to the required dimensions and assemble the pieces using screws or a nail gun. To protect the board from absorbing epoxy, seal the surface with a polyurethane coating or plastic sheet. Apply a release agent, such as wax or tape, to the inner surface for easier demolding.
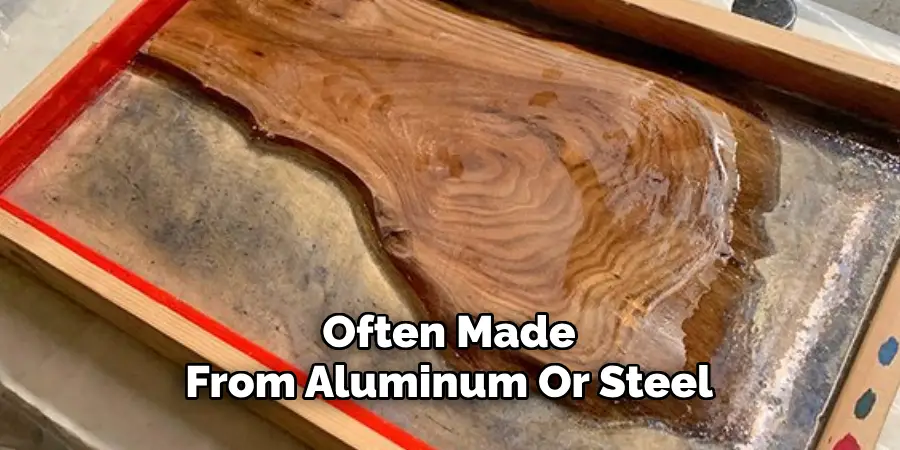
7. Creating a Reusable Metal Mold
Metal molds, often made from aluminum or steel, are incredibly durable and perfect for repeated use. Construct the mold by welding or bolting metal sheets together. Use clamps to hold the metal sheets securely in place while working. Coat the inner surface with a mold release spray to prevent the epoxy from adhering. While costlier and more time-intensive, metal molds offer unmatched longevity.
8. Flexible Mold with Foam Board
Foam boards are ideal for creating flexible molds, especially for non-traditional shapes or custom designs. Build the frame using foam board pieces secured with hot glue or tape. Apply a sealant to the foam’s surface to prevent it from reacting with the epoxy resin. For additional rigidity, reinforce the foam mold with a wooden or metal frame. This lightweight option is suitable for small-scale or experimental projects.
9. Using Corrugated Plastic Sheets
Corrugated plastic sheets, often used in signage, can double as mold material. These sheets are lightweight, easy to cut, and resistant to sticking when treated with mold release. Assemble the mold by bending and securing the corrugated plastic with staples or duct tape. To strengthen the structure, create an external support frame using wood or metal. Ensure all seams are sealed with silicone to prevent leaks.
10. Crafting a Custom Mold with 3D Printing
For intricate or uniquely shaped epoxy tables, 3D printing offers unparalleled customization. Design the mold digitally using CAD software and print it using a 3D printer. Use durable, heat-resistant filaments like ABS or PETG. To prepare the mold, sand the surface to remove any rough edges and apply a mold release agent. While this method requires advanced tools, it is perfect for detailed designs.
Maintenance and Upkeep
Proper maintenance and care of your epoxy table and mold ensure their longevity and consistent performance. Below are some essential tips for upkeep:
Epoxy Table Care
- Regular Cleaning: Clean the epoxy surface using a soft cloth or sponge with mild soap and water. Avoid abrasive cleaners or pads that could scratch the surface.
- Protect from Heat: Use coasters or trivets under hot items, as prolonged exposure to high temperatures can cause warping or discoloration.
- Avoid UV Damage: If the table is exposed to direct sunlight, consider applying a UV-resistant coating to prevent yellowing or fading over time.
- Polish the Surface: Use a non-abrasive polish specifically designed for epoxy to maintain its gloss and remove minor scratches.
- Repair Chips or Scratches: For minor damage, apply a small amount of epoxy resin to the affected area and sand it smooth once cured. Follow up with polishing to blend the repair.
Mold Maintenance
- Clean After Each Use: Remove any residue or leftover epoxy from the mold immediately after demolding using warm water and soap or an appropriate mold cleaner.
- Inspect for Damage: Check the mold for any cracks, warping, or wear, especially at the joints, to ensure no leaks or imperfections in future projects.
- Reapply Release Agents: For molds requiring a release agent, reapply the agent evenly before each use to prevent sticking and simplify the demolding process.
- Store Properly: Keep molds in a clean, dry place to protect them from moisture, dust, or physical damage. Stack flat or hang them to retain their shape.
- Refinish When Necessary: Over time, some mold materials like wood may require resealing or refinishing to maintain their integrity and non-stick properties.

Consistent care and attention will not only keep your epoxy creations looking professional but also extend the life of your tools and molds, reducing the need for replacements and ensuring smooth, worry-free projects in the future.
Conclusion
Creating and maintaining epoxy tables requires both creativity and attention to detail. Selecting the right mold material, following proper assembly techniques, and applying necessary maintenance measures ensures high-quality results and prolongs the life of your tools and finished pieces. Whether you’re a professional or a DIY enthusiast, the methods outlined in this guide provide a comprehensive foundation for mastering epoxy table projects. Thanks for reading our blog post on how to make epoxy table mold! We hope you found it helpful and informative.
you can also check it out Install Chair Rail Without a Nail Gun