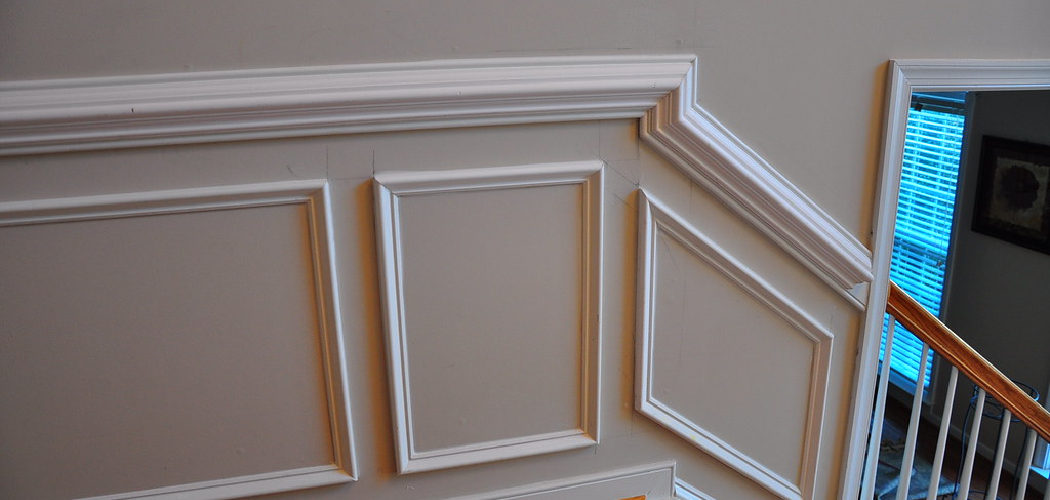
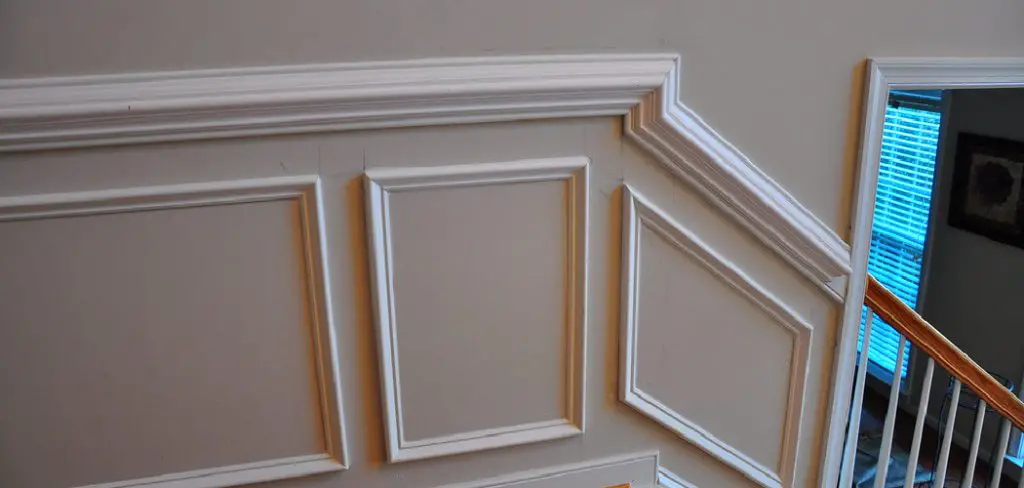
A chair rail is a horizontal piece of wood or molding that runs along the wall at chair level. It can be used as a design element or to protect walls from scuffs and scratches.
Installing a chair rail without a nail gun is possible, but it does require some extra effort. First, measure the length of your wall and mark the chair rail’s desired position. Then, use a saw to cut the molding to size.
Next, apply a bead of wood glue to the back of the molding and press it into place. Finally, use clamps to secure the molding until the glue has dried. That’s it!
You can install a chair rail without a nail gun with little effort. With these instructions, you’ll be able to add a chair rail to your home without any problems. In this blog post, You will learn how to install chair rail without a nail gun.
Step by Step Processes for How to Chair Rail Without a Nail Gun
Step 1: Inspect the Area
You first need to take a close look at the area where you’ll be installing the chair rail. Make sure that no nails protrude from the wall and that the surface is smooth. If nails are sticking out, use a hammer to flush them with the wall.
Step 2: Cut the Molding
Next, you’ll need to cut the molding to the desired length. You can use a miter saw or a handsaw for this step. If you’re using a miter or saw, be sure to set the blade at a 45-degree angle. Once you’ve cut the molding, you’ll need to sand the edges to smooth them out. You can use a power sander or sandpaper for this.
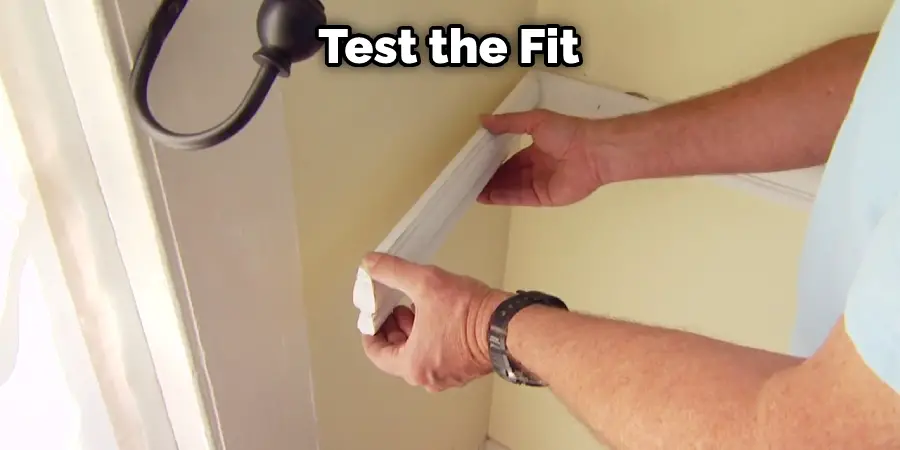
Step 3: Test the Fit
Before attaching the molding to the wall, it’s a good idea to test the fit. This will help ensure that the molding is cut to the correct size and that it will fit snugly against the wall. To test the fit, simply hold the molding up to the wall in the desired location. Make any necessary adjustments to the fit, then mark the molding where it will need to be cut.
Step 4: Apply Adhesive
A caulk gun will make it easier to apply the adhesive evenly. If you’re using wood glue, spread it on with a brush. Start at one end of the wall and work your way down.
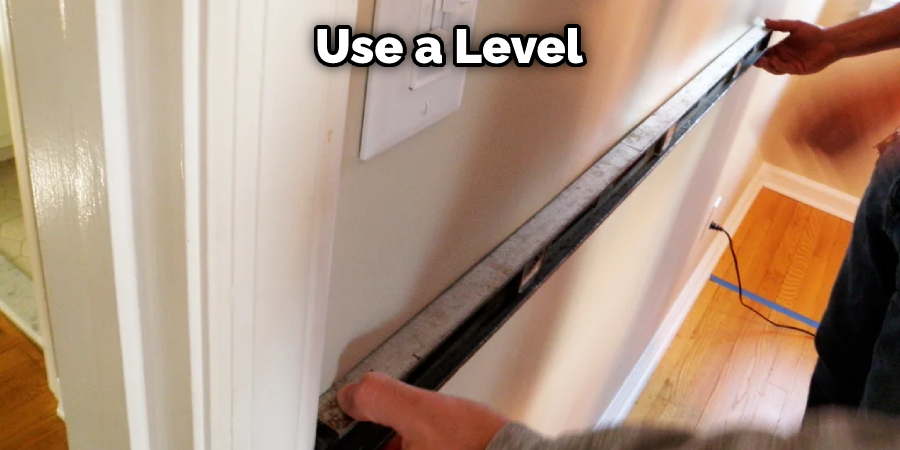
Apply a generous amount of adhesive to the back of the molding and press it into place. Use a level to make sure the molding is even. Hold the molding in place until the adhesive sets. This usually takes about 30 minutes.
Step 5: Attach the Molding
Once you’re happy with the fit of the molding, it’s time to attach it to the wall. You’ll need to use a few small finishing nails to do this. Start by holding the molding in place against the wall. Then, use a hammer to drive a nail into the molding at an angle. Be sure to drive the nail into a stud so that it will be nice and secure.
Step 6: Caulk the Joints
Once the molding is attached to the wall, you’ll need to caulk the joints. This will help create a seamless look and prevent any gaps from forming. Use a siliconized acrylic caulk for the best results.
Apply the caulk to the joints using a caulking gun, then smooth it out with your finger. Wipe away any excess caulk with a damp cloth. Let the caulk dry for at least 24 hours before painting or staining the molding.
Step 7: Paint or Stain
Now that the chair rail is installed, you can paint or stain it to match the rest of the room. If you’re painting, make sure to use a paint compatible with the chair rail’s material.
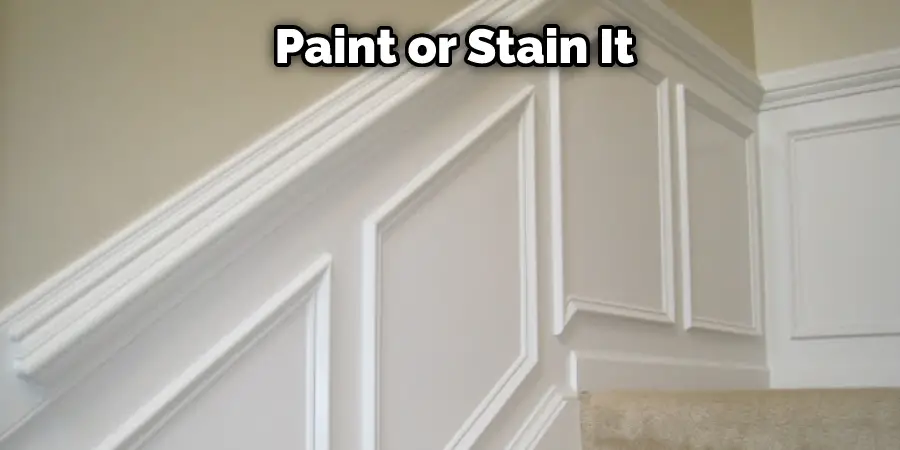
For example, if the chair rail is made of wood, use an oil-based paint. If the chair rail is made of metal, use rust-resistant paint. Once you’ve chosen your paint or stain, apply it to the chair rail using a paintbrush or a rag. Let the paint or stain dry completely before moving on to the next step.
Step 8: Attach Wall Decor
Now that the chair rail is installed and painted or stained, you can attach wall decor to it. This can include anything from picture frames to wall hooks. To attach wall decor, simply use nails or screws to secure the item to the chair rail. Make sure that the nails or screws are compatible with the material of the chair rail.
Safety Tips for Chair Rail Without a Nail Gun
- Always use gloves when handling a chair rail without a nail gun.
- Always use eye protection when working with a chair rail without a nail gun, and be sure to keep your fingers away from the trigger area when working with a chair rail without a nail gun.
- Never point the chair rail without a nail gun at anyone, and always keep the chair rail without a nail gun in a safe place when not in use.
- Do not try to install a chair rail without a nail gun yourself.
- Ensure the area you are working in is well-ventilated when using a chair rail without a nail gun.
- Never use a chair rail without a nail gun in an enclosed space.
- Take your time when installing a chair rail without a nail gun.
- Always follow the instructions that come with your chair rail without a nail gun.
Following these simple tips can help ensure your safety when working with a chair rail without a nail gun.
How Can You Avoid Damage to Your Walls When Installing Chair Rail Without a Nail Gun?
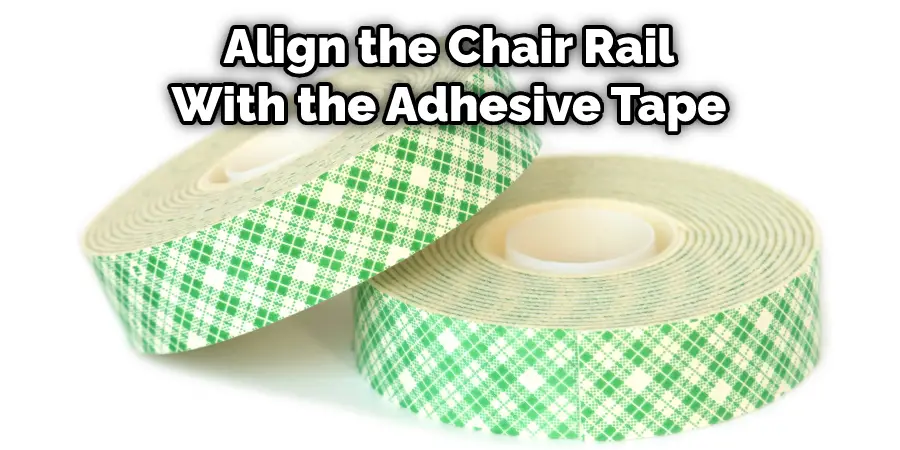
Using adhesive tape, you can avoid damage to your walls when installing chair rails without a nail gun. Apply the adhesive tape to the wall where you will be attaching the chair rail.
Then, align the chair rail with the adhesive tape and press it firmly into place. The adhesive tape will securely hold the chair rail in place while you install it and protect your walls from any damage that might occur during the installation process.
What Are Some Common Mistakes People Make When Trying to Install Chair Rail Without a Nail Gun?
Some common mistakes people make when installing a chair rail without a nail gun include not measuring the wall correctly, not using a level to ensure the rail is straight, and not attaching the rail securely to the wall. These mistakes can result in an uneven or crooked chair rail, which can be unsightly and potentially dangerous.
To avoid these mistakes, be sure to measure the wall accurately, use a level to ensure the rail is installed straight, and attach the rail securely to the wall. With careful planning and execution, you can install chair rails without a nail gun and achieve professional-looking results.
Is It Necessary to Call Any Professional to Install Chair Rail Without a Nail Gun?
Installing a chair rail is a relatively simple process that can be completed without needing professional help. In most cases, the only tools required are a measuring tape, a level, and a saw. Chair rail is typically installed at the height of 32 inches from the floor, but this can vary depending on personal preference.
Once the desired height has been determined, mark the wall using a pencil or chalk. Next, cut the chair rail to size using a saw. It is important to ensure that the cuts are straight to avoid gaps when installing the rail.
Finally, use a level to ensure that the chair rail is installed properly before attaching it to the wall with nails or screws. With a little patience and attention to detail, anyone can install a chair rail without professional assistance.
How Much Will It Cost If You Hire a Professional?
If you are planning to install a chair rail in your home, you may wonder how much it will cost to hire a professional. The cost of hiring a professional will depend on a few factors, including the size of your home and the type of chair rail you want to install.
However, on average, you can expect to pay between $200 and $400 to hire a professional to install a chair rail in your home. If you plan to install the chair rail yourself, you can expect to pay between $50 and $100 for the needed materials.
Therefore, if you are considering installing a chair rail in your home, it is important to compare the cost of hiring a professional with the cost of doing it yourself to decide which option is best for you.
Conclusion
From the looks of it, installing a chair rail without a nail gun can be done, but it might not be the easiest method. Some people recommend using another type of adhesive or screwing it into the wall instead. It seems like there are a few ways to go about this, so figure out what will work best for your situation.
However, one disadvantage is that achieving a tight, professional-looking install can be more difficult without a nail gun. If you’re looking to save time and don’t have much experience with power tools, then installing a chair rail without a nail gun may be the best option.
But if you’re looking for the best possible results, using a nail gun is the way to go. I hope this article has been beneficial for learning how to install chair rail without a nail gun. Make Sure the precautionary measures are followed chronologically.
You Can Check It Out Keep Office Chair From Scratching Floor