

Messy files don’t just slow you down — they cost you time, credibility, and sometimes money. Whether you’re hunting for a contract signed six months ago or trying to meet a compliance deadline, poor record management makes everything harder than it needs to be.

This guide on how to maintain files and records in office walks you through everything you need to build a clean, functional filing system in your office.
You’ll learn the key benefits of organized records, the tools you’ll need to get started, and 10 clear steps to set up and maintain a system that actually works — plus the common mistakes to avoid along the way.
Benefits of Maintaining Files and Records Properly
Good record-keeping isn’t just about tidiness. It delivers real, measurable advantages for your team and organization.
- Faster Retrieval: Find any document in seconds, not minutes.
- Better Compliance: Meet legal and regulatory requirements without scrambling.
- Improved Accountability: Track who created, edited, or accessed a file and when.
- Reduced Duplication: Avoid creating the same document twice because the original was lost.
- Stronger Decision-making: Access accurate, up-to-date information when you need it most.
- Lower Stress: A well-organized system means fewer last-minute fire drills.
When your office manages records well, everyone works more confidently and efficiently.
What Will You Need?
Before you build your system, gather the right tools and put a few habits in place.
Physical Tools:
- Filing cabinets or storage drawers
- Labeled folders, binders, and dividers
- A label maker or printed tabs
- Shredder for secure disposal
Digital Tools:
- Document management software (Google Drive, SharePoint, or similar)
- Cloud backup or external hard drive
- Consistent folder structure on shared drives
- Password management for sensitive files
Habits and Systems:
- A naming convention for all files
- A retention policy (how long to keep each record type)
- A regular review schedule (monthly or quarterly)
- Clear ownership — someone responsible for each category of records
With these in place, you’re ready to build a system that lasts.
10 Easy Steps on How to Maintain Files and Records in Office
Step 1: Audit Your Current Files
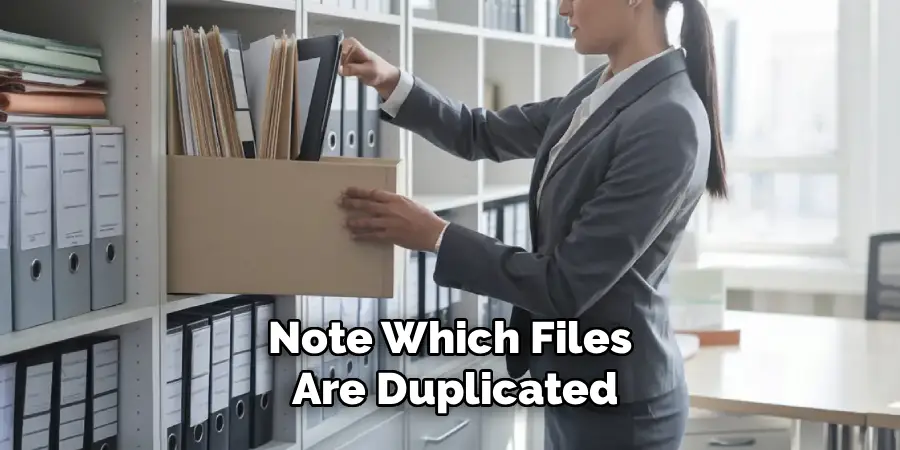
Begin by reviewing everything you currently have, both physical and digital. Sort each document into three piles: keep, archive, and discard. This first sweep clears out the clutter and gives you an honest picture of your starting point. Don’t rush it — a thorough audit makes every step that follows far easier. Note which files are duplicated, outdated, or misplaced so you can fix those issues as you rebuild.
Step 2: Define Your File Categories
Group your records into logical categories that match how your office actually works — for example, Finance, HR, Client Contracts, Legal, Operations, and Correspondence. Keep categories broad enough to stay manageable but specific enough to be useful. Write the list down and share it with your team so everyone files documents the same way. Clear categories are the backbone of a system anyone can navigate.
Step 3: Create a Consistent Naming Convention
Decide how every file will be named, then apply that rule without exception. A simple format like YYYY-MM-DD_DocumentType_Description works well because it sorts chronologically and reads clearly. Consistency means anyone on the team can locate a file without guessing, and search tools return accurate results. Document the convention and post it somewhere visible so new staff adopt it from day one.
Step 4: Set Up Your Physical Filing System
Label every folder, drawer, and shelf clearly, and consider color-coding to separate categories at a glance. Store frequently used files within easy reach and move older records to clearly marked archive boxes or a separate cabinet. Never leave loose documents stacked on desks or counters — they’re the first things to get lost. A tidy physical setup mirrors the order you want in your digital system.

Step 5: Build Your Digital Folder Structure
Mirror your physical system online so the two stay in sync. Create one main folder for each category, then add subfolders by year, project, or client as needed. Avoid burying files under too many layers — if it takes more than three clicks to reach a document, simplify. A flat, predictable structure saves time and keeps everyone on the same page when they’re searching for information.
Step 6: Establish a Retention Policy
Not every record needs to live forever. Work with your manager or legal team to set how long each document type should be kept. Employment records, financial statements, and contracts often carry specific legal retention periods, while routine correspondence can be cleared out sooner. Write the policy down, share it with the team, and use it to guide every cleanup so you stay both organized and compliant. Try setting alerts in your calendar to remind you when it’s time to review and potentially clear out old records.
Step 7: Assign File Ownership
Every category of records should have a designated owner responsible for keeping it current, organized, and accessible. Clear ownership prevents confusion and builds accountability. In a small office, one person may handle several categories; in larger teams, you can spread responsibility across departments. When everyone knows who manages what, files get maintained properly instead of slipping through the cracks.

Step 8: Digitize Important Paper Records
Scan documents that are important or frequently referenced, then store the digital copies in your cloud system. Keep physical originals only where the law requires them. Digitizing cuts down on storage needs, speeds up retrieval, and protects key records from being damaged or misplaced. Use a consistent scanning quality and apply your naming convention to each file so the digital copies stay just as searchable as the rest. If you have a large number of documents to scan, consider outsourcing the task to a professional document scanning company.
Step 9: Control Access to Sensitive Files
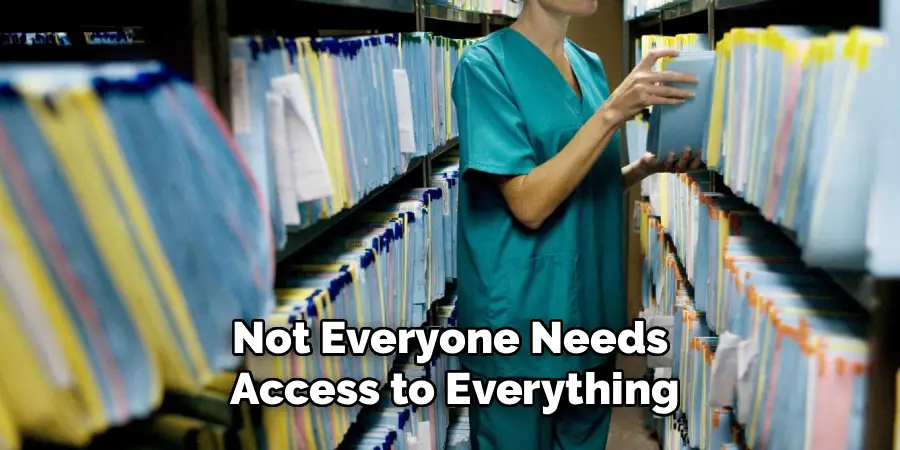
Not everyone needs access to everything. Set permissions on digital files so sensitive records — payroll, contracts, personal data — are only available to authorized staff. For physical files, store confidential documents in locked cabinets. Review access rights whenever someone changes roles or leaves the company. Strong access controls protect your office from data breaches, accidental edits, and compliance problems.
Step 10: Schedule Regular Reviews and Cleanups
Set a recurring reminder — monthly, quarterly, or annually depending on your volume — to review, update, and purge records according to your retention policy. During each review, remove outdated files, correct anything misfiled, and confirm that ownership and access are still accurate. Regular maintenance keeps the system clean and stops the backlog from quietly rebuilding over time.
By following these steps, you can ensure that your document management system remains organized and efficient in the long term. It may take some time to implement these practices, but it will ultimately save you time and frustration when searching for important documents.
5 Things You Should Avoid
- Using vague file names like “Document1” or “Final_v3_FINAL.” These become impossible to identify later.
- Skipping backups. Storing files in only one location — physical or digital — is a serious risk. Always have a backup.
- Letting anyone file anything anywhere. Without clear rules, a system breaks down fast. Stick to your naming and folder conventions.
- Hoarding everything indefinitely. Keeping records longer than necessary creates clutter and potential compliance issues.
- Ignoring access controls. Leaving sensitive files open to all staff increases the risk of data breaches or accidental edits.
Frequently Asked Questions
1. How Often Should Office Files Be Reviewed and Updated?
Most offices benefit from a quarterly review of active files and an annual review of the full system. During a review, you check for outdated documents, misfiled items, and records that have reached the end of their retention period. High-volume departments — like finance or HR — may need monthly check-ins. The key is to schedule it in advance so it doesn’t get skipped.
2. What is the Best Way to Organize Digital Files in an Office?
Start with a simple, logical folder structure that mirrors your physical system. Use clear, consistent file names that include the date and document type. Limit folder depth to three levels when possible, and use a shared cloud platform so your team can access files from anywhere. Assign one person to maintain the structure and conduct regular audits to keep it clean.
3. How Long Should Office Records Be Kept?
Retention periods vary by document type and local regulations. General business correspondence can often be discarded after 2–3 years, while contracts, financial records, and HR files may need to be kept for 7 years or longer. Some legal and compliance documents must be kept permanently. Always check applicable laws or consult your legal team before discarding any official records.
Conclusion
How to maintain files and records in office isn’t a one-time project — it’s an ongoing habit.
When you build the right system, label everything clearly, assign ownership, and review records regularly, your office runs smoother, and your team stays focused on the work that matters. Start with the audit in Step 1, apply the 10 steps at your own pace, and avoid the common pitfalls outlined above.
A well-organized office is one of the easiest ways to reduce daily friction and build a more professional, reliable workplace.
