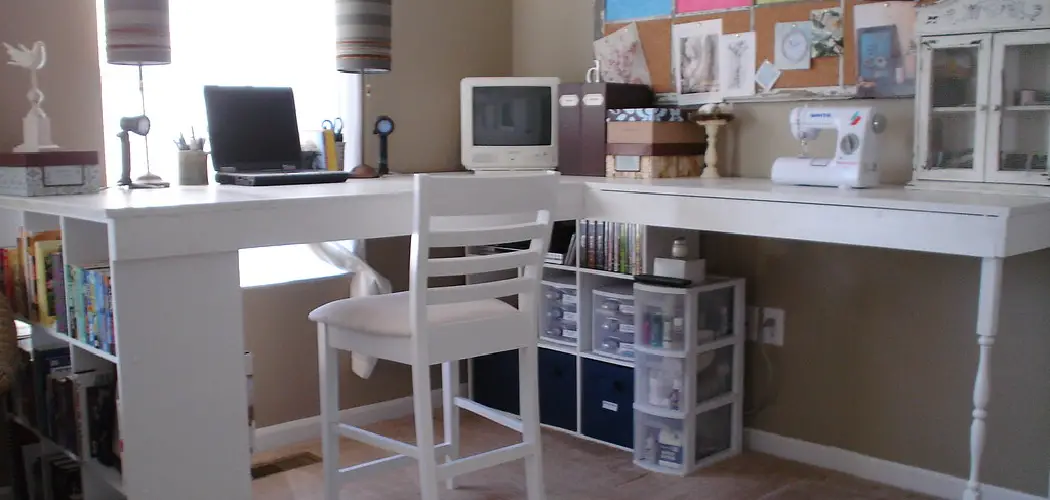
Making an l shaped desk is a great way to add style and functionality to any workspace. It’s ideal for offices, study areas, or even living rooms because it can provide multiple people with a comfortable working area in an efficient use of space.
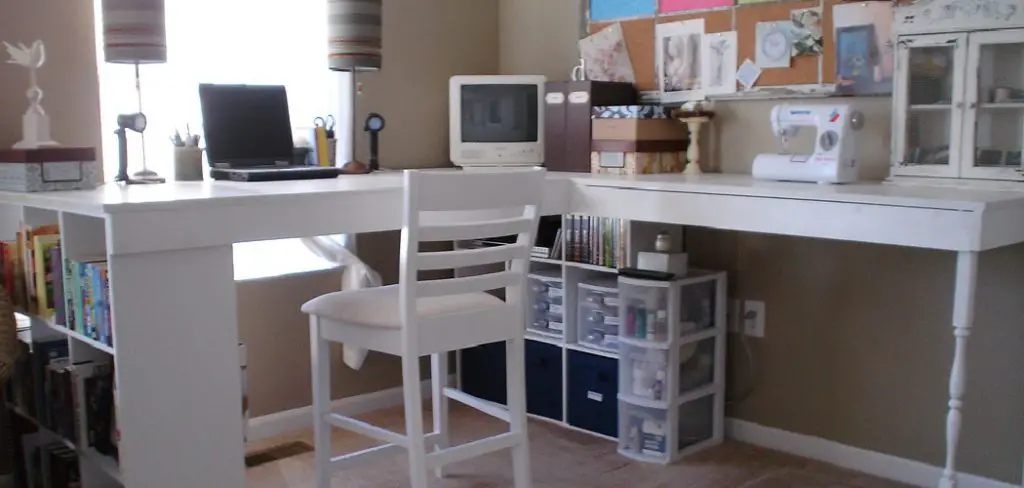
An L-shaped desk also provides you the flexibility to move around your chair or computer monitor easily without having to move the entire desk. Making your own L-shaped desk is a great way to save money and get exactly what you need for your workspace. One of the main advantages of how to make an L-shaped desk is its versatility.
An L-shaped desk can easily be moved in any direction, whether it’s creating more workspace or adjusting to fit your needs. The shape also enables two people to sit side by side comfortably, making it easy for coworkers to collaborate on projects and share resources. You can find step-by-step instructions on how to make l shaped desk in this blog article.
Importance of How to Make L Shaped Desk
- Increase Workspace: An L-shaped desk can increase the workspace in any area of your home or office, providing you with more room to work and be productive.
- Utilize Corners: If you have an unused corner in your living space, an L-shaped desk is a perfect way to make use of the space and turn it into a functional workspace.
- Provide Privacy: An L-shaped desk can provide more privacy than a standard rectangular or round desk, allowing you to work in peace without any distractions.
- Save Money: Building an L-shaped desk is much more affordable than purchasing one, as it requires fewer materials and time.
- Easy to Assemble: Building an L-shaped desk is relatively simple and straightforward, allowing you to customize the design to fit your specific needs.
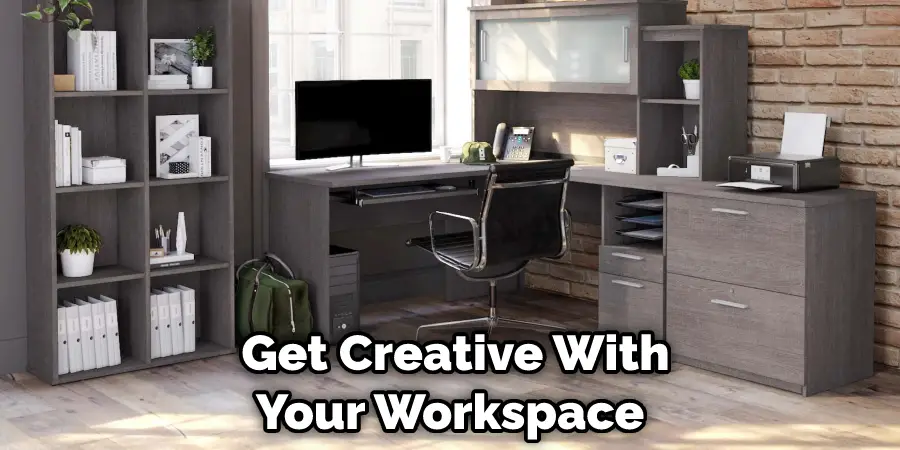
- Get Creative: An L-shaped desk allows you to get creative with your workspace and add unique features like shelves, drawers or cabinets that would not be possible with other types of desks.
- Customize Size: With an L-shaped desk, you can easily customize the size to fit your specific requirements. This makes it perfect for small and large spaces alike.
By following these steps, you’ll be able to build an attractive and functional L-shaped desk that will help you create a productive workspace.
Step-by-step Instructions for How to Make L Shaped Desk
Step 1: Inspect the Space
Before you begin the project, take a moment to evaluate the space where the L-shaped desk is going to be placed. Measure out precisely how much space you have available and decide which dimensions of an L-shaped desk would fit comfortably in that area.
Step 2: Making a Template
Using graph paper, make a template for your desired L-shaped desk. Make sure to include measurements for the length and width of both legs and any additional features like shelves or drawers you may want to be included in your design.
Step 3: Finding Materials
Find the materials necessary to make your L-shaped desk. MDF boards, plywood, particle board, and wood veneer are the most common materials used.
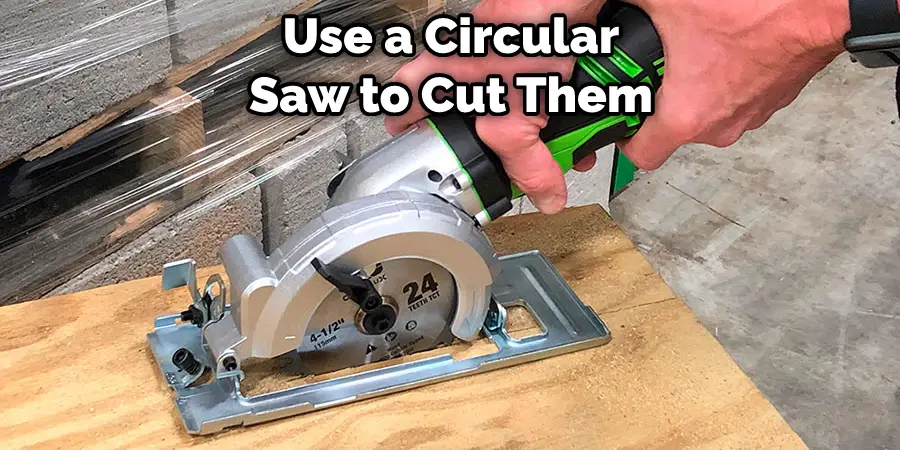
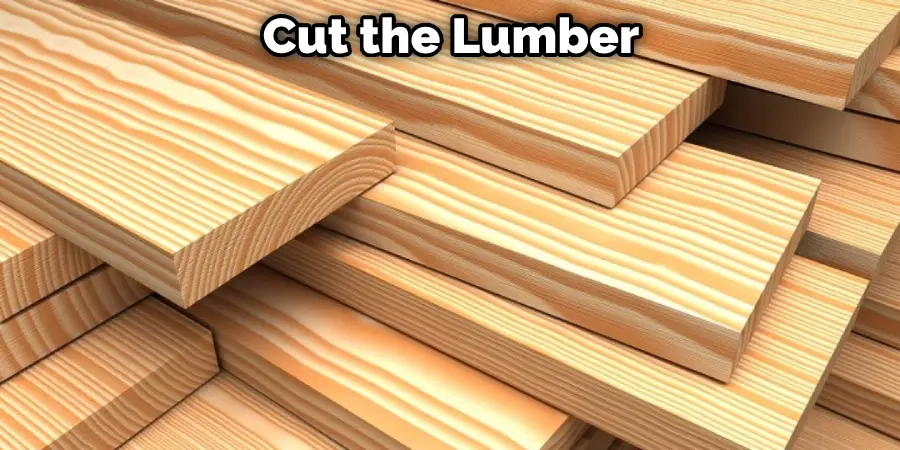
Lay out your materials on a flat surface and use a circular saw to cut them into the shapes you’ve determined in your template. Make sure to write down measurements for each piece as you go so that you have reference points should any of them need to be adjusted.
Step 4: Sanding
Use a belt sander to smooth out any rough edges that may be present on the pieces for your L-shaped desk. Apply wood glue along the edge of each piece and use small screws to attach them together. Make sure to leave some space between the individual pieces so they can expand and contract based on humidity levels.
Step 5: Drilling Holes
Use a drill to make holes for the screws, which will be used to attach the legs of your desk together. Stain the wood with an appropriate finish, such as a wood sealer or varnish.
Wait for the stain to dry before adding a final coat of sealant. Add any additional features, such as shelves or drawers, according to your template design.
Step 6: Assemble and Enjoy
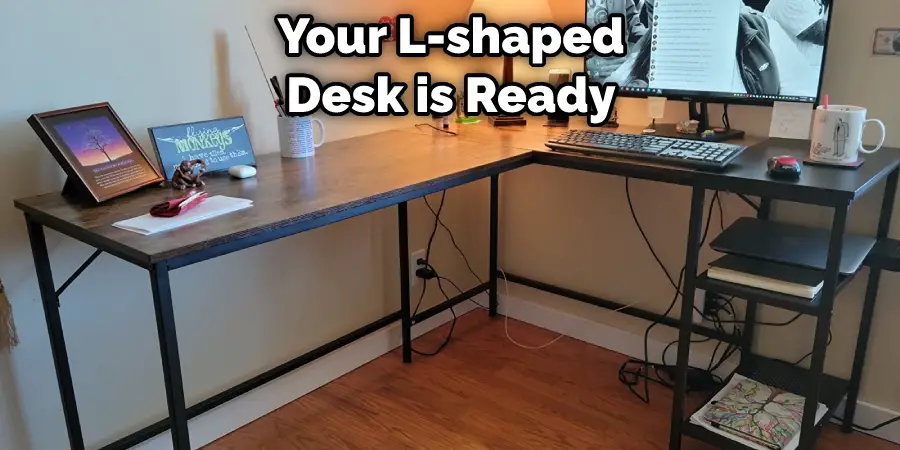
Once all of the pieces have been put together, your L-shaped desk is ready to use! Have fun customizing it with accessories and items that make it uniquely yours. Enjoy the satisfaction of having created a piece of furniture from scratch.
With these simple steps, you can easily build an L-shaped desk for yourself or a loved one in no time. You can create a functional and stylish piece of furniture to fill any room with patience and care.
Tips for How to Make L Shaped Desk
- Always ensure you are wearing protective eyewear and suitable clothing when working with tools and that your workspace is adequately lit.
- Make sure to have a well-ventilated space; dust, fumes, and airborne particles can cause serious health issues.
- It is important to read through the instructions of any power tools you are using and verify all connections before switching them on.
- When sawing, always ensure the blade is sharp enough to make clean cuts and that it is parallel to the cutting surface.
- Wear gloves when handling lumber or other materials; some may have rough edges that could hurt you while working.
- Make sure to wear a dust mask when sanding, routing, or sawing wood, as fine particles can easily be inhaled.
- Disconnect the power source before making any adjustments or changing blades; this will prevent accidents and injuries.
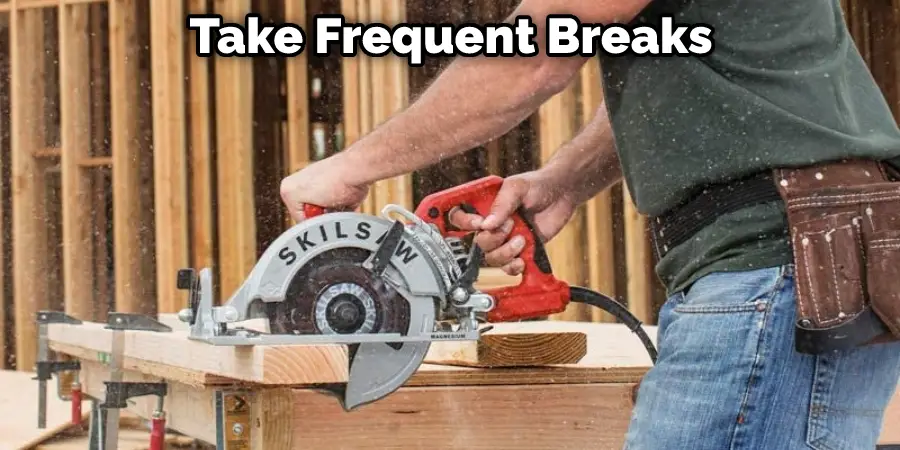
- Take frequent breaks while working on projects to prevent fatigue and ensure that tools are properly stored when not in use.
These tips are a good starting point for any DIY project and should always be followed to reduce the risk of injury or harm when making an L-shaped desk.
What Techniques Should You Use When Cutting the Lumber for Your L-shaped Desk?
When cutting the lumber for your L-shaped desk, there are a few essential techniques you should use in order to ensure that each piece fits together properly. Here are some tips for getting started:
- Measure and Mark the Wood Carefully. Before you get started with sawing and cutting, it’s important to measure each piece of wood carefully and mark it with a pencil. This will ensure that all the pieces fit together even when they’re assembled into an L-shape.
- Use a Miter Saw to Cut Angled Edges. When cutting the lumber for your L-shaped desk, you should use a miter saw in order to cut the angled edges of each piece precisely. This is especially important for achieving a clean, sharp look when the desk is assembled.
- Sand the Edges and Surfaces. To prevent splinters and rough edges, use sandpaper to smooth out both the interior and exterior surfaces of each piece of wood before assembly.
- Line Up the Pieces Correctly. Before you start screwing the pieces of your L-shaped desk together, make sure to check that each piece is lined up correctly. This will ensure a seamless look and better stability when it’s finished.
By following these tips, you can easily cut the lumber for your L-shaped desk with precision and accuracy. Making sure that each piece is properly measured and cut before assembly will help you achieve a professional-looking result.
How Can You Make Sure Your L-shaped Desk Remains Sturdy and Secure?
Once you’ve assembled the components of your L-shaped desk, there are a few steps you can take to make sure it remains sturdy and secure. Make sure all screws, nuts, and bolts are securely tightened according to the instructions included with your assembly kit.
If possible, use a power tool or screwdriver to ensure accuracy. If any pieces don’t fit properly, consider swapping them out for new ones. Additionally, use a level to make sure that the desk is perfectly horizontal and aligned. Make sure to place your desk on a flat and even surface to reduce shifting or wobbling over time.
You can also add some extra support by adding small blocks of wood or furniture pads beneath the desk legs. Finally, if your L-shaped desk includes a hutch, make sure to always load the heaviest items on the bottom shelf.
This will help counterbalance weight and prevent any potential toppling over. And for large items like computers, be sure to use clamps or cable ties to attach them to the desk securely.
How Long Will It Take Me to Make an L-shaped Desk?
The amount of time it will take to make an L-shaped desk depends on the complexity of the design and the materials used. It could be accomplished in a few hours if you are making a basic, straightforward design out of plywood or particle board.
But it could take several days to complete if you want to use hardwoods and create intricate details such as beveled edges or inlays. Additionally, the type of tools you use will affect how long it will take to make an L-shaped desk. If you have access to power tools such as a saw table and router, these can help speed up the process.
But if you are using hand tools, completing the project could take considerably longer. If this is your first time making an L-shaped desk, you should plan on allotting more than enough time for the project so you can work on it at a leisurely pace and give yourself plenty of room for error.
With practice, you will be able to make an L-shaped desk with greater speed and accuracy.
What is the Best Way to Store and Transport Your New L-shaped Desk?
Once you’ve finished constructing your L-shaped desk, the next step is to prepare it for storage or transportation. Depending on the materials used to construct your desk, this can require various steps to ensure safe and secure delivery. Here are a few tips for safely storing and transporting an L-shaped desk:
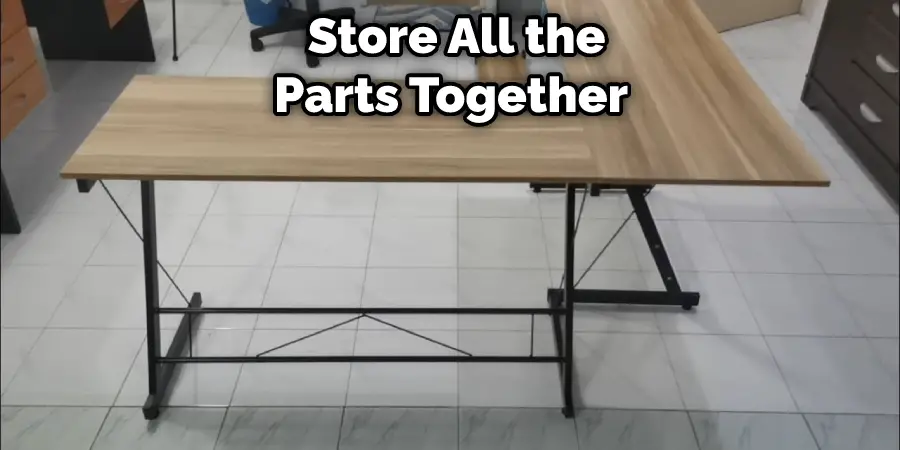
- If you are planning to disassemble the desk for storage or transportation, store all the parts together in a safe and secure location. Label each component so that you can easily identify them when reassembling the desk.
- If it is necessary to move your desk while assembled, use padding or blankets around all edges, corners, and any surfaces which may be susceptible to damage. This will help protect the desk from scratches, dents, or other blemishes during the move.
- If you need to transport your L-shaped desk in a moving vehicle (such as a truck or van), secure it with tie-downs or straps before beginning your journey. This will help to ensure that it stays in place and does not shift during transit.
By following these simple steps, you can be sure that your L-shaped desk will arrive in its original condition, whether you’re storing or transporting it.
What Are Some of the Common Mistakes People Make When Making an L-shaped Desk?
When making an L-shaped desk, there are some common mistakes that people make that can cause the whole project to be a failure. One of the most common mistakes is not taking accurate measurements before cutting any wood. It is important to know the exact dimensions of your desk and all its components before you start cutting.
Another mistake is not allowing enough room for the legs of the desk. You need to make sure you have enough space for your legs and any other components that will go with it, such as drawers or shelves. Another mistake people make is using wood glue instead of more reliable fasteners like screws or nails.
Wood glue may be easier to use, but it doesn’t provide the same level of security as a more reliable fastener. Finally, people often forget to sand down their wood before beginning to assemble the desk.
Sanding down your wood helps ensure that it will fit together properly and make the final product look better. Remembering these mistakes, you can easily avoid them when making an L-shaped desk.
Conclusion
One of the main disadvantages of how to make an L-shaped desk is that it can be difficult to fit into a limited space. Due to its shape, it typically requires more floor space than other types of desks and may not always be suitable for cramped or tiny spaces.
Additionally, some pieces of furniture are specifically designed for corner placement and may not work as well when placed against a wall.
In conclusion, making an L-shaped desk can be a great way to increase productivity and help you maximize the use of your workspace. With the right tools, materials, and instructions, you’ll have a beautiful desk in no time!
To ensure a successful project, take precise measurements and read up on safety protocols before beginning your construction. I hope reading this post has helped you learn how to make l shaped desk. Make sure the safety precautions are carried out in the order listed.
Check it Out Choose a Desk Lamp