
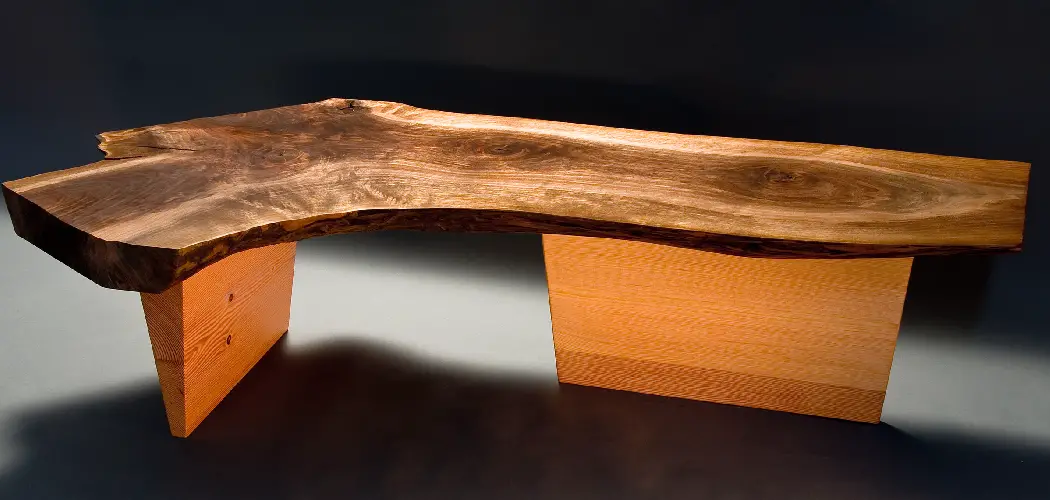
A live edge table is more than just a piece of furniture; it’s a slice of nature brought into your home. These tables celebrate the wood’s natural edge, leaving the original lines of the trunk intact. This unique feature means no two pieces are ever the same, offering a truly one-of-a-kind statement for any room.
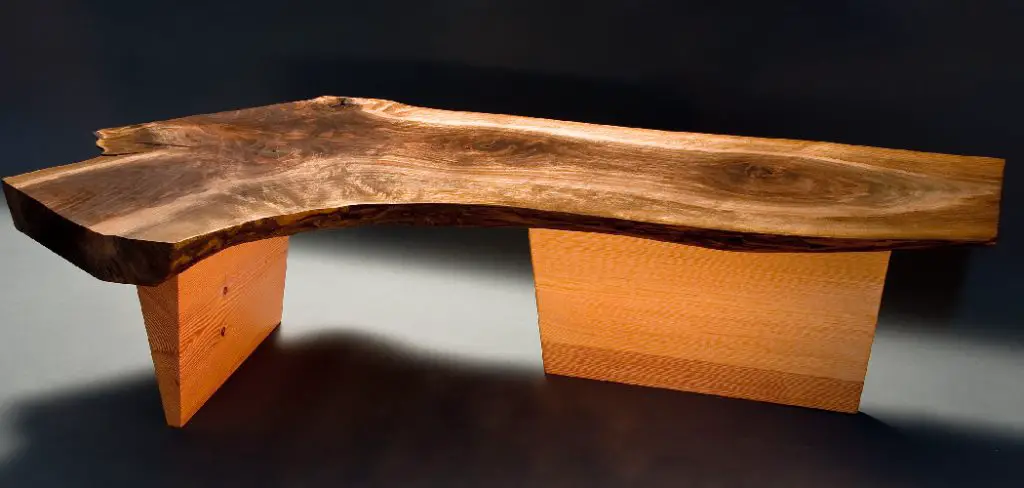
Creating your own live edge table is a deeply rewarding woodworking project. It allows you to connect with the material and craft a functional piece of art with your own hands. This guide on how to make live edge table will walk you through the entire process, from selecting the perfect slab to applying the final finish, ensuring you have the knowledge to build a beautiful and lasting table.
10 Step-by-step Guidelines on How to Make Live Edge Table:
Step 1: Selecting the Perfect Wood Slab
Choosing the right slab is arguably the most critical step in the entire process, as it dictates the final look and character of your table. You can find slabs at specialty lumberyards, from local sawyers, or online marketplaces. Consider the species of wood; hardwoods like oak, maple, walnut, and cherry are durable and popular choices, each offering distinct grain patterns and colors. Inspect the slab thoroughly for any major defects like large, unstable cracks, extensive rot, or insect damage that could compromise its structural integrity.
When selecting your slab, think about the desired dimensions for your finished table. Ensure the slab is wide enough and long enough for your needs, leaving a little extra for trimming and final shaping. Also, inquire about how the wood was dried. A properly kiln-dried or air-dried slab is essential to prevent future warping, cracking, or twisting. A moisture meter can be a valuable tool to confirm the wood’s moisture content is between 6-10% for optimal stability.
Step 2: Flattening the Slab
Most raw wood slabs are not perfectly flat. Leveling the surface is a crucial step to creating a functional tabletop. The most effective method for a DIY woodworker is using a router sled. This jig consists of two parallel rails and a carriage that holds your router, allowing it to glide over the slab at a consistent height. You’ll use a large-diameter flattening bit to shave off high spots, making multiple shallow passes across the entire surface of the wood.
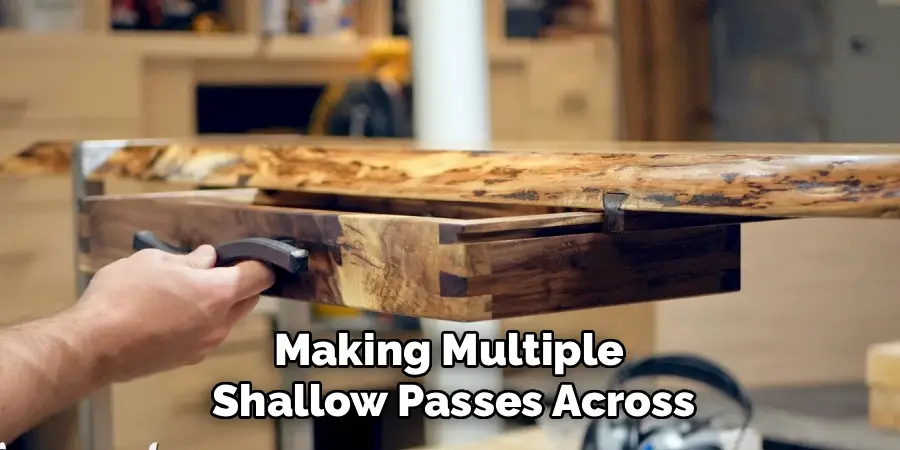
Take your time with this process, as removing too much material at once can cause the router to bog down or burn the wood. After completing one side, flip the slab and repeat the process on the other, ensuring both faces are parallel. This step creates a significant amount of sawdust, so proper dust collection and wearing a respirator are essential for safety and a clean workspace. An alternative for smaller slabs is using a hand plane, though this requires more skill and physical effort.
Step 3: Debarking and Cleaning the Live Edge
The “live edge” is the signature feature of your table, and preparing it correctly is key to highlighting its natural beauty. If the bark is still attached, you will likely need to remove it, as it can flake off over time and may harbor insects. Use a drawknife, chisel, or even a sturdy putty knife to carefully pry and peel the bark away from the wood. Work cautiously to avoid gouging the delicate edge underneath.
Once the bark is removed, you’ll need to clean up the edge. Use a wire brush to scrub away any remaining loose material, dirt, or soft cambium layer. This reveals the true texture and form of the natural edge. For a smoother feel, you can follow up with hand sanding or use a flap disc on an angle grinder, but be careful not to remove too much material and flatten the unique contours you’re trying to preserve.
Step 4: Sanding the Surfaces
Sanding is a multi-stage process that transforms the rough, flattened slab into a smooth, refined surface ready for finishing. Start with a lower grit sandpaper, such as 80-grit, using a random orbit sander. Work your way across the entire tabletop systematically, ensuring you cover every inch to remove the milling marks left by the router sled. This initial pass is about leveling out minor imperfections and establishing a uniform surface.
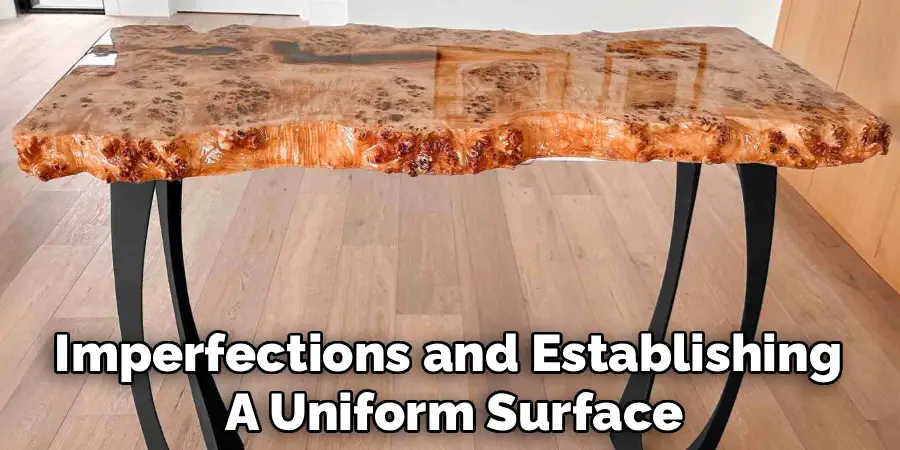
After the initial sanding, progress sequentially through higher grits: 120, 150, 180, and finally 220-grit. It is vital not to skip grits, as each one removes the scratches left by the previous one. Thoroughly vacuum the surface between each grit change to remove all dust particles, which could otherwise get trapped and create new scratches. By the time you reach 220-grit, the wood should feel silky smooth to the touch, indicating it’s ready for the finishing stage.
Step 5: Filling Voids and Cracks with Epoxy
Many live-edge slabs have natural imperfections such as knots, voids, or cracks that add to their character but may need to be stabilized. Epoxy resin is the perfect solution for filling these areas, providing a durable, clear, and level surface. First, thoroughly clean out any debris from the voids with a vacuum and compressed air. Tape off the underside of any cracks or holes with sheathing tape to prevent the epoxy from leaking through.
Mix your two-part epoxy according to the manufacturer’s instructions, ensuring you get the ratio exactly right for a proper cure. You can add a translucent or opaque pigment to the epoxy to create a decorative effect or a dark tint to mimic natural shadows. Carefully pour the epoxy into the voids, slightly overfilling them to account for shrinkage as it cures. Use a torch or heat gun to gently warm the surface of the poured epoxy, which helps release any trapped air bubbles for a crystal-clear finish.
Step 6: Final Sanding After Epoxy
After the epoxy has fully cured (typically 24-72 hours, depending on the product), it will likely be sitting slightly proud of the wood surface. The next step is to sand it flush with the rest of the tabletop. Start again with a lower grit sandpaper, around 100 or 120-grit, on your random orbit sander. Focus on the epoxy-filled areas until they are perfectly level with the surrounding wood. Be careful not to apply too much pressure, which could create a dip in the surface.
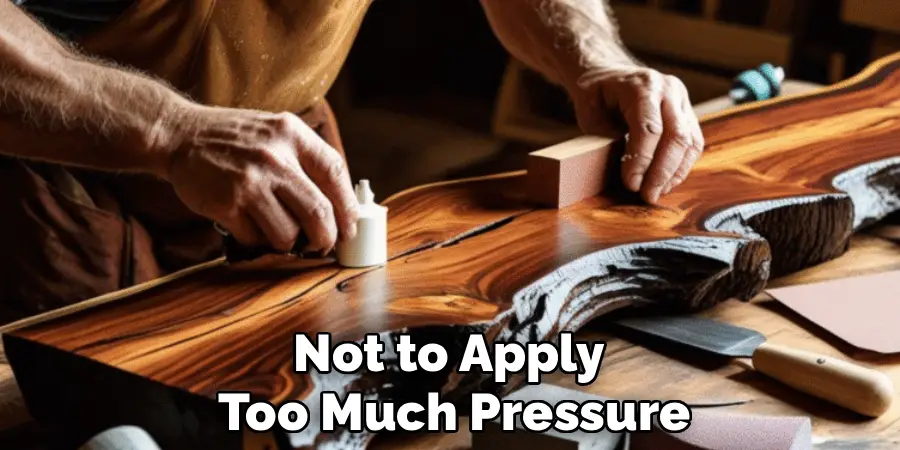
Once the epoxy is flush, you need to bring its finish back to a clear, polished state and blend it with the rest of the tabletop. Repeat the process of sanding the entire surface of the slab, moving sequentially through the grits up to 220 or even higher for a glass-like finish on the epoxy. If you want the epoxy to be exceptionally clear, you can wet-sand with very fine grits (400, 600, and up) and then use a polishing compound.
Step 7: Choosing and Attaching the Legs
The legs you choose will have a significant impact on the table’s overall style. Metal legs, such as steel trapezoids, squares, or hairpin legs, offer a modern, industrial contrast to the organic wood top. Wooden legs can provide a more traditional or rustic look. Whatever you choose, ensure the legs are rated to support the substantial weight of a solid wood slab. Consider the height of the legs to achieve the desired table height—typically 29-30 inches for a dining table.
To attach the legs, first decide on their placement. Position them far enough from the ends to provide stability without interfering with seating. Mark the locations for the mounting holes. Because wood expands and contracts with changes in humidity, it’s best to use threaded inserts and bolts rather than simply screwing the legs directly into the wood. This allows for slight movement and prevents the wood from cracking. Drill holes for the threaded inserts, install them, and then bolt the legs securely to the slab.

Step 8: Applying the Finish
The finish protects the wood from moisture, stains, and wear, while also enhancing its natural grain and color. There are many options available, each with its own look and application process. Hardwax oils are a popular choice for live-edge tables because they provide a durable, natural-looking matte or satin finish that is easy to repair. Film-forming finishes like polyurethane or lacquer offer more protection but can look more like a plastic coating on the surface.
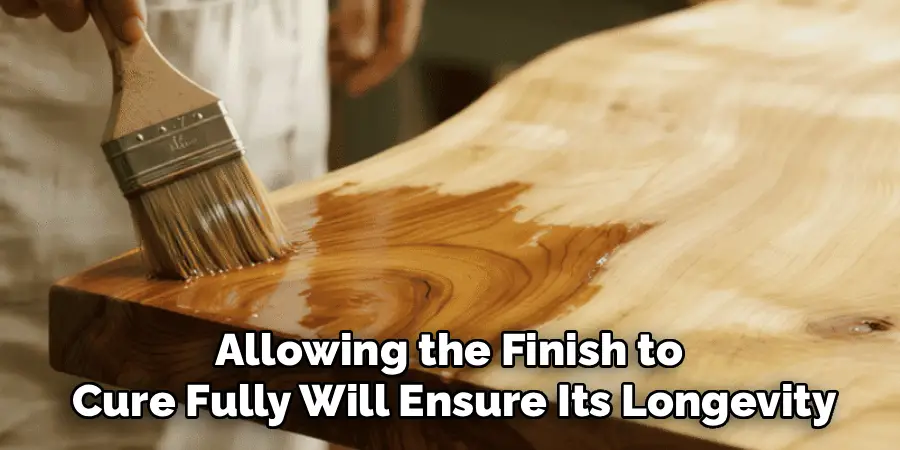
Apply your chosen finish according to the manufacturer’s directions. For a hardwax oil, you’ll typically wipe on a thin coat, let it penetrate for a set amount of time, and then buff off all the excess. Multiple coats are usually required to build up sufficient protection. Ensure you apply the finish evenly to all surfaces of the slab, including the bottom, to create a balanced seal that minimizes the potential for wood movement.
Step 9: Curing the Finish
Patience is a virtue, especially when it comes to letting your table’s finish cure. This is different from drying; while a finish may be dry to the touch in a few hours, a full cure involves the finish hardening completely to achieve its maximum durability. The curing time can vary dramatically depending on the type of finish used, temperature, and humidity. It can range from a few days for some oils to up to 30 days for oil-based polyurethanes.
During the curing period, it is crucial to treat the table gently. Avoid placing any heavy objects, hot items, or wet containers on the surface. Keep it in a well-ventilated, climate-controlled space away from direct sunlight. While it can be tempting to put your new creation to use immediately, allowing the finish to cure fully will ensure its longevity and resistance to damage, protecting all the hard work you’ve put into the project.
Step 10: Final Assembly and Placement
Once the finish is fully cured, your live-edge table is ready for its final assembly and to be moved into its new home. If you detached the legs for the finishing process, re-attach them now, making sure all bolts are tightened securely. This is often a two-person job, as solid wood slabs can be extremely heavy. Lift with your legs, not your back, to avoid injury.
Carefully move the table to its desired location. Place felt pads on the bottom of the legs to protect your floors from scratches. Step back and admire your work—a beautiful, handcrafted piece of furniture that is not only functional but also a unique work of art. Proper care, such as using coasters and cleaning with a damp cloth, will ensure your table remains a stunning centerpiece for many years to come.
Following these steps on how to make live edge table will allow you to create a beautiful and unique piece of furniture that will be the envy of all your guests. But don’t stop at just one table – there are endless possibilities for incorporating live edge wood into your home decor.
How Long Does It Take to Build a Live Edge Table?
The time it takes can vary greatly based on your skill level, the tools you have, and the condition of the slab. A skilled woodworker with a fully equipped shop might complete a table in a few days of work. For a beginner, the process could take several weekends.
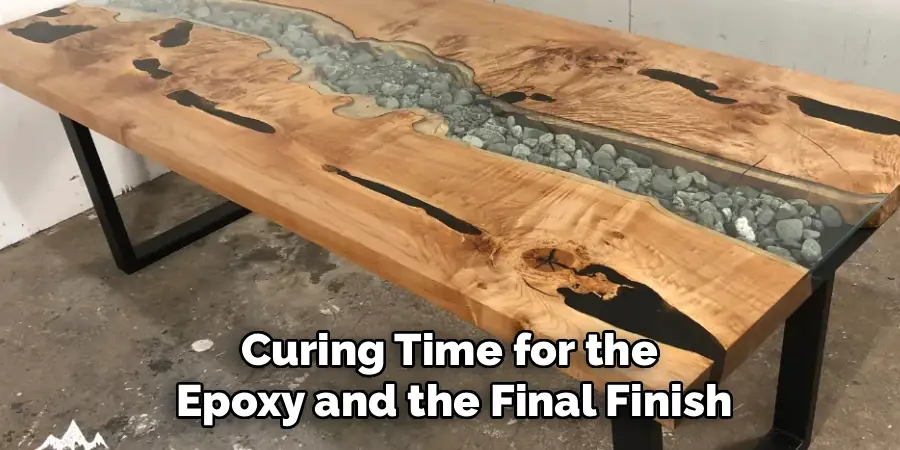
The most time-consuming parts are typically flattening the slab and the sanding process. You must also factor in the curing time for the epoxy and the final finish, which can add anywhere from a few days to a month before the table is ready for use.
Conclusion
Building a live edge table is a journey that transforms a raw piece of timber into a centerpiece for your home. From selecting the perfect slab to applying the final, lustrous coat of finish, each step offers a chance to shape and reveal the wood’s inherent beauty. While it demands patience and attention to detail, the process is accessible to anyone with a passion for creating.
By following these guidelines on how to make live edge table, you can craft a durable, functional, and stunning piece of furniture that tells a story and will be cherished for generations. Now, it’s your turn to get started on this rewarding project.
