A projector screen is an essential equipment that offers a large display area for projectors, making it possible to project images and videos with excellent clarity. When setting up a projector, the size of the screen plays a crucial role in determining the quality of the projected image. Therefore, knowing how to measure projector screen is necessary to achieve the optimal viewing experience.
Necessary Items
Before measuring the projector screen, there are a few items you will need:
- Measuring tape or ruler
- Pen and paper
- Step ladder (if needed)
8 Things to Know Before You Start
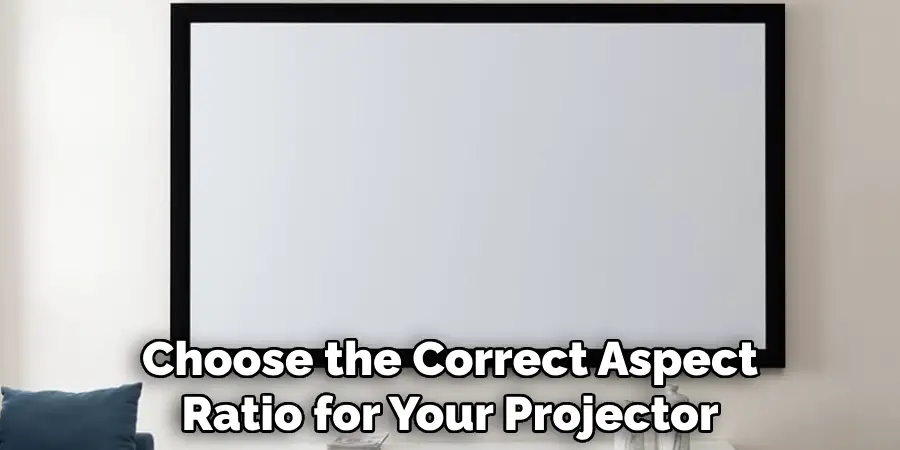
1) Aspect Ratio
Aspect ratio is the proportion of width to height of a screen. The common aspect ratios for projector screens are 4:3, 16:9, and 16:10. Make sure you know the aspect ratio of your projector before measuring.
2) Throw Distance
Throw distance is the distance between the projector lens and the screen. This measurement is important as it determines the size of the image projected onto the screen.
3) Screen Material
Projector screens come in various materials, such as white, grey, and silver. Each material has its own properties that affect image brightness and contrast. Consider the type of projector you have and your viewing environment when choosing a screen material.
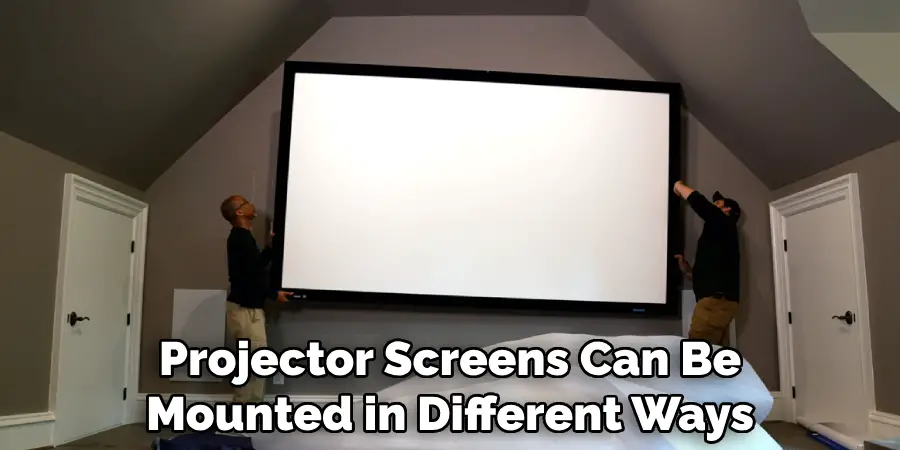
4) Mounting Options
Projector screens can be mounted in different ways – wall, ceiling, or freestanding. The mounting option chosen will also affect the size and placement of the screen. If you plan to mount the screen, make sure you have the necessary tools and hardware.
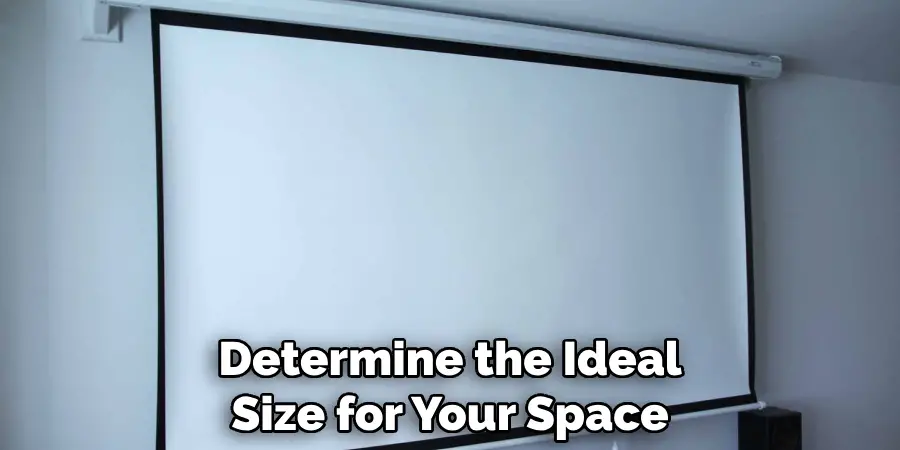
5) Screen Size
The size of the projector screen is measured diagonally in inches. It is important to choose a screen size that fits your viewing area and provides an optimal viewing experience. So, before measuring, determine the ideal screen size for your space.
6) Viewing Distance
The viewing distance is the distance between the audience and the screen. Knowing this measurement will help determine how big or small your projector screen should be for comfortable viewing.
7) Ambient Lighting
Ambient lighting refers to the natural or artificial light in a room. The amount of ambient lighting can affect the image clarity and brightness on a projector screen. Consider the amount of ambient light in your viewing area when choosing a screen material.
8) Screen Resolution
The screen resolution refers to the number of pixels displayed on the screen. The higher the resolution, the clearer and sharper the projected image will be. Make sure to choose a projector screen with a resolution that matches or exceeds your projector’s resolution.
Measuring a projector screen may seem like a simple task, but it requires careful consideration of various factors to achieve the best viewing experience. By knowing the necessary items and considerations before measuring, you can ensure that your projector screen is the perfect fit for your space and provides an optimal viewing experience.
12 Steps on How to Measure Projector Screen
Step 1: Determining the Ideal Screen Size
The first step in measuring a projector screen is to determine the ideal size for your space. Consider the viewing distance, aspect ratio, and screen resolution when choosing a suitable screen size. Also, make sure to consider the mounting option you will be using for your screen.
Step 2: Marking the Screen Location
Using a pen and paper, mark the location where you plan to mount or place your projector screen. This will give you a visual reference when taking measurements. So, make sure to mark the corners of where you want your screen to be.
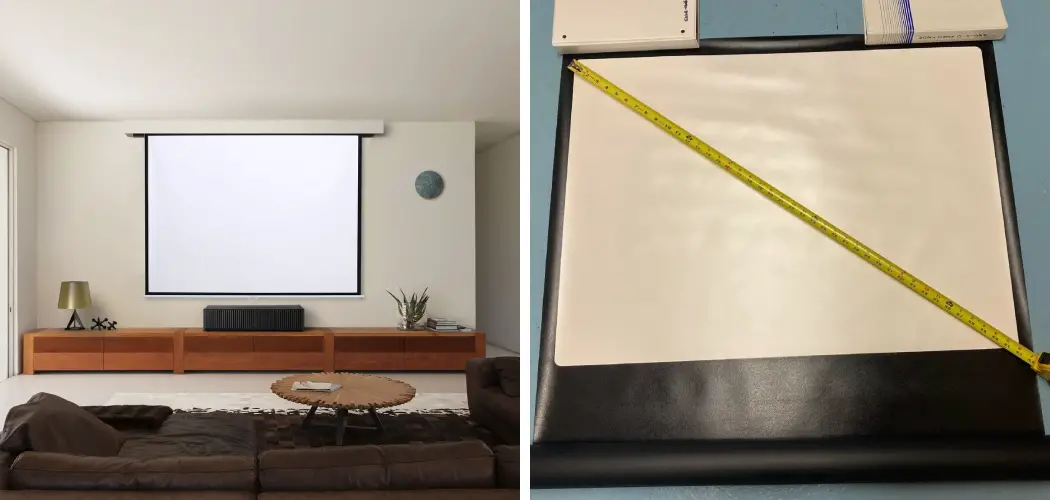
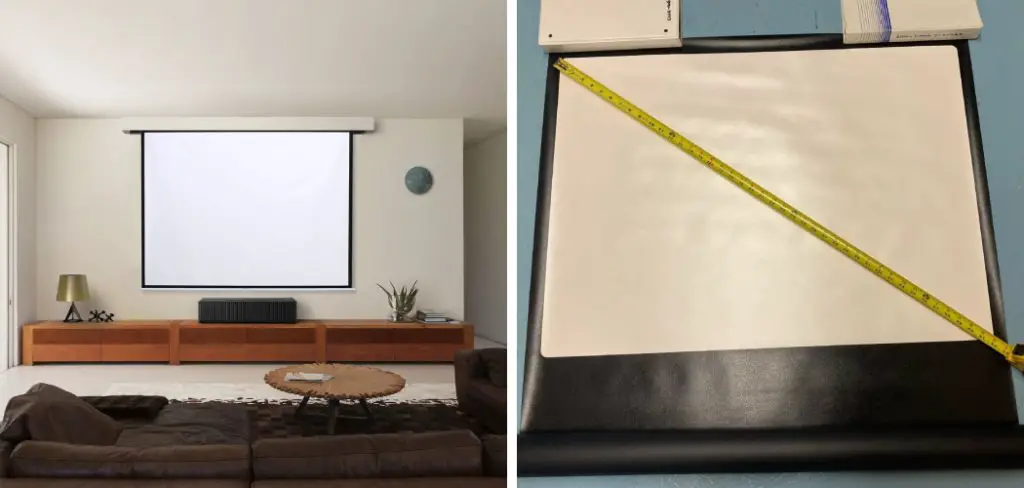
Step 3: Measure the Width
Using a measuring tape or ruler, measure the width of your marked screen location. Start from one corner and extend it to the opposite corner. Make sure to write down this measurement for reference.
Step 4: Measure the Height
Next, measure the height of your marked screen location. Start from the top corner and extend it to the bottom corner. Again, make sure to write down this measurement for reference. If your screen will be mounted on a ceiling or wall, make sure to account for the distance from the ground.
Step 5: Calculate the Diagonal Measurement
To determine the diagonal measurement of your projector screen, use the Pythagorean theorem (a² + b² = c²). Simply square both the width and height measurements, add them together, and then find the square root of the sum.
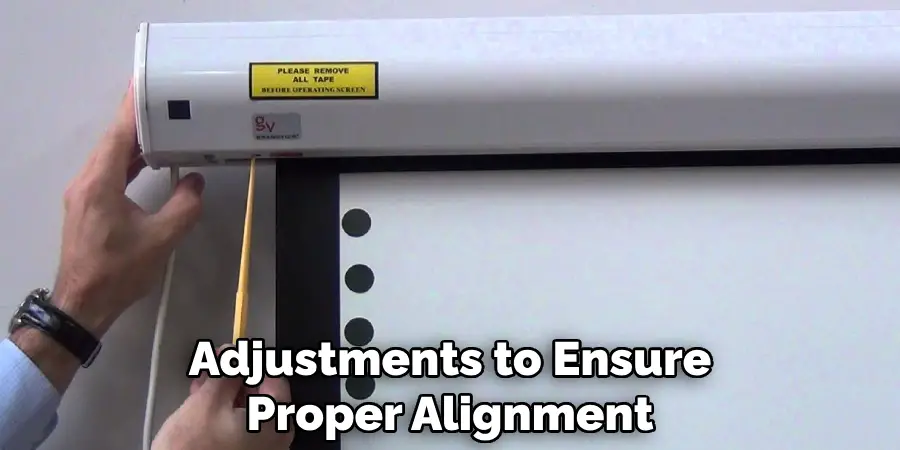
Step 6: Check for Alignment
With your measurements, double-check if the location you marked earlier is in line with your desired screen size. If not, make necessary adjustments to ensure proper alignment. As they say, measure twice, cut once!
Step 7: Determine the Aspect Ratio
Based on your projector’s aspect ratio and your desired screen size, determine the width and height of your screen. For example, if you have an aspect ratio of 16:9 and a desired screen size of 100 inches diagonally, the width will be approximately 87 inches, and the height will be approximately 49 inches.
Step 8: Consider the Throw Distance
The throw distance of your projector will also determine the size of your projected image. Refer to your projector’s manual for specific measurements based on its throw distance capabilities. Meanwhile, a general rule of thumb is to have the projector placed at a distance of 1.5 times the screen’s width for a standard throw projector and 1-1.2 times the screen’s width for a short throw projector.
Step 9: Decide on Screen Material
Based on your viewing environment and projector type, choose an appropriate screen material that will provide the best image quality. White screens are versatile and work well in low ambient lighting, while grey screens have better contrast and work well in bright rooms. Silver screens are ideal for 3D projections.
Step 10: Consider the Mounting Option
If you plan to mount your screen, make sure to choose a suitable mounting option – wall, ceiling, or freestanding. This will also affect the size and placement of your screen, so make sure you have the necessary tools and hardware for your chosen mounting option.
Step 11: Check Ambient Lighting
Consider the amount of natural or artificial light in your viewing area, as it can affect image clarity and brightness on a projector screen. Choose a screen material with appropriate light reflection properties for your viewing environment.

Step 12: Finalize Measurements
After considering all the necessary factors, confirm your measurements and make any final adjustments if needed. Once you have finalized your measurements, you are ready to purchase or build your projector screen with confidence! No matter what size or type of projector screen you choose, taking accurate measurements is key to ensuring an optimal viewing experience in your space.
By following these 12 steps on how to measure projector screen, you can confidently measure and choose the perfect projector screen for your needs. Keep in mind that proper maintenance and care of your projector screen is essential to maintain its quality over time, so be sure to follow any manufacturer’s guidelines for cleaning and storage.
8 Things to Avoid When Measuring for a Projector Screen
1) Avoid Measuring Without Considering the Viewing Distance
The viewing distance is an essential factor to consider when determining the ideal size for your projector screen. Measuring without taking this into account may result in a screen that is too large or too small for your space, leading to a less-than-optimal viewing experience.
2) Avoid Choosing the Wrong Aspect Ratio
Choosing the wrong aspect ratio can result in image distortion and black bars on your screen. Make sure to choose the correct aspect ratio for your projector and viewing needs. If you need more clarification, consult your projector’s manual or do some research before making a purchase.
3) Avoid Not Accounting for Throw Distance
Not accounting for the throw distance of your projector can result in an image that is too small or too large for your screen. Make sure to check the specifications and recommendations for your specific projector model.
4) Avoid Overlooking Ambient Lighting
Ignoring the impact of ambient lighting on your projected image can result in a washed-out or dim image. Consider the amount and type of light in your viewing environment when choosing a screen material.
5) Avoid Forgetting to Check for Alignment
Proper alignment is crucial for an optimal viewing experience. Double-checking your measurements and making necessary adjustments will ensure that your screen is correctly positioned for your projector.
6) Avoid Choosing an Inappropriate Screen Material
Choosing the wrong screen material for your viewing environment can result in poor image quality. Do some research and consider factors such as light reflection, contrast, and 3D capabilities before making a decision.
7) Avoid Not Factoring in Mounting Options
Not considering the type of mounting option you will use can affect your screen’s size and placement. Make sure to choose a suitable option and have the necessary tools and hardware for installation.
8) Avoid Measuring Without Taking into Account the Screen Size
Measuring without considering the desired screen size can result in a screen that is too small or too large for your needs. Make sure to determine the appropriate size based on your viewing distance, projector’s aspect ratio, and throw distance. In conclusion, accurate measurements are crucial when it comes to choosing the right projector screen for your space. By avoiding these common mistakes and following the steps outlined in this guide, you can ensure a quality viewing experience with your new projector screen.
8 Additional Tips for Choosing and Maintaining a Projector Screen
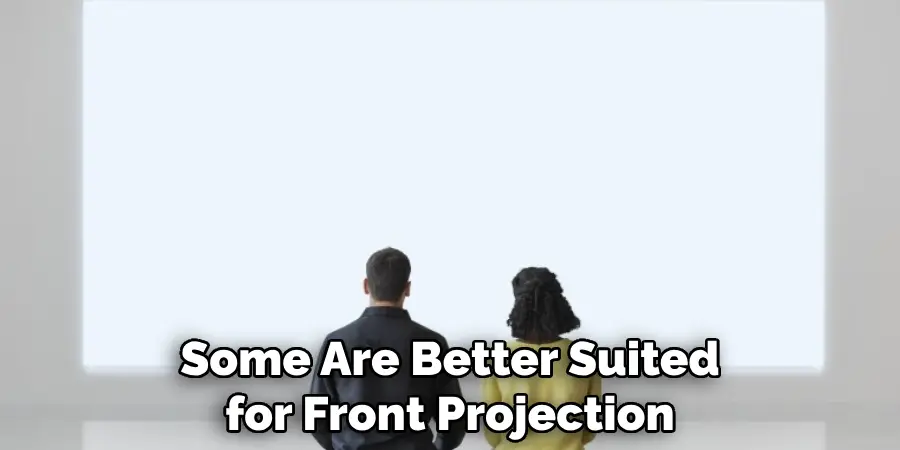
1) Consider the Type of Projection Surface
Projector screens come in various materials, each with their own unique properties. Some are better suited for front projection, while others work well for rear projection. Be sure to choose a screen with the appropriate surface type for your desired projection method.
2) Take into Account the Type of Content You Will be Projecting
Consider the type of content you will most frequently be projecting on your screen. If you will primarily be watching movies or TV shows, a white screen may be best. However, if you plan to use your projector for gaming or presentations with lots of text and images, a grey screen may provide better contrast.
3) Keep the Screen Clean and Free of Debris
Regularly cleaning your projector screen will help maintain its image quality. Use a microfiber cloth or brush to remove any dust or debris, and avoid using harsh chemicals that may damage the screen.
4) Consider an Automatic Tensioning System
If you opt for a motorized or electric projector screen, consider choosing one with an automatic tensioning system. This feature helps keep the screen taut and wrinkle-free for a smoother viewing experience.
5) Use Proper Storage Methods
If you need to store your projector screen, make sure to do so properly. Roll it up carefully and store it in a cool, dry place to avoid any damage or wrinkling of the screen material.
6) Inspect for Damage or Wear
Regularly inspect your projector screen for any signs of damage or wear. This may include tears, wrinkles, or discoloration. If you notice any issues, address them promptly to avoid further damage and maintain the quality of your screen.
7) Consider Acoustic Properties
If you plan on using your projector for audio as well, consider choosing a screen with acoustic properties. This can help improve sound quality by absorbing excess resonance and reducing echo in your viewing space.
8) Invest in a Quality Screen
Lastly, investing in a high-quality projector screen may cost more upfront, but it will likely provide a better viewing experience and last longer than cheaper options. Do some research and read reviews to find the best screen for your specific needs and budget. Ultimately, proper selection, measurement, and maintenance of your projector screen can greatly impact your overall viewing experience.
By following these tips and avoiding common mistakes, you can ensure the optimal performance and longevity of your projector screen. Happy projecting! This brings us to the end of our guide on measuring for a projector screen. This has been helpful in your quest for the perfect viewing setup. Keep these tips on how to measure projector screen in mind and enjoy a superior movie, gaming, or presentation experience with your new projector screen.
Frequently Asked Questions
Can I Use a White Wall as a Projector Screen?
While it is possible to project onto a white wall, it is not recommended. Walls are generally not designed for optimal image quality and may result in a distorted or washed-out picture. It is best to invest in a proper projector screen for the best viewing experience.

How Often Should I Clean My Projector Screen?
You should clean your projector screen every few weeks or as needed. However, be sure to use gentle cleaning methods and avoid using harsh chemicals that may damage the screen material. Additionally, it is important to regularly inspect for any damage or wear and address any issues promptly.
Can I Use a Projector Screen Outdoors?
Yes, there are outdoor projector screens available that are specifically designed for outdoor use. These screens typically have weather-resistant materials and can withstand various environmental elements. Be sure to follow the manufacturer’s instructions for proper setup and maintenance. Keep in mind that even with an outdoor screen, factors such as ambient light and wind can still affect the viewing experience. It is important to consider these factors when choosing a location for your outdoor projector screen setup.
Can I Use My Projector Screen for Both Front and Rear Projection?
Some screens are designed for both front and rear projection, while others are specific to one type only. Make sure to check the specifications of your chosen screen before attempting to use it for both front and rear projection.
Can I Adjust the Size of My Projector Screen?
Most manual projector screens have adjustable height settings, allowing you to change the size of the screen within a certain range. However, with motorized or electric screens, you may need to choose a specific size at the time of purchase. It is important to measure accurately and consider the desired size when choosing a screen.
How Do I Determine the Right Size for My Projector Screen?
As discussed in this guide, the optimal screen size depends on various factors such as viewing distance and projector capabilities. Be sure to measure accurately and consider all these factors when determining the right size for your projector screen. Ultimately, choosing a screen that provides a comfortable and immersive viewing experience for your specific needs and preferences is important.
Conclusion
Choosing the right projector screen and properly maintaining it can greatly enhance your viewing experience. Consider the type of content you will be projecting, keep the screen clean and free of debris, and invest in a high-quality screen for optimal performance and longevity. Remember to regularly inspect for damage or wear, consider acoustic properties if using audio, and choose an appropriate storage method if necessary. With the right screen and proper maintenance knowledge on how to measure projector screen, you can enjoy a superior movie, gaming, or presentation experience with your projector.