
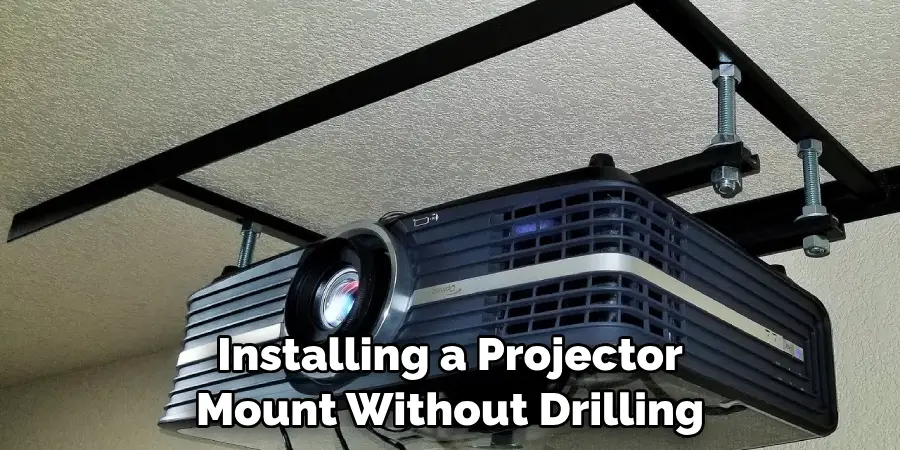
Hanging a projector from the ceiling can boost your viewing experience, but most people are daunted by the prospect of having to install brackets and drill holes in their ceiling. But did you know that there is actually an incredibly simple and affordable way to mount your projector without drilling?
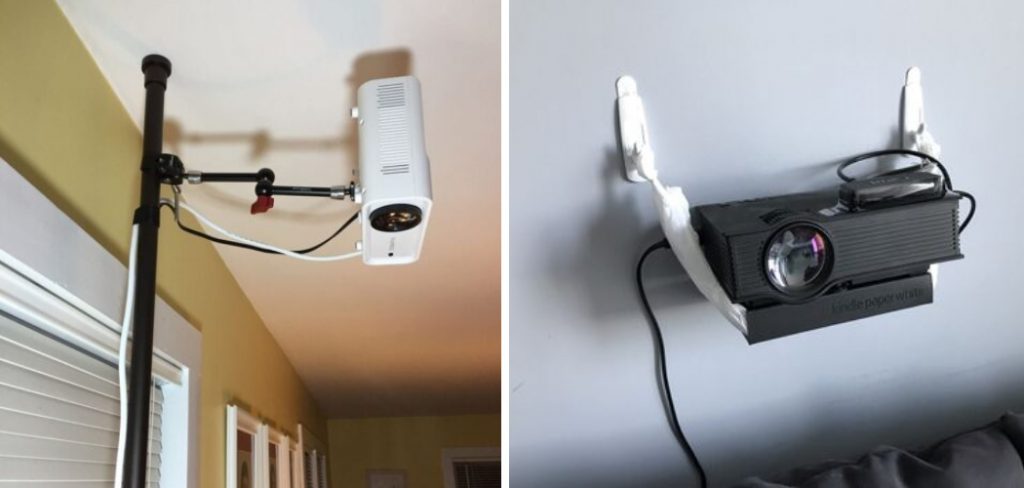
In this post on how to mount a projector without drilling, we’ll show you how it’s possible to hang your projector with minimal hassle or expense. We’ll also discuss the various alternatives available for mounting a projector, so you can choose which solution best suits your needs. Keep reading to find out more!
Needed Materials
Given below is the list of materials needed to mount a projector without drilling:
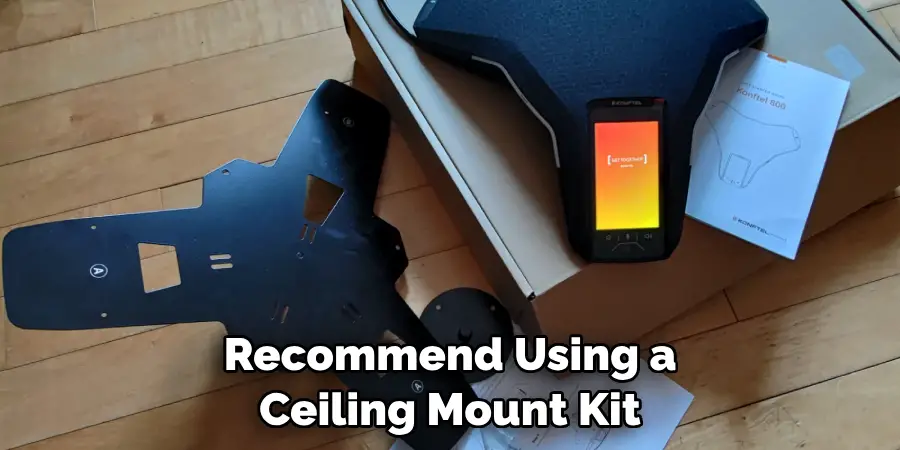
Ceiling Mount Kit or an Alternative Mounting Solution
This is the most important component of any projector mounting setup. A ceiling mount kit typically includes a projector bracket, universal hook and cable clips, which are used to attach the projector securely to your ceiling.
Projector
You’ll also need a projector, of course! We recommend checking out our range of digital projectors for home use, which come in a range of sizes and prices.
Mounting Hardware
If you’re using a ceiling mount kit, then all the necessary mounting hardware should be included in your purchase.
10 Step-by-step Guides on How to Mount a Projector Without Drilling
Step 1: Choose Your Preferred Mounting Solution
If you’re looking for a simple and straightforward option, then we recommend using a ceiling mount kit. But there are plenty of other mounting solutions available, such as wall mount kits or motorized ceiling mounts. Depending on the space you have available and your budget, find a mounting solution that meets your needs.
Step 2: Assemble Your Ceiling Mount Kit (or Alternative Solution)
If you’re using a ceiling mount kit, begin by assembling it according to the instructions included in the package. Make sure all screws and bolts are securely tightened before proceeding to the next step. It’s also a good idea to double-check the weight capacity of your ceiling mount kit, as some may not be suitable for heavier projectors.
Step 3: Check the Dimensions of Your Projector
Check the dimensions of your projector so you can confirm that it will fit into your chosen mounting solution. This is an important step as some projectors may be too large for certain mount types. This could also be a good time to check the weight of your projector too, so you can make sure it is compatible with your chosen mounting solution.
Step 4: Prepare the Mounting Surface
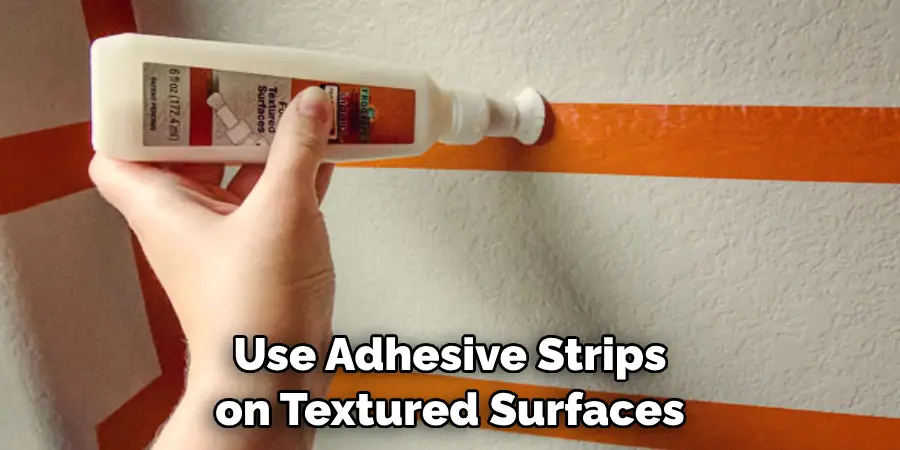
Before attaching your projector, make sure that the surface of the ceiling or wall is clean and free from any imperfections. If you’re mounting onto a textured surface, use adhesive strips to help keep the mount in place. But for non-textured surfaces, you can use screws to help secure the mount.
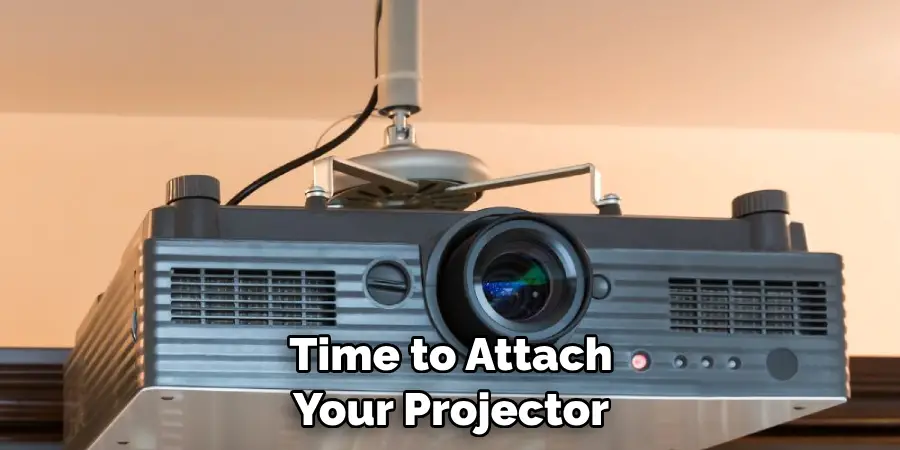
Step 5: Attach your Projector to the Mount
Once you have your chosen mount assembled and ready to go, it’s time to attach your projector. Position the projector so that it fits snugly against the mount and ensure that all screws are firmly tightened. If using a ceiling mount kit, make sure that the universal hook is in place and firmly secured.
Step 6: Connect Your Cables
Now that your projector is securely mounted in place, connect all necessary cables. This includes power cables, audio cables and video cables if applicable. Make sure all connections are secure and do not leave any excess cables dangling. It’s also important to keep cables away from any heat sources, such as radiators or air vents.
Step 7: Align Your Projector
Aligning your projector is the next step in the process. If you’re using a ceiling mount kit, use the included alignment tool to ensure that your projector is level with the floor. You can also adjust the tilt of your projector as needed. But if you’re using a motorized ceiling mount, use the provided remote to make adjustments.
Step 8: Mount Your Screen (Optional)
If you have a projector screen, now is the time to hang it up! Most screens come with their own mounting hardware which makes them easy to install on any wall or ceiling surface. It’s also important to make sure that your screen is aligned with the projector, so you get the best viewing experience.
Step 9: Test Everything Out
Before you start enjoying your new setup, make sure to test out all the connections and ensure that everything is working as expected. Try out different viewing angles, adjust the brightness and contrast settings if needed, and make sure that your audio output is satisfactory. It’s always a good idea to test out your projector in advance before hosting any movie nights or gaming sessions.
Step 10: Enjoy!
Congratulations on successfully setting up your own projector without drilling any holes in the ceiling or walls. Now all that’s left to do is sit back, relax, and enjoy movies or video games with friends and family! If you’ve followed all of the steps in this post, your setup should look great and provide a comfortable viewing experience.
We hope this guide has provided you with some useful insight into how to mount a projector without drilling. If you have any further questions about mounting solutions or projectors in general, don’t hesitate to get in touch with us for more information!
Do You Need to Use Professionals?
For many people, the idea of installing a projector mount without drilling can seem daunting. However, with some careful planning and consideration of your own abilities, you don’t necessarily need to hire a professional to help you out! Most ceiling mount kits come with detailed instructions on how to install them, as well as all the necessary hardware. So if you feel confident in your DIY skills, then you should be able to handle this task on your own.
However, if you’re still feeling unsure or would like some extra help during the installation process, it’s always best to consult an expert. Professional installers will have experience in setting up projector mounts and can ensure that everything is done correctly. They can also provide additional advice and guidance along the
How Much Will It Cost?
The cost of mounting a projector without drilling will depend on the type of mount you choose and where you purchase it from. A basic ceiling mount kit should cost anywhere between $30 – $100, depending on the size and quality. If you’re using an alternative mounting solution such as a motorized arm or wall bracket, then expect to spend more – typically around $150-$200.
Additionally, if you opt for professional installation services then this could add another $100-$200 to your overall costs. However, this might be worthwhile if you want to make sure that everything is done correctly the first time around!
With all these factors in mind, take some time to compare prices and consider which option is best suited to your budget and needs.
Frequently Asked Questions
Q: Can I Use a Different Type of Mount Other Than a Ceiling Mount Kit?
A: Yes, there are several other mounting solutions available to choose from, such as motorized ceiling mounts or wall mount kits. However, these solutions may require more advanced technical knowledge and installation time than a standard ceiling mount kit.
Q: Can I Adjust the Angle of My Projector After Mounting?
A: Yes, most projector mounts have tilt adjustments that allow you to adjust the angle of your projector after it has been mounted. This can be useful if you need to make small adjustments for a better viewing experience.
Q: What Are Some Tips For Mounting a Projector Without Drilling?
A: Here are some tips for mounting a projector without drilling: Use adhesive strips on textured surfaces to help keep the mount in place, check the dimensions of your projector to ensure it fits your chosen mount, and make sure all connections are secure before testing out the setup.
Q: Can I Hang a Projector From the Ceiling Without Drilling Holes?
A: Yes, it is possible to hang a projector from the ceiling without drilling holes. Ceiling mount kits are designed to be installed with minimal effort and many include all the necessary hardware for installation. Alternatively, you could also use a motorized ceiling mount or wall mount kit if that suits your needs better.
Conclusion
With the alternative mounting options discussed above, you should no longer have to worry about needing to not only purchase a drill but also take time out of your day to find a wall that you are permitted to drill into. Get creative with a home movie night and explore all these fun ways of projecting your favorite films or presentations without having to drill into the walls of your home.
Having a projector is incredibly convenient and easy, and now you know how to mount yours in an efficient and safe way – without destroying the walls of your home! So grab those items, find the right spot, and create the perfect viewing experience for yourself. Thanks for reading this article on how to mount a projector without drilling.