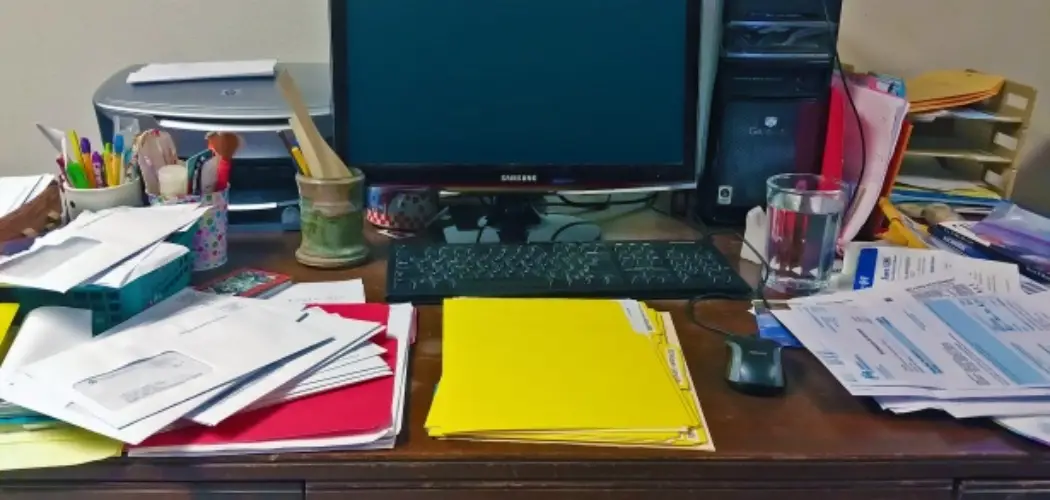
Are you looking for ways to organize your office space? Don’t know where to start? We all have clutter in our workspace, whether it’s papers, pens, books, and binders. Trying to find a way to make it all fit can be overwhelming, so here is how you can get started: by organizing the messiest of offices into an organized and inviting space.

With these tips, helpful advice on sorting through the chaos, understanding what works best for your home or office, and creative ideas on ways to keep things neat and tidy, you’ll be able to transform that disorganized pile of paperwork into a peaceful haven where productivity will thrive!
There’s no need to despair – all it takes is some proper organization, and you can turn even the messiest offices into one that inspires creativity and efficiency. Here we provide helpful tips for how to organize a messy office!
What Will You Need?
The first step to organizing your office is gathering the necessary tools. This can include the followings:
- Baskets, bins, and trays
- Filing cabinets or folders
- Labels
- Writing utensils
- Pens and pencils in holders/cups
- A calendar or planner
- Desktop organizers
- Hanging wall files or racks
Once you have the essentials, you’re ready for the next step.
10 Easy Steps on How to Organize a Messy Office
Step 1. Sorting and Categorizing
The most important step in organizing office space is sorting and categorizing. This step takes time, so start by taking one small area at a time. Take everything out of the drawers, shelves, and cabinets and separate them into piles according to category (e.g., office supplies, books, paperwork). Once you have the items sorted, deciding what stays and what goes will be much easier.
Step 2. Declutter
Once your items have been categorized, it’s time to declutter! Throw away anything that is no longer needed or relevant – recycle where possible. If you don’t need an item but can’t bear to part with it right away, store it in another location, like an attic or a storage box.
Step 3. Label
Once the area is decluttered, it’s time to label it. This will help you keep track of what items go where in your newly organized office space. Invest in some labels or use a labeling machine and assign each item its own designated spot.
Step 4. Create Storage Solutions
Create storage solutions that are tailored to your needs and lifestyle by using baskets, bins, trays, folders, and other organizational items that are both functional and aesthetically pleasing (e.g., colorful file folders). Think outside the box – there is no wrong way to store your items! If you have a lot of paperwork, consider filing cabinets or hanging wall files.
Step 5. Prioritize Items
Prioritize which items need to be tucked away in drawers and cabinets and which can remain on display. This will help you create the perfect balance between open storage and closed storage. Don’t forget to create designated areas for items like papers, books, and office supplies.
Step 6. Find a Place for Everything
Once all of your items are sorted and labeled, it’s time to find a place for everything. Use drawer organizers, desk caddies, or desktop trays to store items like pens, paper clips, post-its, staplers, and other office essentials that tend to get scattered throughout the workspace.

Step 7. Set Up a Filing System
Set up a filing system that is tailored specifically to your needs (e.g., alphabetically by last name). It’s important to have a filing system that is both easily accessible and easy to maintain. Try using folders, bins, and trays to store all of your paperwork.
Step 8. Make it Cozy
Make your office space inviting and comfortable by adding items like plants, cozy pillows or art prints. These items will bring life into the space and make you want to spend more time there! If you don’t have the space for plants, try using scented candles or oils to make the area smell nice.
Step 9. Stick To It
Once everything is organized and in its designated spot, make sure to stick with it! Put something back in its spot after you use it so that everything stays organized over time. You can also set up a weekly or monthly maintenance schedule to make sure everything stays in order.
Step 10. Enjoy Your Space
Lastly – enjoy your newly organized office space! Whether it’s a corner of the living room or an entire home office, now is the time to celebrate your hard work and appreciate your newly organized space! Remember, staying on top of your office and maintaining a consistent routine is the key to keeping your office organized.
Organizing a messy office is no easy task, but with these helpful tips, you can turn it from an overwhelming mess into a neat and inspiring workspace in no time. We hope you’ve found these steps helpful and wish you luck with organizing your own office!
5 Additional Tips and Tricks
1. Assign a place for everything. When organizing items in your office, ensure each item is assigned a specific place to go when not used. Clutter collects quickly when items don’t have a designated spot, so make sure to account for all of your items.
2. Utilize containers and baskets. Containers are great for storing things like markers, pencils, paper clips, etc., but they can also help keep those items in their assigned places. Plus, it adds an extra layer of organization and gives a more polished look to your office.

3. Donate or toss out old items you no longer need. When organizing a messy office it is important to get rid of any unnecessary items that are taking up space and adding clutter. Ask yourself if the item serves a purpose in your office or if something else could take its place – if it doesn’t, then donate or discard it.
4. Make cleaning a part of your daily routine. If you try to keep on top of cleaning your office every day, it will remain organized for much longer and save you lots of headaches in the long run!
5. Make it fun. Don’t forget to make the process of organizing your office enjoyable – add some colorful containers, or give yourself a break every once in a while to keep from getting overwhelmed.
With some creativity and dedication, organizing your office can be an enjoyable task!
5 Things You Should Avoid
1. Avoid leaving items out. Leaving things like pens, paper clips, and other office essentials lying around can quickly become a source of clutter. Make sure always to put these items away when you’re done using them!
2. Avoid having too many containers or organizers. While it might be tempting to organize everything with containers, having too many can make the space look messy and disorganized instead of clean and tidy.
3. Avoid forgetting to label items. Labeling all of your folders, drawers, and bins is essential for keeping track of where everything is, so make sure not to forget this step!
4. Avoid overcrowding shelves and drawers. Overcrowding shelves or drawers can lead to items getting lost in the mix, so try to keep things organized and spaced out. This will create a sense of order and make it easier to find what you need quickly.
5. Avoid procrastination when organizing your office space. It is easy to put off organizing tasks, but once you start it’s important to stay focused and finish before returning to other activities. Doing this will help ensure that your office remains organized in the long term!
Following these steps lets you quickly and easily organize a messy office quickly and easily. Whether it’s a tiny desk corner or an entire home office, now is the time to celebrate your clean and organized space! All that’s left is to enjoy the view of your now-organized office.
What is the Psychology of a Clean Workspace?
The psychology of having a tidy workspace is often overlooked. However, studies have shown that when your office is clean and organized, it can help improve productivity and creativity. It has even been found to lower stress levels significantly! A clean office signals to your mind that you take pride in what you do and are committed to doing good work.
Additionally, it helps create an environment that encourages focus and motivation while providing a sense of control over the space. Furthermore, a neat area also gives off the vibe that you value yourself as well as others who visit your office. An organized workspace ultimately leads to improved mental well-being and performance.
By following these tips and tricks for how to organize a messy office quickly and easily, you will not only achieve a more polished and professional look but can also positively impact your mental wellbeing in the process.
Conclusion
The advantages of having an organized office space are plentiful. It can help to keep important documents and items nearby, so you don’t have to search for them in piles of disorganization. It can help boost productivity, allowing you to focus on the task at hand instead of getting distracted by the clutter. And it can make coming into the office a much more pleasant experience overall.
With this guide on how to organize a messy office, organizing your messy office doesn’t have to feel like a daunting challenge – start small, put away one item at a time, and watch your desk transform before your eyes!
Having an organized office will help reduce stress levels and increase overall productivity and efficiency. So what are you waiting for? Get started today on reclaiming your workspace – good luck!