Are you tired of your pressboard furniture looking so dull and lifeless? Do you want to add some color and personality to your home decor?

How to paint pressboard furniture is an excellent way to revitalize outdated pieces and give them a new lease on life. While pressboard, or particleboard, is more budget-friendly than solid wood, it requires specific techniques to ensure a smooth and lasting finish. Understanding these techniques can transform lackluster furniture into stylish centerpieces for any room. Whether you’re looking to modernize a bookcase, a dresser, or a side table, this guide will provide step-by-step instructions to achieve a professional look, even if you’re new to DIY projects.
With the right preparation, tools, and paint, your pressboard furniture can become a functional and attractive addition to your home.
What Will You Need?
To successfully paint pressboard furniture, you will need the following materials and tools:
- Sandpaper or sanding block (100-150 grit)
- Tack cloth or damp cloth
- Primer suitable for pressboard furniture
- Latex or acrylic paint in your desired color
- Paintbrushes (foam brush for larger surfaces, smaller brush for edges and corners)
- Painter’s tape
- Drop cloth or newspaper to protect your work area
Optional Materials:
- Wood filler (for filling in any cracks or holes)
- Putty knife (for applying wood filler)
Make sure to choose high-quality materials, as they can significantly affect the final result. Additionally, you may want to invest in a good-quality paintbrush to achieve a smoother and more even finish.
10 Easy Steps on How to Paint Pressboard Furniture
Step 1: Prepare the Furniture
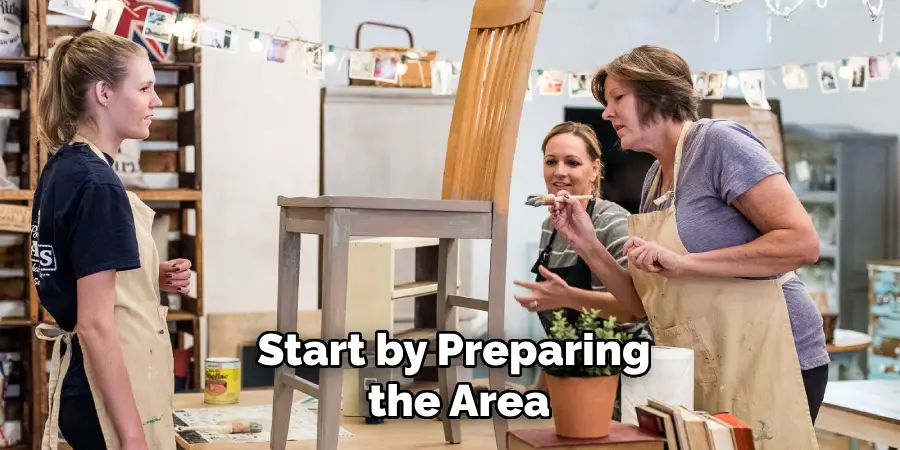
Start by preparing the area where you will be working. Lay down a drop cloth or newspaper to protect the floor from paint spills or drips. It’s crucial to ensure your work area is well-ventilated to prevent inhaling harmful fumes from the primer and paint. Move the pressboard furniture onto the drop cloth and remove any hardware, such as knobs or handles, as these can interfere with the painting process. If your furniture piece has drawers, remove them or open them to prevent overlap of paint.
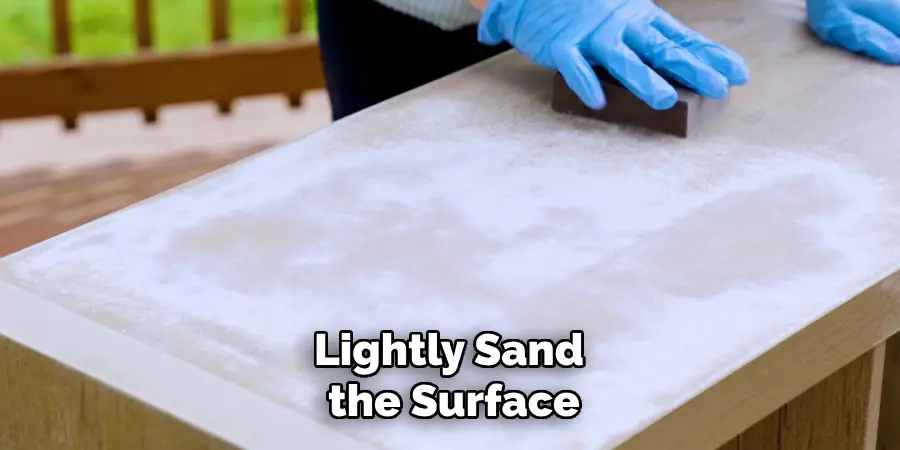
Next, use sandpaper or a sanding block with 100-150 grit to sand the surface of the furniture gently. The goal here is not to remove the existing finish entirely but to roughen up the surface just enough for the primer to adhere more effectively. Pay special attention to any edges or corners, ensuring that the entire surface has been adequately sanded. Once you’ve finished sanding, wipe the furniture with a tack cloth or a damp cloth to remove any dust particles. This step is vital in ensuring a smooth, even coat of primer and paint later on.
Step 2: Apply Primer
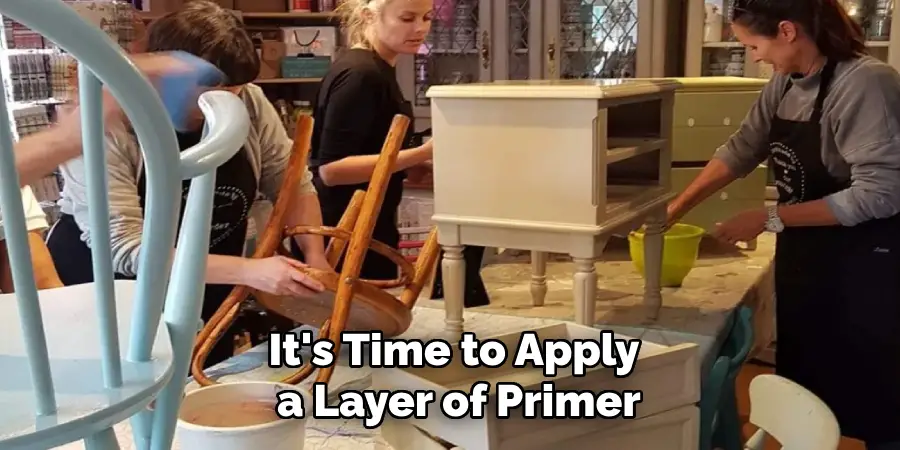
Once your furniture is prepared, it’s time to apply a layer of primer. Choose a primer that is suitable for pressboard materials to ensure strong adhesion and durability. Apply the primer evenly across all furniture surfaces using a foam brush or a small roller. Be sure to reach into any nooks or corners to ensure full coverage. Priming is essential as it helps the paint adhere better, preventing chipping or peeling over time.
Allow the primer to dry completely; this could take a few hours, depending on the manufacturer’s instructions, so check the drying time on the primer’s label. If necessary, apply a second coat of primer for additional coverage and smoothness, letting each coat dry thoroughly before proceeding to the painting step.
Step 3: Sand the Primed Surface
After the primer has dried completely, take a piece of fine-grit sandpaper, around 220 grit, and gently sand the primed surface. This will help smooth out brush strokes or roller marks, making a more uniform finish. Be sure to sand lightly, as the goal is to refine the surface rather than remove any primer. Once you have sanded the entire piece, use a tack or damp cloth once more to clean off any dust particles. Ensuring a clean surface will help achieve the best possible paint application.
Step 4: Paint the Furniture
Now that your furniture is primed and smooth, it’s time to apply the paint. Select a high-quality latex or acrylic paint in your desired color. Apply the paint evenly across the surface using a foam brush or roller. Begin with light coats, allowing the paint to dry thoroughly between each application. Multiple light coats yield a smoother, more professional finish than one or two heavy coats. Be sure to reach all corners, edges, and intricate details for comprehensive coverage.
If needed, use a smaller brush for any hard-to-reach areas. Remember to let each coat dry fully according to the manufacturer’s recommendations before applying additional layers. This patient approach ensures that your pressboard furniture not only looks excellent but maintains its appearance for years to come.
Step 5: Sand Between Coats
After each coat of paint has dried completely, lightly sand the surface with fine-grit sandpaper, around 220 grit. This step may seem tedious, but it is crucial for achieving a high-quality finish. The light sanding helps to even out imperfections, dust particles, or brush strokes that might have settled during the drying process. Once finished sanding, wipe the furniture with a tack cloth or damp cloth to remove any sanding residue. This will ensure the next layer of paint adheres smoothly and evenly. Repeat this process for each subsequent coat of paint for the best results.
Step 6: Apply a Protective Topcoat
Once you are satisfied with the color and coverage of your paint, the next step is to apply a protective topcoat. This finish will not only enhance the appearance of your furniture but also provide durability against daily wear and tear. Choose a clear polyurethane or polycrylic topcoat suitable for furniture to seal and protect the paint.
Using a clean brush, apply the topcoat evenly across the entire piece, covering all surfaces, including edges and corners. Allow the first coat to dry thoroughly before considering an additional layer. Multiple coats will offer more protection and a more decadent finish, but ensure each coat dries completely before applying the next. This careful approach will ensure that your newly refreshed piece remains beautiful and functional for a long time.
Step 7: Reattach Hardware and Reassemble
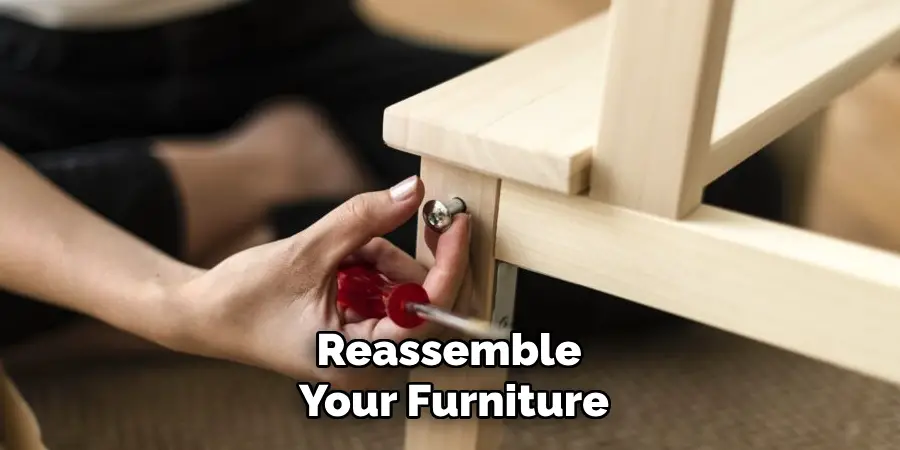
After ensuring the topcoat is thoroughly dried and cured, it’s time to reattach any hardware and reassemble your furniture. Before reattaching knobs, handles, or other fixtures, consider giving them a quick polish or update to complement the fresh look of your painted piece. If you’ve removed drawers or other detachable parts, ensure they slide back into place correctly and that all components are securely fastened. This step completes your project’s transformation, allowing you to enjoy your pressboard furniture’s final, rejuvenated appearance. Take a moment to admire the updated aesthetics and the effort that went into this rewarding DIY task.
Step 8: Maintenance and Care
Regular maintenance and care are essential to prolong the life and appearance of your newly painted pressboard furniture. Dust the surfaces lightly with a soft cloth to avoid accumulation of dirt that could scratch the finish. Use coasters or placemats to protect the surface from spills and heat, and clean any stains promptly with a damp cloth and mild soap if necessary—ensuring you dry the area thoroughly afterward. Avoid placing the furniture in direct sunlight to prevent fading or discoloration over time. With proper care, your rejuvenated furniture will continue to look fresh and well-maintained, preserving the time and effort you’ve invested in its transformation.
Step 9: Enjoy Your Revitalized Furniture
Now that your pressboard furniture has been completely transformed, it’s time to enjoy the fruits of your labor. Step back and admire the new life you’ve breathed into the piece, appreciating the fresh look and enhanced functionality it adds to your space. Use this opportunity to style your furniture within your home’s decor, incorporating complementing accessories or decorative elements. Feel proud of the skill and dedication that went into this project, showcasing your ability to turn a simple pressboard piece into something truly unique and personalized. Whether it’s a decorative accent or a functional everyday item, your revitalized furniture is a testament to your creativity and effort.
Step 10: Share Your DIY Experience
Once you’ve completed your project, don’t keep your success to yourself—consider sharing your DIY journey with friends, family, or an online community. Take before and after photos to highlight the transformation and document the steps you followed. Sharing your experience can inspire others to embark on their projects and contribute valuable tips to those interested in refurbishing their furniture. Engaging with a community of DIY enthusiasts can also provide new ideas and techniques for future endeavors. Celebrate your accomplishment and motivate others by spreading the word about your revitalized pressboard furniture and the satisfaction of a successful DIY project.
By following these steps and putting in some time, effort, and creativity, you can transform dull and outdated pressboard furniture into a beautiful and functional addition to your home.
Conclusion
How to paint pressboard furniture is not only an inexpensive way to update your home decor, but it also offers a personal touch that can enhance the overall aesthetic of your space.
You can achieve a professional-looking finish by carefully preparing the surface, selecting appropriate primers and paints, and applying each coat with attention to detail. Sanding between coats and adding a protective topcoat ensures durability, while maintenance helps prolong the life of your creation. This rewarding DIY process allows creativity and craftsmanship to shine, resulting in unique furniture pieces that reflect your style and dedication.
With patience and effort, anyone can transform their pressboard furniture into cherished items that add character and functionality to their home.