
Are you looking to add some security or convenience to your home by installing motion sensor lights? These lights are a great way to deter potential intruders and make your life easier by automatically turning on when you enter a room.
Wiring a motion sensor to multiple lights can significantly enhance the convenience and security of your home or workplace. This guide is designed to walk you through the process of how to wire a motion sensor to multiple lights. Not only does this setup contribute to energy efficiency by ensuring lights are only on when needed, but it also adds an element of safety, deterring potential intruders.
Whether you’re looking to upgrade your home’s lighting system or simply interested in the technical aspects of connecting multiple lights to a single motion sensor, this tutorial will provide you with the essential knowledge and steps to achieve your goals.
What are the Benefits of Motion Sensor Lights?
Motion sensor lights have several benefits, including:
- Convenience: With motion sensor lights, you don’t need to worry about fumbling for light switches or remembering to turn off the lights when leaving a room. The sensors will automatically turn on the lights when they detect movement in the designated area.
- Energy Efficiency: By only turning on when needed, motion sensor lights can help save energy and reduce your electricity bills.
- Safety: Motion sensor lights can act as a deterrent to potential intruders, making your home or workplace less attractive for theft or vandalism.
- Flexibility: Because you can wire multiple lights to a single motion sensor, you can design your lighting system according to your needs and preferences.
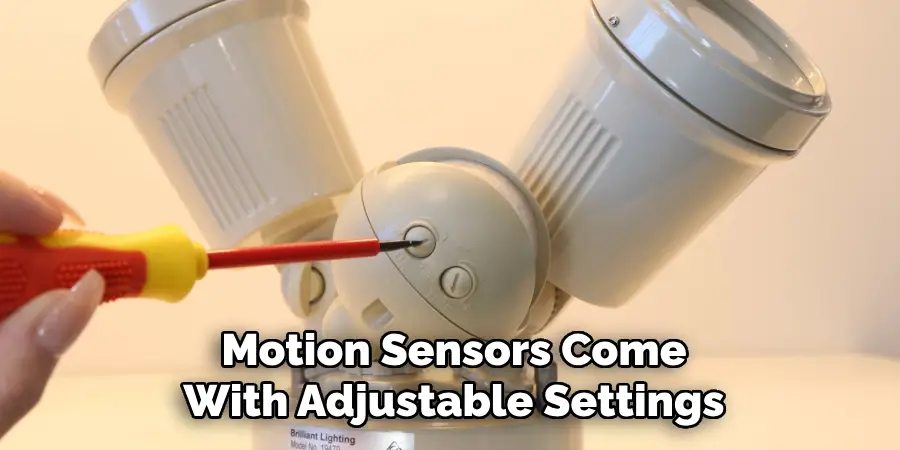
- Customization: Some motion sensors come with adjustable settings, allowing you to customize the sensitivity, timing, and range of the lights. This feature can be particularly helpful for outdoor lighting systems.
These are just some of the benefits of installing motion sensor lights in your home or workplace. Now, let’s dive into the step-by-step process of how to wire a motion sensor to multiple lights.
What Will You Need?
Before you begin wiring a motion sensor to multiple lights, make sure you have the following tools and materials on hand:
- Motion sensor light switch
- Electrical wires (check the amperage requirement of your lights to determine the appropriate wire gauge)
- Wire cutters/strippers
- Screwdrivers (flathead and Phillips)
- Electrical tape
- Wire nuts/connect
Once you have all the necessary materials, you can start wiring your motion sensor to multiple lights.
10 Easy Steps on How to Wire a Motion Sensor to Multiple Lights
Step 1: Turn off the Power
Before starting any electrical work, it is crucial to turn off the power supply at the circuit breaker. This step will ensure your safety and prevent any potential accidents. Additionally, ensure that you have the correct circuit breaker switched off by testing the wires with a voltage tester.
Step 2: Remove the Existing Switch and Cover
To remove the existing light switch and cover, start by unscrewing the cover plate from the wall with a flathead screwdriver. Once the cover is removed, use the Phillips screwdriver to carefully unscrew the switch from the electrical box. Gently pull out the switch from the wall, ensuring you have clear access to the connected wires.

It’s essential to take a moment to observe how the original switch is wired, as this will provide valuable insight when connecting your new motion sensor switch. Remember to take a photo or make a note of the wiring configuration before disconnecting the wires. This precaution can save you a lot of time and confusion during the installation of your new motion sensor.
Step 3: Identify Your Wiring Configuration
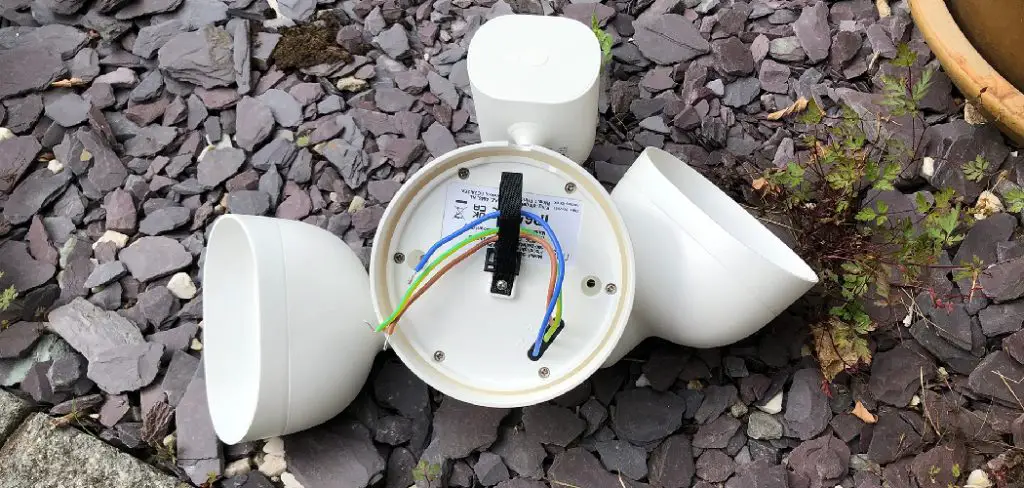
Once you have removed the existing switch, it’s time to identify the wiring configuration within your electrical box. Typically, you will find one or two sets of wires – each set consisting of a black (hot), white (neutral), and bare copper (ground) wire.
If your motion sensor requires a neutral wire and your box does not have one, you may need to pull a neutral from another source or choose a different type of sensor. Identify the hot wire (usually black or red) using a voltage tester, which is critical for correctly wiring the motion sensor.
Step 4: Connect the Motion Sensor
With the wires exposed and properly identified, you’re ready to connect your motion sensor. Start by connecting the black wire from the motion sensor to the black (hot) wire from the electrical box using a wire nut. If your motion sensor switch requires a neutral wire, connect the white wire from the motion sensor to the white (neutral) wire from the electrical box.
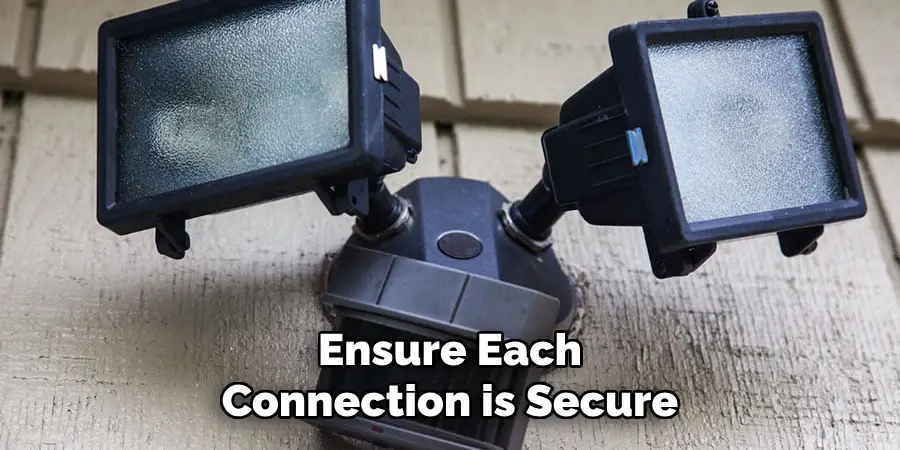
Finally, the ground wires (bare copper or green) are connected to both the motion sensor and the electrical box. Ensure each connection is secure and cover them with electrical tape for added safety. If your motion sensor comes with a red wire, this is typically used for connecting multiple lights or integrating with other switches in a 3-way configuration. Follow the manufacturer’s instructions for your specific wiring requirements.
Step 5: Mount the Motion Sensor to the Wall
After making sure all the wires are correctly connected and secured, it’s time to mount the motion sensor switch to the wall. Carefully place the motion sensor in the electrical box, ensuring that none of the wires are pinched or excessively bent.
Use the Phillips screwdriver to screw the motion sensor into place, attaching it firmly to the electrical box. Replace the cover plate over the motion sensor, securing it with the screws provided. This step not only protects the wiring but also gives your installation a clean, professional look.
Step 6: Connect the Lights to the Motion Sensor
To connect multiple lights to your motion sensor, start by ensuring all lights are turned off and safely disconnected from any power source. Run separate electrical wires from each light fixture to the motion sensor’s location. If your motion sensor has a red wire, use it to connect to the black (or red) wire of each light fixture, tying them together with a wire nut.
Alternatively, suppose your motion sensor does not have a separate output for multiple lights. In that case, you will need to connect the black wire from each light fixture to the black wire from the motion sensor, ensuring all connections are secure. Connect the white (neutral) wires from each light fixture together and to the motion sensor, if applicable. Make sure to also connect all ground wires together for safety.
Step 7: Secure and Insulate All Connections
Once all lights are connected to the motion sensor, take the time to securely fasten all wire nuts and wrap them with electrical tape. This will ensure that the connections are insulated and protected against short circuits.
Be meticulous in organizing the wires within the electrical box or any junction boxes used to prevent wire damage or overheating. Neatly tuck away the wires, leaving enough room for the motion sensor and any future maintenance. Safety should always be a priority, so double-check that all connections are tight and properly insulated before proceeding to the next step.

Step 8: Turn the Power Back On
Now that all connections have been securely made and you’ve ensured the safety of your installation, it’s time to turn the power back on. Head back to your circuit breaker and switch the power supply to your motion sensor and light circuit. This is the moment of truth where you’ll see if your installation has been successful.
After the power is on, walk in front of the motion sensor to test its functionality. If installed correctly, the motion sensor should detect your movement and turn on the lights automatically. If the lights do not turn on, double-check your connections and ensure the motion sensor is properly configured according to the manufacturer’s instructions.
Step 9: Adjust the Settings of the Motion Sensor
After confirming that your motion sensor activates the lights as expected, take some time to adjust its settings according to your needs. Most motion sensors will allow you to customize the sensitivity, the duration the lights stay on after detecting motion, and sometimes the range of detection.
These adjustments can be made directly on the sensor, through dials or switches, or via a smartphone app if your device is smart-home-enabled. Experiment with different settings to find the optimal balance for your space, aiming for a configuration that maximizes convenience while minimizing unnecessary activations.
Step 10: Conduct a Final Inspection and Test
Now that you’ve installed your motion sensor and adjusted its settings to your liking conduct a final inspection and test under different conditions. Test the motion sensor during various times of the day, such as at dusk or night, to ensure it operates effectively in low-light conditions. Additionally, assess its performance during different weather conditions if the sensor is installed outdoors.
Make sure the sensor field is not obstructed by objects that could impede its range of detection. Testing the installation thoroughly ensures your motion sensor provides the desired security and convenience, adjusting further if needed. Remember, a well-installed motion sensor not only enhances the functionality of your lighting system but also contributes to energy efficiency and home security.

By following these simple steps, you can easily and safely install a motion sensor switch to your existing lighting system.
5 Additional Tips and Tricks
- Use a Central Control Unit: To efficiently manage multiple lights with a single motion sensor, consider using a central control unit. This device can act as the brain of your lighting system, receiving input from the motion sensor and controlling the output to all connected lights, ensuring synchronous operation.
- Parallel Wiring is Key: When connecting multiple lights to a motion sensor, wiring them in parallel is essential. This ensures that each light operates independently of the others; if one light fails, the others will continue to work seamlessly.
- Opt for Quality Components: High-quality motion sensors and durable wiring are crucial for a reliable setup, especially when expanding the system to multiple lights. Investing in quality components can save you from maintenance headaches and improve the longevity of your lighting system.
- Consider Adjustable Time Delays: Different lights in your setup may serve various purposes. Incorporating motion sensors with adjustable time delays can provide flexibility, allowing you to set different durations for how long each light stays on after motion is detected.
- Regular Testing and Maintenance: Once your system is set up, regular testing and maintenance are key to ensuring long-term reliability. Periodically check all connections, sensors, and bulbs for signs of wear or damage, and replace any faulty parts promptly to keep your system functioning optimally.
With these additional tips and tricks, you can enhance your motion sensor to multiple lights setup and make it more efficient, convenient, and reliable.
5 Things You Should Avoid When Wiring a Motion Sensor to Multiple Lights
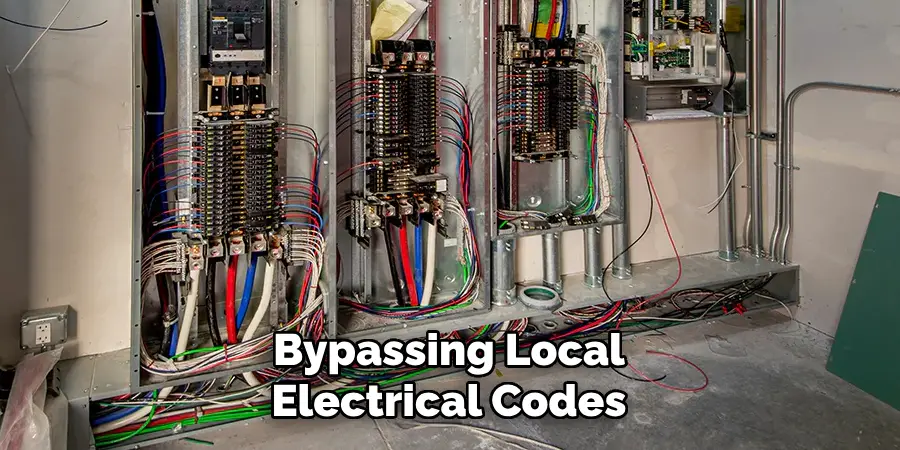
- Avoid Ignoring Electrical Codes: Bypassing local electrical codes can lead to safety hazards and legal issues. It’s crucial to adhere to these guidelines to ensure your system is safe and up to standard.
- Do Not Overload the Circuit: Connecting too many lights to a single motion sensor can overload the circuit, posing a risk of electrical fires. Always check the capacity of your sensor and ensure it can handle the load of multiple lights without exceeding its specifications.
- Refrain from Using Incompatible Components: Not all motion sensors are designed to work with all types of lights. Using incompatible components can lead to malfunction or damage. Ensure your lights, sensors, and control units are compatible before installation.
- Avoid Poor Placement of Sensors: Poorly placed motion sensors can lead to ineffective lighting control, such as lights not turning on when needed or staying on too long—place sensors in strategic locations where they can effectively detect movement without interruption.
- Do Not Neglect Testing Before Final Installation: Failing to test your setup before finalizing the installation can lead to issues that are harder to fix later on. Always conduct a thorough test of the motion sensor and light connections to ensure they work as expected and make any necessary adjustments.
By avoiding these common pitfalls, you can ensure a safer, more efficient, and more reliable motion sensor lighting system.
How Do You Wire a Sensor in Series?
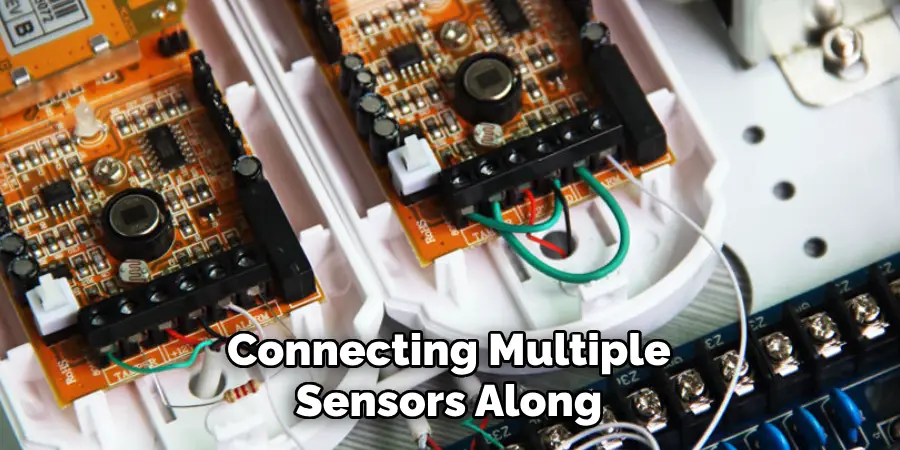
Wiring a sensor in series means connecting multiple sensors along a single circuit, where the output of one sensor is connected to the input of the next. This type of wiring setup is commonly used for motion sensors in larger areas or outdoor spaces.
To wire a sensor in series, follow these steps:
- Start by identifying the power source for your lighting system and ensure it is turned off.
- Connect the positive (+) and negative (-) wires from the power source to the first sensor, following the manufacturer’s instructions for proper connections.
- From the first sensor, connect another set of wires to the input terminals of the second sensor in line.
- Continue connecting each additional sensor in series by connecting its output terminals to the input terminals of the next sensor in line. Ensure all connections are secure.
- The last sensor in the series should have only one set of wires connected to its input terminals, with no additional sensors after it.
- Finally, connect the output terminals of the last sensor to the positive (+) and negative (-) wires leading to your lights.
- Turn on the power source and test the system to ensure all sensors are functioning correctly.
By wiring your motion sensors in series, you can cover a larger area with fewer sensors, reducing costs and simplifying installation. However, it’s essential to carefully plan the placement of each sensor to ensure proper coverage and avoid any blind spots.
Why Do Sensors Need to Be Wired in Parallel?
Sensors need to be wired in parallel for several reasons:
- To ensure each sensor operates independently and does not affect the operation of other sensors in the system.
- To prevent a single faulty sensor from disrupting the entire system.
- To evenly distribute power among all connected sensors, avoiding overloading any individual sensor.
In parallel wiring, each component is connected individually to the power source, allowing for better control and flexibility in the system. If one sensor fails or loses connection, the others will continue to function without interruption. This type of wiring also helps distribute power evenly among all sensors, preventing any overload that could lead to malfunctions or safety hazards.
Conclusion
How to wire a motion sensor to multiple lights can significantly enhance the convenience, security, and efficiency of your lighting system. You can create a reliable and effective setup by following best practices, such as planning your layout, choosing compatible and quality components, and adhering to electrical codes. Parallel and series wiring each offer unique advantages, allowing for flexibility in covering larger areas or ensuring system reliability.
However, avoiding common pitfalls like overloading circuits, using incompatible components, and neglecting proper sensor placement is crucial for the system’s success. Regular testing and maintenance will ensure your motion sensor lighting system remains effective over time.
Armed with these insights and precautions, homeowners and electricians alike can confidently install a motion sensor lighting system that meets their needs and enhances the safety and functionality of their space.