Are you searching for a way to remove your old alarm keypad from the wall? Look no further! In this guide, we will walk you through the steps on how to remove old alarm keypad from wall without causing any damage.

Removing an old alarm keypad from the wall is a task that, while seemingly daunting, can be accomplished with a bit of know-how and the right tools. Whether you’re upgrading to a modern system or simply removing outdated equipment, this step-by-step guide aims to provide you with a safe and effective method for detaching that old keypad.
Safety is our top priority, so we’ll cover how to carefully disconnect the device to avoid damage to your wall or the keypad itself, ensuring a smooth process. Follow along to make this task as straightforward as possible.
What are the Benefits of Removing an Old Alarm Keypad?
Before we discuss the steps, let’s consider the benefits of removing your old alarm keypad from the wall.
- Upgrading to a Modern System: One of the main reasons for removing an old alarm keypad is to upgrade to a newer and more advanced system. With technology constantly evolving, it’s essential to keep up with the latest security features and capabilities for the safety of your home or business.
- Removing Outdated Equipment: If your old alarm keypad is no longer functioning correctly, it’s best to remove it from the wall and replace it with a new one. This will ensure that your security system is working effectively without any malfunctions.
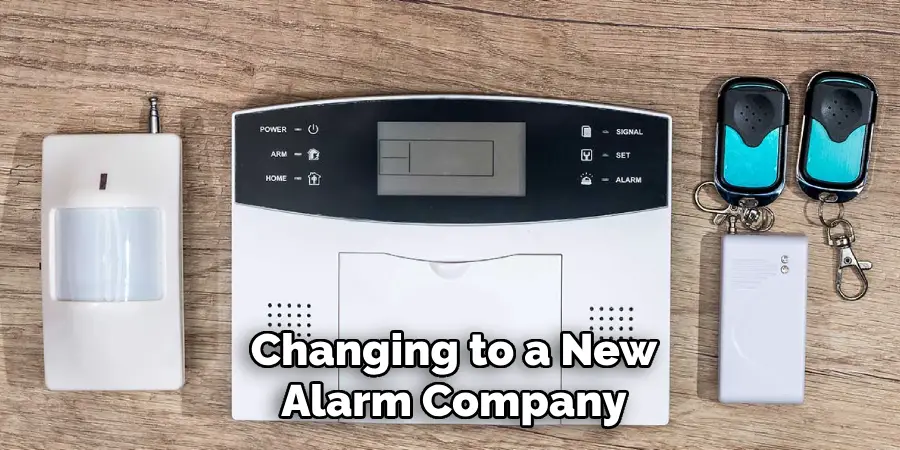
- Changing Alarm Companies: Another reason for removing an old alarm keypad is changing to a new alarm company. If you’re switching providers, it’s necessary to remove the old equipment before installing the new one.
What You Will Need
Before beginning the removal process, make sure you have the following tools handy:
- Screwdriver (Flathead or Phillips depending on your keypad)
- Pliers
- Optional: Putty knife or scraper
Once you have these tools, you’re ready to start the process.
10 Easy Steps on How to Remove Old Alarm Keypad From Wall
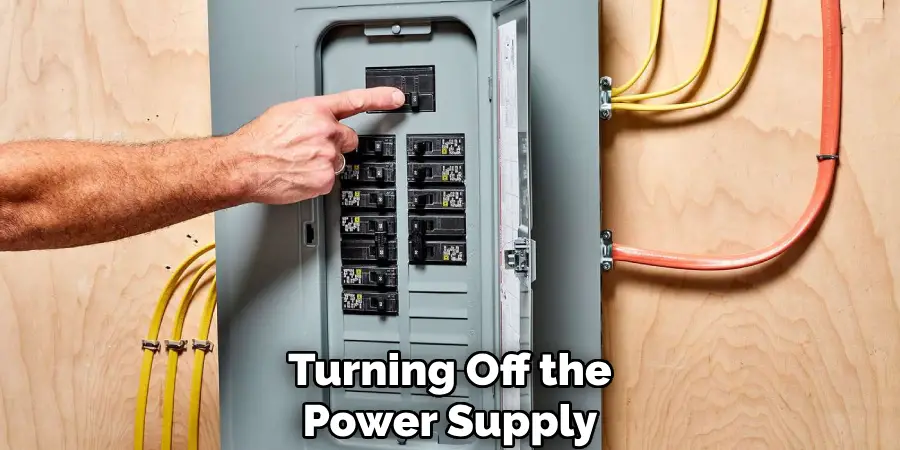
Step 1: Turn Off the Power
Before starting the process, ensure the power to the alarm system is turned off. This can be done by switching off the circuit breaker that controls the alarm system or by removing the alarm system’s battery if it’s a standalone unit. Turning off the power is crucial to prevent any electrical accidents and ensure your safety during the removal process.
Step 2: Locate and Remove Screws
After making sure the power is turned off, the next step is to locate any screws that are securing the alarm keypad to the wall. These screws are typically found at the corners of the keypad or possibly hidden under a decorative cover or panel.
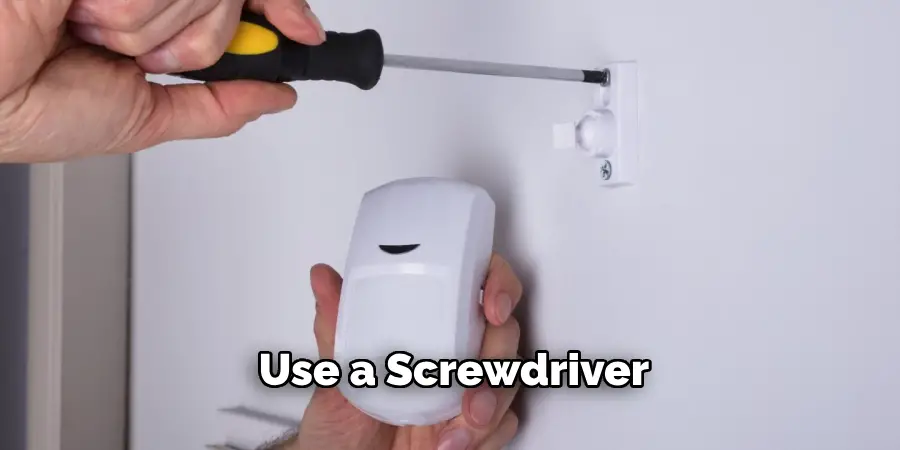
Gently pry off the panel with a flathead screwdriver if necessary, being careful not to damage the keypad or wall. Once the screws are visible, use a screwdriver (Phillips or flathead, depending on the screw heads) to remove them. Keep the screws in a safe place as you might need them if planning to install a new keypad.
Step 3: Detach the Keypad from the Wall
With the screws removed, gently pull the keypad away from the wall. Some models may be attached with adhesive in addition to screws, so you might need to apply a bit of force. If the keypad is particularly stubborn, you can use a putty knife or scraper to carefully loosen the adhesive or pry the keypad away from the wall. Be cautious to avoid damaging the wall or the wiring behind the keypad.
Step 4: Disconnect the Wires
Once the keypad is detached from the wall, you’ll notice wires connecting it to the alarm system. Before proceeding, take a moment to note or take a picture of the wiring configuration for future reference. This will be incredibly helpful if you plan to install a new keypad.
Using pliers, gently disconnect the wires from the back of the keypad. Some keypads might have clips or connectors that you can simply unclip or unscrew, while others might require a bit more force to pull the wires free. Proceed with caution to avoid damaging the wires or connectors, as this could affect the installation of your new system.
Step 5: Patch and Repair the Wall
Once the old alarm keypad has been successfully removed and the wires properly disconnected, you may find some unsightly holes or marks left on the wall. To ensure a clean finish, lightly sand around the area to smooth out any rough edges. If there are small holes, fill them with spackling paste using a putty knife.
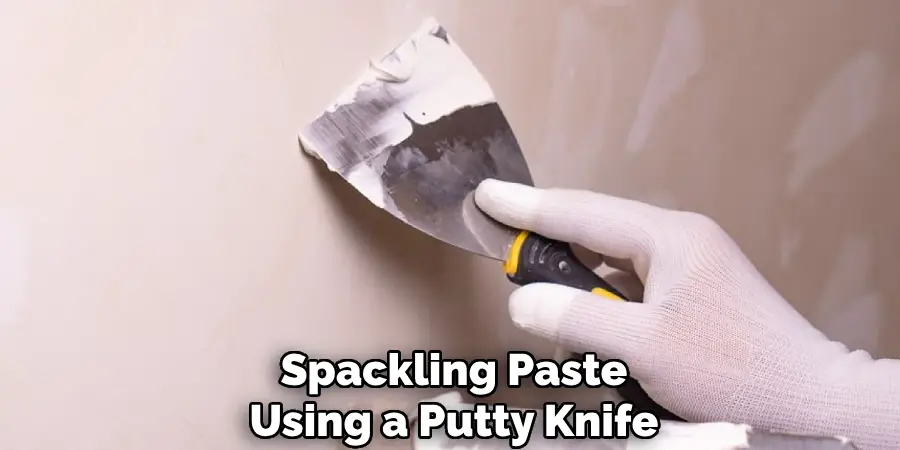
Allow the spackle to dry according to the product instructions, then sand it down again to ensure the wall is smooth. If necessary, apply a coat of primer and paint to match the existing wall color. This step will leave your wall looking as good as new, ready for whatever you choose to install or display next.
Step 6: Clean the Area
After patching and repairing the wall, take the opportunity to clean the area where the alarm keypad was mounted. Dust and debris can accumulate over time, especially in the crevices where the device was attached to the wall. Use a soft cloth or duster to wipe away any dust.
For any stubborn stains or marks, a mild cleaning solution or water mixed with a small amount of dish soap can be applied gently with a cloth. Rinse the area with a damp cloth and dry it thoroughly. Cleaning not only ensures the wall looks its best but also prepares the surface in case you decide to install a new system or use the space for a different purpose.
Step 7: Evaluate and Prepare for New Installation
Now that the old alarm keypad is removed and the wall is repaired and clean, it’s a perfect time to evaluate your needs for a new security system. Assess the area for the best placement of a new keypad, considering ease of access and visibility.
If you are upgrading to a newer system, ensure you have all the necessary components and tools ready for installation. This might include a new keypad, mounting screws, wire strippers, and any specific instructions from the manufacturer. Preparing thoroughly before beginning the installation will streamline the process, making it faster and reducing the risk of any issues.
Step 8: Install the New Alarm Keypad
Begin the installation of your new alarm keypad by first consulting the manufacturer’s instructions. This will provide you with the specific details and requirements for your new system. Mount the base plate of the keypad to the wall using the screws you’ve kept from the previous installation or those provided with the new system.

Ensure its level is appropriate for aesthetic and operational purposes. Next, connect the wires to the new keypad, referring to the photograph or notes you took earlier to make sure the wiring is correct. After securing the wires, carefully attach the keypad to the base plate. Double-check that all connections are secure and that the keypad is firmly in place on the wall.
Step 9: Power On and Test the New Keypad
After installing the new alarm keypad, it’s time to restore power to the system. Turn on the circuit breaker or reinstall the battery to power up the new device. Once the power is back on, follow the manufacturer’s instructions to initialize and test the keypad.
This typically involves setting up a new security code and running a test to ensure that the keypad communicates effectively with the rest of the alarm system. Check all functionalities, including each button and the system’s response to input commands. Making sure that the new keypad is fully operational is crucial for the security of your property.
Step 10: Finalize Installation and Setup
Finalizing the installation of your new alarm keypad involves ensuring that all settings are adjusted to meet your security needs. Refer to the user manual to explore and configure additional features your system may offer, such as setting up multiple user codes, scheduling arm/disarm times, or integrating with smart home devices.
It’s also important to place any necessary security system stickers on windows or doors as a deterrent to potential intruders. Additionally, inform all household members or employees about the new system, providing instructions on how to operate the alarm and what to do in case of an emergency.
Completing these final steps will enhance the overall effectiveness and convenience of your home security system, providing peace of mind that your property is protected.
By following these steps, you can easily remove and replace an old alarm keypad, ensuring that your home security system remains up-to-date and fully functional.
5 Additional Tips and Tricks
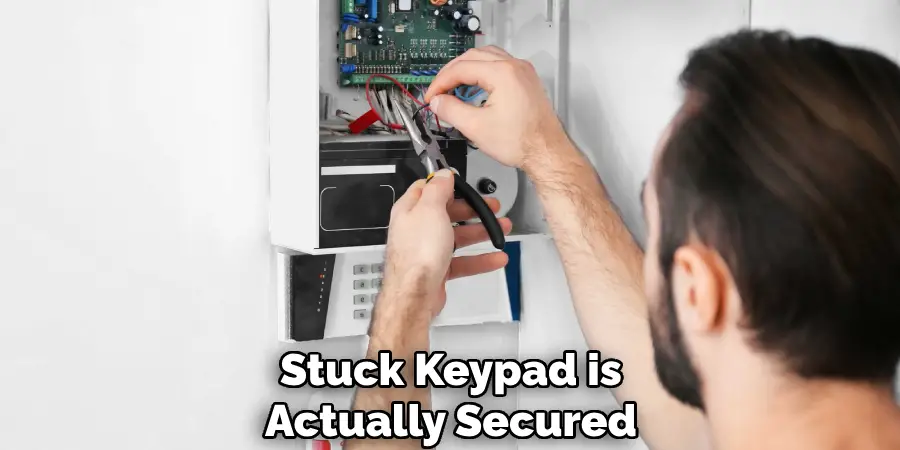
- Check for Hidden Screws: Sometimes, what appears to be a stuck keypad is actually secured by hidden screws. Carefully examine the edges and the backplate for any concealed screws that might be anchoring the device to the wall.
- Disconnect the Power Supply: Before attempting removal, ensure the power supply to the alarm system is completely disconnected. This can prevent potential electric shocks and damage to the system.
- Use a Putty Knife for Leverage: If the keypad is adhered to the wall, gently slide a putty knife under the edges to pry it away. This method provides leverage without causing damage to the wall.
- Consult the Manual: Refer to the manufacturer’s manual for specific instructions on removing the model. Manuals often contain valuable insights and step-by-step guides tailored to the device.
- Take Photos Before Disconnecting Wires: If you need to disconnect wires during the removal process, take photos of the wiring before doing anything. This can be crucial for correct reinstallation or when explaining the setup to a professional installer.
With these additional tips and tricks, removing an old alarm keypad from the wall can become a hassle-free task.
5 Things You Should Avoid When Removing an Old Alarm Keypad from the Wall
- Avoid Pulling on Wires Forcefully: Pulling the wires forcefully can damage the connections or the keypad itself. Always handle wires gently and follow the correct disconnection procedures.
- Do Not Use Excessive Force: Using excessive force to remove the keypad can damage the wall, the keypad, or both. Always start with the gentlest method of removal before resorting to slightly more forceful methods if necessary.
- Avoid Skipping Safety Precautions: Skipping safety precautions, such as turning off the power supply, can lead to electric shock or further damage to the alarm system. Safety should always be your top priority.
- Do Not Forget to Check for Secondary Mounting Systems: Some keypads may have additional mounting systems beyond the visible screws. Failing to identify these can make the removal process more difficult and can potentially damage the device.
- Avoid Losing Small Components: When disassembling the keypad or the mounting hardware, keep track of all small screws and components. Losing these can complicate the reinstallation process or the installation of a new system.
By avoiding these common mistakes, you can ensure a safer and more effective process when removing an old alarm keypad from the wall.
How Do You Move Alarm Keypad?
Moving an alarm keypad might seem like a daunting task, but with the right steps, it can be done efficiently and safely. Here are some tips to help you move your alarm keypad without any hassle:
- Prepare for the Move: Before moving the keypad, gather all necessary tools such as a screwdriver, putty knife, and wire strippers. Additionally, make sure you have a clear understanding of the system’s wiring and connections.
- Disconnect the Power Supply: As mentioned earlier, it is crucial to disconnect the power supply before attempting to move the keypad. This will prevent any electric shocks or damage to the device.
- Remove the Old Keypad: Use one of the methods discussed earlier (e.g., removing screws, using a putty knife) to remove the old keypad from the wall. Make sure to be gentle and avoid damaging the wall or the device.
- Prepare the New Location: If you are moving the keypad to a new location, make sure it is easily accessible and has a secure mounting surface.
- Reinstall the Keypad: Once you have moved the keypad to its new location, follow the manufacturer’s instructions for installation. Use photos or notes taken during the removal process to ensure the correct reinstallation of wires and connections.
- Test the System: After reinstalling the keypad, test the system to ensure that everything is functioning correctly. If any issues arise, consult the manufacturer’s manual or call a professional for assistance.

Moving an alarm keypad can be a straightforward process if done correctly. By following these steps and taking necessary precautions, you can move your alarm keypad without any problems. Remember to always prioritize safety and refer to the manufacturer’s instructions for guidance.
How Can You Troubleshoot Common Issues with Alarm Keypads?
Despite our best efforts, sometimes issues may arise with alarm keypads. Here are some common problems and troubleshooting tips to help you resolve them:
- No Power to the Keypad: If there is no power to the keypad, check the power supply and make sure it is connected correctly. If the issue persists, try resetting the keypad or replacing the batteries.
- Unresponsive Keypad Buttons: If some buttons on the keypad are unresponsive, clean them with a damp cloth to remove any dirt or debris that may be causing the issue. If cleaning does not work, try resetting the device or replacing it.
- Frequent False Alarms: Frequent false alarms can be frustrating and may indicate a faulty sensor or wiring issue. Check the sensors and connections for any loose or damaged components, and make sure they are properly positioned.
- Error Messages on Keypad Screen: Error messages on the keypad screen can be a sign of a malfunctioning device or a power supply issue. Refer to the manufacturer’s manual for specific error codes and troubleshooting steps.
If the issue persists, it is best to consult a professional for assistance. Troubleshooting complex alarm keypad problems may require technical expertise and specialized equipment.
Conclusion
Removing an old alarm keypad from the wall requires careful preparation, the right tools, and a step-by-step approach to avoid causing damage to your wall or the device itself. By ensuring the power is disconnected, using proper tools for removal, taking photos for reference, and carefully handling wires and components, you can safely remove the keypad. Additionally, it’s crucial to avoid common pitfalls such as using excessive force, neglecting safety precautions, or losing small components.
Whether you’re upgrading your system, moving the keypad to a new location, or troubleshooting issues, following the guidelines mentioned will help you execute the task smoothly. Remember, when in doubt, consulting with a professional can provide peace of mind and ensure the safety of your home security system.
Hopefully, this guide has provided helpful information on how to remove old alarm keypad from wall, move, and troubleshoot issues with alarm keypads. So go ahead and confidently tackle any task related to your alarm keypad! Happy DIY-ing!