Are you worried about fire hazards at home? Installing smoke alarms is an easy and effective way to ensure the safety of your family and property. Among various brands available, First Alert is a trusted name when it comes to smoke alarms.

Installing a First Alert Smoke Alarm in your home is a straightforward process that significantly enhances your safety by providing early warnings in case of a fire. This guide is designed to walk you through each step on how to install first alert smoke alarm, from choosing the right location to the final testing of the alarm.
Whether you are installing a battery-operated model or one that is hardwired into your home’s electrical system, following these instructions will ensure that your First Alert Smoke Alarm is set up efficiently and effectively. Remember, taking the time to install your smoke alarm correctly is an investment in your family’s safety.
What are the Benefits of Installing a First Alert Smoke Alarm?
Installing a First Alert Smoke Alarm has numerous benefits, including:
- Early Detection of Fire Hazards: With its advanced smoke-sensing technology, the alarm can detect even small amounts of smoke, giving you and your family precious extra time to evacuate in case of a fire.
- Loud Warning System: When triggered, the alarm emits an ear-piercing sound, alerting everyone in the house and ensuring that even heavy sleepers are awakened.
- Affordable: First Alert Smoke Alarms are affordable, which means you can install them in multiple locations throughout your home for maximum protection.
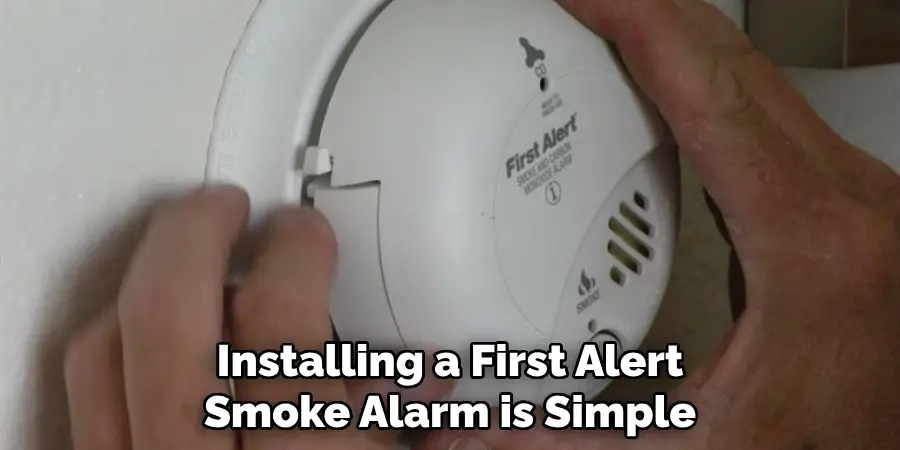
- Easy to Install: As we will discuss below, installing a First Alert Smoke Alarm is simple and does not require special tools or expertise.
- Reliable and Durable: First Alert is a trusted name in smoke alarms, known for its high-quality products and long-lasting durability. By installing one in your home, you are ensuring reliable protection for years to come.
These are just a few of the many benefits of installing a First Alert Smoke Alarm in your home. Now, let’s move on to the installation process.
What Will You Need?
Before you begin installing your First Alert Smoke Alarm, make sure you have the following items:
- First Alert Smoke Alarm: Choose the best model for your home and needs. Make sure it has a test button and a hush feature.
- Screwdriver: A screwdriver is needed to mount the alarm on the ceiling or wall.
- Drill (Optional): If you are installing a hardwired model, you will need a drill to make holes for the wiring.
- Batteries (for Battery-operated Models): Some First Alert Smoke Alarms require batteries, so make sure you have the correct type and number of batteries on hand.
- Sticky Adhesive Strips (Optional): These can be used instead of screws if you do not want to make holes in your ceiling or wall.
Once you have all the necessary items, you can begin the installation process.
10 Easy Steps on How to Install First Alert Smoke Alarm
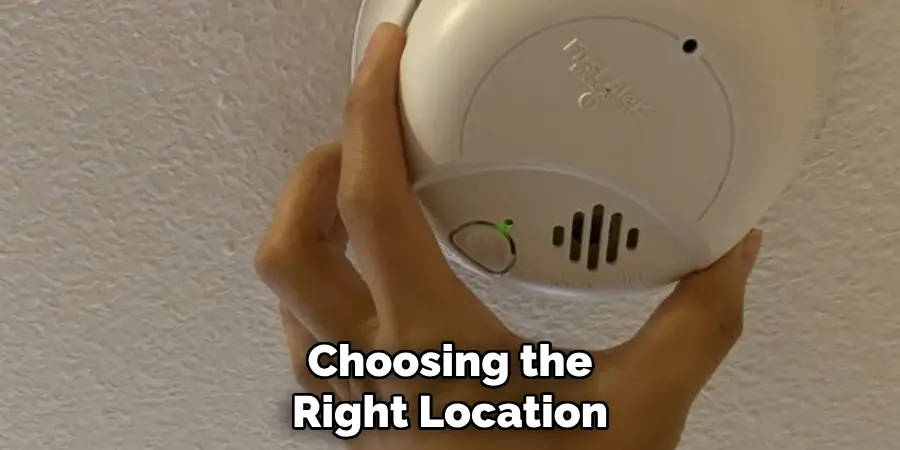
Step 1: Choose the Right Location
The first step in installing your smoke alarm is choosing the right location for it. Keep in mind that smoke rises, so the alarm should be installed on the ceiling or high up on a wall. It is also essential to place it away from windows, doors, and vents that could interfere with its performance.
Step 2: Test the Alarm
Before proceeding with the installation, it’s crucial to test the First Alert Smoke Alarm to ensure it’s functioning properly. To do this, remove the alarm from its packaging and insert the batteries if it’s a battery-operated model. Locate the “test” button on the surface of the alarm – it’s usually prominently marked. Press and hold this button for a few seconds. You should hear a loud, piercing beep or siren that indicates the alarm is working correctly.
If you don’t hear anything, check to ensure the batteries are correctly installed, and try testing again. This step will need to occur after the wiring process is complete for hardwired models, which we’ll cover in a subsequent step. Testing the alarm before installation is a critical safety step, ensuring the device’s functionality when it’s most needed.
Step 3: Mark the Installation Spot
Once you’ve confirmed that the alarm functions properly, the next step is to pinpoint the exact location for installation. Use a pencil to lightly mark the spots on the ceiling or wall where the smoke alarm will be mounted. If you’re using a drill for a hardwired model, also mark where you’ll need to drill holes for the wiring.
It’s essential to measure the space accurately to ensure the alarm sits perfectly. For battery-operated models, this could be as simple as deciding the best position that covers the entire area effectively. In both cases, make sure the marked spot is at least 4 inches away from the wall/corner on the ceiling, or if on a wall, it is installed not more than 12 inches away from the ceiling to ensure optimal smoke detection.
Step 4: Install Mounting Bracket
After marking the location, the next step is to secure the mounting bracket that comes with your First Alert Smoke Alarm. Hold the bracket against the ceiling or wall where you marked the installation spots for both battery-operated and hardwired models. Using the screwdriver, screw the bracket into place.
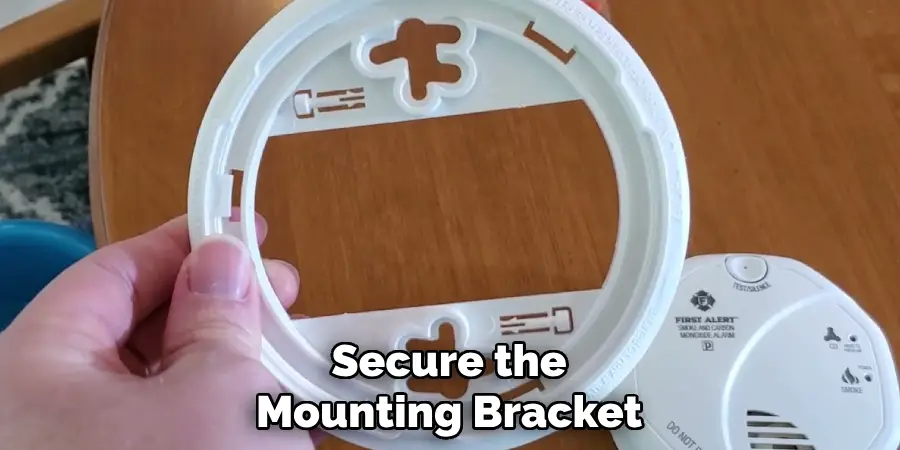
If you’re installing a hardwired model, ensure that the wiring can be routed through the center of the bracket. For those using sticky adhesive strips, instead of using screws, now is the time to adhere the bracket firmly to the surface following the manufacturer’s instructions. Ensure the bracket is secure, as it will hold your smoke alarm in place.
Step 5: Connect the Alarm (Hardwired Models Only)
This step involves connecting the alarm to your home’s electrical system for hardwired First Alert Smoke Alarms. Firstly, ensure that the power is turned off at the circuit breaker to avoid any electrical hazards. Next, thread the wires through the opening in the mounting bracket and connect them to the corresponding wires in the alarm—usually, this includes matching the black wires (hot), white wires (neutral), and any ground wires (green or bare).
Use wire nuts to secure the connections and ensure no loose strands are exposed. Tuck the connected wires neatly into the junction box. Once the wires are connected, carefully align the alarm with the mounting bracket and twist it to lock into place. It’s vital to guarantee a secure fit to prevent the alarm from dislodging.
Step 6: Attach the Alarm to the Bracket
After the wiring (for hardwired models) is securely connected and tucked away, or if you are installing a battery-operated model, the next step is attaching the smoke alarm to the mounting bracket. Gently place the alarm on the bracket.
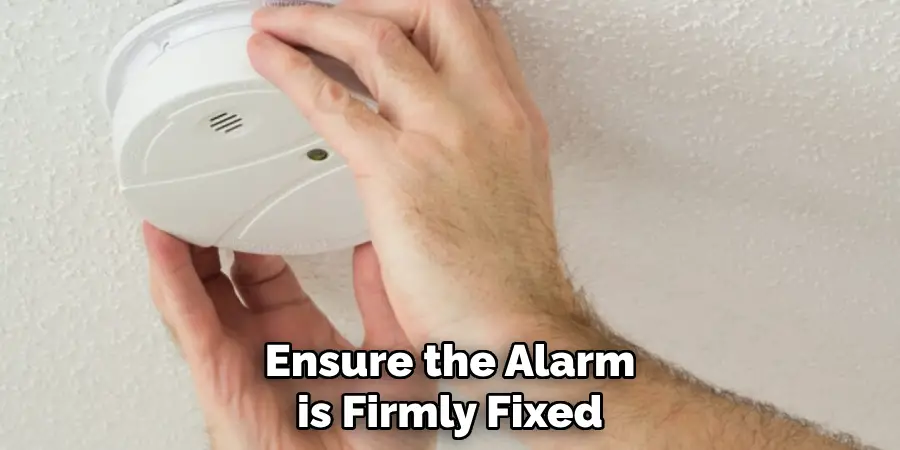
For most models, you will need to align the notches on the alarm with the grooves on the bracket and turn the alarm clockwise until it clicks into place, indicating it is securely attached. Ensure the alarm is firmly fixed to prevent it from dislodging, yet easily accessible for maintenance such as battery replacement or cleaning.
Step 7: Activate the Alarm
Once the smoke alarm is securely attached to the bracket, the next step is to activate the device. For battery-operated models, this may simply involve pulling out a plastic tab to engage the batteries. Ensure the battery compartment is closed properly.
For hardwired models, this step has already been partially completed during the wiring process, but now is the time to restore power at the circuit breaker to activate the alarm. After power is restored, check the unit’s power indicator light to ensure it is receiving power.
Step 8: Perform a Final Test
After installation and activation, it’s imperative to perform a final test to confirm the smoke alarm is operational. Press the test button on the alarm and hold it down. You should hear a loud, piercing sound indicating the alarm is working correctly.
If the alarm does not sound, check the batteries in a battery-operated model and ensure they are installed correctly and fully charged. In hardwired models, double-check the wiring and the circuit breaker to ensure power is supplied to the unit.
Step 9: Familiarize Yourself with the Alarm’s Features
Understanding the various features of your First Alert Smoke Alarm is crucial for ensuring your safety and the safety of those in your household. Each model comes equipped with different features that can enhance protection and provide greater peace of mind. Some common features include:
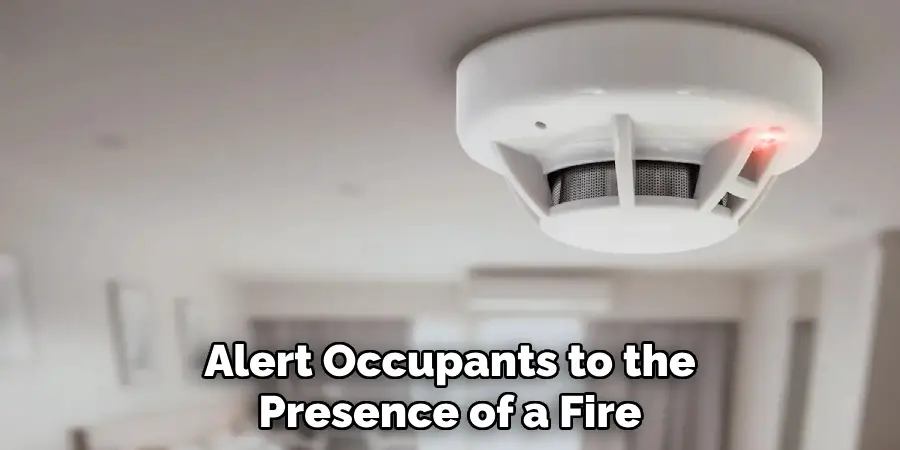
- Smoke and Fire Detection: The primary function is to detect smoke and rising temperatures, alert occupants to the presence of a fire, and allow for quick response and evacuation.
- Test Button: This feature allows you to periodically check the alarm’s operational status to ensure it’s ready to alert you in the event of an emergency.
- Low Battery Signal: An essential feature that alerts you when the batteries are running low and need replacing, ensuring the alarm remains operational at all times.
- Escape Light: Some models come with a built-in light that activates when the alarm sounds, illuminating a path to safety during low visibility conditions.
- Interconnectivity: Allows multiple alarms within the home to communicate and sound simultaneously, ensuring that all occupants, no matter where they are in the home, are alerted to danger.
By familiarizing yourself with these features, you can better understand how your First Alert Smoke Alarm works to keep you safe.
Step 10: Regular Maintenance and Testing
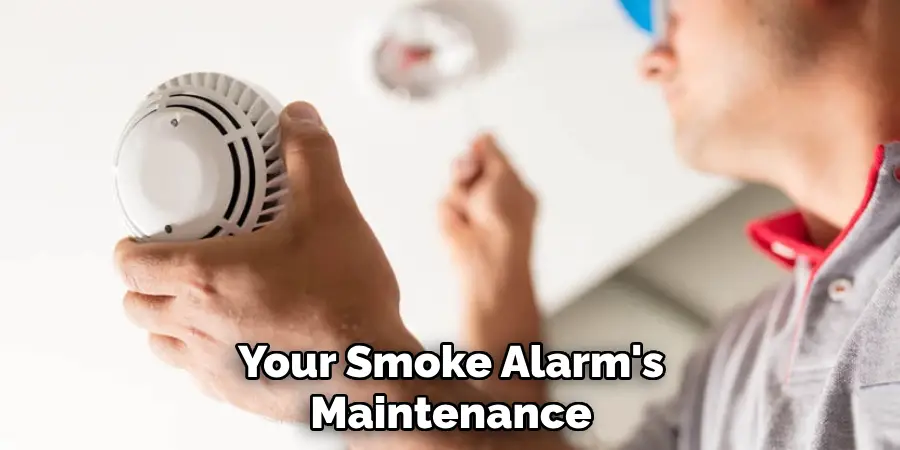
Maintaining your First Alert Smoke Alarm is essential for ensuring it functions correctly and provides continuous protection for your home and family. Regular maintenance should include monthly testing of the alarm using the test button, vacuuming around the alarm’s vents every six months to remove dust and debris that could hinder its sensitivity, and replacing the batteries at least once a year for battery-operated models.
For hardwired models, it’s recommended that the backup battery be replaced annually as well. Additionally, it’s important to replace the entire smoke alarm unit every 10 years or as recommended by the manufacturer to ensure optimal performance. Keeping a maintenance log can help you track tests, cleanings, and battery replacements to ensure your smoke alarm remains in excellent working condition.

By following these steps, you can easily install your First Alert Smoke Alarm and ensure it is properly set up for maximum protection.
5 Additional Tips and Tricks
- Pre-Installation Testing: Before fully installing your First Alert smoke alarm, perform a pre-installation test. This involves inserting the battery and pressing the test button to ensure the alarm sounds. This step verifies that the device is functional before it’s mounted.
- Choose the Right Location: To reduce false alarms, smoke alarms should be installed at least 10 feet away from cooking appliances. Ensure they’re placed on ceilings or high on walls, as smoke rises. For multi-level homes, install alarms on each level and inside each bedroom for optimal safety.
- Avoid Placement Near Windows or Doors: Do not install smoke alarms near windows, doors, or ducts where drafts might interfere with their operation. Drafts can hinder the smoke alarm’s ability to detect smoke efficiently.
- Use the Right Tools: When installing your First Alert smoke alarm, make sure you have the right tools on hand. This typically includes a drill, screwdriver, hammer, and potentially wall anchors for a secure installation. Following the manufacturer’s instructions for mounting will ensure your device is securely and properly installed.
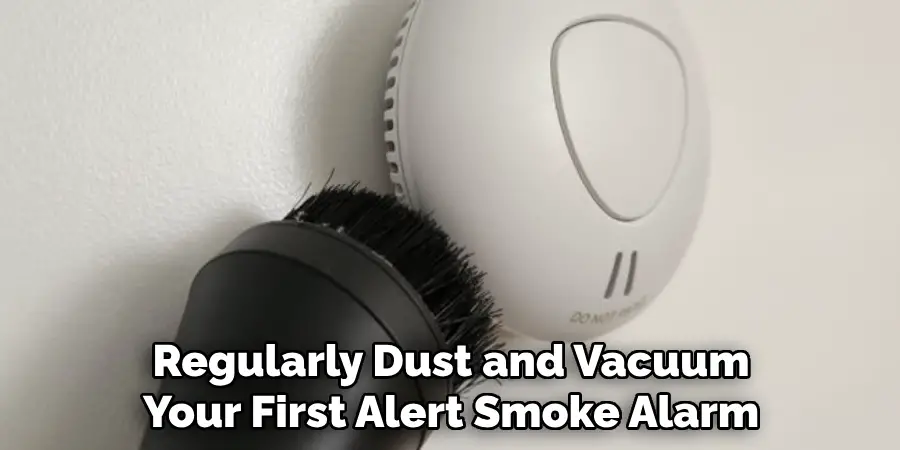
- Keep Your Smoke Alarms Clean: Regularly dust and vacuum your First Alert smoke alarm to ensure it’s functioning correctly. Over time, dirt and debris can buildup inside the device, hindering its ability to detect smoke. Cleaning your smoke alarms will ensure they are always ready to alert you in case of a fire emergency.
In addition to these tips and tricks, it is important to regularly test your smoke alarms and replace the batteries at least once a year. It is also recommended to replace your First Alert smoke alarm every 10 years to ensure optimal functionality.
5 Things You Should Avoid When Installing a First Alert Smoke Alarm
- Ignoring the Manufacturer’s Instructions: Each First Alert smoke alarm comes with a set of specific instructions. Avoiding these guidelines can lead to improper installation, which may affect the device’s functionality.
- Choosing Inappropriate Locations: Installation in places such as bathrooms, kitchens, or garages where smoke, steam, or exhaust fumes are regularly present can lead to frequent false alarms. These areas should be avoided to ensure the alarm works effectively.
- Overlooking the Need for Interconnectivity: Failing to connect compatible alarms can lead to a lack of comprehensive coverage for homes with multiple levels or larger areas. Interconnected alarms ensure that when one alarm sounds, all alarms do, providing a better chance of early detection throughout the home.
- Neglecting to Secure the Alarm Properly: An alarm that is not securely attached to the ceiling or wall may not function correctly. Using the wrong tools or hardware can lead to an unstable installation that could impact the device’s performance.
- Disregarding the Importance of Maintenance: Post-installation, it’s crucial to avoid forgetting about your smoke alarm’s maintenance. Failure to test regularly, replace batteries, or clean the alarm can hinder its effectiveness in detecting smoke or fire.
By avoiding these common mistakes, you can ensure that your First Alert smoke alarm is installed correctly and functions as intended, providing a vital layer of safety to your home.
What Are the Types of Smoke Detectors?
There are two main types of smoke detectors: ionization and photoelectric. Ionization smoke detectors use a small amount of radioactive material to ionize the air inside the device. When smoke enters the chamber, it disrupts the current and triggers the alarm.
Photoelectric smoke detectors use a beam of light to detect smoke particles. When smoke crosses the path of this light, it scatters and triggers the alarm. Both types of detectors are effective in detecting different types of fires, so it’s recommended to have a combination of both in your home for comprehensive coverage.
In addition to these two main types, there are also smart smoke detectors that connect to your home’s Wi-Fi network and can send alerts to your phone in case of an emergency. These types of detectors also often include additional features such as carbon monoxide detection and voice alerts.
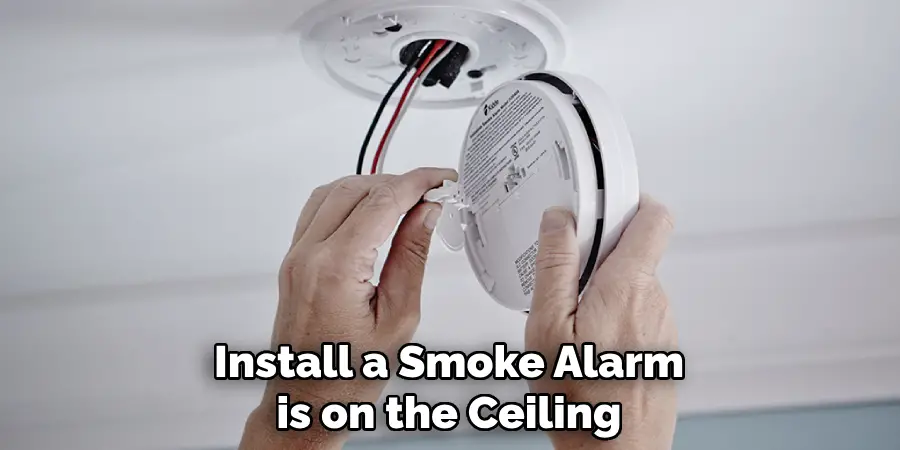
Where is the Best Place to Install a Smoke Alarm?
The best place to install a smoke alarm is on the ceiling or high on a wall. This placement allows for optimal coverage as smoke rises and can quickly reach the sensor. Additionally, installing the alarm in a central location, such as a hallway or near bedrooms, will provide better detection throughout the home.
It’s important to also consider any potential obstructions when deciding where to install your smoke alarm. Avoid placing it near windows, doors, or ducts where drafts can interfere with its functionality. Additionally, make sure to install alarms at least 10 feet away from cooking appliances to prevent false alarms.
Ultimately, the best location for installing a smoke alarm may vary depending on the layout and features of your home.
Conclusion
How to install first alert smoke alarm is a critical step in safeguarding your home from the dangers of fire. By following the outlined tips and avoiding common installation mistakes, homeowners can ensure their alarms are positioned and maintained for optimal performance.
Remembering to test the units regularly, keep them clean, and replace batteries and the units themselves, as recommended, are key practices that will keep your alarms functioning properly. The right installation not only enhances the effectiveness of your smoke alarms but also contributes to the overall safety and peace of mind of all residents.
With these guidelines, you are now equipped to properly install your First Alert smoke alarm, making your home a safer place for you and your loved ones.