
Who knew something as seemingly-simple as putting a desk together could be such an arduous task? Putting furniture together is one of those projects that almost everyone has gone through, regardless of their skill level. From the most novice DIYer to a seasoned home improvement enthusiast – piecing desks and other furniture items can quickly become overwhelming and confusing.
Whether it’s your first time trying to build your own workstation or you want a quick refresher course, this blog post will target all levels with helpful tips on how to put a desk together in no time at all. So sit back; grab your tools – let’s get started!
Tools and Materials You Will Need to Put a Desk Together
- Hammer
- Screwdriver (Phillips or flathead)
- Wood glue
- Screws, bolts, and any other hardware needed for the desk kit
- Sandpaper/sanding block (optional but recommended)
- Measuring tape
- Pencil
- Safety goggles (optional but recommended)
Step-by-Step Guidelines on How to Put a Desk Together
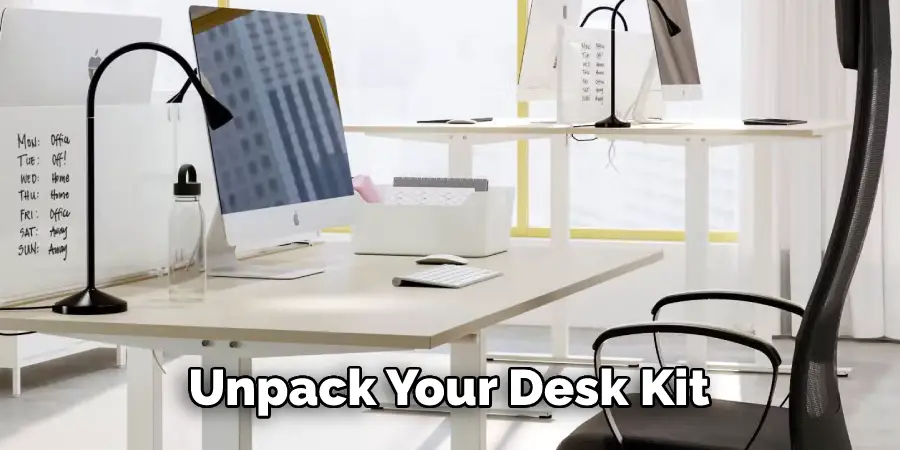
Step 1: Unpack the Desk Kit
The first thing you should do is unpack your desk kit and lay out all of its parts. This will help you get a better understanding of what materials are included, as well as give you a chance to take inventory and make sure everything is there. Most kits come with all the pieces, hardware, and instructions you need to assemble the entire desk.
Step 2: Sand the Parts
Once you have taken inventory of your kit, it’s time to start prepping the components for assembly. One important step is sanding. This will help smooth out any rough edges that might have developed during the manufacturing process, as well as make it easier to fit pieces together properly. Make sure you use a fine-grit sandpaper or sanding block and work in small sections – going over each part until it is smooth and free of any splinters or rough patches.
Step 3: Prepare the Parts
The next step is to prepare the parts for assembly. This means you should double-check all measurements, line up the holes on each piece, and make sure everything is lined up correctly before attaching any screws or bolts. You can use a pencil to mark the areas that need to be connected and a measuring tape to get exact measurements.
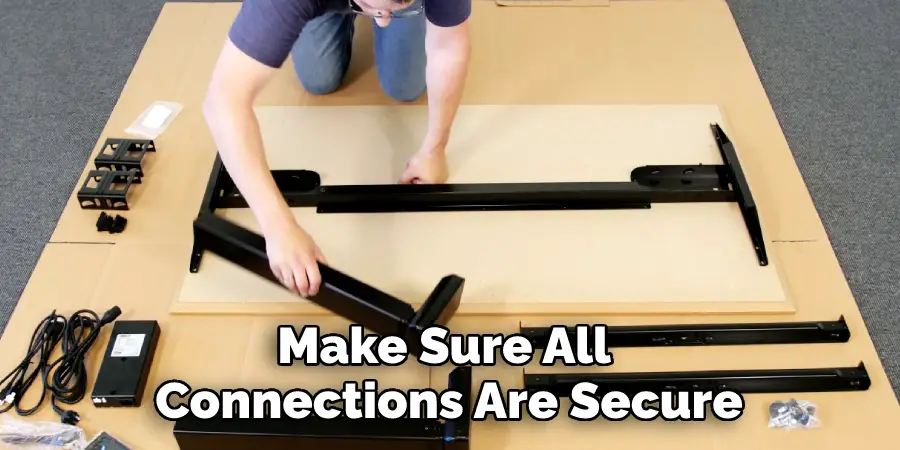
Step 4: Attach the Pieces
Once everything is lined up correctly, it’s time to attach the pieces. This can be done using either screws or bolts and must be done carefully. Make sure to use the right size of screw/bolt for each hole and tighten them securely. It’s also important to make sure all connections are secure before moving on to the next step.
Step 5: Glue the Joints
Once all screws/bolts have been tightened, it’s time to glue the joints. Wood glue is best for this task, as it will ensure a stronger bond between each piece of wood and help prevent any shifting during use. Simply apply a thin layer of glue to each joint, let it dry completely, and you’re ready to go.
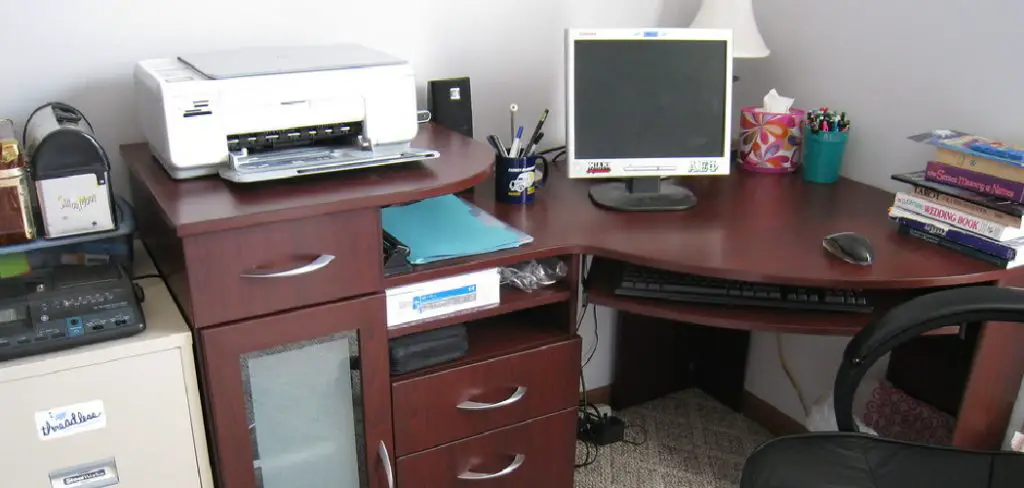
Now that you know how to put a desk together, it’s time to start enjoying your newly-built workstation! Feel free to personalize the piece with decorative items and other accessories to make it truly your own. We hope these tips have been helpful in getting you one step closer to creating your dream desk setup. Good luck!
Additional Tips and Tricks to Put a Desk Together
1. Make sure you have the right tools before beginning to assemble your desk. You will need a screwdriver and other tools depending on the desk model. Check the instructions for more information on what is needed.
2. Place all of your pieces in an organized manner so that they are easy to find and identify when assembling them. This will save you time and effort in the long run.
3. Take your time when assembling the desk to ensure that each step is done correctly. If possible, get someone to help you with certain steps so that it goes faster and smoother.
4. Use extra pieces of wood or other materials as a platform when attaching smaller pieces so that you can reach them more easily.
5. Be patient when connecting the metal parts together as it may take some time to get them in place correctly.
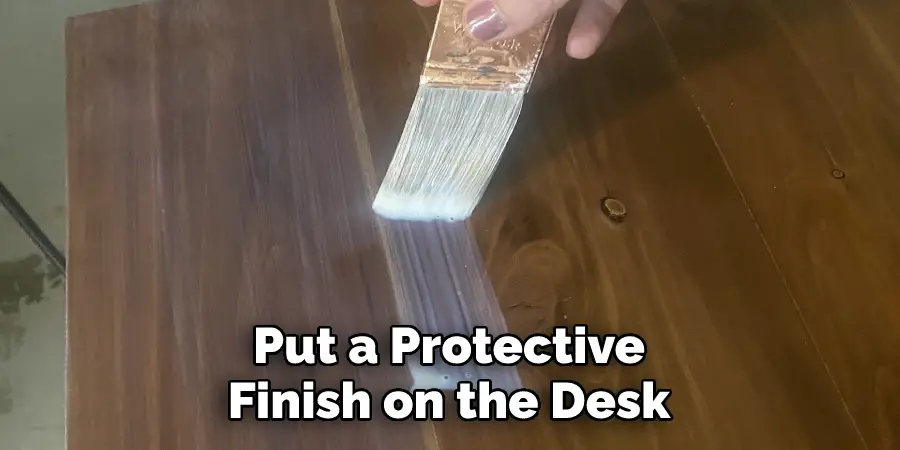
6. Put a protective finish on the desk after you have assembled it, such as a varnish or wax coating, to ensure its longevity and durability.
7. Test out the desk to make sure it is sturdy and all pieces are in place, then enjoy your new piece of furniture!
These tips and tricks will help you easily assemble any type of desk so that you can start using it as soon as possible without any issues. By following these steps, you’ll be able to quickly and easily put your desk together with minimal effort. Good luck!
Things You Should Consider to Put a Des Together
1. First assess the location of where you would want to put your desk. Take into account factors such as natural light, access to electrical outlets, and proximity to other items or furniture in the room.
2. Assemble the legs or frame of the desk first using screws and tools provided with the package. Make sure all the pieces are tightly connected and secure before proceeding to the next step.
3. Next, attach the drawers and shelves of the desk in their designated spots using screws or a drill device. Ensure that they are all securely attached and level with one another.
4. After that, add any additional features such as a hutch, keyboard tray, or other hardware. If the hardware requires screws, make sure they are firmly in place and secure.
5. Finally, attach the desktop to the legs of the desk ensuring that all pieces fit together perfectly and securely.
6. Once your desk is fully assembled, inspect it one final time for any loose parts, screws, or other hardware. Make sure everything is in its proper place and that all pieces are securely connected.
7. Lastly, enjoy the satisfaction of creating a beautiful desk to work on! With patience and care, you can create the perfect workspace for your needs.
By following these steps and taking into consideration the factors mentioned above, you can easily and successfully put together a desk. With the right materials, tools, and guidance, this project can be done in no time. Good Luck!
Frequently Asked Questions
What Tools Do I Need to Assemble a Desk?
Depending on the type of desk you plan to assemble, you may need some basic tools such as a screwdriver, drill, hammer, and wrench. Additionally, if your desk has drawers or other parts that require special assembly instructions, you may also need additional items such as a level and some screws.
What Is the Easiest Way to Put a Desk Together?
The easiest way to put a desk together is by following the instructions that come with it. Although it may take some time, assembling a desk with clear instructions can help you avoid making mistakes along the way. Additionally, make sure you have all the necessary tools and materials before you begin.
How Long Does It Take to Put a Desk Together?
The amount of time it takes to assemble a desk depends on its size, complexity, and type of assembly instructions. Generally, it can take anywhere from 30 minutes to several hours to put together a home office desk. If you have help, it could take less time than if you are attempting to do it alone.
Are There Any Safety Considerations When Putting Together a Desk?
Yes, there are several safety considerations to keep in mind when putting together a desk. Follow all instructions carefully, wear protective gear such as goggles and gloves, and make sure your work area is well-lit. Additionally, make sure all parts fit together properly and that the desk is stable before using it.
Do I Need to Secure the Desk to the Wall?
It depends on what type of desk you have. Some desks require wall mounting because they are top-heavy. However, if your desk is lightweight and has sturdy legs, you may not need to secure it to the wall. Check the instructions provided with your desk for more information.
Can I Put a Desk Together by Myself?
Yes, you can. However, it will likely be easier if you have someone helping you. Having an extra set of hands to hold pieces in place or help with heavier parts can make the process much simpler. Additionally, having a helper can reduce the time it takes to assemble a desk.
Conclusion
With the above outlined you can easily learn how to put a desk together. Make sure to follow the instructions provided on your desk and have all the necessary tools and materials before you begin. Safety considerations should also be kept in mind, as well as wall mounting requirements if needed. Furthermore, having an extra set of hands to help can make the process much simpler. With these tips in mind, you’ll be able to put together your desk in no time.