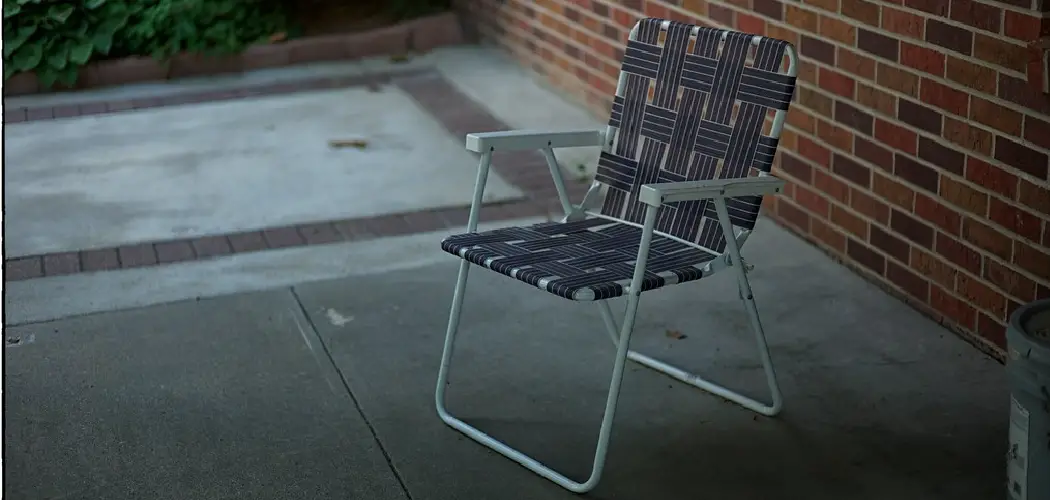
Re-webbing a lawn chair can help ensure its frame remains strong and sturdy – even if it gets used heavily. It also helps keep the chair looking great, as new webbing has a fresh appearance, especially compared to old and worn-out webbing. Re-webbing is an inexpensive and easy way to give your lawn chair a longer and more comfortable life.

Re-webbing a lawn chair is an easy and cost-effective way to make old, worn-out chairs more comfortable and usable again. By replacing the webbing with new material, you can customize the size, shape, and color of your outdoor furniture to match your existing decor.
Re-webbing also helps extend the life of your chair by providing support and increasing the overall strength of the frame. You can find step-by-step instructions on how to re web a lawn chair in this blog article.
Step-by-step Instructions for How to Re Web a Lawn Chair
Step 1: Inspect Your Chair
Take your chair apart and assess the frame, webbing, and hardware condition. If any of these items are cracked or broken, replace them with new ones. Clean the frame with mild detergent and warm water to remove any dirt or debris that has accumulated over time. Allow it to dry completely.
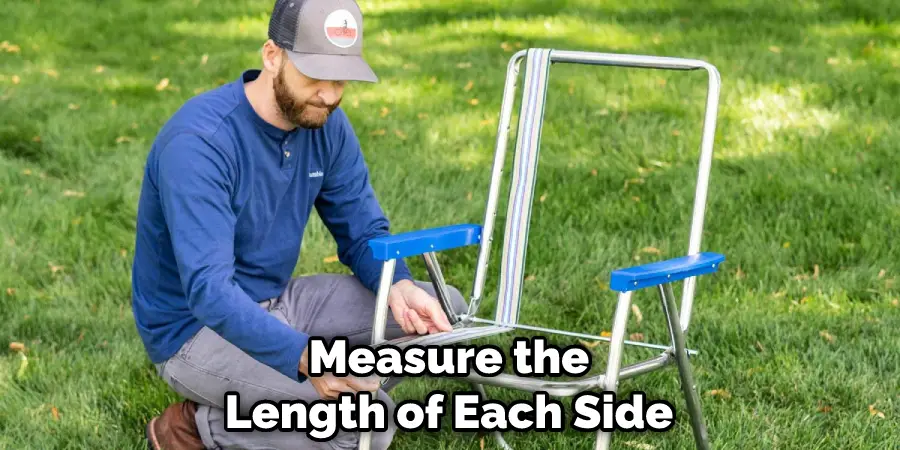
Step 2: Measure and Cut the Webbing
Measure the length of each side of the chair frame to determine how much webbing is needed. Use a sharp pair of scissors to cut your webbing into strips that are at least twice as long as this measurement. Attach one end of each webbing strip to the frame using a staple gun.
Ensure that all staples are firmly in place and that there is no excess material between them. Staple or screw the other end of each webbing strip into place as well.
Step 3: Thread the Webbing Through the Frame
Thread each webbing strip through the frame by looping it through one hole in the frame and then around another hole on a different side. Repeat this process until the webbings are securely attached to the frame. Attach a hook or loop with a basic screw and nut at each end of the webbing. This will provide an anchor point for the chair’s cushion and upholstery.
Step 4: Secure Webbing Ends
Once all of your webbings is threaded through the frame and attached to the hooks or loops, use a staple gun to secure the ends of the webbing. Make sure that all staples are firmly in place and that there is no excess material between them.
Using the hooks or loops you attached earlier, attach the chair’s cushions and upholstery. Ensure that all of the webbings is securely fastened to the frame and cushions and that there are no gaps or loose edges.
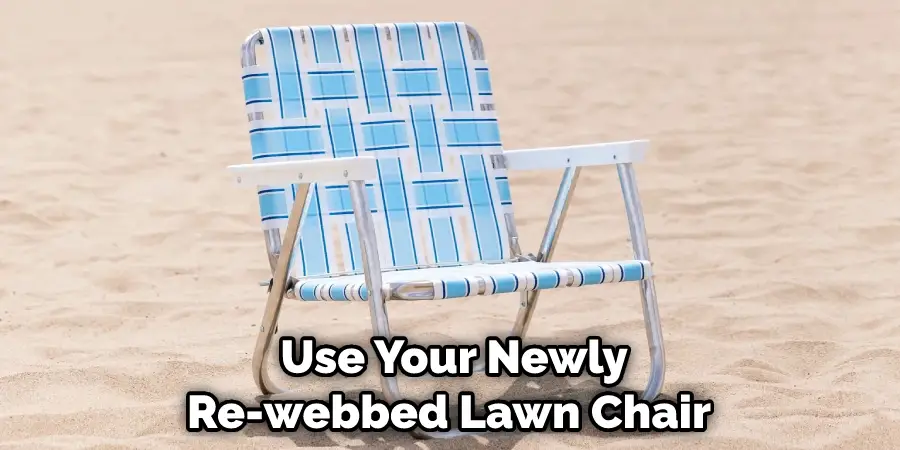
Step 5: Test the Chair
Test the chair to ensure it is secure and stable by sitting in it. You can use your newly re-webbed lawn chair if everything feels sturdy and comfortable. Apply a protective coating to the frame and webbing of your chair to protect it from the elements. This will help ensure that your re-webbed chair lasts many years.
5 Tips for How to Re Web a Lawn Chair
- Wear protective eyewear and gloves when re-webbing a lawn chair. This will help protect you from splinters, cuts, and other potential hazards that can come with the process.
- When cutting webbing for the lawn chair, use scissors or a sharp utility knife to avoid fraying the material.
- Make sure the webbing is of an appropriate length and width for your lawn chair before you start adding it. It won’t attach correctly if it’s too short, and if it’s too wide, it might not fit through the holes in the seat and back slats.
- When cutting the webbing, leave at least 2-3 inches of extra material to ensure it will fit properly.
- To ensure the webbing is secure and won’t unravel, use a strong adhesive or tie knots when connecting the pieces together. This will help give your lawn chair a longer life and better performance.
By following these safety tips, you can easily re-web your lawn chair and give it a new lease on life.
How Can You Protect the New Webbing From Weather Damage?
After re-webbing a lawn chair, it is important to protect the new webbing from weather damage. If the chair is used outdoors frequently, applying a waterproof sealant as a protective coating on top of the newly installed webbing can be helpful.
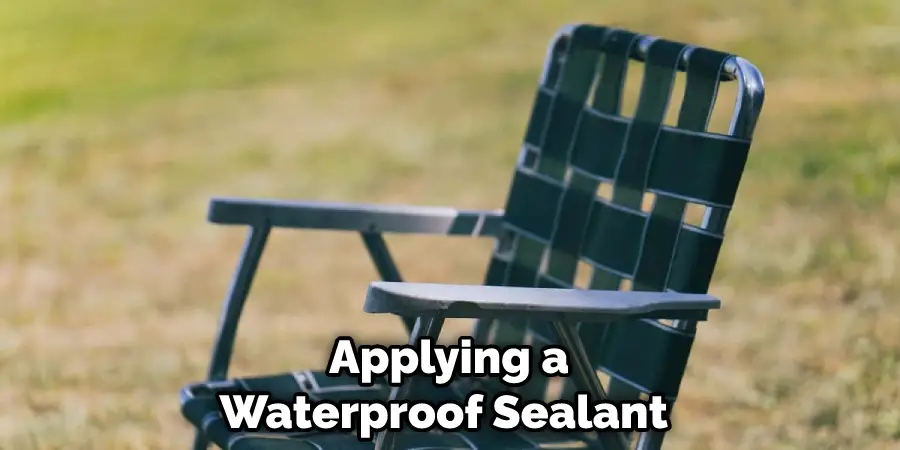
This will help prevent moisture and other elements from causing wear and tear. If the chair is only used occasionally outdoors, a can of furniture polish or lacquer can help keep the webbing looking new and prevent fading from direct sunlight.
Additionally, make sure to store your chair in a sheltered area away from elements like rain, snow, and strong winds when not in use to further protect it from possible weather damage. It is also important to remember to regularly check the webbing for any signs of wear or tear that may have been caused by weather.
If repairs are needed, you can follow the same steps outlined above to re-web it and restore it back to its original condition.
How Often Should You Check Your Lawn Chair for Wear and Tear?
It is important to check your lawn chair for wear and tear at least once a year. If the webbing on your lawn chair begins to fray or pull away from the frame, it is time to re-web your lawn chair.
This may be necessary if you use your lawn chair often, live in an area with high winds, or if the chair is made of thin material. Re-webbing your lawn chair can help extend its life and ensure that it remains structurally sound for years to come.
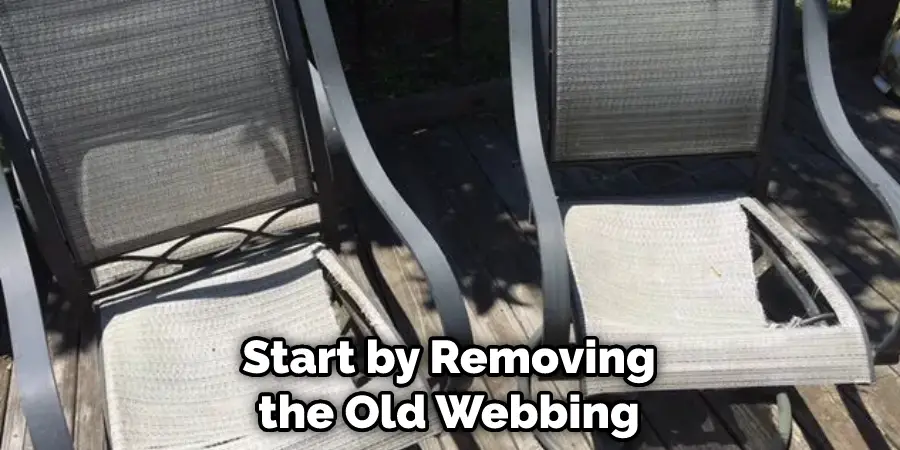
To re-web your lawn chair, you will need new webbing, scissors, pliers or a screwdriver, and glue (optional). First, remove the old webbing by cutting it away from the frame. Be sure to cut close to the frame, so you do not damage any metal parts.
Once the old webbing is removed, measure the new webbing and cut it to fit your chair. Make sure it’s tight enough that it won’t sag or come loose. Secure the webbing to the frame using your pliers or a screwdriver, and add a dab of glue (optional) for extra security.
What Safety Precautions Should You Take When Re-webbing the Chair?
Taking proper safety precautions when re-webbing a lawn chair is important. Wear protective eye wear, as some webbings may fracture and cause injury. Make sure that you are working in an area free from any obstructions that could cause the chair to topple over while in the process of being repaired.
Be sure to use tools specifically for the task, such as a pair of pliers or wire cutters. Lastly, if you have any allergies to certain materials or fabrics, be sure to take extra precautions while handling them. Taking safety precautions is key when it comes to re-webbing a lawn chair.
Once all safety precautions have been taken, you can begin the process of re-webbing your chair. Start by removing the old webbing and replacing it with the new webbing of your choice.
Make sure to use appropriate tension while weaving to keep the webbing snug but not too tight. Secure any loose ends with either pliers or wire cutters. Finally, finish the chair with a coat of varnish or sealant to free the webbing from dirt and water damage.
How Do You Clean and Maintain the Webbing of Your Chair?
Cleaning and maintaining the webbing of your chair is an important part of keeping it in top shape. You should clean the webbing regularly with mild detergent and warm water. Gently scrub the webbing with a soft-bristle brush to remove any dirt, debris, or another buildup from its surface. Rinse off the webbing with warm water and allow it to dry completely before webbing your chair.
Additionally, you should avoid storing the chair in a damp area as this could cause mildew growth and damage the webbing. For more extensive repairs or replacements, consult an expert for help.
By following these tips and properly cleaning and maintaining the webbing of your lawn chair, you can extend the life of your furniture and keep it looking like new. With a little bit of effort each season, you’ll be able to enjoy many years of relaxation in your favorite outdoor seat.
Is It Necessary to Call Any Professional to Re-Web a Lawn Chair?
Re-webbing a lawn chair is not a difficult task and does not require professional assistance. All that is needed to re-web a lawn chair are basic tools and supplies such as cordage, pliers, scissors, and an awl or drill. With the right materials and some patience, it can be done quickly and easily.
Start by using the cordage to measure and cut two lengths of cord. The length will depend on the size of the chair, but typically it should be between 6 and 8 feet long. Then take a pair of pliers or scissors and remove any old webbing that is attached to the chair frame. This can be done gently so as not to damage the frame or any other chair parts.
Thread the cordage through each hole and make sure that it is pulled tight so that the webbing does not sag or loosen over time. Secure the cordage in place by tying a knot at each end of the frame. Finish off by trimming any excess cordage and adding a few drops of wood glue to ensure that the knots stay in place.
Conclusion
The major disadvantage of re-webbing a lawn chair is that it can be quite time-consuming. You may have to remove the existing webbing, clean out the frames, and then cut new pieces of webbing according to your measurements.
You could also need special tools such as an awl, pliers, tape measure, or a sharp knife to complete the project. You will also need strong twine or weather-resistant webbing material. Depending on the size of the chair, it could take several hours to re-web a lawn chair.
Re-webbing a lawn chair is a great way to restore an old or worn-out piece of furniture and make it look brand new. It’s also relatively easy to do and can be accomplished with some basic tools and supplies. Before starting, always ensure the chair is structurally sound, as re-webbing won’t fix any broken parts.
Additionally, try to use materials that match the original setup as closely as possible for a neat and cohesive look. I hope this article has been beneficial for learning how to re web a lawn chair. Make Sure the precautionary measures are followed chronologically.