
If you’re running a multi-monitor setup on your Windows PC, you’ve probably noticed that your displays show up with generic, manufacturer-assigned names like “Generic PnP Monitor” or a long string of letters and numbers that tells you almost nothing useful. Keeping track of which screen is which becomes a real challenge, especially when you’re adjusting display settings, troubleshooting a resolution problem, or rearranging your workspace. That’s exactly why knowing how to rename monitors in PC setups is more useful than most people realize.
Windows doesn’t make this process obvious. There’s no simple text field in the Display Settings panel where you can type a custom name and save it instantly. But that doesn’t mean you’re stuck with confusing labels. There are practical methods — ranging from built-in Windows tools to lightweight software utilities — that let you assign meaningful names or identifiers to each display so your workflow becomes cleaner and more organized.
Why Renaming Monitors in PC Matters
When you work with multiple monitors every day, generic display names create real friction. Opening display settings and trying to figure out whether “Display 2” is the monitor on your left or the one mounted above your desk wastes time and leads to accidental changes on the wrong screen.
Custom labels eliminate that guesswork entirely. They make it faster to apply the right resolution, refresh rate, or color profile to the exact screen you intend to adjust. For professionals using specialized monitors — a color-accurate display for design work alongside a secondary screen for reference — clear naming keeps settings organized and reduces errors.
Step-by-Step Guide to How to Rename Monitors in PC
Step 1: Open Windows Display Settings and Identify Your Monitors
The first place to start is Windows Display Settings, which gives you a visual overview of every connected monitor. Right-click anywhere on your desktop and select “Display settings” from the context menu. You’ll see a numbered diagram showing each display Windows has detected, arranged in a rough representation of their physical positions. Each display is labeled with a number — Display 1, Display 2, and so on — but these numbers don’t mean much on their own without some context.
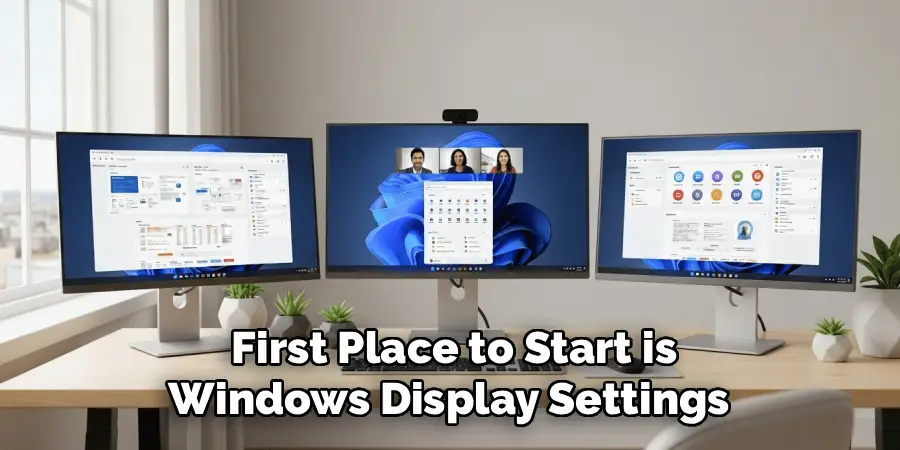
To figure out which number corresponds to which physical screen, scroll down to the “Identify” button and click it. Windows will briefly show a large number on each monitor simultaneously so you can match the number to the screen in front of you.
Step 2: Check the Monitor Name Windows Has Assigned
Once you know which display is which, click on one of the display icons in the settings panel to select it, then scroll down to find the “Advanced display settings” link and click it. On this page, Windows shows the display name it has pulled from the monitor’s built-in identification data — typically the manufacturer name and model number, like “DELL U2722D” or “LG ULTRAGEAR.” This name comes from the monitor’s EDID, which is a small data block embedded in the monitor’s firmware that Windows reads automatically.
Understanding what name Windows is reading helps you figure out whether renaming is even necessary. If your monitors already show distinct and recognizable model names, you may only need to rely on those.
Step 3: Use the PowerShell Method to Relabel a Display
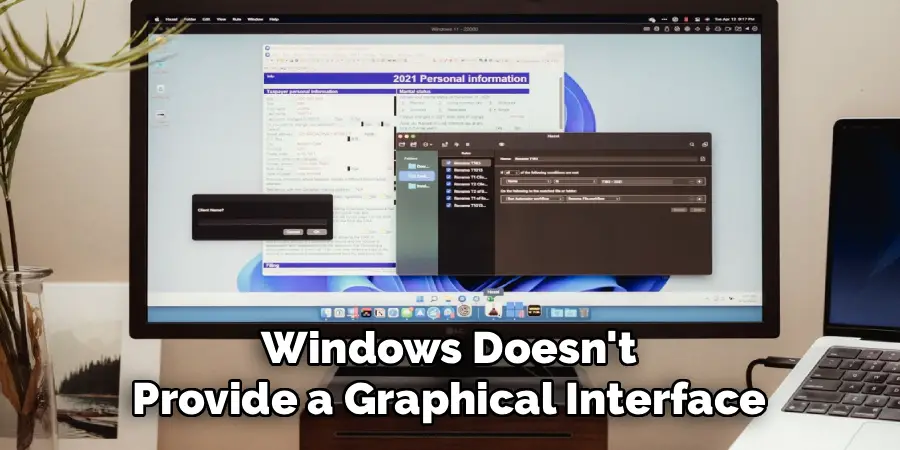
Windows doesn’t provide a graphical interface for custom monitor naming, but you can achieve a similar result through a workaround involving the Registry Editor and display driver properties. Start by pressing Windows + X and selecting “Windows Terminal (Admin)” or “PowerShell (Admin)” to open an elevated terminal. Understanding this method upfront helps you decide if it’s the right fit for your comfort level — it doesn’t require deep technical knowledge, but it does involve making changes that should be done carefully.
In the terminal, you can use a command to query the current display names and their associated registry paths. Type Get-PnpDevice -Class Monitor and press Enter. This command lists all monitors Windows currently recognizes, along with their instance IDs.
Step 4: Locate the Monitor Entry in the Registry Editor
Open the Registry Editor by pressing Windows + R, typing regedit, and pressing Enter. Navigate to the path HKEY_LOCAL_MACHINE\SYSTEM\CurrentControlSet\Enum\DISPLAY. Inside this folder, you’ll find subfolders named after each connected monitor’s hardware ID — these match the instance IDs you found with the PowerShell command in the previous step. Each monitor has its own subfolder, and inside that folder is a “Device Parameters” key that contains the display’s properties.
Look for the value named “FriendlyName” within the Device Parameters key. This is the name that Windows displays in various system dialogs and settings panels.
Step 5: Use a Third-Party Utility for a Simpler Approach
If editing the registry feels like too many steps, lightweight utilities like MultiMonitorTool or MonitorInfoView from NirSoft offer a friendlier interface for viewing and managing display information on a Windows PC. These tools are small, free, and don’t require installation — you download the executable, run it, and immediately see a detailed list of every connected display with its properties. They’re particularly useful when you want to understand what Windows sees without committing to registry edits.
While these tools primarily display monitor information rather than rename displays in a persistent way, they’re invaluable for identifying hardware IDs, checking resolution capabilities, and confirming which physical monitor maps to which logical display number in Windows.

Step 6: Arrange and Label Displays Physically for Clarity
One of the most practical and underused approaches to managing a multi-monitor setup is physical labeling alongside software configuration. After completing the software-side steps for how to rename monitors in pc, place a small label on the bezel or base of each monitor with its assigned name — “Left,” “Main,” “Top,” or whatever naming system you’ve chosen. This physical reference means you never have to open settings just to remember which screen is which during hardware rearrangements or troubleshooting sessions.
In Display Settings, drag the display icons to match the actual physical arrangement of your monitors on your desk. Align them so that moving your mouse to the right edge of one screen causes it to naturally continue onto the next physical screen. This spatial arrangement, combined with your registry-assigned friendly names, creates a setup that’s genuinely intuitive to use.
Step 7: Confirm the Changes and Troubleshoot If Needed
After restarting your PC, open Display Settings again and check whether the friendly names you assigned are now showing correctly. In some cases, Windows may revert the name on the next reboot, particularly if the display driver reinstalls itself and overwrites the registry entry. If this happens, check whether your GPU driver updated automatically after the change — a fresh driver installation can reset monitor identification data back to the defaults stored in the monitor’s EDID firmware.

If names keep reverting, consider using a display management tool that applies custom labels at login through a startup script, which ensures your naming preferences are reapplied even after driver updates.
Frequently Asked Questions
Why Does Windows Show “Generic PnP Monitor” Instead of a Real Name?
Windows uses data embedded in the monitor’s firmware — called EDID — to identify connected displays. If a monitor’s firmware doesn’t include proper identification data, or if the connection passes through a basic adapter that strips that data, Windows falls back to the generic label “Generic PnP Monitor.” Updating your monitor’s firmware or using a higher-quality display cable can sometimes resolve this.
Will Renaming a Monitor Affect Its Performance or Settings?
No — the FriendlyName value in the Windows Registry is purely a display label. Changing it doesn’t affect resolution, refresh rate, color depth, or any other functional property of the monitor. It’s the equivalent of changing a file name without modifying the file’s contents. All existing settings tied to that display remain exactly as they were.
Do I Need Administrator Rights to Rename a Monitor in Windows?
Yes. The registry path where monitor friendly names are stored — under HKEY_LOCAL_MACHINE — requires administrator-level access to edit. Standard user accounts don’t have write permissions to this location. You’ll need to open the Registry Editor by running it as an administrator, or use an elevated PowerShell session to make changes.
Can I Rename Monitors on Windows 11 the Same Way as Windows 10?
Yes, the process is essentially the same on both Windows 10 and Windows 11. The Registry Editor path and the FriendlyName value exist in both operating systems, and the Display Settings panel works similarly across both versions. The visual design of the settings panels differs slightly between the two, but the underlying structure for monitor identification and naming is consistent.
What Happens if I Connect a New Monitor After Renaming My Existing Ones?
When you connect a new monitor, Windows creates a new registry entry for it based on its hardware ID and EDID data. This doesn’t affect the names you’ve already assigned to your existing monitors — those entries remain unchanged. The new monitor will appear with its default manufacturer name or as a generic display, and you can apply the same registry editing process to assign it a custom friendly name as well. Each monitor’s registry entry is independent, so changes to one don’t interfere with the others.
Conclusion
The process starts with identifying your monitors through Windows Display Settings, understanding how Windows reads monitor data from firmware, and then using the Registry Editor to assign custom friendly names that actually mean something to you. Physical labeling and proper display arrangement in settings complete the picture and make your setup genuinely easy to navigate.
Once you understand how to rename monitors in PC environments and apply these changes, your daily workflow becomes noticeably smoother — less time clicking through settings to find the right screen, fewer accidental changes to the wrong display, and a workspace that reflects how you actually use your monitors.
