Are you trying to take your Ikea desk apart, but don’t know where or how to begin? Don’t worry – you’re not alone! In fact, a lot of people find it difficult to disassemble furniture from the famous Swedish retailer.
If this is your case, then read on for some helpful tips and advice about taking apart an Ikea desk, so that you can do it quickly and easily by yourself without needing any extra help.

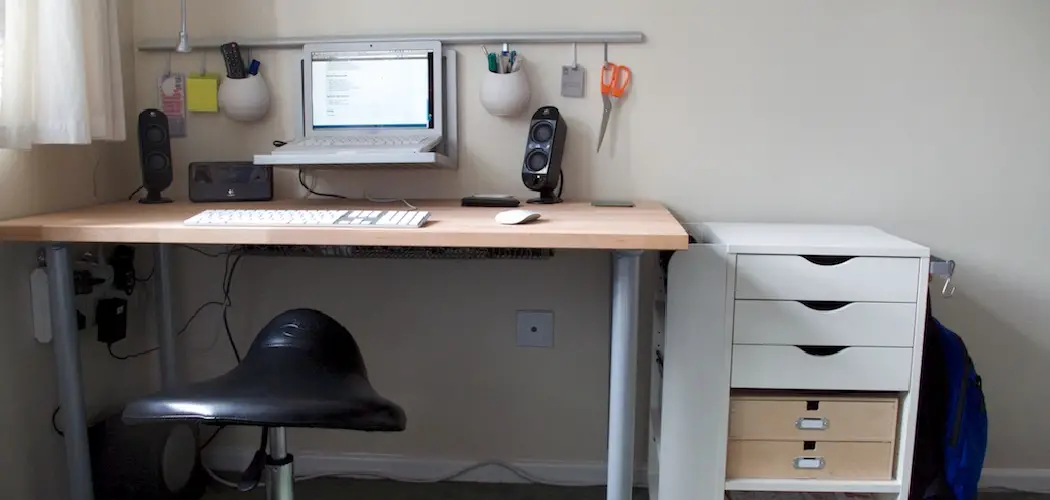
If you’ve ever owned an Ikea desk and needed to disassemble it for moving or storage, then you know how tricky and complicated the process can be. Even with the instructions that come with all Ikea products, many people find themselves completely baffled when it comes time to take apart their desk.
Don’t worry – this blog post is here to help! We’ll show you how to take apart ikea desk safely and efficiently so that everything goes smoothly on moving day. Read on for more info!
Why Do You Need to Take Apart Ikea Desk?
There can be many reasons why you may need to take apart your Ikea desk. Such as:
1. To Replace Specific Parts
One of the most common reasons for taking apart an Ikea desk is to replace worn or damaged parts. If you notice that your desk is starting to show signs of wear and tear, such as chipped or scratched surfaces or broken drawers, you may need to take it apart in order to access the individual components and fix them.
2. To Upgrade Your Desk
Another common reason for taking apart your Ikea desk is to upgrade it. For example, if you want a bigger or more functional desk, you may need to take apart your current one in order to make the necessary modifications.
3. To Clean or Repair the Desk
In some cases, you may also need to take apart your Ikea desk to clean or repair it. For example, if there is a stain on the surface of your desk that you cannot remove with regular cleaning methods, taking it apart and cleaning each individual component may be your best bet for getting rid of the stain.

If you are thinking about taking apart your Ikea desk, it is important to carefully assess your needs and think through each step of the process before you start.
This will help ensure that you are able to successfully take apart your desk without causing any damage or injury. And with the right tools and guidance, taking apart your Ikea desk can be a simple, straightforward process that will leave you with a fully functional and upgraded desk in no time.
How to Take Apart Ikea Desk in 7 Easy Steps
Step 1: Locate the Screws on Your Ikea Desk
The first step to taking apart an Ikea desk is locating the screws that hold it together. Look for small screws along the edges of your desk, and make a note of where each screw is located. Make sure you have a screwdriver handy to remove the screws.
Step 2: Remove the Screws
Once you’ve located the screws on your Ikea desk, use your screwdriver to carefully remove each one. Depending on the type of screw that’s holding your desk together, you may need to apply some force or turn it in a counter-clockwise direction to loosen it.
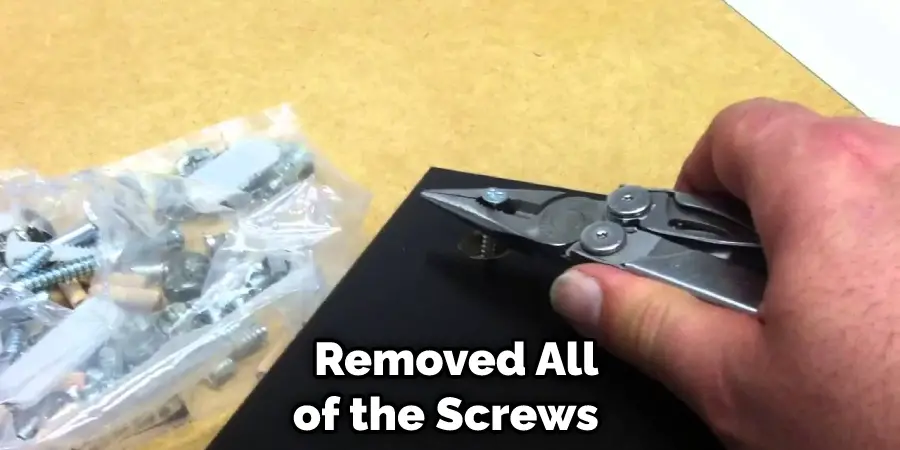
Step 3: Separate the Parts of Your Desk
Once you’ve removed all of the screws on your Ikea desk, carefully separate the different parts to remove your desktop and base. Take care not to damage any of the pieces as you disassemble the desk.
Step 4: Remove the Drawer
Some Ikea desks also have a drawer, which may be attached to either the desktop or the base. Carefully remove the drawer from your desk, and set it aside for reassembly later on. But you have to be careful how you handle this step. Some drawer mechanisms are quite delicate, so take care not to damage the moving parts as you remove them from your desk.
Step 5: Remove the Legs
If your Ikea desk has legs, you will need to separate them from the base in order to take the desk apart completely. Use a screwdriver or other tool to remove any screws that are holding the legs in place, and then gently pull them away from the base of your desk.
Step 6: Disassemble the Remaining Parts
Once you’ve removed all of the parts of your Ikea desk, you should be able to take it apart completely by separating any additional pieces. Be sure to label each part of your desk so you can easily reassemble it later on.
Step 7: Reassemble Your Desk
Once you’ve taken your Ikea desk apart, you can begin the process of putting it back together again. Simply follow the same steps in reverse order, and make sure all of the pieces are securely attached before you start using your desk again.
If you’re having trouble taking apart your Ikea desk, consider enlisting the help of a professional furniture assembly service to complete the job for you. With the right tools and a little bit of patience, however, it’s possible to take apart an Ikea desk on your own in just these simple steps.
Some Additional Tips And Tricks to Take Apart Ikea Desk
1. Do Not Force
When taking apart your Ikea desk, it is important not to force any pieces or parts. This can cause the material to break and make the process more difficult than it needs to be. Be careful and gentle when removing any pieces, and take your time to ensure that you are not damaging the desk in any way.
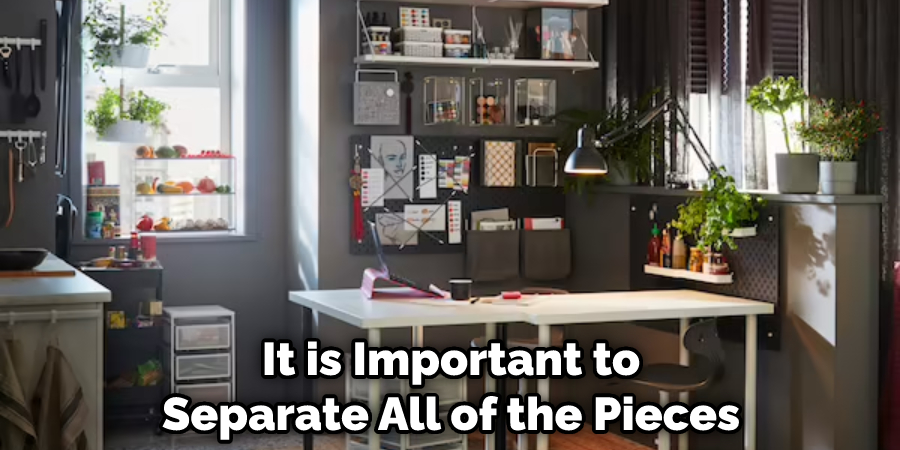
2. Separate the Pieces
Before you begin taking apart your Ikea desk, it is important to separate all of the pieces into different piles. This will make it easier and less time-consuming to reassemble once you are finished taking apart the desk.
3. Use the Right Tools
To successfully take apart your Ikea desk, it is important to use the right tools for the job. This may include screwdrivers, pliers, wrenches, or other tools that can help you disassemble your desk safely and efficiently.
4. Take Pictures
When taking apart your Ikea desk, it may be helpful to take pictures or make notes of how each piece fits together. This will make it easier to reassemble the desk once you are finished with the disassembly process.
5. Store the Pieces
Once you have taken apart your Ikea desk, it is important to store all of the pieces in a safe place until you are ready to put the desk back together. This can help prevent any accidental damage or loss of individual pieces, and will ensure that your Ikea desk is as good as new it is time to reassemble it.
By following these tips and tricks, you can take apart your Ikea desk quickly and easily, without damaging the material or causing yourself any unnecessary headaches. With a little care and patience, you can be sure that your Ikea desk stays in great shape for years to come.
Frequently Asked Questions
What Tools Do I Need to Take Apart an Ikea Desk?
Taking apart an Ikea desk can be a challenging and time-consuming task, especially if you do not have the right tools or experience. In general, you will need a screwdriver or wrench to remove the screws that hold your desk together, as well as some sort of prying tool to help you release the pieces from each other.
How Much Force Do I Need to Put Behind My Tools?
When taking apart an Ikea desk, it is important to use the right amount of force in order to avoid damaging any components or breaking the screws. You should always be gentle when using tools like screwdrivers and wrenches, applying just enough pressure to get the pieces loose without overdoing it.

How Can I Avoid Damaging My Desk While Taking It Apart?
One of the best ways to avoid damaging your Ikea desk while taking it apart is to be careful and patient with your tools. Make sure that you are using the right amount of force to gently loosen each piece, rather than forcing them apart or applying too much pressure.
Conclusion
Now that you know how to take apart an Ikea desk, the process of reassembling it should be much simpler. Use these tips the next time you need to move or rearrange your furniture. With a little bit of care and patience, you can easily take apart and put back together any piece of Ikea furniture.
Taking apart an Ikea desk is not as difficult as one may think. With a few simple tools, you can easily disassemble your desk and move it to another room or location. If you need help, there are plenty of online resources and videos that can walk you through the process step-by-step. Don’t be afraid to take apart your Ikea furniture – it’s easy and anyone can do it!
You Can Check It Out to Arrange Two Desks in a Small Office