
Are you looking for a way to organize your workspace with minimal effort? Do you want to make sure all of your office supplies are stored in one place without taking up too much space? Well, look no further: building a desk hutch is the perfect solution!
With this guide, we’ll be walking you through everything you need to know about how to build a desk hutch that will provide ample storage and organization options for any home or office.
Whether it’s sorting documents, stashing stationery supplies, or keeping track of important items this tutorial has got it covered! Let’s get started and find out what materials and tools we’ll need for our project.
What Is a Desk Hutch?
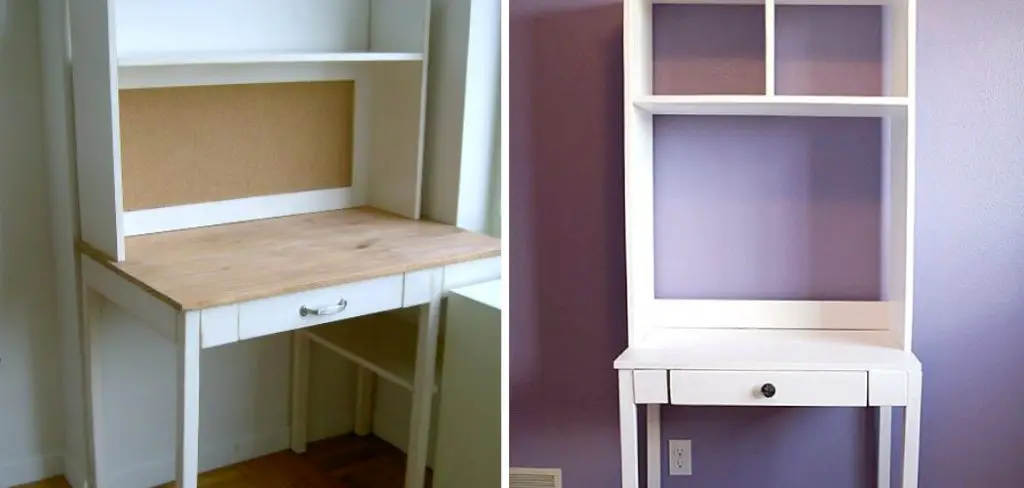
A desk hutch is a piece of furniture that can be placed on top of an existing desk or table. It typically consists of shelves and drawers mounted to a frame, which sits on the back and sides of the desk. This type of furniture can be used for storage, organization, display or decoration purposes.
Desk hutches come in various sizes and styles, with some designed specifically to fit certain desks or tables. They are an affordable way to make the most out of limited space in any room or office.
When constructing a desk hutch, it’s important to consider both style and functionality. For instance, if you plan to store files and documents in the hutch, then look for models with separate compartments that are large enough to store folders and paperwork.
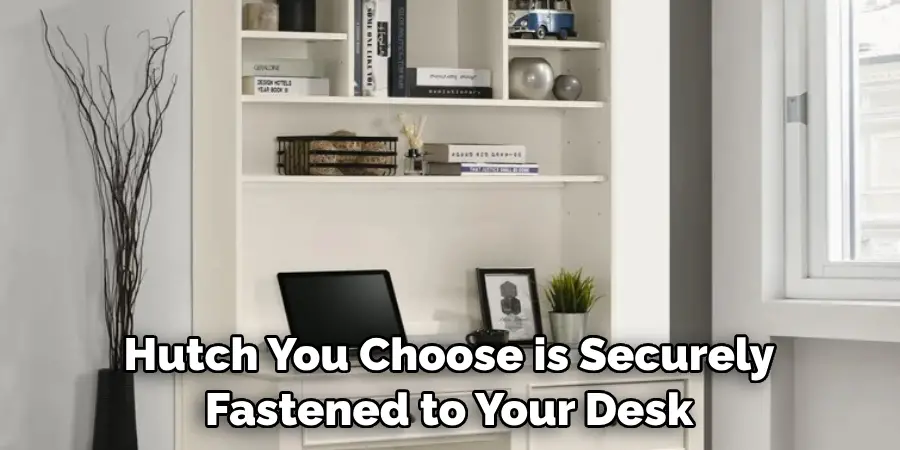
On the other hand, if you need extra surface space for a laptop or desk accessories, then opt for models with slimmer shelves that don’t take up as much room. It’s also important to make sure the hutch you choose is securely fastened to your desk and can support any items placed on it.
In terms of design, desk hutches come in a variety of materials and designs to match any taste. Popular options include wood, metal and plastic hutch frames with matching or contrasting finishes. Some models also feature decorative details such as carved trim, scalloped edges or ornamental accents that can be used to add a personal touch to your work space.
Is It Cheaper to Build Your Own Desk?
Building a desk hutch is a great way to get the furniture piece you need without breaking the bank. Not only can you create something that fits your style and space, but it might be cheaper than buying a pre-made option from a store.
The cost of building your own desk will depend on what materials and tools you already have in your home. If you’re handy with carpentry tools like saws, drills, and hammers, then the cost of building your own should be relatively inexpensive. You may even be able to reuse old wood or find used lumber for very cheap prices at nearby hardware stores or salvage yards.
If you don’t have any tools or knowledge of carpentry, then you may need to purchase some tools and supplies, which could add up to be more expensive than buying a pre-assembled desk from the store.
The cost of building your own desk is also dependent on the size and complexity of your project. If you’re making something elaborate with lots of intricate details, then it can be much more costly than a simple desk. The same goes for larger furniture pieces; if you’re making something big, then it can cost more than buying something pre-assembled from the store.
10 Steps How to Build a Desk Hutch
Step 1: Gather Materials and Tools
To begin building a desk hutch, you’ll need to gather the necessary materials and tools. Here’s a list of what you’ll typically require:
Materials:
- Plywood sheets
- Solid wood boards
- Screws
- Wood glue
- Sandpaper
- Varnish or paint
- Hinges
- Magnetic catches
- Decorative molding (optional)
- Knobs or handles (optional)
Tools:
- Measuring tape
- Pencil
- Circular saw or table saw
- Jigsaw
- Power drill
- Screwdriver
- Clamps
- Orbital sander or sanding block
- Paintbrush or roller
- Safety goggles and gloves
Step 2: Measure and Plan
Measure the dimensions of your desk and determine the size of the hutch you want to build. Sketch a rough design or use design software to visualize the hutch’s structure. Consider the number of shelves, compartments, and any additional features you want to incorporate.
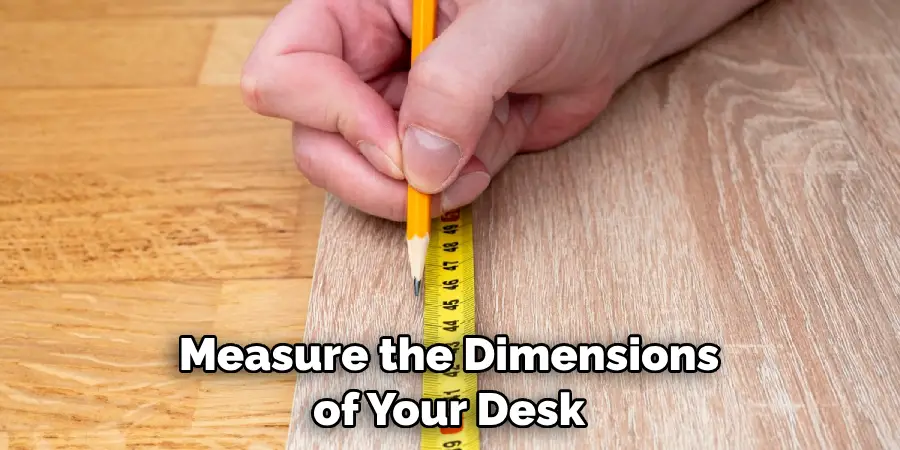
Make sure the hutch won’t overpower the desk or occupy too much space in the room. While planning, find the materials or hardware you will need for your project.
Step 3: Cut the Plywood and Wood Boards
Using a circular saw or table saw, cut the plywood sheets and solid wood boards according to your measurements. Take care to make precise cuts to ensure proper fitting and alignment. Though it is not necessary, miter saws can be used to make angled cuts for a decorative touch.
To make sure the pieces fit together properly, it is important to keep all measurements consistent. Although it is possible to use a hand saw, the accuracy and precision of power tools will provide more consistent results. Make sure to wear protective gear such as safety glasses and earmuffs when cutting.
Step 4: Assemble the Main Structure
Start by assembling the main structure of the hutch using the plywood sheets. Use wood glue and screws to secure the pieces together. Reinforce the joints with corner brackets if desired. Ensure the structure is sturdy and level.
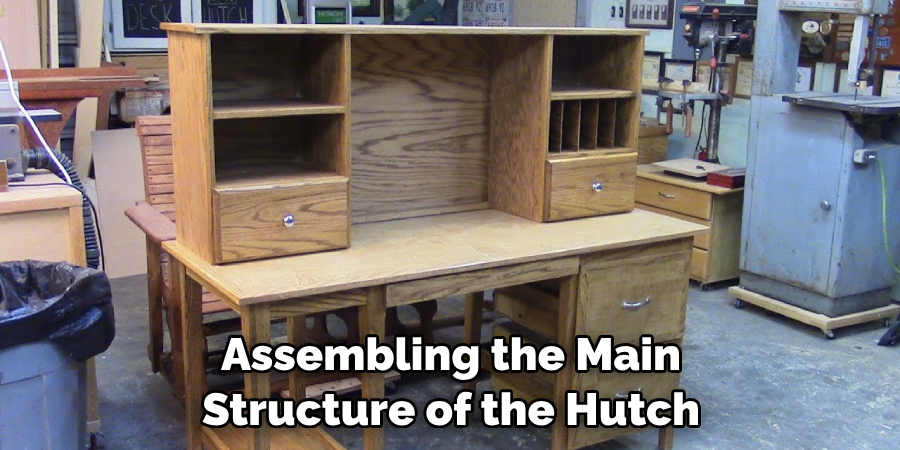
To help make the structure more secure, use a drill to add pilot holes before inserting any screws. Once assembled, apply primer and paint if desired. Allow the paint to dry before moving on to the next step.
Step 5: Add Shelves and Compartments
Attach the shelves and compartments to the main structure using wood glue and screws. Measure and mark the desired locations for each shelf, ensuring proper spacing and alignment. Consider adjustable shelf options for added versatility. Secure the shelves to the frame with wood screws. If you are using a kit, use the parts and instructions included.
Once complete, let your hutch dry and cure overnight before adding any decorations or additional components, such as drawers. Enjoy your beautiful new hutch! You can now store all of your necessary items in one place and keep your desk organized. With proper maintenance and care, your hutch will last for years to come.
Step 6: Install the Back Panel
Cut a piece of plywood or hardboard for the back panel of the hutch. Attach it securely using screws or nails. The back panel provides stability and a finished look to the hutch.
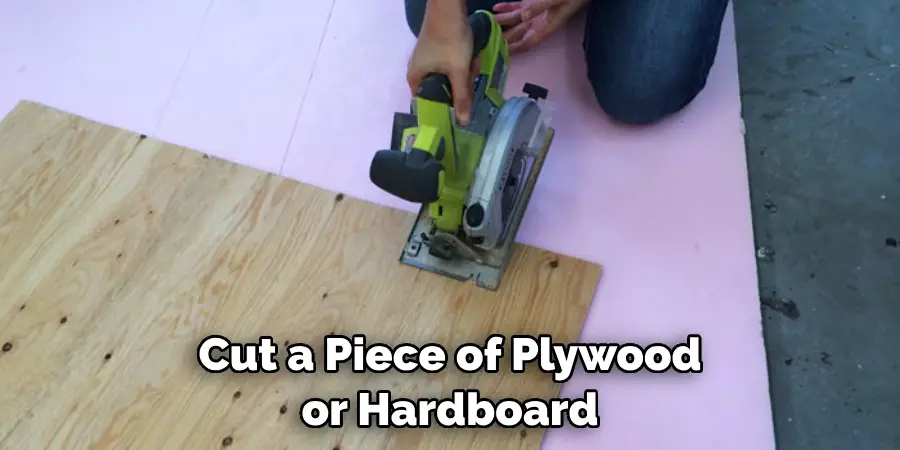
Ensure it is well-secured before moving on to the next step. Additionally, make sure the back panel is cut to fit the opening of the hutch. However, if you prefer to leave the back of the hutch open, you may skip this step.
Step 7: Sand and Finish
Sand the entire surface of the hutch to smooth out any rough edges or imperfections. Start with coarse-grit sandpaper and gradually move to finer grits for a polished finish. Remove any dust with a clean cloth.
Apply varnish or paint to protect and enhance the appearance of the hutch. Choose a finish that complements your existing desk or room decor. Apply multiple coats, allowing sufficient drying time between each coat.
Step 8: Add Doors or Drawers
If you want doors or drawers in your hutch, measure and cut the necessary pieces accordingly. Attach hinges for doors and drawer slides for drawers. Ensure proper alignment and smooth operation.
Secure the doors or drawers in place with screws. If desired, add door pulls for a decorative touch. Finally, put the glass or wood paneling onto the front of each door and attach it firmly. Make sure all edges are even and secure.
Step 9: Attach Decorative Molding (Optional)
For an added aesthetic touch, consider attaching decorative molding to the edges of the hutch. Measure and cut the molding to fit, and secure it in place with wood glue and small finishing nails. Sand and finish the molding to match the rest of the hutch.
Step 10: Attach Knobs or Handles (Optional)
If desired, attach knobs or handles to the doors or drawers of the hutch. Choose hardware that complements the overall style and finish of the hutch. Secure them in place using screws.
Conclusion
Completing the build of your own desk hutch with your own two hands can be a truly rewarding activity. Not only will you have a safe space to store items, but having a beautiful piece of bespoke furniture gracing your room is simply invaluable.
If you take the time to consider the design and construction processes, there are limitless possibilities for making the perfect desk hutch. With the right plan and materials, anyone can build their own stunning desk hutch that will surely become an enduring masterpiece in their homes.
Now that we’ve gone over all of the necessary steps on how to build a desk hutch, it’s time to start crafting your very own in whatever style you like – don’t forget, it’s totally customizable! Join us now as we pull up our sleeves and begin this exciting project together!