
Do you feel overwhelmed by the clutter on your desk? If you’re looking for a simple, yet effective way to keep your stationery and other important items in order, then this guide is for you.
In this blog post, we’ll show you how to make a desk organizer that not only looks great but also helps increase productivity! With just a few supplies and our step-by-step instructions, anyone can create their own stylish desktop companion in no time. So let’s get started!
Supplies You Will Need to Make a Desk Organizer
- Plywood (1/4 inch thick)
- Penknife or craft knife
- Ruler
- Sandpaper
- Wood glue
- Clamps
- Paint and paintbrush (Optional)
- Finishing wax (Optional)
Step-by-Step Guidelines on How to Make a Desk Organizer
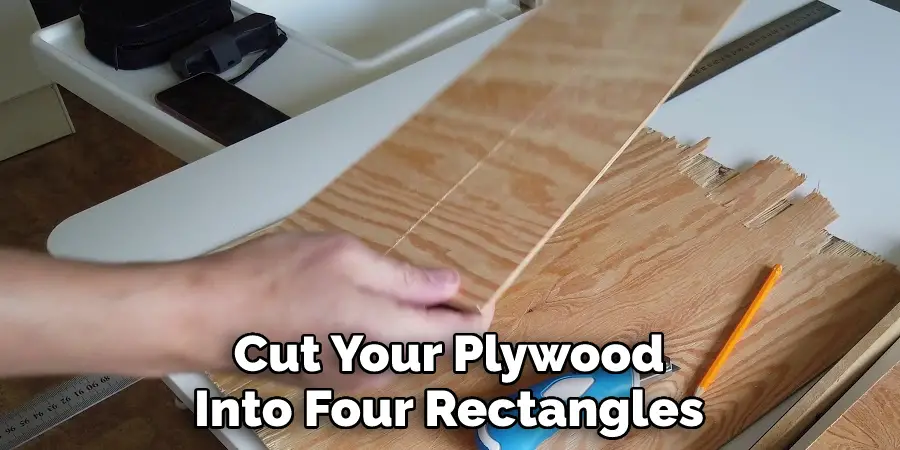
Step 1: Cut the Plywood
Measure and cut your plywood into four rectangles. For a simple design, make each side 4 x 12 inches. Once you have all of your pieces cut, use the sandpaper to smooth any rough edges. Ensure the pieces fit together correctly before moving on to the next step.
Step 2: Join the Pieces
Using wood glue, join two of the pieces together at a right angle to form an L shape. Clamp them in place and allow the glue to dry thoroughly. Once it has dried, use your penknife or craft knife to cut a simple into the corners of the L. This will help you join all four pieces together much more easily. Use the same technique to join the other three pieces together.
Step 3: Assemble
Once your grooves are cut, assemble all four pieces into a square and apply glue to the joints. Clamp them together, making sure they fit snugly together. Allow the glue to dry thoroughly before moving on. While you’re waiting, you can paint your organizer (optional) and add a finishing wax or other protective coating (optional).
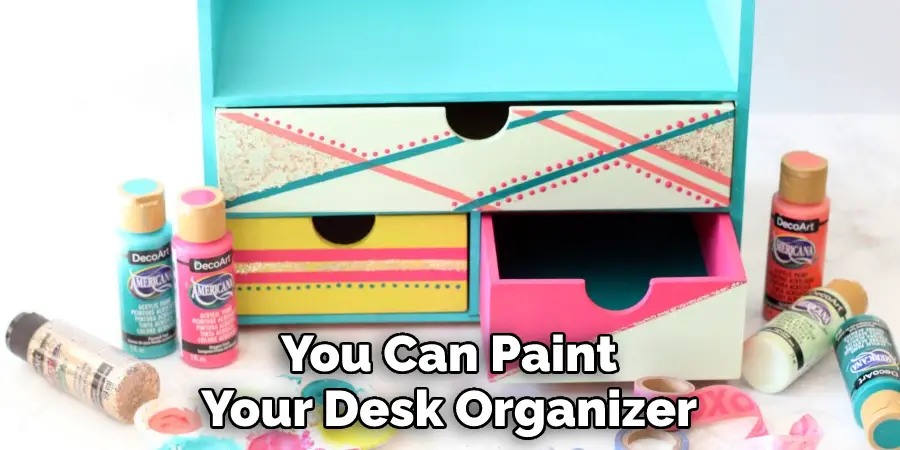
Step 4: Finishing Touches
If you want, you can paint your desk organizer with a wood-safe paint and finish it off with a layer of wax. This will give it an extra shine and protect it from water damage. And there you have it – your very own homemade desk organizer!
We hope that you found this guide useful and have now learned how to make a desk organizer. It’s a great way to keep your stationery and other items neatly stored away, so why not give it a go? Let us know in the comments below if you tried out this project. Good luck and happy organizing!
Additional Tips and Tricks to Make a Desk Organizer
1. Use contrasting colors for a more interesting look. Find two fabrics that complement each other to make the organizer unique and visually appealing.
2. Choose your favorite fabrics to create a more personal touch.
3. Get creative with shapes! Add some interest by using cutouts or stencils when creating your organizer. This can make your project look much more interesting while also giving it an extra bit of character.
4. Use decorative trimmings or ribbons to give your organizer some extra flair.
5. Add color with embroidery, stickers, buttons, sequins, and other embellishments.
6. For a more professional look, finish off the edges with bias tape or fabric paint.
7. You can also give your desk organizer an extra layer of protection by applying a layer of clear coating to make it more resistant to dust and moisture.
8. Make sure to measure the area where you plan to use the organizer and create a template for your project that fits the space.
9. Finally, you can also make a larger desk organizer by joining several parts together with ribbon or Velcro strips. This will give you extra room to store items and keep everything neatly organized.
Following these tips and tricks will help you create a beautiful, unique desk organizer that is perfect for keeping your workspace tidy and organized. With a little creativity, you can make an organizer that fits your tastes and needs! Good luck and have fun!
Things You Should Consider to Make a Desk Organizer
1. Decide on the size of your desk organizer. Measure the space available where you plan to place it and choose a size that will fit comfortably within that area.
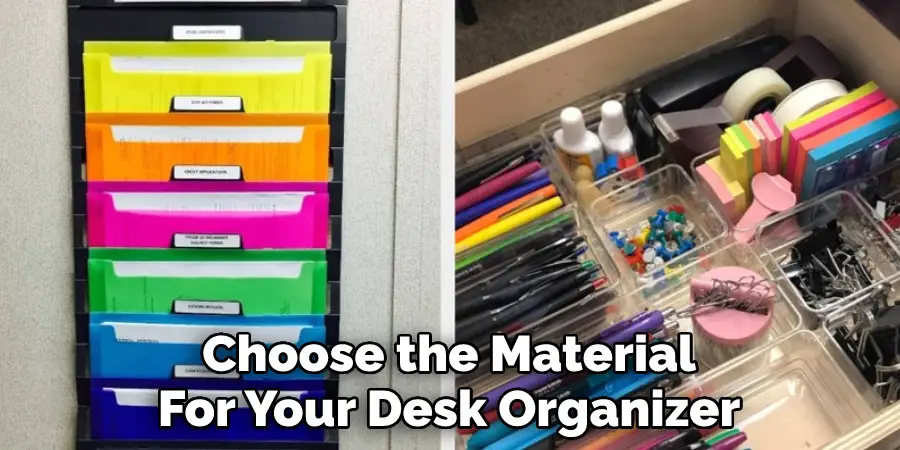
2. Choose the material for your desk organizer. Wood or plastic are great options, both of which can be found at most craft stores or online. If you’re looking for a more creative and unique desk organizer, you can also consider using cardboard or fabric.
3. Think about the design of your desk organizer and determine which parts will be necessary to make it functional. You’ll need some kind of tray or container in which to store items such as pens, pencils, paper clips, rulers, etc., and some kind of stand to keep them upright.
4. Determine how you want the compartments of your desk organizer to be arranged. Consider whether you need specific slots for certain items or a large open area where multiple items can fit at once.
5. Think about adding some decorative elements to your desk organizer, if desired. Paint, fabric, ribbons, or buttons can all add a special touch to your desk organizer and make it unique.
6. Don’t forget about the finishing touches! Whether you choose to use glue, nails, or another form of adhesive for assembling your desk organizer parts together, be sure to double-check that everything is properly secured before using it. In addition, you can also use a sealant or varnish to give your desk organizer a finished look.
7. Finally, make sure that all of your materials are properly organized and accounted for before you start constructing your desk organizer so that the process goes smoothly. This includes having a plan in mind, as well as gathering all of the necessary supplies such as glue, nails, screws, etc., ahead of time. Doing so will help ensure that your desk organizer turns out just the way you envisioned it.
With these considerations in mind, you can easily create a stylish and functional desk organizer that will help keep your workspace organized and tidy. Good luck!
Precautions Need to Follow for Making a Desk Organizer
1. Make sure to select the right materials for making your desk organizer. Opt for sturdy and durable materials like wood, metal, or plastic so that they can last for a long time and won’t break easily.
2. Pay attention to safety when working with tools such as saws and drills. Wear appropriate protective gear such as goggles, gloves, and a dust mask to protect yourself from any potential hazards.
3. Measure your workspace carefully before beginning the project. This way you can make sure that your desk organizer will fit in the allotted space and give you maximum efficiency.
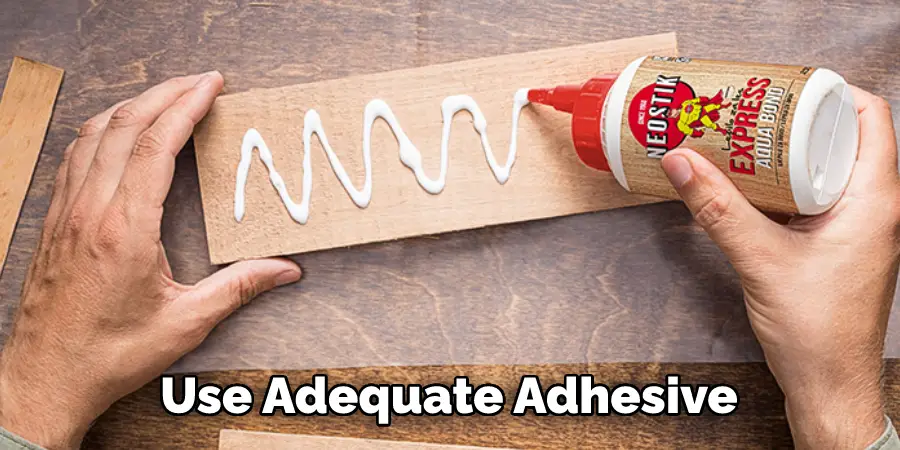
4. Use adequate adhesive when attaching components of your desk organizer together so that it will be sturdy and secure.
5. Follow directions closely for any instructions that accompany the materials you’re using to make sure the project turns out correctly.
6. Be mindful not to glue or screw pieces of your desk organizer in places where they may interfere with its function or cause injury upon use.
7. Keep an eye out for any sharp edges or protrusions that may have been created during assembly and sand them down to make them smoother.
8. Finally, when your desk organizer is complete, take a few minutes to admire your handiwork and enjoy the sense of accomplishment from making something useful with your own two hands!
With these precautions in mind, you’ll be well on your way to making a beautiful and practical desk organizer. Good luck!
Frequently Asked Questions
What Materials Do I Need to Make a Desk Organizer?
To make a desk organizer, you will need some cardboard, duct tape, scissors or an X-Acto knife, and possibly a ruler. You may also want to use colored paper or craft supplies to decorate your desk organizer.
How Long Does It Take to Make a Desk Organizer?
The time it takes to make a desk organizer will depend on the design you choose and the materials you use. On average, it should take about an hour or two.
What Are Some Ideas for Making My Desk Organizer Unique?
You can customize your desk organizer by using colored paper or craft supplies to decorate it. You can also use interesting shapes and contours to make your desk organizer look more creative.
Additionally, you can add different compartments to your desk organizer — such as a pen holder, a space for sticky notes, or an area for stashing small items like paper clips — for added convenience.
Conclusion
Knowing how to make a desk organizer is a great way to make your workspace more organized and efficient. All you need are some basic materials and supplies, as well as an hour or two of time to design and assemble your project.
Once finished, you can customize the desk organizer with colored paper or craft supplies for extra flair. With these tips, you’ll have a one-of-a-kind desk organizer in no time!