In an era where efficiency and versatility are paramount, the demand for multifunction printers has surged, marking a significant evolution in the landscape of office equipment. The central aim of this article is to provide an insightful guide on “how to copy on a printer,” a fundamental function these devices offer. Multifunction printers, integrating the capabilities of printing, scanning, copying, and often faxing into a single machine, cater to a broad spectrum of users—from professionals in a bustling office environment to individuals managing tasks from the comfort of their homes.

This surge in popularity is not merely due to their space-saving design but also their cost-effectiveness and the convenience they bring to everyday tasks. This article will ensure readers can fully leverage their printer’s copying functionality through comprehensive instructions and tips, thereby enhancing productivity and ensuring high-quality outcomes.
Understanding Your Printer
To fully harness the copying capabilities of your printer, grasping the differences between printer types and acquainting yourself with your specific model are essential initial steps.
A. Types of Printers:
The primary types of printers include inkjet, laser, and multifunction printers. Inkjet printers are renowned for producing high-quality color prints, making them ideal for photos and documents with graphics.
On the other hand, laser printers are prized for their speed and efficiency, especially regarding black-and-white documents. Multifunction printers combine printing, scanning, and copying functions (and sometimes faxing) into a single device, offering a versatile solution for both home and office use.
B. Identifying Your Printer Model:
Knowing your printer model is crucial for many reasons — purchasing the correct ink or toner cartridges, downloading the right drivers, or consulting the specific manual.
The model number is usually found on a label or sticker on the printer itself, often on the device’s back, bottom, or side. If the physical identification proves elusive, checking the printer’s software on your computer might provide the answer.
C. Locating the Control Panel:
The control panel is the nerve center of your printer, allowing you to access its various functionalities, including copying. Its location and complexity can vary widely between models.
For most, the control panel is situated on the front of the printer and may consist of a simple interface with basic buttons (like start, stop, and settings) or a sophisticated touchscreen that offers more advanced options and settings. Becoming familiar with the control panel’s layout and its functions is a key step in optimizing your printer’s utility, particularly for tasks requiring precise adjustments or selections.
Preparing the Document and Printer
Before engaging in the act of copying, preparing both the document and printer is essential for a seamless and successful copying process. Here’s how to get started:
A. Document Preparation:
Virtually any physical document—be it a receipt, a photo, or a standard text document—can be copied using a multifunction printer. However, there are limitations, especially with oversized and exceptionally small or non-standard documents.
For fragile or damaged documents, it’s crucial to handle them with care. If the document is too brittle or torn, consider placing it inside a transparent sheet protector to avoid further damage during copying. This approach also helps in preserving original documents with historical or sentimental value.
B. Paper Selection:
The choice of paper plays a pivotal role in determining the quality of your copies. The market offers a variety of paper types, including but not limited to standard printer paper, glossy paper for photos, and heavy-stock paper for premium prints. Standard printer paper (usually 20 lb. weight) is sufficient for everyday copying tasks.
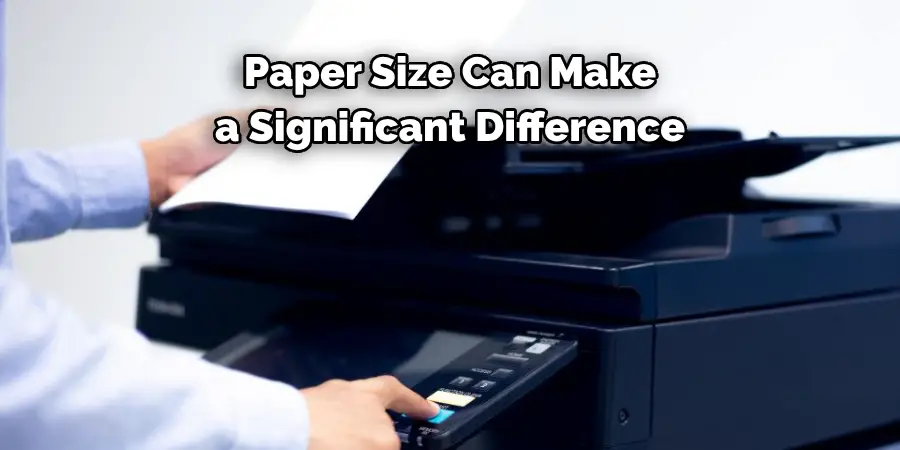
However, when copying photos or high-quality graphics, opting for photo paper or a higher quality, heavier paper (24 lb. or more) can significantly enhance the visual impact of your copies. Additionally, selecting the correct paper size is crucial. Most printers accommodate standard paper sizes like A4 or letter, but adjusting the printer settings or choosing a printer that supports broader size ranges may be necessary for documents that don’t conform to these sizes.
C. Loading the Paper Tray:
Properly loading paper into your printer’s tray is fundamental to avoiding paper jams and ensuring high-quality copies. Start by fanning the stack of paper to separate the sheets, reducing the risk of multiple sheets feeding into the printer at once. Next, ensure the paper guide rails are adjusted to fit the size of the paper you’re using, as this helps guide the paper correctly through the printer.
For printers with multiple paper trays, choose the tray that best suits the paper type and size you’re using for your copying task—some printers feature a dedicated photo paper tray or a manual feed option for thicker papers. Always refer to your printer’s manual for model-specific instructions on loading paper, as the process can vary significantly between different brands and models.
By carefully preparing your document and printer, you set the stage for a smoother copying process and yield copies that meet your quality expectations.
How to Copy on A Printer: A Beginner’s Guide
Engaging in the copying function of your printer begins with accessing the copy feature, which can generally be accomplished through two primary avenues: the control panel or printer software on your computer.
A. Accessing the Copy Function:
On simpler printer models, the control panel typically includes dedicated buttons for copying, which may be clearly labeled ‘Copy’ or symbolized with an icon. On more advanced multifunction printers, copying might be accessed through a touchscreen, where tapping the ‘Copy’ option from the menu brings up further copying choices.
For those preferring or needing to utilize software, most printer drivers and accompanying applications installed on your computer offer a more detailed interface for initiating and managing copy tasks. It is crucial to note that copying documents versus photos might involve different selection paths on your printer’s interface, reflecting varied options optimized for text sharpness or color fidelity respectively.
B. Basic Copying:
To make a basic copy, lift the scanner lid and position your original document face down on the scanner glass, aligning it according to the guide marks. Close the lid carefully to prevent any light leakage, which can affect the copy quality. Next, select the copy function using the control panel or software.
Adjust basic settings like the number of copies or color preferences directly from the printer’s interface if needed. With your document in place and settings adjusted, press the ‘Start’ or the equivalent button to begin copying. The printer will scan the document and then proceed to print a copy.
C. Adjusting Copy Settings (optional):
For tasks requiring adjustments beyond the basics, most printers enable modifications such as changing the number of copies, zoom (to enlarge or reduce the copy size), quality (standard, high, draft), and even duplex (double-sided) printing. Selecting a higher-quality print setting or adjusting the zoom to fit the photo to the desired paper size can make a significant difference when copying photos.
Selecting a lower-quality or draft mode can be beneficial for text documents where saving ink is a priority. In duplex printing, selecting this option might necessitate flipping pages manually on printers without automatic two-sided copying—always consult your model’s manual for specific instructions.
By familiarizing themselves with these steps and adjustments, users can efficiently handle a vast range of copying tasks, ensuring that the resulting copies meet their expectations in quality and appearance.
Troubleshooting Common Issues
A. Paper Jams:
Paper jams can disrupt the copying process, often resulting from improper paper loading, using damaged or sticky paper, or overfilling the paper tray. To prevent jams, ensure you fan and properly align the paper before loading it into the tray, avoiding overfilling.
Use only undamaged paper, and make sure the paper type and size settings on your printer match the paper you’re using. If a jam occurs, turn off the printer and gently open the access door to the paper path. Carefully remove any jammed paper by pulling it out toward the paper path to avoid damaging the printer’s internal mechanism. After clearing the jam, close the access door and restart the printer to reset the system.
B. Print Quality Issues:
Common print quality issues include streaks, smudges, and faded prints, often due to low ink/toner levels, clogged print heads, or the use of low-quality paper. To address these issues, check your ink or toner levels and replace any low cartridges. For streaks or smudges, clean the printer’s print heads using the printer’s built-in cleaning function, accessible via the printer’s control panel or software.
If problems persist, ensure you’re using the right type of paper for your prints and that it’s loaded correctly into the printer. High-quality, printer-branded paper often produces the best results, especially for photos and detailed graphics.
C. Other Common Errors:
Other frequent issues include low ink/toner warnings, incorrect paper size errors, and network connectivity problems. When alerted to low ink or toner, replace the cartridge even if it seems premature; some printers are very conservative in their estimates.
For incorrect paper size errors, ensure the paper size settings on your printer match the size of the paper loaded. If experiencing network issues, check the printer’s connection to your network—this may involve ensuring the printer is within a good range of your Wi-Fi router or restarting the router and printer to re-establish the connection. For wired connections, ensure the cable is securely plugged into both the printer and your network device. Regularly updating your printer’s firmware can also prevent many common errors, as updates often contain fixes for known issues.
Advanced Copying Features
A. Copying Double-Sided Documents (duplex Printing):
Duplex printing, or double-sided copying, is a feature available on many modern printers designed to automate the process of printing on both sides of a sheet of paper. To utilize this feature, access your printer’s copy settings via the control panel or software interface and select the option for duplex or double-sided copying.
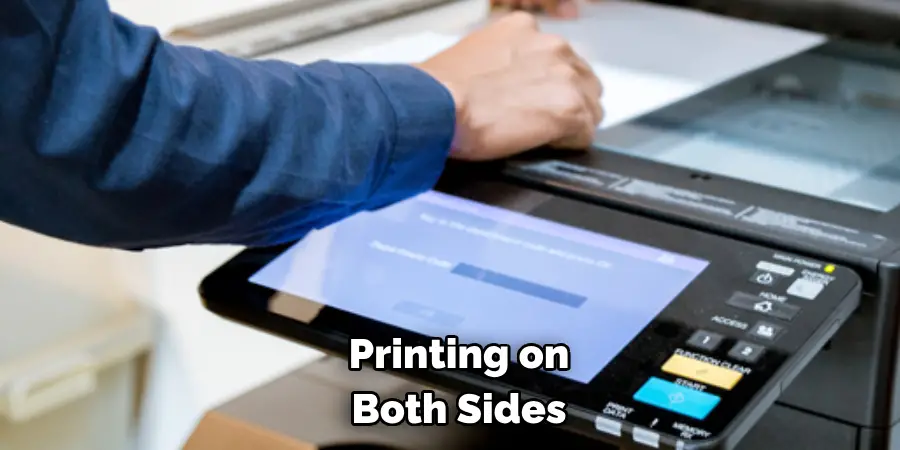
Depending on the printer model, this may be labeled differently, so consult your manual for precise directions. The benefits of duplex printing include reduced paper usage by up to 50%, contributing to environmental conservation, and reducing costs.
However, it’s important to understand its limitations, such as increased time for completing copy tasks due to the additional steps required to print on both sides and potential paper jams if the printer isn’t correctly adjusted or the paper isn’t suited for double-sided printing.
B. Enlarging and Reducing Copies:
Adjusting your printer’s zoom or scaling settings allows you to enlarge or reduce the size of your copies, a useful feature for fitting documents onto different paper sizes or focusing on specific details. To adjust these settings, look for the Zoom or Scale options in your printer’s copy settings, where you can specify a percentage to increase or decrease the document size.
Remember that enlarging documents beyond their original size may decrease quality, as the printer interpolates the extra pixels needed, potentially resulting in a grainier appearance. Conversely, reducing the size of a document can save paper but may make text and details harder to read.
C. Copying Specific Sections of A Document:
For tasks requiring copies of specific document sections, features like “ID copy” or “partial copy” come in handy. These allow you to select particular document areas for copying, which is ideal for copying a specific paragraph or an ID card. Accessing this feature usually involves selecting it from the copy menu and using the printer’s interface to specify the area to be copied.
This could involve adjusting the position of the document on the scanner glass and inputting dimensions or selecting specific pages or margins via the software interface. Such features offer great flexibility, enabling efficient use of paper and ink and focusing attention on the most relevant information. When using these advanced features, be mindful of the potential need for manual adjustments and possibly higher attention to detail to ensure the desired outcome is achieved.
That’s it! You’ve now learned how to copy on a printer and troubleshoot common issues, as well as discovered advanced features for more precise copying. With this knowledge, you can efficiently produce high-quality copies that meet your expectations for any task at hand. So go ahead and make the most of your printer’s copying capabilities!
Special Copying Scenarios
A. Copying Photos:
When copying photos, selecting the right paper is paramount to achieving an end result that mirrors the quality and vibrancy of the original. Photo-specific paper is designed to absorb ink to prevent smudging and maximize color richness and detail. Selecting the highest quality paper your printer can handle is advisable, which often means opting for the manufacturer’s own brand of photo paper.

Additionally, adjusting your printer’s settings is crucial; many printers offer photo-specific settings that optimize resolution and color saturation for image copying. For those seeking the best quality reproductions, dedicated photo printers, which use more ink colors and finer resolution settings, can provide superior results. Understanding and exploiting these options ensures photos are copied with fidelity, capturing memories as vividly on paper as they exist in our minds.
B. Copying Books and Bound Materials:
Copying from books and bound materials presents unique challenges, primarily the risk of damaging the spine or pages. To minimize this risk, do not force the book flat against the scanner glass; instead, press gently or use supports to elevate the book’s opposite side to achieve a surface that is as flat as possible.
Employing a dedicated book scanner can be a worthwhile investment for those needing to copy from books frequently. These scanners are designed to accommodate the book’s curve near the spine, thereby minimizing damage. Alternatively, mobile scanning apps offer a flexible and gentle option with software that can compensate for angles and curves in photographed pages, transforming them into flat, legible copies. This method is particularly useful for delicate or tightly bound materials.
C. Copying Legal-Sized Documents:
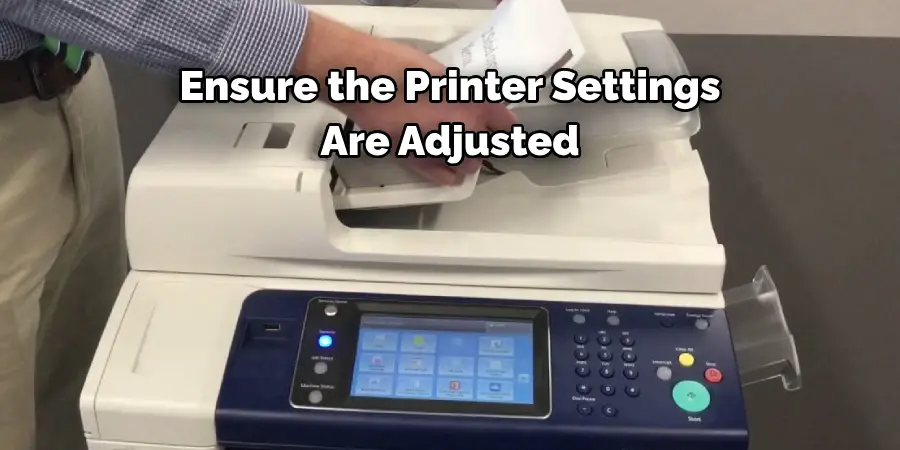
Legal-sized documents, which are typically 8.5 x 14 inches, often do not fit in standard printer trays. Many printers offer a bypass tray, which can accommodate unusual sizes and types of paper, including legal. When using the bypass tray, ensure the printer settings are adjusted accordingly to prevent misfeeds or jams.
If the printer does not feature a bypass tray, or if copying must maintain the document’s original size, adjusting the printer’s paper settings to suit legal-sized documents is necessary. Some printers also allow scanning or copying sections of a legal document sequentially, stitching them together digitally to form the complete document. This can be an effective way to handle larger documents when physical size limitations are a barrier.
Additional Resources and Tips
A. Consulting Your Printer Manual:
Consulting the user manual specific to your model is crucial in mastering your printer’s capabilities and troubleshooting issues. This document is an invaluable resource for understanding the nuances of your device, from loading different paper sizes to employing advanced copy features.
Most manufacturers offer digital versions on their websites if your physical copy is lost. Simply search for your printer model in the support or download section to access a wealth of information tailored to your device. Familiarizing yourself with this manual can enhance your printing experience, ensuring you make the most of your printer’s capabilities and resolve issues more efficiently.
B. Online Resources and Troubleshooting Guides:
For additional support, the internet hosts a plethora of resources. Manufacturer websites often have dedicated sections for each printer model, including FAQs, troubleshooting guides, and firmware updates. Video tutorials on platforms such as YouTube provide step-by-step instructions for various tasks and fixes, offering a visual aid that can be easier to follow than written instructions.
Online forums and communities also serve as a valuable resource, where users share their experiences, solutions, and tips for specific models or issues. Engaging with these communities can provide insights and solutions that are not found in official manuals.
C. Safety Precautions:
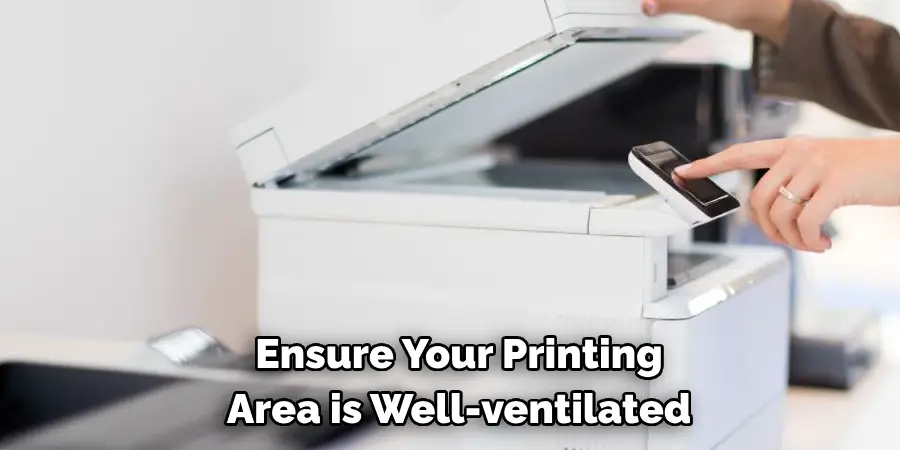
While using your printer, always observe general safety precautions to avoid accidents and maintain a healthy environment. Ensure your printing area is well-ventilated, especially when printing in high volumes or using printers that emit fumes, such as some laser models. When handling ink or toner cartridges, be mindful to follow the manufacturer’s guidelines to prevent spills or leaks, which can be harmful if inhaled or come into contact with skin.
Additionally, consider wearing protective gloves when replacing cartridges to avoid contact with potentially irritating substances. Another aspect of printer safety includes being cautious with electrical components and ensuring that the printer is turned off and unplugged before attempting any internal maintenance or troubleshooting.
Remember, the key to maximizing your printer’s performance while ensuring its longevity and safety lies in understanding how to effectively utilize its features, address issues promptly, and observe necessary precautions during use.
Conclusion
In this comprehensive guide on how to copy on a printer, we’ve navigated through various copying tasks—from replicating vivid photographs to handling delicate books and accommodating legal-sized documents.
Key takeaways include the importance of selecting appropriate materials and settings for specific copying needs, such as using photo-specific paper for images and employing dedicated scanners for bound materials. Additionally, we’ve underscored the value of consulting your printer’s manual and exploring online resources for troubleshooting and tips. Mastering these aspects will not only enhance the quality of your copies but also prolong the lifespan of your printer.