
Understanding how to find IP address for camera for your camera is crucial for effectively managing and accessing its functionalities. This knowledge is the gateway to altering camera settings, supervising recording capabilities, and setting up remote viewing — essential features for maximizing the use of IP cameras in surveillance and security. Several methods to locate this vital piece of information are available, each varying in simplicity and applicability to different scenarios.
Whether consulting the camera’s manual, accessing its web interface, navigating through your router’s DHCP client list, or employing specialized software tools, there’s a solution that fits every need. Factors such as the camera’s model, the complexity of the network setup, and whether the camera has been previously configured can influence which method will be the most efficient and straightforward. Knowing how to find the IP address for a camera ensures you can maintain control over your security setup, customizing it to meet your specific requirements.
How to Find IP Address for Camera: A Comprehensive Guide
1. Checking the Camera’s Manual and Packaging
One of the most straightforward methods to find your camera’s IP address is to consult the camera’s user manual or inspect its packaging. Manufacturers often print the default IP address on the manual or place a label on the camera itself, offering a quick and easy way to access this crucial piece of information right from the start.
This method is particularly effective for cameras not previously configured, ensuring a smooth initial setup process. Accessing the IP address through the manual or packaging eliminates the need for complicated tools or procedures, making it an ideal starting point for users setting up their IP camera for the first time. Remember, the default IP address is only applicable if the camera is in its factory settings; if the camera has been configured before, other methods discussed in this guide may be necessary to locate its current IP address.
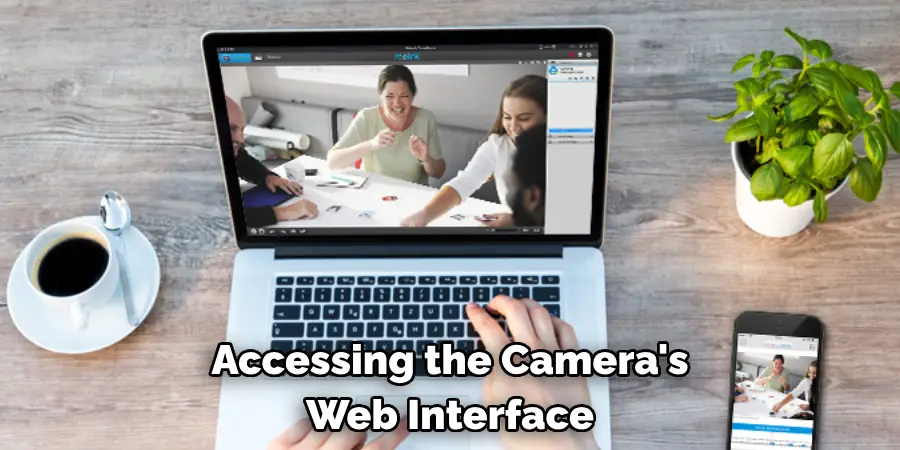
2. Accessing the Camera’s Web Interface (if applicable)
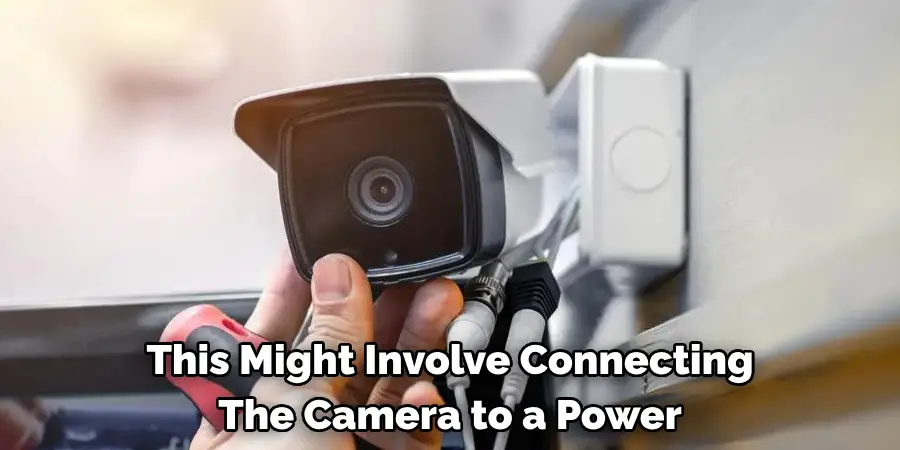
For many IP cameras, the web interface serves as a hub for adjusting settings and preferences and provides a straightforward method for locating the camera’s IP address. To access this, certain preparatory steps are necessary to ensure a smooth transition into the camera’s digital dashboard. Initially, ensure that the camera is adequately powered and firmly connected to the network. This might involve connecting the camera to a power source and using an Ethernet cable to link it directly to the router or network switch, as specified in the camera’s manual.
Once the physical setup is complete, accessing the web interface typically involves entering the camera’s IP address into a web browser. If the default IP address was provided in the camera’s manual or packaging and hasn’t been changed through earlier configurations, you can use this to access the web interface. If the default IP address is unknown or the camera has been reconfigured, you may need to employ other methods described in this guide to discover the camera’s current IP address.
You’ll be prompted to log in after successfully entering the IP address into your browser. Default login credentials are usually provided in the camera’s manual, but remember to change these as soon as possible to maintain the security of your device. You should look for the network settings or information page when logged in. Here, you’ll typically find the camera’s IP address listed, among other pertinent network details. This section might also provide additional configuration options, such as changing the IP address manually or setting it to dynamic (DHCP), depending on your specific needs and network setup.
Accessing the camera’s web interface reveals its IP address and opens up a realm of configuration possibilities that can enhance your surveillance capabilities. Whether you need to adjust the camera’s resolution, modify network settings, or update the firmware, the web interface is your gateway to maximizing the functionality of your IP camera. Remember to consult the camera’s manual for specific instructions related to your model, and always ensure that your camera’s firmware is up to date to benefit from the latest features and security patches.
3. Utilizing the Router’s DHCP Client List
Dynamic Host Configuration Protocol (DHCP) is a network management protocol used on IP networks whereby a DHCP server dynamically assigns an IP address and other network configuration parameters to each device on a network so they can communicate with other IP networks.
A DHCP server enables computers to request IP addresses and networking parameters automatically from the Internet service provider (ISP), eliminating the need for a network administrator or a user to manually assign IP addresses to all network devices.
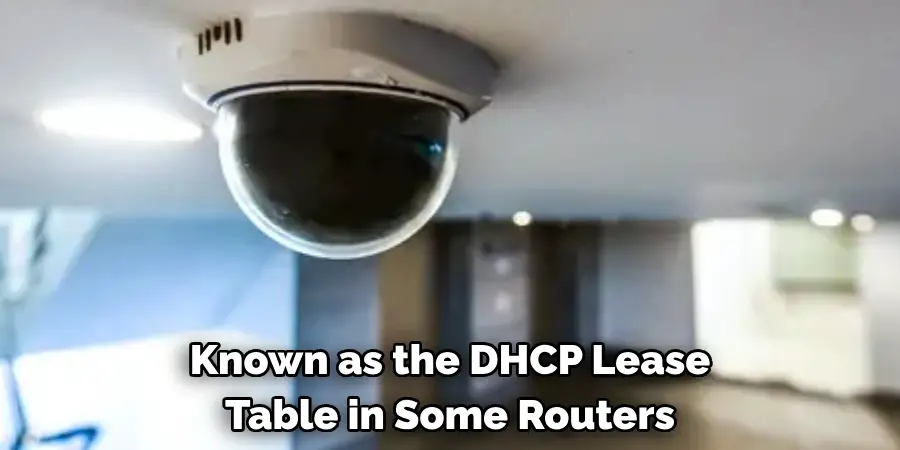
In the context of finding your IP camera’s address, the router’s DHCP client list is a valuable resource. This list, also known as the DHCP lease table in some routers, shows all devices currently connected to the network and the IP address assigned to each. Accessing this list can quickly help you identify the IP address of any connected camera.
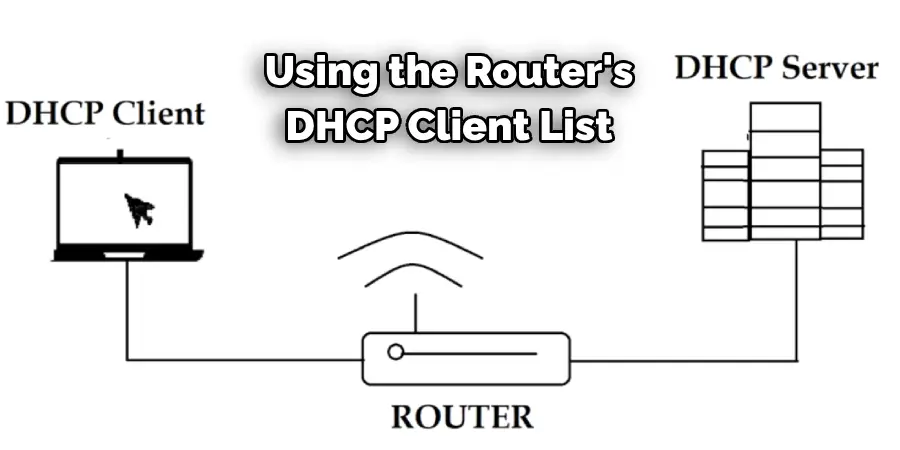
To use the router’s DHCP client list to find your camera’s IP address, follow these steps:
- Access the Router’s Web Interface: Enter the router’s IP address into a web browser’s address bar. The router’s IP address is typically listed on the router itself, in the manual, or can be found by searching “default IP for [brand name] router” online. You will need administrative access, so be prepared with your username and password.
- Locate the DHCP Client List: Once logged in to the router’s interface, look for a section named “DHCP,” “Device List,” “Attached Devices,” “LAN Setup,” or something similar. This section might be under various tabs such as “Wireless,” “Setup,” “Network,” or “Status,” depending on the router’s manufacturer and model.
- Identifying Your Camera: Within the DHCP client list, you should be able to see a list of all devices connected to your network, each with an assigned IP address. You can identify your IP camera by its name or manufacturer if available. Alternatively, if you know your camera’s MAC address—a unique network device identifier, you can locate the camera using this detail. The MAC address is usually printed on the camera itself or its packaging and can also be found in the camera’s manual.
Using the router’s DHCP client list is a straightforward method for finding your IP camera’s address without needing to access the camera directly. This approach is particularly useful when the camera does not have a display or when you are setting up a new camera and have yet to configure any specific settings.
Remember, the key to successfully identifying your camera in the DHCP client list is knowing its manufacturer name or MAC address, facilitating a quick and hassle-free setup process.
4. Using Software Tools
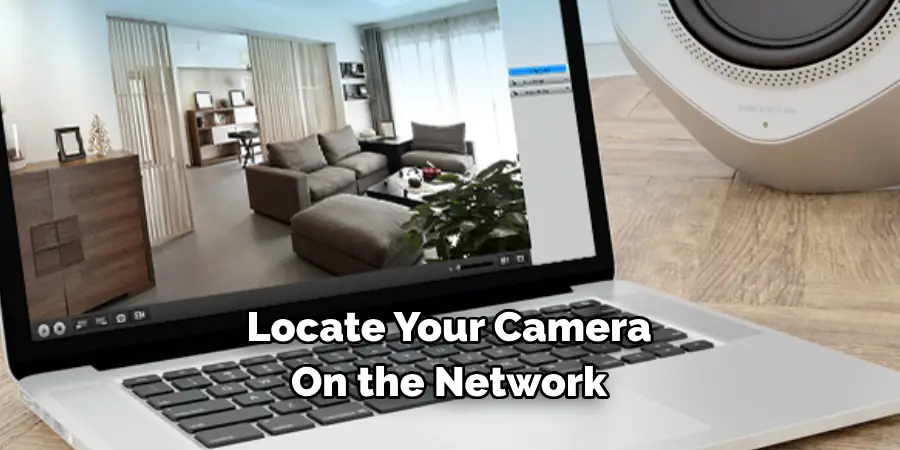
In addition to the methods covered above, software tools provided by IP camera manufacturers represent another effective avenue for identifying and managing your camera on the network. These tools are designed specifically to interact with their respective camera models, facilitating a seamless setup and configuration process. Here are some popular examples:
- Hikvision SADP (Search Active Device Protocol) Tool: Developed by Hikvision, this tool scans the network for Hikvision devices, making it easier to manage and adjust settings for IP cameras and other Hikvision equipment. The SADP tool can display the camera’s IP address and device status, allowing for basic configuration adjustments directly from the utility.
- Amcrest IP Config Tool: Similar to Hikvision’s offering, the Amcrest IP Config Tool is geared towards users of Amcrest cameras. It assists in discovering Amcrest devices on your network, showing their IP address, and providing a pathway to access the camera’s web interface for deeper configuration changes.
- Reolink App: The Reolink App, while also serving as mobile access to your Reolink cameras, can be used during the initial setup phase to locate Reolink cameras on your network. It displays essential information and configures basic settings, ensuring your devices are connected and properly set up with minimum hassle.
These software tools often share several core features despite coming from different manufacturers.
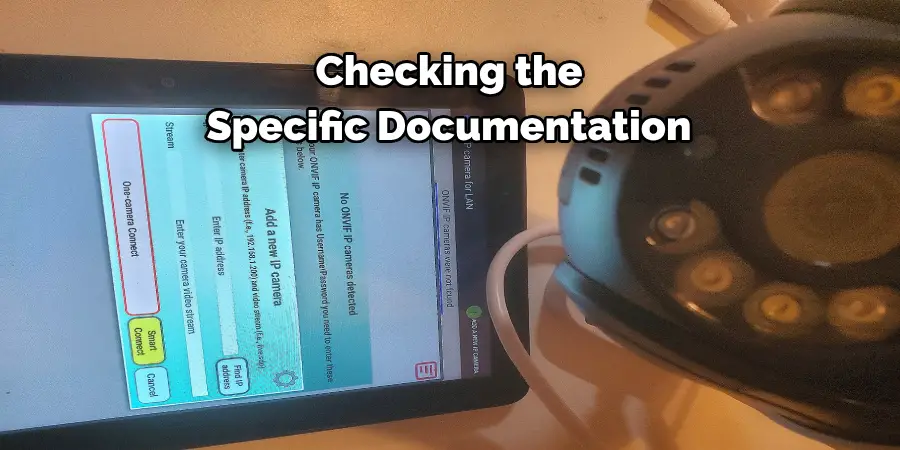
They can discover devices on your network, displaying each device’s IP address and other pertinent information and offering some level of configuration directly through the tool. While the depth of configuration options varies, checking the specific documentation for each tool is advisable to understand its full capabilities.
Leveraging these tools simplifies the process of integrating and managing your IP cameras within your network. They alleviate the need for manual searches and configurations and offer a user-friendly interface to ensure your surveillance setup is optimized and running smoothly.
5. Finding the Camera’s MAC Address (if needed)
A MAC address, or Media Access Control address, is a unique identifier assigned to network devices, including IP cameras, for communication on the physical network segment.
This address is crucial for determining a device’s physical location on a network and plays a significant role in network management and security. Sometimes, methods such as using the router’s DHCP client list require the camera’s MAC address to identify the specific device within a network.
Finding the MAC address of your IP camera is straightforward. Usually, the MAC address can be found in three places:
- On a Label on the Camera Itself: Manufacturers often place a label on the camera that lists the MAC address along with other information.
- Printed on the Packaging: If you still have the camera’s original packaging, you can find the MAC address printed somewhere on the box or in the documentation inside.
- Accessible within the Camera’s Web Interface: If you can access the camera directly through its web interface, the MAC address is usually listed within the network settings or information sections.
Knowing the MAC address is helpful for setting up your network and troubleshooting connectivity issues. It allows you to ensure that the right device connects to your network and configure settings specific to each camera.
6. Manufacturer-Specific Methods (if applicable)
It’s also worth noting that certain IP camera manufacturers may offer unique methods for identifying the IP address of your camera through proprietary software or online services.
These methods are tailored specifically to their hardware and can significantly simplify the process of finding and configuring your IP camera on the network. For example, manufacturers might offer a dedicated app that helps identify the IP address and manage your camera during the initial setup and ongoing management.
To take advantage of these manufacturer-specific methods, it’s highly recommended to consult the camera’s manual or visit the manufacturer’s official website. There, you can find detailed instructions or downloadable software designed specifically for your camera model. This approach can often provide the most straightforward and effective route to accessing and managing your IP camera, especially if you’re working within an ecosystem of products from the same manufacturer. Remember, leveraging these dedicated tools and methods can ensure a smooth setup experience and help maintain security and functionality across your surveillance system.
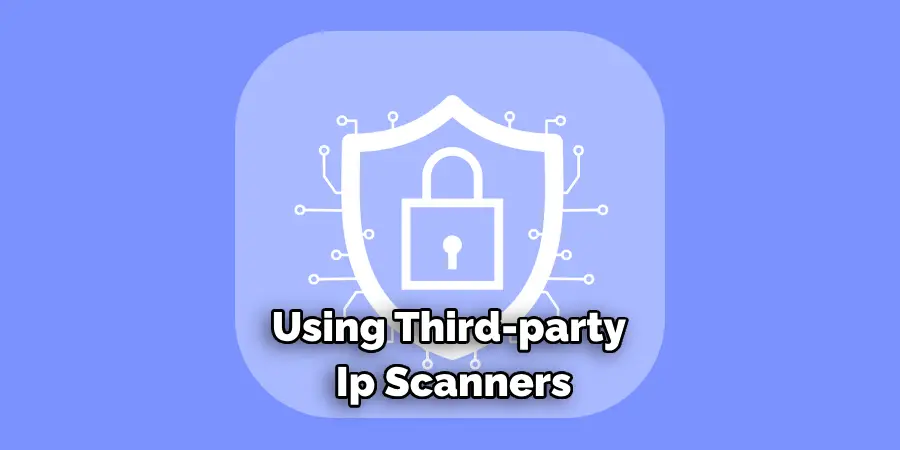
That’s it! You’ve now learned how to find ip address for camera on the network using various methods, including checking router settings, using third-party IP scanners, and leveraging manufacturer-specific tools. Armed with this knowledge, you can now confidently set up and manage your IP cameras within your network efficiently and effectively.
Troubleshooting Tips
If you encounter difficulties identifying your IP camera’s IP address using the previously discussed methods, you can take several troubleshooting steps to resolve the issue. These tips are designed to cover common problems and solutions, helping you ensure that your camera is properly connected and recognized on your network.
Double-check Network Connections: First and foremost, verify that your camera is correctly connected to the network. This includes checking both physical connections, such as Ethernet cables, and wireless connections, ensuring the camera is appropriately powered on. A loose cable or an incorrect wireless setup can often be the root cause of the problem.
Restart the Camera and Router: Sometimes, the issue can be resolved by simply restarting both the camera and your network router. A restart can help clear any temporary glitches in network communication or camera operation. Turn off the camera and the router, wait for about 30 seconds, and then turn them back on. This will establish a fresh connection and might resolve identification issues.
Consult the Camera’s Manual: Each IP camera model may have its specific nuances and setup requirements. Refer to the camera’s user manual for any troubleshooting steps tailored to your specific model. The manual may offer solutions or adjustments that are not immediately apparent but can be highly effective in resolving connectivity or identification issues.
Check for Firmware Updates: Ensure your camera operates on the latest firmware. Manufacturers often release updates that can improve connectivity and resolve known issues. Access the manufacturer’s website to check for firmware updates for your model, and follow the instructions for updating your camera if necessary.
Scan for Interference: In the case of wireless IP cameras, other devices operating on the same frequency (such as cordless phones, baby monitors, or Wi-Fi devices) can cause interference. Try changing the channel on your wireless router or moving the camera to a different location to avoid potential interference sources.
Contact the Camera Manufacturer: If you’ve followed all the above steps and cannot locate your camera on the network, it might be time to reach out to the camera manufacturer’s support team. Provide them with details of the steps you’ve already taken to troubleshoot the issue. They may offer advanced troubleshooting techniques or identify a problem specific to your camera model.
Frequently Asked Questions
Q: Can I Find My IP Camera’s IP Address without Accessing the Router Settings?
A: Yes, you can use third-party IP scanner tools to locate your IP camera on the network without needing to access your router’s settings directly. These tools scan your network for devices and list their IP addresses.
Q: Why Is the IP Camera’s IP Address Not Showing up On the Network?
A: If your IP camera’s IP address isn’t showing up, ensure it’s correctly connected to the network (check physical and wireless connections) and that it’s turned on. You may also need to restart your camera and router or check for signal interference affecting wireless connections.
Q: How Often Do I Need to Update My IP Camera’s Firmware?
A: It’s good practice to check for firmware updates periodically, every 3 to 6 months, or whenever you encounter issues with your camera. Manufacturers release updates to improve performance and address security concerns.
Q: Can I Use Manufacturer-Specific Tools for IP Cameras of A Different Brand?
A: Manufacturer-specific tools are generally designed to work only with their own brand’s products. While generic IP camera tools can work across many brands, Use the Tools Provided by Your Camera’s Manufacturer for the best results and compatibility.
Q: How Can I Improve the Security of My IP Cameras on The Network?
A: To enhance security, regularly update your camera’s firmware, change default passwords, use secure encryption for your WiFi, and consider using a VPN for remote access. Disable features you don’t use and regularly review access logs if available.
Conclusion
In conclusion, finding the IP address of your camera is essential for ensuring that your surveillance system operates seamlessly within your network. The key methods include looking for the MAC address on the camera or packaging, accessing the camera’s web interface, and leveraging manufacturer-specific tools. It’s crucial to understand how to find ip address for camera for your camera, as the most effective method can vary based on the camera model and network setup.
Always refer to the camera’s manual or manufacturer’s support for device-specific instructions. If one approach fails, don’t hesitate to try another. Additionally, keeping your camera’s firmware up-to-date is paramount for addressing potential network connectivity issues and ensuring the IP address is visible. Updates may introduce fixes and improvements that enhance your IP camera’s overall functionality and security.