
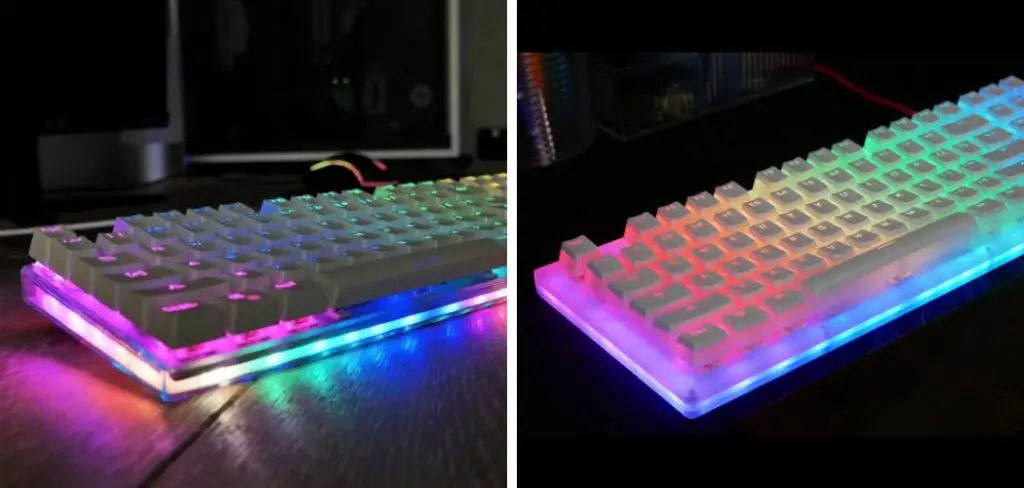
Customizing the RGB on a Ducky keyboard transforms your computing space into a vibrant display, reflecting your unique style and mood. Ducky keyboards are renowned for their superior build quality, exceptional typing experience, and highly customizable lighting features.
This guide on how to customize ducky keyboard rgb will walk you through the simple steps to modify the RGB lighting to match your aesthetic preferences, whether you’re aiming for a subtle backlight for typing in the dark or want to dazzle with a rainbow spectrum gaming sessions.
What is RGB?
RGB stands for Red, Green, and Blue – the three primary colors of light. Combining these colors in different intensities creates an almost limitless range of hues. In terms of keyboard customization, RGB refers to the ability to adjust the backlight color and intensity to your liking.
Ducky keyboards come with pre-set lighting modes, but they also offer extensive customization options through their software, Ducky RGB. This software allows you to change the colors, patterns, and speed of the lighting effects, making it easy to personalize your keyboard.
Why Customize Your Ducky Keyboard RGB?
Customizing your Ducky keyboard’s RGB is not just about aesthetics; it also has functional benefits. For instance, you can set different colors for different keys or sections of the keyboard to help with identification and improve your typing speed.
In addition, customizing the lighting can enhance your gaming experience by providing visual cues and creating an immersive atmosphere. You can also sync the RGB lighting with your other peripherals, such as a mouse or headset, for a cohesive look.
Advantages and Disadvantages of Customizing Ducky Keyboard RGB
Advantages:
Personalization:
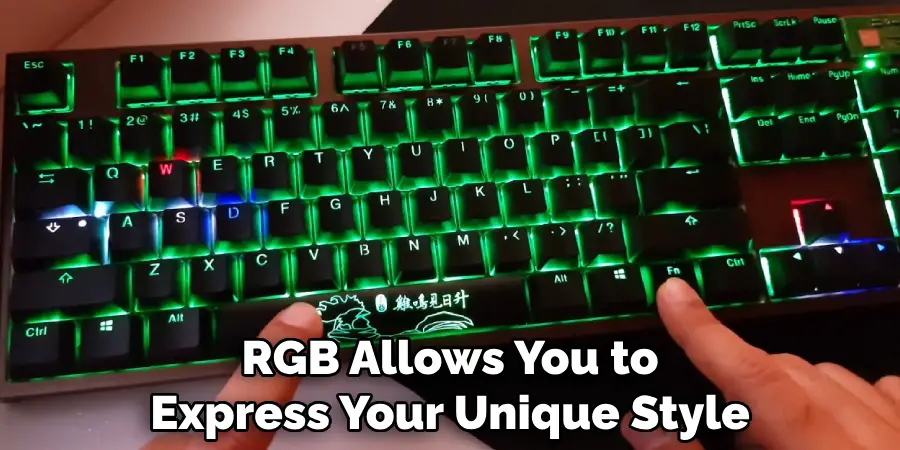
Customizing your keyboard’s RGB allows you to express your unique style and make it stand out from other keyboards.
Improved Functionality:
As mentioned earlier, customizing the RGB lighting can have practical benefits, such as improving typing speed and enhancing the gaming experience.
Cybersecurity:
Some Ducky keyboards offer a security feature that displays a random light pattern when logging in, making it difficult for anyone to figure out your password by observing your keystrokes.
Disadvantages:
Cost:
Ducky keyboards with RGB lighting tend to be more expensive than non-RGB versions.
Potential for Distraction:
While customizable RGB can enhance the look and functionality of your keyboard, it can also be a distraction if not used in moderation. Bright and constantly changing colors can be overwhelming, especially for those who are sensitive to light.
10 Step-by-step Guidelines on How to Customize Ducky Keyboard RGB
Step 1: Connect the Keyboard:
Plug your Ducky keyboard into your computer using the USB cable provided. You can also connect the keyboard wirelessly using Bluetooth if your keyboard supports it. But for this guide, we will focus on using a wired connection. This step is crucial, as the software needs a connection to your keyboard to communicate and make changes.

You can also update your keyboard’s firmware at this point by following the instructions on Ducky’s website. It is recommended to always use the latest firmware for improved performance. You can also skip this step if your keyboard is already connected.
Step 2: Download Software (Optional):
Some Ducky keyboards come with software for customization. If applicable, download and install the software from the official Ducky website. The software offers more advanced customization options compared to onboard controls. It also allows you to save multiple profiles for different lighting settings.
You can skip this step if your keyboard does not come with software. You can still customize the RGB lighting using onboard controls. But if your keyboard does have software, using it is highly recommended. The following steps will guide you through how to customize the keyboard using software.
Step 3: Access RGB Controls:
Depending on your keyboard model, there may be dedicated keys or shortcuts for accessing RGB controls. Look for keys labeled with RGB symbols or check the manual for instructions. It is usually the Function (FN) key plus another key, such as F1 or F12. You can also access the controls through the software.
It should be on the main interface or under the “Settings” tab. The software may also have a shortcut key to access the controls. You can set a custom shortcut key under the “Settings” tab if it’s not already assigned. The shortcut key makes it easier to toggle between profiles and lighting effects.
Step 4: Select Lighting Mode:
Use the RGB controls to select the lighting mode you want. Common modes include static color, breathing effect, wave effect, reactive typing, and custom profiles. Although this step may vary depending on your keyboard model and software, the process is generally similar. Follow the prompts on the screen or refer to the manual for detailed instructions.

You can also experiment with different lighting modes to find your preferred one. But keep in mind that some modes may consume more battery or cause distractions. It’s recommended to stick with simple lighting effects for everyday use and save more intense modes for special occasions. It’s all about finding a balance between aesthetics and practicality.
Step 5: Choose Colors:
If applicable, use the software or keyboard controls to select the colors you want for your lighting effects. This could involve selecting from a predefined color palette or entering RGB values manually. It is also possible to create custom colors by combining the three primary colors. It’s recommended to choose colors that are not too harsh on the eyes and create a pleasant contrast with the keycaps.
The colors should also align with your personal style and the overall theme of your keyboard. It’s best to avoid using too many colors or a chaotic mix, as it can be overwhelming and take away from the overall aesthetic. These guidelines apply to all lighting modes, whether static or dynamic.
Step 6: Adjust Brightness:
Use the controls to adjust the brightness of the RGB lighting to your preference. Some keyboards offer multiple brightness levels. You can also turn the lights off completely if you prefer a more minimalistic look or want to conserve battery. It’s recommended to adjust the brightness according to your environment and lighting.
For example, if you are in a well-lit room, you may need to increase the brightness for better visibility. It’s also a good idea to decrease the brightness at night or in dimly lit settings. The goal is to find a balance that is not too bright or too dim. You can always readjust the brightness as needed. It’s also possible to set the brightness levels for individual keys if your keyboard offers that feature.
Step 7: Customize Effects (If Available):
If your keyboard supports custom effects, explore the options available to create unique lighting patterns. This might involve adjusting parameters such as speed, direction, and intensity. It’s also possible to layer effects for a more dynamic display. For example, you can combine the wave effect with reactive typing to create a cool ripple effect every time you type.
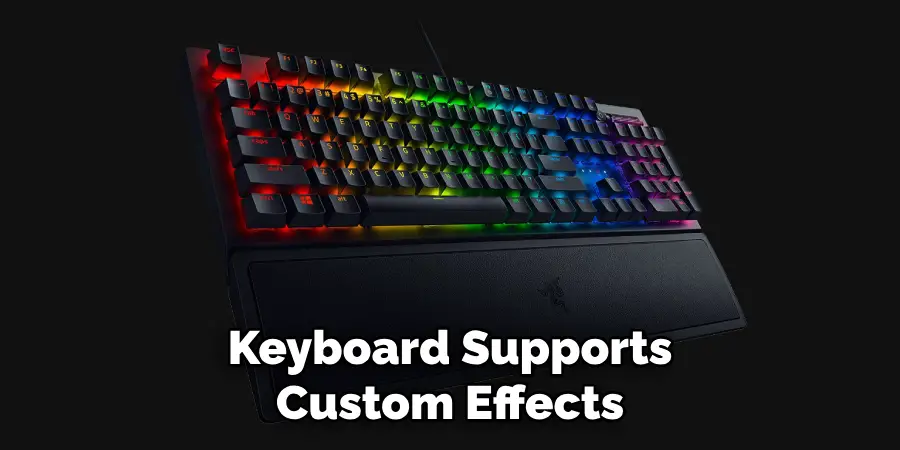
The possibilities are endless, and it all depends on your creativity and personal preference. However, it’s recommended to keep the effects subtle and avoid overdoing it. Too many effects can be distracting and take away from the overall appearance. You can always experiment and fine-tune as you go.
Step 8: Save Profiles (If Applicable):
If your keyboard supports multiple profiles, save your custom RGB settings to a profile for easy access later. This is especially useful if you have different lighting preferences for different tasks or want to switch between profiles for different games. You can assign a profile to a specific shortcut key for quick switching or use the software to change profiles.
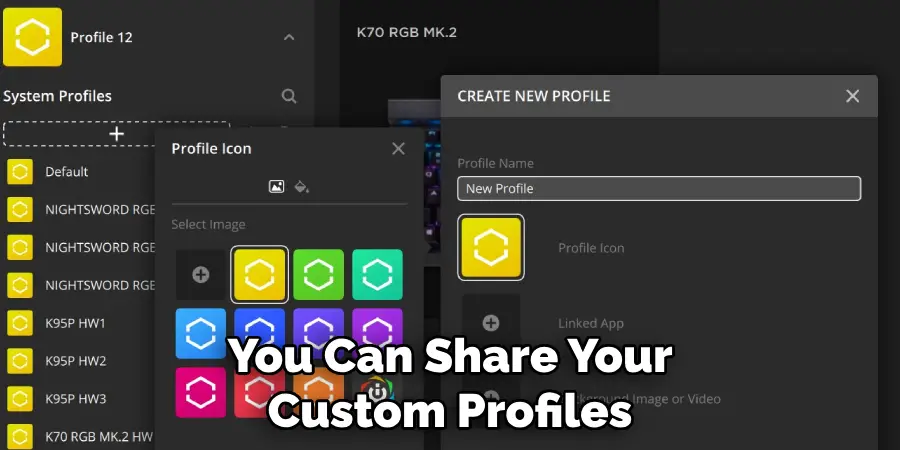
It’s also a good idea to name your profiles so you know which one is which. Additionally, saving profiles ensures that your settings are not lost in case of a firmware update or accidental reset. It also allows you to share your custom profiles with other Ducky keyboard users. You can also export and import profiles if you want to transfer them between different computers or devices.
Step 9: Test and Refine:
After customizing your RGB lighting, test it out to ensure it looks the way you want. Make any necessary adjustments to colors, brightness, or effects. It’s also a good idea to test it in different lighting environments to see how it looks. Keep refining your settings until you are satisfied with the overall appearance.
And remember, you can always go back and change things if you get tired of your current setup. Enjoy the personalized touch your custom RGB lighting adds to your Ducky keyboard! It’s a fun and creative way to make your keyboard stand out and reflect your unique style. Have fun experimenting with different colors, effects, and profiles to find the perfect combination for you.
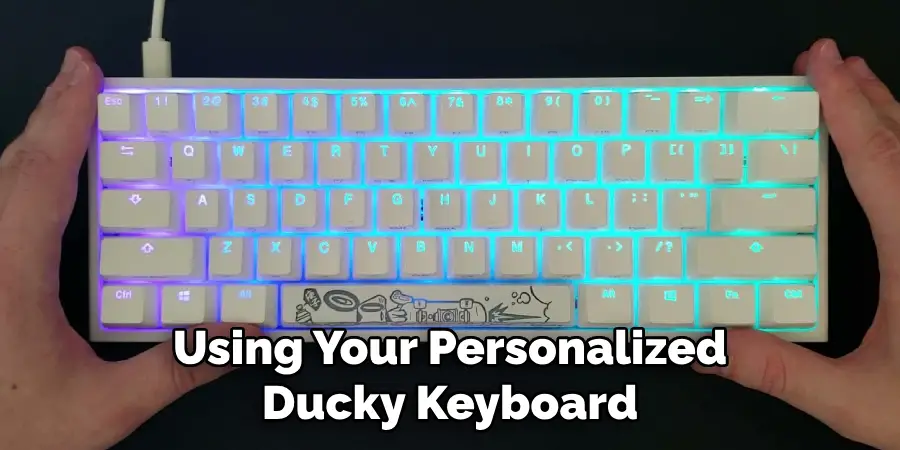
Step 10: Enjoy Your Customization:
Once you’re satisfied with your custom RGB lighting setup, sit back and enjoy using your personalized Ducky keyboard. Whether you’re typing up a document, gaming with friends, or simply admiring the aesthetics of your keyboard, your custom RGB lighting will add a unique touch to your experience. And don’t forget to share your setup with others and inspire them to customize their keyboards as well. It’s a fun and easy way to make your keyboard truly yours.
Following these steps on how to customize ducky keyboard rgb, you can easily customize your Ducky keyboard’s RGB lighting to match your personal style and preferences. By experimenting with different modes, colors, and effects, you can create a one-of-a-kind setup that stands out from the crowd. And with Ducky’s durable and high-quality keyboards, you can enjoy your customized experience for years to come.
Do You Need to Use Professionals Help?
While customizing your Ducky keyboard’s RGB lighting is simple and straightforward, some users may prefer to seek professional assistance. This could be due to a lack of technical knowledge or time constraints. In such cases, it’s best to reach out to Ducky’s customer support team for guidance and troubleshooting.
They will be able to provide you with detailed instructions based on your specific keyboard model and software. Additionally, you can also find tutorials and resources online from other Ducky keyboard users who have shared their customization tips and tricks. Whatever route you choose, the end result will be a personalized and eye-catching RGB lighting setup for your Ducky keyboard. Happy customizing!
How Much Could It Cost?
The cost of customizing your Ducky keyboard’s RGB lighting will depend on various factors, such as the specific keyboard model, software used, and any additional equipment needed. Some keyboards may come with pre-installed software for RGB customization, while others may require you to purchase a separate software program.
Additionally, if you want to create more advanced effects or synchronize your keyboard’s lighting with other devices, you may need to invest in additional equipment such as an RGB controller. Overall, the cost should not be too significant and will vary based on your customization goals. It’s always best to research and compare prices before making any purchases.
Maintenance and Care
To keep your custom RGB lighting looking fresh and vibrant, it’s important to regularly clean and maintain your Ducky keyboard. This includes wiping down the surface with a soft cloth or compressed air to remove dust and debris. Avoid using harsh chemicals or abrasive materials that can damage the keyboard’s surface or affect the RGB lighting.

It’s also recommended to store your keyboard in a protective case or cover when not in use to prevent any potential damage. With proper care, your custom RGB lighting will continue to enhance your keyboard experience for a long time. So go ahead and unleash your creativity with Ducky’s customizable RGB keyboards! Happy customizing!
Troubleshooting Common Issues
If you encounter any issues with your custom RGB lighting, here are some troubleshooting tips to help you out:
- If the RGB Lighting is Not Turning on or Responding, Check That the Keyboard is Properly Connected and the Drivers/software Are Up-to-date.
- If Certain Keys Are Not Displaying the Correct Color or Effect, Try Resetting the Keyboard to Its Default Settings and Reconfigure Your Customizations.
- If the RGB Lighting is Flickering or Not Displaying Smoothly, Adjust the Brightness and Effects Settings to See if That Helps.
- If You Are Unable to Customize the RGB Lighting Through Software, Check for Any Compatibility Issues or Updates Needed for the Soft
- If You Are Still Having Troubles, Reach Out to Ducky’s Customer Support Team for Assistance. They Will Be Able to Help Solve Any Technical Issues and Provide Guidance on Customization Options.
- And Remember, It’s Always a Good Idea to Save and Backup Your Profiles in Case of Any Accidental Resets or Updates. This Will Help You Get Back to Your Custom Setup Quickly and Easily.
Remember, don’t get discouraged if you encounter any issues – customizing RGB lighting takes practice and patience. With these tips, you’ll be able to troubleshoot and enjoy your personalized Ducky keyboard in no time!
Frequently Asked Questions
Q: Can I Customize the RGB Lighting on a Ducky Keyboard Without Using Software?
A: Yes, some models of Ducky keyboards have built-in controls for customizing RGB lighting directly on the keyboard. However, using software provides more options and flexibility for customization. You can also save multiple profiles and easily switch between them using software.
Q: Can I Customize the RGB Lighting on a Ducky Keyboard with Any Software?
A: No, Ducky keyboards are only compatible with their own software, such as the Ducky RGB software or Razer Chroma. Make sure to check which software is compatible with your specific model before attempting to customize the RGB lighting.
Q: Can I Customize Individual Keys with Different Colors?
A: Yes, with Ducky’s software, you can customize each individual key with a different color or effect. This allows for endless possibilities and personalized setups.
Q: Will Customizing My RGB Lighting Void My Warranty?
A: No, customizing your RGB lighting will not void your warranty. However, any physical damage caused during the customization process may not be covered under warranty.
Q: Can I Share My Custom RGB Profiles with Others?
A: Yes, you can share your custom profiles with others who have a Ducky keyboard and the same software. This allows for a community of users to exchange ideas and inspire each other’s setups. So go ahead and share your creativity with the world!
Conclusion
Customizing your Ducky keyboard’s RGB lighting is a fun and easy way to add a personal touch to your computer setup. With its high-quality construction and customizable features, Ducky keyboards offer endless possibilities for creating the perfect lighting scheme.
So go ahead and let your creativity shine through with a customized Ducky keyboard! Additionally, don’t forget to share your creations with the Ducky community and see what others have come up with for inspiration. Thanks for reading this article on how to customize ducky keyboard rgb.