Hydraulic chairs, from the one in your home office to the styling chair at a salon, are a staple of modern comfort and functionality. Their ability to adjust height with a simple lever makes them incredibly versatile.

However, when that smooth hydraulic action fails, it can be a source of major frustration. Before you consider tossing that sinking chair to the curb, you should know that fixing it is often a straightforward and cost-effective project.
Learning how to fix hydraulic chair not only saves you money but also extends the life of your furniture, making it a sustainable choice.
What Will You Need?
Gathering the right tools before you begin will make the process much smoother. You won’t need a massive toolbox, just a few key items.
- Pipe Wrench: This is essential for gripping and twisting the old cylinder out of the chair base. A rubber mallet can also help tap it loose.
- Replacement Gas Cylinder: Make sure you purchase a cylinder that is compatible with your specific chair model. Measure your old cylinder before ordering a new one.
- Screwdriver (Phillips or Flathead): You may need this to remove the seat from the mechanism plate.
- Lubricant (like WD-40): This can help loosen a stubborn cylinder that is rusted or stuck in place.
- Gloves: Protect your hands from grease and potential scrapes.
- A stable work surface: A workbench or a clear patch of floor will do.
10 Easy Steps on How to Fix Hydraulic Chair
Follow these detailed steps to replace the faulty gas cylinder and restore your chair to its full functionality.
Step 1: Prepare Your Workspace and Chair
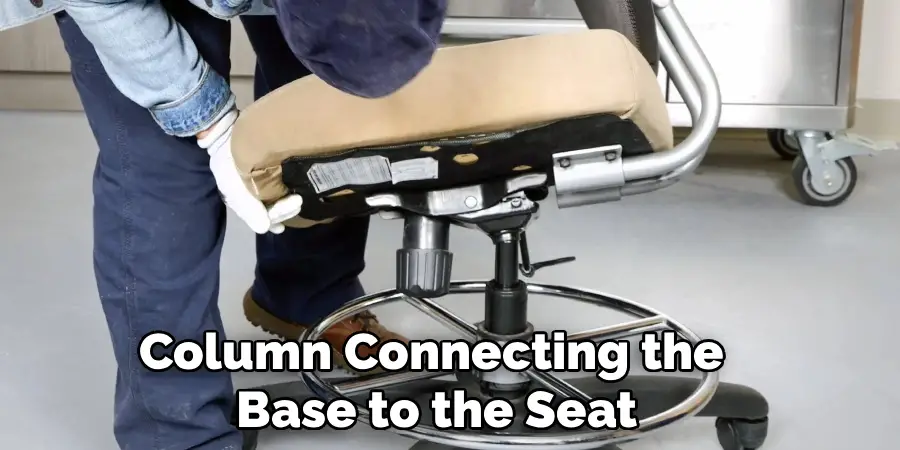
First, find a clear, well-lit area to work in. Lay down an old blanket or cardboard to protect your floor from scratches and grease. Next, turn the hydraulic chair upside down. This position gives you direct access to the chair base, the wheels (casters), and the gas cylinder, which is the central column connecting the base to the seat.
Make sure the chair is stable in this inverted position. If the base has wheels, you might want to wedge them to prevent the chair from rolling around while you work on it. This simple preparation prevents accidents and makes the entire repair process much more efficient.
Step 2: Remove the Chair Base
With the chair upside down, the base (the part with the wheels) is now facing you. In most designs, the base is pressure-fit onto the tapered end of the gas cylinder. To remove it, you’ll need to apply some firm but controlled force.

A good technique is to hold the gas cylinder steady with one hand while tapping the center of the base with a rubber mallet. Work your way around the center, tapping firmly until the base starts to loosen.
If it’s particularly stubborn, a bit of lubricant sprayed where the cylinder meets the base can help break any rust or friction holding it in place. Once loose, pull the base straight off the cylinder and set it aside.
Step 3: Remove the C-Clip
Look at the bottom end of the gas cylinder you just exposed. You should see a small metal C-clip or retaining clip in a groove. This clip holds the cylinder’s internal components and washers in place. You will need to carefully pry this clip off using a flathead screwdriver.
Insert the tip of the screwdriver into the opening of the C-clip and gently twist or pry it outward until it pops out of its groove. These clips can sometimes spring off unexpectedly, so it’s wise to wear safety glasses during this step.

Keep the clip and any accompanying washers in a safe place, as you will need to reinstall them on the new cylinder.
Step 4: Detach the Seat Mechanism from the Old Cylinder
Now, it’s time to separate the seat from the old gas cylinder. Flip the chair assembly back over so the seat is on the floor and the cylinder is pointing up. The seat is attached to a metal plate, known as the seat mechanism, which is press-fit onto the top of the cylinder.
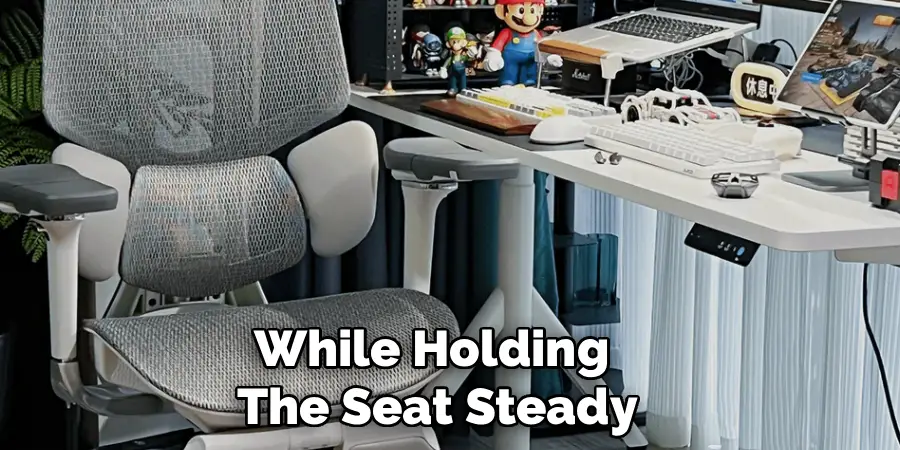
This connection can be the most challenging part of the process. The best approach is to use a large pipe wrench. Grip the top of the gas cylinder tightly with the wrench.
While holding the seat steady, use the wrench to twist and rock the cylinder back and forth. This motion will slowly break the friction seal. It may take considerable effort, but persistence is key.
Step 5: Address a Stubborn Cylinder
If twisting with the pipe wrench isn’t working, don’t give up. The components have likely seized together over the years of use. First, apply a generous amount of penetrating lubricant like WD-40 around the joint where the cylinder enters the seat mechanism.
Let it sit for 10-15 minutes to work its way into the connection. After waiting, try the pipe wrench again. If it’s still stuck, you can use a hammer to strike the pipe wrench (away from yourself) to create a jarring force that can help break it free.
As a last resort, some people find success by striking the bottom of the exposed cylinder with a hammer, but be careful not to damage the seat mechanism itself.
Step 6: Prepare the New Cylinder
With the old cylinder finally removed, you can prepare the new one for installation. Unpack your new gas cylinder. Most new cylinders come with a plastic cap on the top button.
This cap is there for shipping purposes only and must be removed. If you forget to remove this cap, the height adjustment feature will not work, as the lever won’t be able to press the activation button.
Simply pull it off. Next, retrieve the C-clip and washers you saved from the old cylinder and slide them onto the bottom of the new one, securing them in the groove.
Step 7: Install the New Cylinder into the Base
Take the chair base with its casters and place it upside down on your work surface. Pick up your new, prepared gas cylinder. Insert the wider, bottom end of the new cylinder into the center hole of the base. Ensure it goes in straight.
The tapered design means it doesn’t need to be forced all the way in at this stage. Just ensure it is seated snugly and vertically. The weight of the chair and a person sitting on it will create the final, secure pressure fit once assembly is complete.
Step 8: Attach the Seat to the New Cylinder
Now, take the seat assembly (with the mechanism plate still attached) and turn it upside down. Carefully align the center hole of the seat mechanism with the top, narrower end of the newly installed gas cylinder. Lower the seat onto the cylinder, making sure it is straight and level.
Push down firmly to create an initial connection. You don’t need to use excessive force here; the fit should be snug. Once it’s in place, the chair is mostly reassembled.
Step 9: Reassemble and Test
Carefully turn the chair upright. The reassembly is complete. Before using it normally, it’s important to secure the new components and test the repair. Sit down on the chair firmly.
Your body weight will press the seat mechanism securely onto the top of the cylinder and simultaneously press the cylinder securely into the base, finalizing the pressure fit.
While seated, test the height adjustment lever. Pull it up and check if the chair rises smoothly. Push down on the seat to see if it lowers correctly. Test it a few times to ensure the new cylinder is functioning as expected.
Step 10: Final Checks and Cleanup
Once you’re satisfied with the chair’s operation, do one last check. Make sure the chair feels stable and doesn’t wobble. Ensure the base and wheels are secure. Now is also a good time to clean up any lubricant spills and give your chair a quick wipe-down.
You can also take this opportunity to lubricate the wheel casters for smoother rolling. Congratulations, you have successfully replaced your hydraulic chair’s gas cylinder, saving money and a perfectly good piece of furniture.
5 Things You Should Avoid
- Forgetting to Remove the New Cylinder’s Cap: Many new cylinders have a plastic cap on the top button. If you don’t remove it, the height adjustment will not work.
- Using a Hammer Directly on the Chair Mechanism: Striking the metal seat plate or levers directly can bend or break them, creating a more complex problem.
- Ordering the Wrong Size Cylinder: Always measure your old cylinder (both its length and diameter) before buying a replacement to ensure compatibility.
- Giving Up on a Stuck Cylinder Too Early: Separating the old cylinder from the seat is often the hardest part. Be patient and use a lubricant and steady force.
- Working on an Unstable Surface: Tipping the chair over without securing it can lead to it falling, potentially causing injury or damage to the chair itself.
Conclusion
A sinking hydraulic chair doesn’t have to mean a trip to the furniture store. With a few simple tools and a bit of patience, you can tackle this repair yourself.
By following these steps on how to fix hydraulic chair, you can replace a faulty gas cylinder, restore your chair’s functionality, and gain a valuable sense of accomplishment. So before you give up on your favorite seat, give this straightforward fix a try.
You’ll be surprised at how easy it is to bring your trusty chair back to life.