Hanging cabinet doors for painting is a widely preferred method that ensures even paint coverage while minimizing drips and brush marks. This technique is especially beneficial for achieving a smooth, professional finish, whether you’re working on a DIY project or are a professional painter. It is particularly advantageous when repainting or refinishing kitchen or bathroom cabinets, where appearance and durability are key.

The process of how to hang cabinet doors for painting typically involves removing the doors from their hinges, setting up a reliable hanging system, and applying paint evenly across the surface. By suspending the doors, you can paint both sides without waiting for one side to dry, streamlining the project and enhancing the final appearance. This method is ideal for anyone looking to add a fresh coat of paint to their cabinets while ensuring a high-quality outcome.
Materials Needed
When preparing to hang cabinet doors for painting, having the right materials is crucial for achieving a seamless and efficient process. Here’s a list of essentials:
- Screwdriver or Drill: Essential for removing the cabinet doors from their hinges without damaging them, ensuring the hardware remains intact.
- Painter’s Tape: Useful for labeling each door and hinge so they can be reinstalled correctly. It also helps protect parts of the doors or adjacent walls from unintended paint.
- Drop Cloths or Plastic Sheeting: Must-have items for safeguarding your floor and surrounding surfaces from accidental paint drips, preserving the workplace cleanliness.
- Hooks or Eye Screws: These create a reliable system for hanging the cabinet doors securely during the painting process, allowing full access to both sides.
- Sturdy Rope or Wire: Used for suspending the doors within your workspace. This setup facilitates easy movement and ensures the paint is applied evenly.
- Sawhorses or Ladder (Optional): Can be incorporated into a makeshift hanging system to provide additional support and versatility during hanging.
- Primer and Paint: The core materials for the painting process. Be sure to choose a primer suitable for the door material to enhance paint adhesion and finish.

- Paint Sprayer or Brushes/Rollers: Instruments for applying paint evenly over the surfaces, critical for a professional-looking result.
- Safety Equipment (Gloves, Mask, Goggles): To protect yourself from hazardous fumes and potential paint splatters, ensuring safe practice throughout the project.
Removing the Cabinet Doors
Unscrewing the Cabinet Doors
Begin by using a screwdriver or drill to carefully remove the cabinet doors from their hinges. Start with the uppermost screws, working your way systematically from the top to the bottom of each door. This method helps prevent unnecessary strain on the hinges and minimizes the risk of wood damage. Once removed, place all screws and hinges in labeled bags. Labeling these components ensures they remain organized and facilitates an easy reinstallation process later on.
Labeling the Doors
Before you move on to painting, use painter’s tape to label each cabinet door. Write both the door’s corresponding location and orientation. This step is particularly important if you’re dealing with multiple doors, as it avoids mix-ups and confusion when it’s time to reattach them post-painting. Proper labeling will save time and frustration, ensuring each door returns to its original place seamlessly.
Removing Hardware
Next, detach any handles, knobs, or pulls from the cabinet doors. Use a screwdriver to remove these accessories carefully. Place all the hardware components into a separate container or bag to prevent losing any pieces during the painting process. This organization allows for a straightforward assembly once the painting is complete, enhancing efficiency and preserving the aesthetic appeal of your newly painted cabinets.

How to Hang Cabinet Doors for Painting: Setting Up a Hanging System
Using Hooks or Eye Screws
To begin, select hooks or eye screws that will support the weight of the cabinet doors without bending or breaking. Locate the top and bottom edges of each cabinet door—these areas will not be visible once the doors are reinstalled and are ideal for attaching your hanging hardware.
Use a tape measure to ensure uniform placement; aim to place each hook or eye screw approximately one to two inches from the edges to maintain balance. Mark these positions with a pencil for precision. Carefully screw the hooks or eye screws into the marked spots, ensuring they are securely fastened to avoid any slippage or imbalance during the painting process.
Creating a Hanging Area
Once the doors are prepared, you’ll need to set up a robust hanging area. Identify a stable structure such as a sawhorse, a ladder, or even a strong overhead beam in a well-ventilated space that can hold the doors securely.
If using sawhorses or a ladder, ensure they are placed beneath a ceiling beam for added support. Tie sturdy ropes or wires to the hooks or eye screws on the cabinet doors, then loop the other end securely over your hanging structure. Make sure the ropes or wires are taut to prevent swaying, which could disrupt painting or drying.

Hanging the Doors Vertically
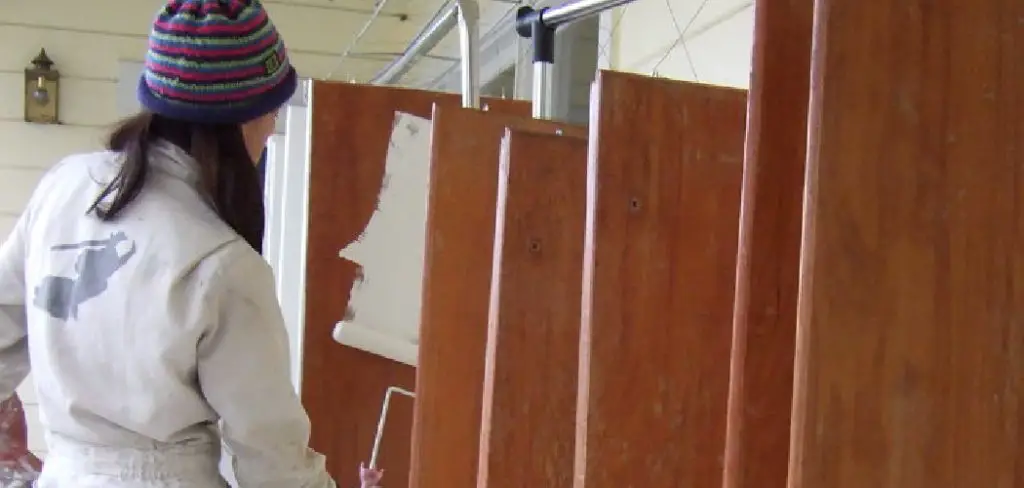
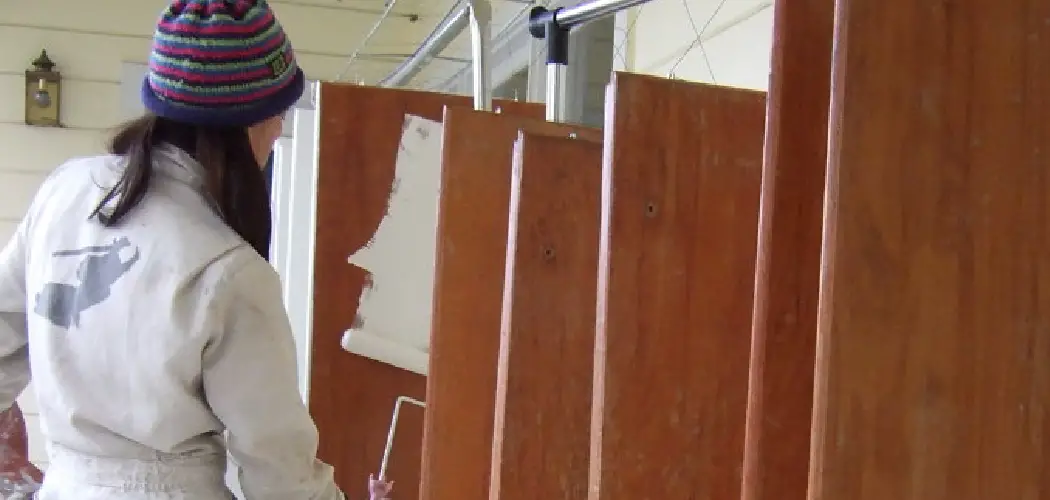
Hanging cabinet doors vertically is advantageous as it allows easy access to all sides, facilitating an even application of paint. Ensure that each door has ample space around it to enable smooth brush or sprayer movement without obstruction.
Maintain sufficient distance between doors to promote effective air circulation, which aids in uniform drying and prevents paint smudging from contact. This method also minimizes scars and brush marks, leading to a professional and refined finish. Remember to check that each door is securely fastened before you begin painting to avoid any accidents.
How to Hang Cabinet Doors for Painting: Preparing the Doors for Painting
Cleaning the Doors
Begin by using a degreaser or a mild soap and water solution to thoroughly clean the cabinet doors. This cleaning process is essential to remove any dirt, grease, or oil buildup that can interfere with the paint’s adhesion. Apply the cleaner with a soft sponge or cloth, meticulously wiping every surface of the door.
Pay special attention to edges and corners where grime tends to accumulate. Rinse thoroughly with clean water, and allow the doors to dry completely. A pristine, residue-free surface ensures that the paint adheres properly and lasts longer.
Sanding the Surface
Once dry, lightly sand the cabinet doors using medium-grit sandpaper, ideally within the range of 150-220 grit. Sanding serves to smooth out any roughness on the surface and provides a slightly abrasive texture that enhances paint adhesion.
Be consistent and gentle to avoid gouging the wood. Focus on achieving an even finish across all areas. After sanding, use a tack cloth or a microfiber cloth to wipe down each door methodically, removing all dust particles. This step is necessary to prevent dust from affecting the smoothness and quality of the final paint job.
Priming the Doors
Priming the cabinet doors is crucial, particularly if they are dark-colored or have a glossy finish. Primer acts as a foundational layer, ensuring the paint bonds effectively with the door surface. Apply a thin, even coat of primer with a brush, roller, or paint sprayer, making sure to cover all sides and edges. Allow the primer to dry completely as per the manufacturer’s instructions before starting the painting process. Priming helps to enhance the paint’s vibrancy and extends the finish’s longevity.
Painting the Cabinet Doors
Using a Paint Sprayer
To achieve a smooth, professional finish on your cabinet doors with a paint sprayer, fill the sprayer with high-quality paint suitable for cabinets. Before spraying the doors, test the sprayer on a scrap piece of wood or cardboard to adjust the settings for optimal spray pattern and pressure.
Hold the sprayer 6-12 inches from the cabinet door to ensure even coverage. Apply the paint in sweeping, horizontal motions, keeping a consistent speed and overlapping each pass slightly to avoid streaks. Move your entire arm rather than just your wrist to maintain a steady flow and prevent pooling at the edges. Start from the top of the door and work your way downward to ensure a drip-free application.
Using Brushes and Rollers (Alternative)
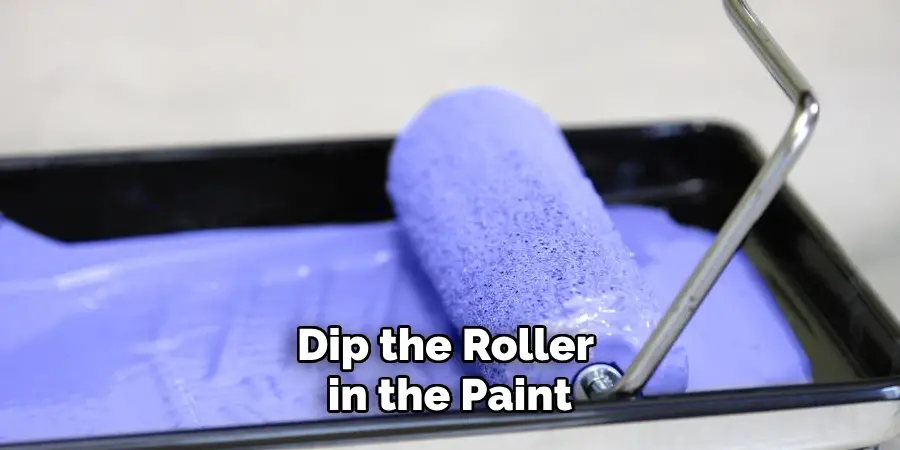
If you opt for brushes and rollers, use a high-quality foam roller for large, flat surfaces, which helps minimize texture and achieve a smooth finish. Dip the roller in the paint, ensuring not to overload it, and apply it by starting in the center of the door and rolling outwards.

This technique helps distribute the paint evenly and reduces the appearance of brush marks. For grooves or intricate details, use a good quality angled brush, gently stroking the paint into these areas to maintain consistency. Don’t press too hard with the brush to avoid leaving marks.
Applying Multiple Coats
When painting cabinet doors, using two or more thin coats of paint is crucial as it helps prevent drips or streaks that may occur with a single thick coat. Thin coats allow for better adhesion and a more even finish. After applying the first coat, allow it to dry fully—typically 4-6 hours or as specified by the paint manufacturer—before proceeding with the second coat.
This drying time ensures each layer sets properly, creating a durable and long-lasting finish. Repeat the application process for subsequent coats, ensuring each layer is completely dry before adding another. This method not only enhances the overall appearance but extends the lifespan of the painted surface.
Conclusion
Successfully painting cabinet doors involves careful preparation and execution, starting with removing all hardware to ensure smooth painting and reinstallation later. Setting up a reliable hanging system, such as sawhorses or overhead beams, is essential for stability during painting. Begin with cleaning and sanding the doors, followed by priming, which lays the foundation for effective paint adhesion.
Apply multiple thin coats for an even, professional finish, whether using a sprayer or brushes and rollers. Utilizing a hanging method markedly enhances the uniformity of the paint application by allowing easy access to all sides, improving efficiency. By adhering to these structured steps on how to hang cabinet doors for painting, DIY enthusiasts can achieve a flawless, durable finish, bringing a refreshed, modern aesthetic to kitchen or bathroom spaces. This approach ensures a quality outcome and provides a rewarding and transformative experience.

