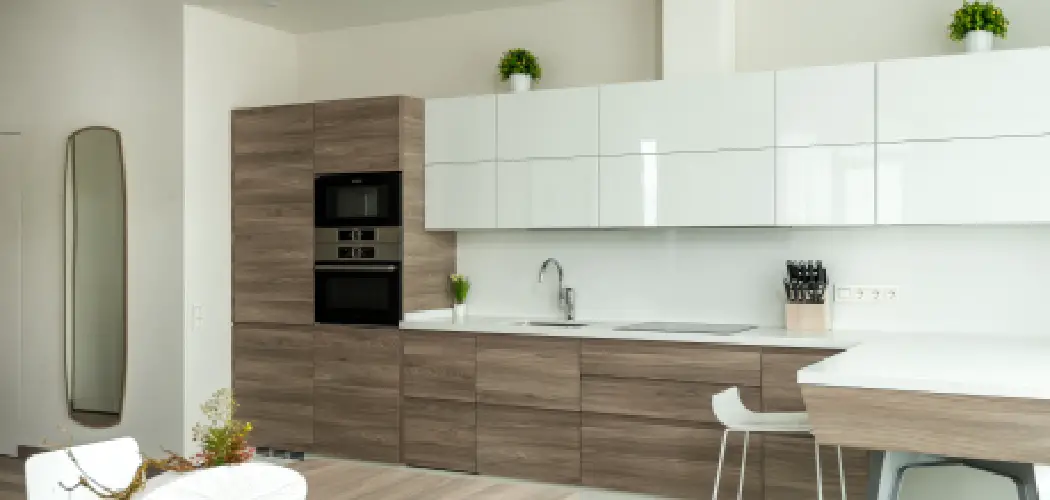
Do you need to add extra storage but are stumped about how to hang Ikea cabinets without rail? Are you looking for an efficient way to hang your newly purchased IKEA cabinets without having to use the rail? Well, look no further! This guide will provide tips and tricks on how to successfully install IKEA cabinets in your home.
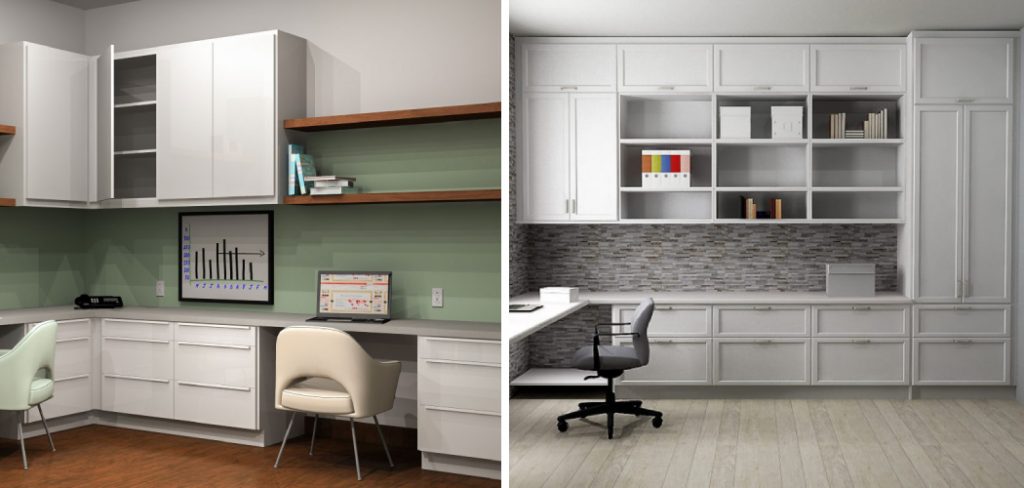
We’ll show you all the tools and materials that you need, as well as detailed instructions on each step of the job, from prepping your space for installation up to anchoring the cabinet into place. With this comprehensive process written by experienced IKEA professionals, you can easily bring life to any space with stylish storage solutions.
So read on if you’re ready to start a successful project today – simply put: we have what it takes for anyone looking forward to creating beautiful spaces with modern fixtures like Ikea cabinets!
What Problem You May Face When Hanging Ikea Cabinets Without Rail?
1. Proper Installation
IKEA cabinets are designed to be hung from the wall with a rail system, making it easier and faster to install. However, many times, this is not an option due to home layouts or other obstacles. Without using the rail system, you may face difficulty in achieving the correct installation height and ensuring that the cabinet is securely fastened on your wall.
2. Longer Installation Time
Installation time will be longer when hanging cabinets without rail as opposed to using the rail system. This is due to a lack of assistance from the rail, and you will need to account for this when starting your project.
What Materials Are Needed To Hang Ikea Cabinets Without Rail?
These are all the materials you will need to hang your IKEA cabinets without rails:
- Drill and bits
- Screws
- Wall plugs
- Leveler
- Measuring Tape
- Pencil or Marker
10 Steps on How to Hang Ikea Cabinets Without Rail

Step 1: Measurement
Measure the space that you plan to hang your IKEA cabinet in. Make sure that there is enough room for it, taking into account any obstacles like outlets and pipes. The right measurement is essential for a successful installation.
Step 2: Mark the Spot
Once you’ve measured the area and determined where to hang the cabinet, mark the spot on your wall with a pencil or marker. This will be your guide when it comes time to attach your cabinet to the wall.
Step 3: Drill Pilot Holes
Before you can attach the cabinet to the wall, you need to drill pilot holes. The size of your drill bits will depend on the type of screws that you are using. Make sure to keep these holes in line with the mark that you made in Step 2.
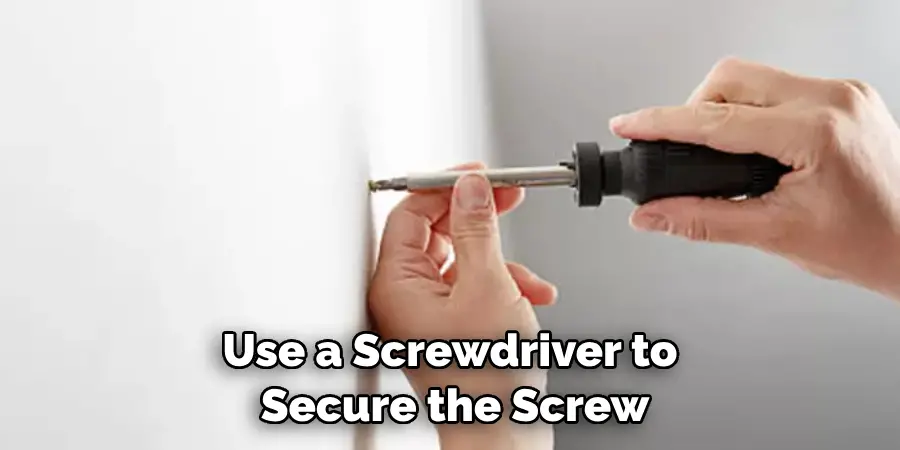
Step 4: Insert Wall Plugs and Screws
Now that your pilot holes are drilled, you can insert wall plugs and screws. Use a hammer to make sure that the wall plug is inserted tightly into the hole. Then use a screwdriver to secure the screw in place.
Step 5: Attach Screws
Now attach the screws to hold your IKEA cabinet in place. Make sure to securely fasten the screws into the wall plugs. Attaching two screws on the top and bottom of the cabinet will give it the most secure hold.
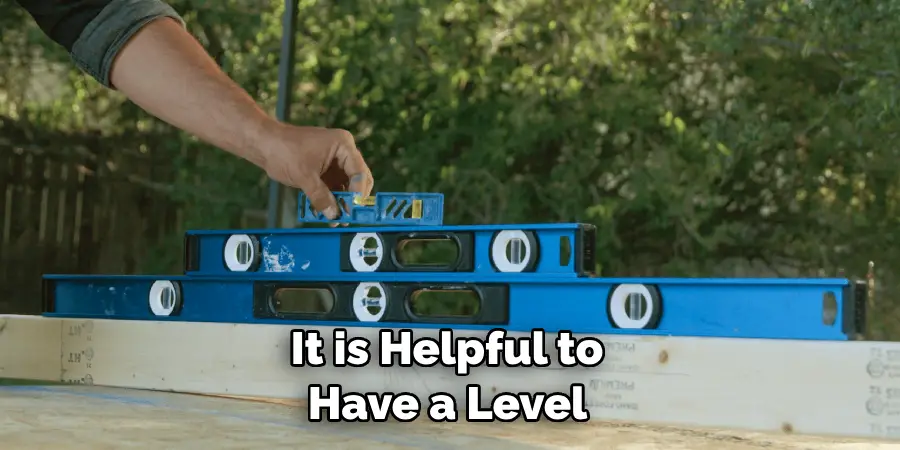
Step 6: Leveling
Make sure that your cabinet is level by using a leveler. This is important for a successful installation, as an unleveled wall can cause problems down the line. Leveling your cabinet is also important for other fixtures that may need to be attached, such as handles.
Step 7: Secure the Cabinet in Place
Once you’ve leveled your cabinet and made sure it’s securely fastened in place, use a drill and screwdriver to secure the cabinet in its final position on the wall. You will want to use a drill bit that is slightly larger than the screw so as not to split the wood.
Step 8: Attach Additional Fixtures
Now that your cabinet is securely in place, you can start attaching any other fixtures or accessories that you need. This could include handles, knobs, hinges, and more. Make sure to secure these firmly in place.
Step 9: Make Final Adjustments
Take a final look at your cabinet and make any necessary adjustments before it’s fully installed. This includes making sure that all the screws are properly tightened, as well as checking to see if everything is level and functioning properly.
Step 10: You’re Done!
Your IKEA cabinets are now successfully installed without rail! Congratulations on a job well done. Enjoy your new storage solution and the improved aesthetic of any room in your home.
Following these ten steps will help you to hang Ikea cabinets without rails with ease and success. With the right tools and materials, as well as this helpful guide, you can easily bring life to any space with beautiful storage solutions from IKEA. So get out there and start creating your dream home today!
8 Safety Precautions to Take When Hanging Ikea Cabinets Without Rail
Hanging Ikea cabinets without rails can be a daunting task. You need to ensure that the cabinets are properly secured and leveled for optimal performance, which requires precision and attention to detail. To ensure your safety while handling this project, here are some essential safety precautions you should take:

- Make sure you have the right tools. You will need a level, tape measure, stud finder, drill/driver set, and screwdriver. With all the right tools, you will be able to properly install the cabinets.
- Read the instructions carefully before beginning your project. To ensure that the installation process is done correctly, read and understand all instructions before starting.
- Wear safety glasses and work gloves to protect your eyes and hands while handling the project. Safety glasses will protect your eyes from flying debris, while gloves will help you get a better grip on the cabinets.
- Stand on a sturdy surface to avoid slips and falls. Make sure the surface is level and secure before standing on it.
- Make sure the cabinets are securely fastened to the wall. With Ikea cabinets, you need to use appropriate screws and anchors for optimal performance. The cabinets must be securely fastened to the wall and ceiling.
- Double-check your work before completing the installation. Make sure everything is level, secure, and properly placed. Double-check that all the screws are firmly fastened, and adjust accordingly.
- Dispose of any tools or hardware properly. Never throw away any used tools or hardware anywhere, as these can cause accidents. Properly dispose of all used materials in designated areas.
- Clean up the area after the installation is complete to avoid injuries or accidents from loose tools or debris.
Following these safety precautions will ensure your safety and the durability of your cabinets while hanging Ikea cabinets without rails. With careful planning, attention to detail, and the right tools, you can have your cabinets up in no time and enjoy their performance for years to come.
Frequently Asked Questions
How Long Does It Take?
The time it takes to hang IKEA cabinets without a rail depends on the size of your cabinets and how many you are hanging. Generally, expect the process to take anywhere from 2-3 hours for one cabinet to an entire day for several cabinets.
A two-person team is often helpful since a second person can help with lining up wall sections that need drilling or aligning the cabinets before they are hung.
How Much Will It Cost?
Hanging cabinets without the rail is a DIY project and requires minimal tools. The only cost associated with this project is buying the screws, wall anchors, and drill bit necessary for installation. It will cost approximately $15-20 per cabinet, depending on the screw and anchor sizes you choose.
What Tools Are Needed?
The tools needed to hang IKEA cabinets without a rail include a drill, some wall anchors, screws, and a drill bit. Additionally, it is helpful to have a level for hanging the cabinets straight. A flat-head screwdriver may also come in handy if you need to loosen the legs of your cabinets to install them.
Is It Difficult?
Hanging IKEA cabinets without a rail is relatively easy and can be done by most people with general knowledge of tools. It does require some patience to align the pieces and make sure everything is level. However, with some careful planning and preparation, anyone can hang cabinets without a rail.
Conclusion
In conclusion, when it comes to hanging IKEA cabinets without the rail, preparing your workspace beforehand and picking the right tools are essential. You also need to make sure you measure twice and cut once in order to prevent any unnecessary issues down the line.
Don’t forget to double-check your measurements before drilling any holes or affixing any brackets so that your cabinets look professional and stay secure. With a confident hand and clear steps on how to hang ikea cabinets without rail, though, you can be sure you’ll have that cabinet hung in place quickly and safely.
With all that being said, take your time, plan accordingly, and trust yourself – you will have gorgeous IKEA cabinet doors up on your wall before you know it!
So why not put your newfound skills to good use and show off your handy work? Try hanging some IKEA cabinets without the rail today – you won’t regret it! Following the safety precautions mentioned above will ensure that the project is conducted in a safe and secure manner.