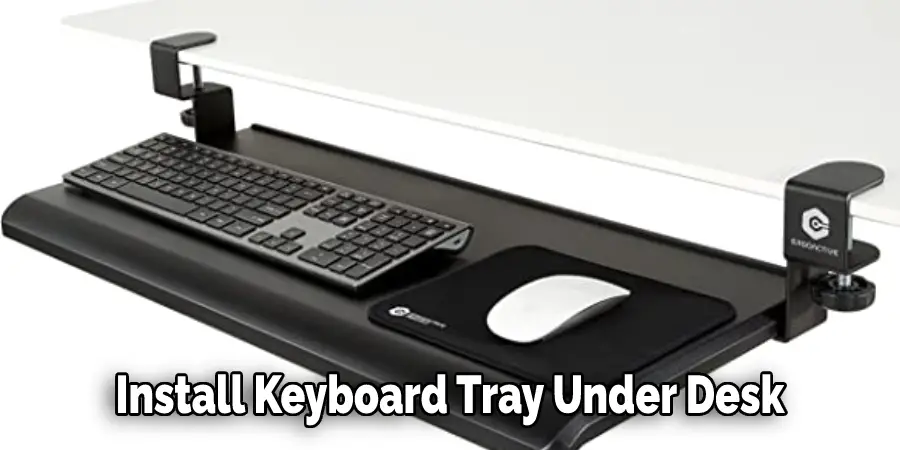
If your keyboard is driving you crazy. Typing on a flat surface can be uncomfortable, especially if you have to do it for hours. A keyboard tray can help solve this problem by giving you somewhere to rest your wrists and hands. In this article, we’ll show you how to install keyboard tray under desk. Read on for step-by-step instructions!

Typing is an essential part of many people’s jobs these days. However, if you have to do it for hours at a time, you might start to experience pain in your wrists and hands. This is because typing on a flat surface strains your muscles and tendons. A keyboard tray can help reduce this pain by giving you a place to rest your wrists and hands while you type. In addition, many ergonomic keyboards also have a built-in wrist rest, further reducing strain. Installing a keyboard tray is relatively easy, but it does require some basic handyman skills.
Required Tools and Materials
- Drill with a 3/32” drill bit
- Jigsaw or utility knife
- Sandpaper (100 to 120 grit)
- Measuring tape
- Level
- 1 ¼” wood screws
- Pencil or marker
- Keyboard tray kit (we used the Under Desk Ergonomic Keyboard Tray by 3M, available at office supply stores)
- Drill with Phillips head attachment
A Step by Step Guide on How to Install Keyboard Tray Under Desk
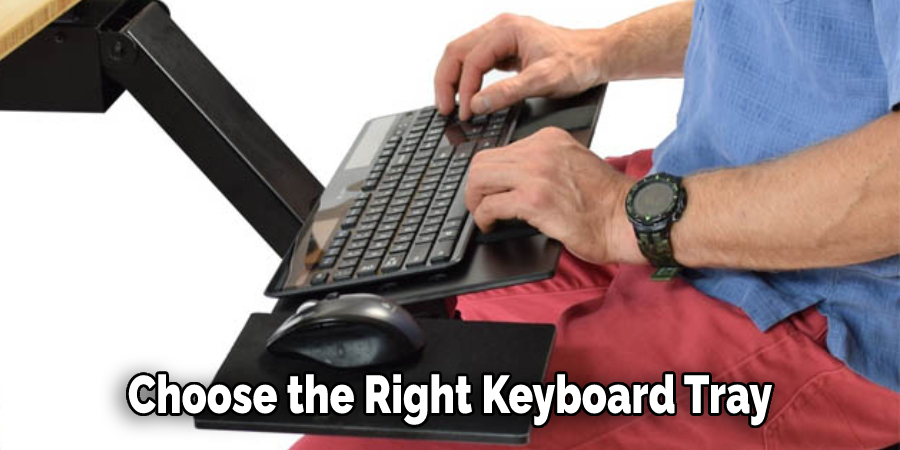
Step 1: Choose the Right Keyboard Tray for Your Desk
When choosing a keyboard tray for your desk, there are several factors you’ll need to consider to find the best option for you. First, think about how much adjustability you’ll need in height and angle. If you like to move around a lot while working, or if you have different tasks that require different positions, you’ll want a tray with plenty of adjustabilities.
Another factor to consider is the material of the tray. Some are made of plastic, while others are made of metal or wood. You’ll want to choose a material that’s durable and easy to clean. Plastic trays are often less expensive, but they may not be as sturdy as metal or wood options.
Finally, consider the size of the tray. You’ll want to make sure it’s large enough to accommodate your keyboard and mouse but not so large that it takes up too much space on your desk.
Once you’ve considered all of these factors, you’ll be able to narrow down your options and find the perfect keyboard tray for your needs.
Step 2: Determine the Placement of the Tray
The first step is to determine where you want the tray to be located. Most people place their keyboard tray under the desk so that it’s close to their body and they don’t have to reach as far. But you can also install it on the side of the desk if that’s more comfortable for you.
If you’re installing the tray on the side of the desk, make sure that there’s enough room for your legs and feet. You don’t want the tray to be in the way when typing or using the mouse.
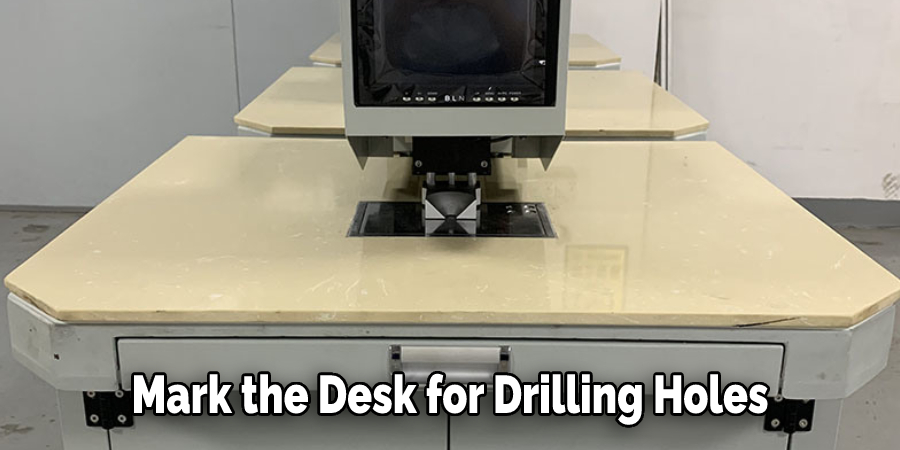
Step 3: Mark the Desk for Drilling Holes
Once you’ve decided on the placement of the tray, use a pencil or marker to mark the desk where you’ll be drilling holes. The kit we used came with templates that made it easy to mark the correct spot for the holes.
If you’re using a different kit, make sure to follow the instructions that come with it. For example, some kits require different placement of the holes depending on the size and shape of your desk.
Step 4: Drill the Holes in the Desk
After you’ve marked the desk, it’s time to drill the holes. Start with a 3/32” drill bit and drill through the marks you made in Step 2.
How many holes you need to drill will depend on the size and shape of your desk and the kit you’re using. Follow the instructions that come with the equipment to make sure you drill the correct number of holes.
If your kit came with different size screws, you might need to adjust the size of the drill bit accordingly. The goal is to create a hole that’s just big enough for the screw to fit through without being too loose.
Step 5: Cut a Hole in the Desk for the Cable Management System
Most keyboard tray kits come with a cable management system to help organize and tidy up the cords and wires on your desk. Unfortunately, to install this system, you’ll need to cut a hole in the desk.
The kit we used came with a template that made it easy to mark the correct spot for the hole. If you’re using a different kit, make sure to follow the instructions that come with it.
Mark the spot for the hole with a pencil, then use a drill to create a starter hole.
Next, use a jigsaw to cut out the rest of the hole. If you don’t have a jigsaw, you can ask a friend or family member to help you out.
Once the hole is cut, test the cable management system to make sure it fits properly.
If everything looks good, remove the system and set it aside. We’ll come back to it later.
Step 6: Attach the Keyboard Tray to the Desk
Now it’s time to attach the keyboard tray to the desk. Start by attaching the brackets that came with the kit to the underside of the tray.
Ensure that the brackets are in the correct position and orientation before you start screwing them in. Once they’re attached, set the tray aside.
Next, hold one of the arms on the desk and use a pencil to mark where you’ll need to drill holes.
Remove the arm and drill pilot holes at the marks you made. Be sure to use a drill bit that’s the same size as the screws with your kit.
Now it’s time to attach the arms to the desk. Start by attaching one arm, then check to ensure that it’s level before attaching the other arm.
Once both arms are attached, you can put the keyboard tray in place. First, line up the holes on the tray with the screws in the arms, then use a screwdriver to tighten them in place.
Step 7: Attach the Cable Management System
Now that the keyboard tray is installed, it’s time to attach the cable management system. Start by feeding the cords and wires through the hole you cut in Step 4.
Next, attach the system to the underside of the desk. The kit we used came with adhesive strips that made it easy to secure the system in place.
If your kit doesn’t come with adhesive strips, you can use zip ties or velcro to attach the system to the desk.
Step 8: Test It Out
Now it’s time to test out your new keyboard tray! Sit down at your desk and adjust the arms until the tray is perfect for you.
Once you’ve found the perfect position, tighten the screws to ensure the tray stays in place.
And that’s it! You’ve successfully installed a keyboard tray under your desk. These steps will help in how to install keyboard tray under desk.
The Benefits of Installing a Keyboard Tray Under Your Desk
Most people don’t realize the importance of installing a keyboard tray under their desks. However, if you spend a lot of time typing on your computer, it’s essential to have a comfortable and ergonomic setup. Here are some benefits of installing a keyboard tray:
1. Improve your posture -When you sit at a desk all day, it’s easy to start slouching down in your chair. Unfortunately, this puts strain on your neck, shoulders, and back. By installing a keyboard tray, you can keep your shoulders neutral and avoid pain.
2. Reduce carpal tunnel syndrome -One of the most common injuries from typing is carpal tunnel syndrome. This happens when the nerves in your wrist become compressed. Symptoms include pain, tingling, and numbness in your hand. Installing a keyboard tray can help you keep your wrists in a natural position and avoid this painful condition.
3. Increase your typing speed -If you’re constantly reaching for the mouse or stretching to reach the keyboard, it’s slowing down your typing speed. With a keyboard tray, everything is within easy reach so that you can type faster.
4. Keep your desk clean -A keyboard tray gives you a dedicated space for your keyboard and mouse so you can declutter your desk. This makes it easier to focus on your work and stay organized.
5. Save space on your desk – If you have a small desk. You can free up valuable real estate on your desk by installing a keyboard tray.

Installing a keyboard tray is a simple and inexpensive way to improve your typing experience. It’s also beneficial for your health and can help you avoid pain and injuries. If you spend a lot of time typing, it’s definitely worth the investment.
Conclusion
Keyboard trays are a great way to improve your comfort and productivity while you work. By installing a keyboard tray under your desk, you can easily use the extra space and adjust it to fit your needs. We hope this article has helped you understand how to install keyboard tray under desk quickly and easily.
You can check it out to Remove Under Desk Keyboard Tray