Are you tired of your keyboard tray taking up space under your desk? Well, there is a way to get rid of it – and it’s simple! This post will show you how to remove under desk keyboard tray quickly and easily. Read on to learn more.

Why It’s Important to Remove Under Desk Keyboard Tray?
Many people might not see the importance of removing their under desk keyboard tray; however, there are a few key reasons why this step is essential.
First and foremost, it helps to improve posture and maintain proper ergonomics. When the keyboard is at the correct height, it reduces strain on the wrists and shoulders, improving comfort levels and reducing the risk of repetitive strain injuries.
In addition, removing the keyboard tray can also help to increase productivity. When the keyboard is at the correct height, it can help to reduce mistakes and increase typing speed.
Finally, removing the keyboard tray can also help to create a more aesthetically pleasing workspace. When the keyboard is neatly tucked away, it helps to declutter the desk and create a more professional look. For these reasons, it’s important to take the time to remove yours under the desk keyboard tray.
How to Remove Under Desk Keyboard Tray Step by Step Guide
Step 1: Remove the Screws
Assuming your keyboard tray is attached with screws, the first step is to remove them. Look for any visible screws on the underside of the desk and remove them using a screwdriver. If there are no visible screws, try gently prying up the keyboard tray with a putty knife or other flat object. There may be screws hidden underneath plastic plugs if it doesn’t budge.
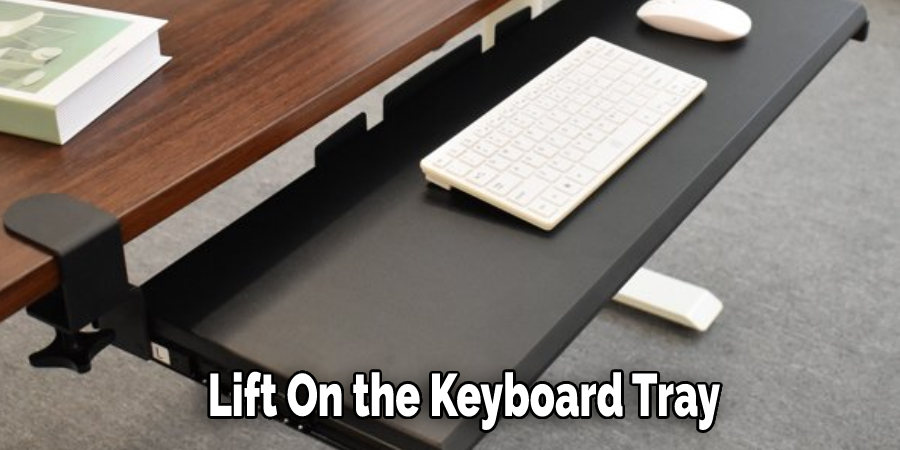
Step 2: Lift On the Keyboard Tray
Now that you have the two screws removed, it is time to take the tray off of the desk. You will need to lift the keyboard tray to do this. You may want to use a flat head screwdriver to help you with this process.
Step 3: Detach Any Cables that Are Attached to The Tray
If your keyboard tray has any cables attached to it, you will need to detach them before removing the tray. To do this, unplug the cables from their respective ports. Once all of the cables have been detached, you should be able to remove the tray with no issue.
Step 4: Carefully Remove the Tray from The Desk
Now that all of the screws are removed, you can carefully remove the tray from the desk. Be careful not to damage the desk surface as you do this. If the tray is stuck, you may need to use a putty knife or other thin tool to help pry it loose. Once the tray is free, set it aside somewhere safe.
Step 5: Clean Up The Desk Surface
Once the tray is removed, you can clean up the desk surface. Use a dust cloth or vacuum to remove any dirt or debris accumulated over time. If there are any marks on the desk surface from the tray, you may be able to remove them with a bit of elbow grease and a cleaning solution.
Step 6: Reverse These Steps to Reattach or Replace Your Keyboard Tray(Optional):
Now that you know how to remove under desk keyboard tray, you can follow these same steps in reverse to reattach or replace it. If you’re replacing the keyboard tray, follow these steps in reverse and attach the new tray in its place.
And there you have it! You can easily remove yours under the desk keyboard tray by following these simple steps. This will help improve your posture and ergonomics, but it will also help to create a more aesthetically pleasing workspace.
How Do I Change My Keyboard Tray to Drawer?
Most people don’t think about the design of their keyboard tray, but if you spend a lot of time at a computer, it can make a big difference in your comfort and productivity.
The standard keyboard tray is designed to sit on top of your desk, but if you find yourself constantly straining to reach your mouse or reposition your keyboard to avoid discomfort, a drawer-style keyboard tray may be a better option.
While they can be more expensive, drawer-style keyboard trays offer several advantages. They’re easier to adjust to achieve the perfect position for your hands and wrists, and they offer more storage space for things like pens, paper, or even your laptop.
If you’re considering switching to a drawer-style keyboard tray, here’s what you need to know.
There are two main types of drawer-style keyboard trays: under-desk and over-desk. Under-desk trays attach to the underside of your desk and extend outwards, while over-desk trays sit on top of your desk and pull out from underneath.
Both types have their advantages and disadvantages, so it’s important to decide which one is right for you based on your needs and the layout of your workspace.
Under-desk trays are typically more affordable and easier to install, but they can be harder to reach with a taller desk. Over-desk trays are usually more expensive, but they offer a greater range of motion and easier access.

The Process to Follow:
- If you have an under-desk tray, start by removing the screws that hold it in place.
- Carefully pull the tray out from under the desk.
- 3. If you have an over-desk tray, start by removing the screws that hold it in place.
- Carefully pull the tray out from on top of the desk.
- Place the new drawer-style keyboard tray in the desired position and mark where the screws will go.
- Drill pilot holes and screw the tray in place.
- If you have an under-desk tray, slide it back under the desk and screw it in.
- If you have an over-desk tray, slide it over the desk and screw it in place.
- Attach the keyboard and mouse to the tray and adjust the height and position.
- Enjoy your newfound comfort and productivity!
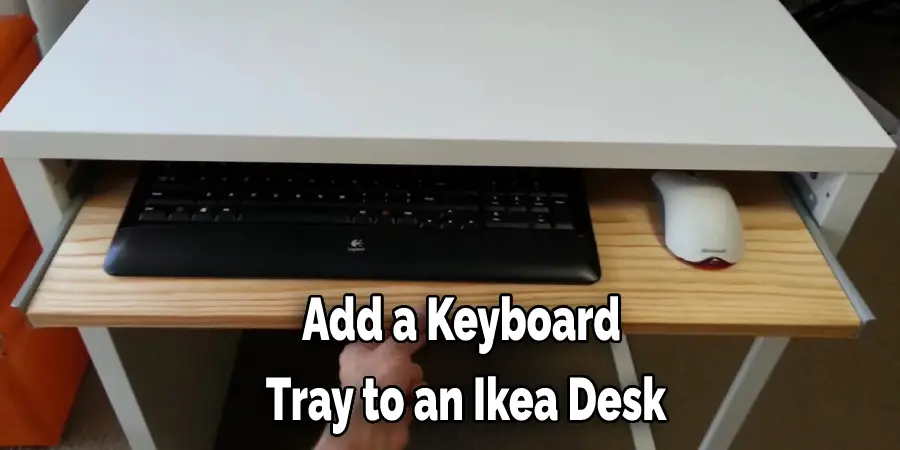
Can You Add a Keyboard Tray to An Ikea Desk?
If you’re looking for a keyboard tray that will fit your IKEA desk, the answer is probably yes. Most IKEA desks are designed to be compatible with a variety of aftermarket keyboard trays.
However, it’s always a good idea to double-check the dimensions of both your desk and the keyboard tray to make sure they will fit together. In general, you should look for a keyboard tray at least 24 inches wide and 12 inches deep.
If you have any doubts, it’s always best to consult with a professional before altering your desk. However, with a little research, you can find the perfect keyboard tray to help you get the most out of your IKEA desk. Keep reading for more information about how to remove under desk keyboard tray.
How Do You Make a Diy Keyboard Tray?
A keyboard tray is a great way to improve your ergonomics at your desk. It allows you to position your keyboard and mouse at a comfortable height, preventing strain on your wrists and arms.
You can find many different models of keyboard trays online or at your local office supply store. However, if you’re feeling handy, you can build your tray with a few simple materials.
You’ll need some plywood, a saw, screws, hinges, and handles to make a DIY keyboard tray. First, cut the plywood to size using the saw. Then, attach the hinges to one side of the plywood. Next, screw the handles into the other side of the plywood.
Finally, position the plywood under your desk and attach it to the underside of the desk using screws. With a little bit of effort, you can easily build your keyboard tray that will help improve the ergonomics at your desk.
Do I Need a Keyboard Tray for Standing Desk?
It depends on your individual needs and preferences. A keyboard tray can provide several benefits when using a standing desk.
Firstly, using a keyboard tray can help keep your wrists in a neutral position, which can prevent fatigue and strain on your hands and arms. This is especially important when typing for extended periods of time.
Secondly, a keyboard tray can free up valuable desk space, allowing you to utilize your standing desk more efficiently. Without a keyboard tray, you may need to keep your keyboard and mouse on the desk surface, which can make it difficult to use the desk for other tasks.
By positioning your keyboard at a comfortable height, you can avoid slouching or leaning over your desk, which can lead to poor posture and discomfort.
Can You Attach a Keyboard Tray to Standing Desk?
Attaching a keyboard tray to a standing desk is a simple and effective way to enhance your ergonomic positioning while working. First, it’s important to choose a suitable keyboard tray that fits the dimensions of your desk and allows for adjustments according to your needs.
Once you have the tray, measure and mark the preferred height and position where you want the tray to be. Then install the mounting bracket underneath the desk using screws and a screwdriver. Next, attach the tray to the bracket with screws and bolts provided with the tray.
Finally, adjust the height, tilt, and angle of the tray to your preferred position, ensuring your wrists are straight and your elbows are at a 90-degree angle. By following these simple steps, you can reduce the risk of developing neck and back pain, carpal tunnel syndrome, and other strain injuries while working at your standing desk.
Is a Keyboard Tray Worth It?
Anyone who spends a lot of time at a computer knows that neck and shoulder pain can be a real problem. One way to help alleviate this pain is to use a keyboard tray, which allows you to adjust the position of your keyboard and mouse for greater comfort.
Keyboard trays also help keep your work surface tidy and organized and provide additional storage space for things like pens and paper. In short, a keyboard tray is a great way to improve your ergonomics and make your workspace more efficient.
So if you’re looking for a way to boost your productivity and reduce discomfort, investing in a keyboard tray is worth it.
Frequently Asked Question
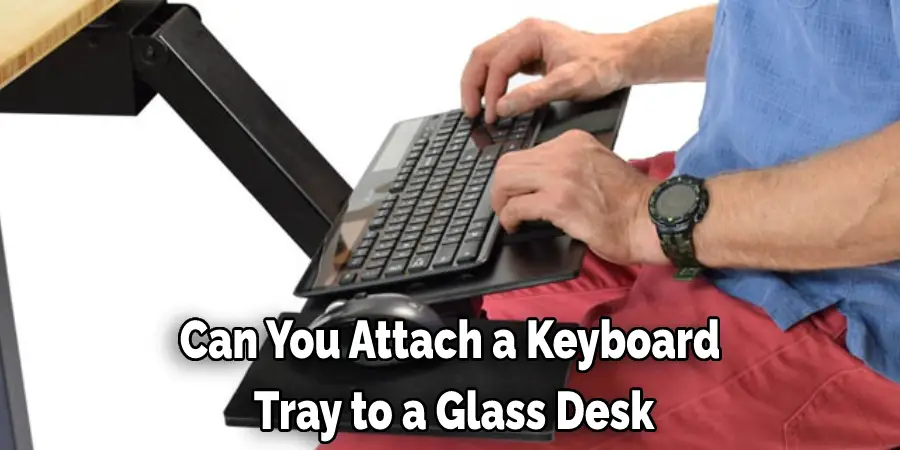
Can You Attach a Keyboard Tray to A Glass Desk?
If you have a glass desk and want to attach a keyboard tray, you can use suction cups. First, clean the surface of your desk with a glass cleaner and then dry it completely. Then, attach the suction cups to the bottom of the keyboard tray. Finally, press the tray against the desk and hold it for 30 seconds.
To remove the tray, peel it off of the desk. If there is any residue left behind, you can clean it up with a glass cleaner.
Should a Keyboard Be Flat or Raised?
There is no definitive answer to this question, as everyone’s preferences may differ. For example, some people find that a raised keyboard allows them to type more comfortably, while others find that a flat keyboard is more comfortable. Ultimately, it is up to the individual to decide what works best for them.
Conclusion
So there you have it! Three simple steps to removing your keyboard tray. We hope this article was helpful and that you can now remove your keyboard tray with ease. If you have any questions or comments, please leave them in the comment section below. Thanks for reading our post about how to remove under desk keyboard tray.
You can check it out to Install Keyboard Tray Under Desk
You can check it out to Put Keyboard Cover on Laptop