
Are you looking to install a PTAC unit in your home or office? If so, then this is the blog post for you! PTAC stands for Packaged Terminal Air Conditioner/Heat Pump, and they are great solutions for those who need a guide to cooling and heating without having bulky systems installed.
Installations of these units can be a bit complicated, but with clear instructions, it doesn’t have to be too difficult!
In this post, we will walk you through all the steps on how to install PTAC unit from preparation right up until completion. So let’s get started on seeing why these units are the perfect solution for those that don’t want bulky air conditioners taking up space!
What is a PTAC unit?
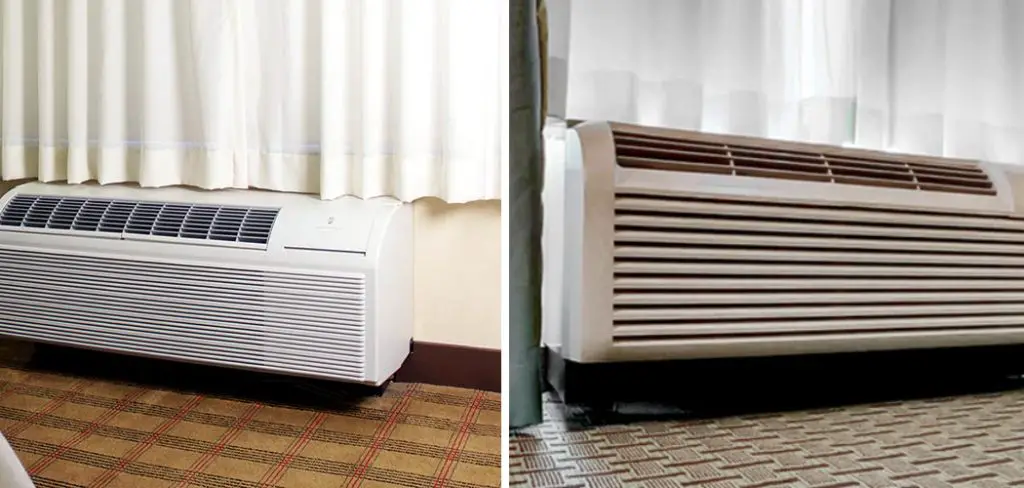
PTAC unit stands for Packaged Terminal Air Conditioner. It is an all-in-one air conditioning and heating system designed to fit conveniently into a wall sleeve. PTAC units are often used in hotels, motels, condos, apartments, dorms, and other places that require efficient heating and cooling solutions. They have become increasingly popular due to their energy efficiency and easy installation.
Importance of Proper Installation of a PTAC Unit
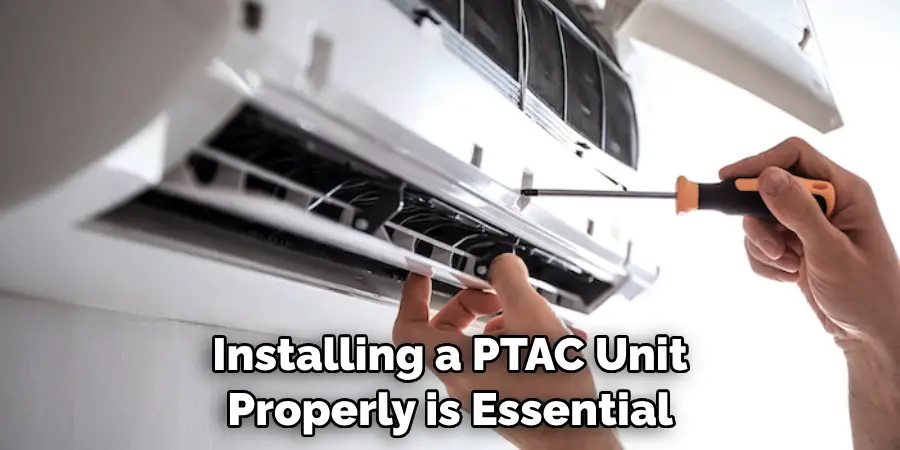
Installing a PTAC unit properly is essential for its performance and longevity. Improper installation can lead to problems such as poor cooling or heating, water leakage, condensation, excessive noise, or even fire hazards. Properly installed units will not only ensure optimal performance but also help you save energy costs in the long run.
While correct installation may appear time-consuming, following a few simple steps will allow you to safely and effectively install your PTAC unit.
Safety should always be the primary concern when installing a PTAC unit. Because of the electrical components involved, it is important to ensure that the power source is disconnected before any work begins. Additionally, make sure that all wiring and insulation are installed properly and securely to reduce potential hazards.
Benefits of a Correctly Installed PTAC Unit
When you install a PTAC unit correctly, you can enjoy several benefits. These benefits include improved energy efficiency, quieter operation, and greater durability.
Installing the PTAC correctly ensures that it is properly sealed against drafts and other air leaks, which can cause your heating and cooling systems to run inefficiently. This leads to lower energy bills as your PTAC unit will not have to work harder to compensate for air leaks.
Additionally, a correctly installed PTAC unit will run more quietly than one that is not properly sealed. This can be beneficial in both residential and commercial settings, where noise levels can disrupt the comfort of those in the building.
Lastly, a correctly installed PTAC unit will last longer due to its increased durability. Poorly installed units are more prone to damage from vibrations and other elements, which can lead to significant repairs or even premature replacement. By ensuring proper installation, you can extend the life of your PTAC unit and save money in the long run.
By taking the time to install your PTAC unit correctly, you can enjoy greater energy efficiency, quieter operation, and improved durability. This will not only save you money in the long run but also ensure that your PTAC unit is running at its best for years to come. .
10 Steps How to Install PTAC Unit
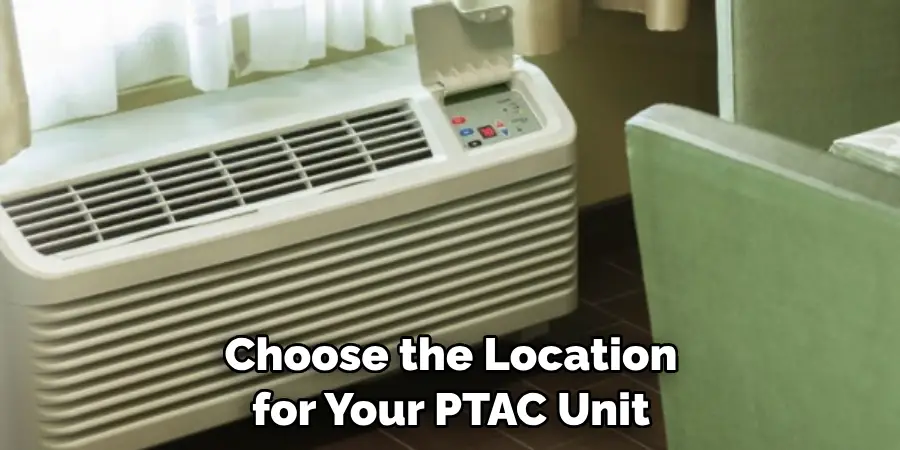
Step 1: Selecting the Right Location
Before beginning the installation process, carefully choose the location for your PTAC unit. Ensure that the area is suitable for both indoor and outdoor components, has proper electrical access, and allows for sufficient airflow.
Though PTAC units are designed to be as efficient as possible, adequate air circulation is critical for proper operation. Try to install your unit in an area that receives direct sunlight to maximize efficiency.
Step 2: Preparing the Wall Opening
Measure the dimensions of the PTAC unit and mark the corresponding dimensions on the wall where the unit will be installed. Create an opening in the wall according to the manufacturer’s specifications, taking care to avoid any electrical or plumbing lines. While cutting the opening, it’s important to wear safety equipment such as gloves and eye protection.
Once the wall opening is created, use expanding foam insulation to fill the gap between the wall and the PTAC unit. This will ensure maximum efficiency of the unit and reduce energy costs.
Step 3: Installing the Wall Sleeve
Place the wall sleeve into the wall opening and secure it properly. The wall sleeve provides structural support and helps seal the unit from outdoor elements. Ensure that the sleeve is level and firmly attached to the wall. While attaching the sleeve, make sure that it is correctly sized to fit the unit. Make sure it is large enough for the unit to fit properly.
Step 4: Connecting the Electrical Wiring
Follow the manufacturer’s instructions for electrical wiring connections. Shut off the power supply to the designated circuit and connect the wiring to the electrical terminal block on the PTAC unit.
Make sure to adhere to local electrical codes and regulations. Connect the electrical wiring for the wall thermostat, as per the manufacturer’s instructions. Securely attach or cap off any unused wires.
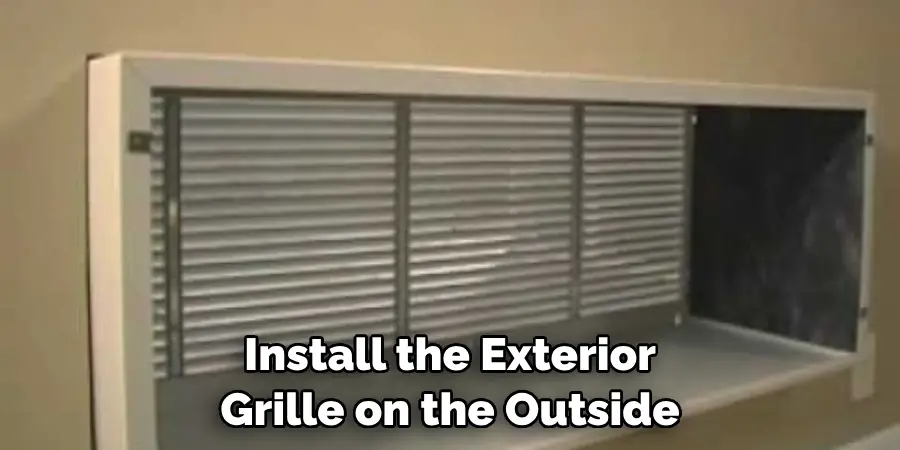
Step 5: Mounting the Exterior Grille
Install the exterior grille on the outside of the building to protect the unit from weather conditions. Secure the grille firmly to the wall, ensuring proper airflow and ventilation. The grille should be mounted level and aligned with the unit.
Step 6: Attaching the Drain Kit
Attach the drain kit to the bottom of the PTAC unit. This kit allows condensation to drain away from the unit effectively. Ensure that the drain pipe is properly connected and directed away from the building to prevent water damage.
Step 7: Securing the PTAC Unit
Carefully slide the PTAC unit into the wall sleeve, ensuring that it is aligned and centered properly. Secure the unit by fastening it to the wall sleeve using the provided mounting brackets or screws. Double-check that the unit is level and securely in place. Once all screws are tightened, plug the power cord into an outlet. Turn on the PTAC unit and test that it is functioning properly.
Step 8: Connecting the Condenser and Evaporator Coils
Connect the condenser and evaporator coils according to the manufacturer’s instructions. This typically involves aligning the coils, ensuring a proper seal, and securely fastening them together. Take care not to damage or kink any refrigerant lines during this step.
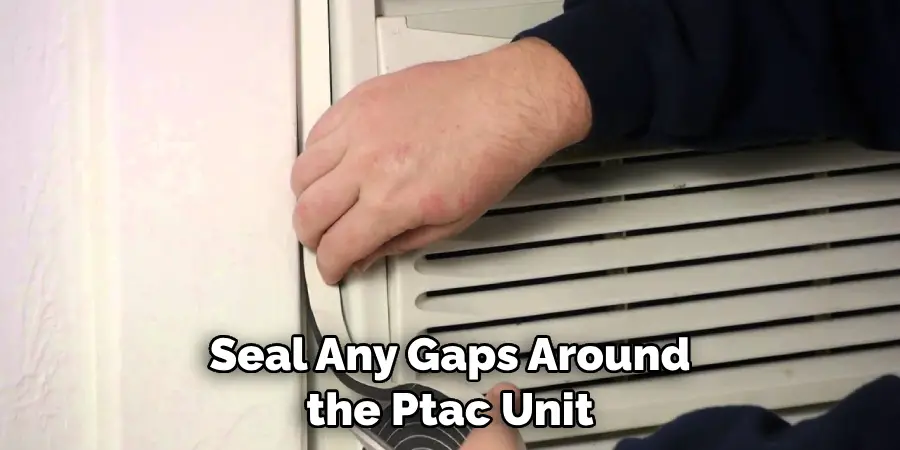
Step 9: Sealing and Insulating
Seal any gaps around the PTAC unit and wall sleeve using weatherproof sealant or foam insulation. This helps to prevent air leaks and improve energy efficiency. Pay special attention to the area where the unit meets the wall to create a tight seal.
Step 10: Testing and Finalizing the Installation
Once the PTAC unit is securely installed, restore power to the designated circuit and turn on the unit. Test the operation of the unit by adjusting the temperature and fan settings. Ensure that the unit is functioning properly, cooling or heating the room as intended.
Some Common Mistakes to Avoid When Installing PTAC Unit
1. Improperly Measuring:
One of the most common mistakes made when installing a PTAC unit is not properly measuring the space for the unit. It’s important to make sure that you have all of the right measurements before purchasing and installing your PTAC unit. Not having proper measurements can lead to a poor fit, resulting in an inefficiently running unit and possible damage to the space or surrounding walls.
2. Not Leveling Properly:
Another common mistake is not properly leveling or anchoring the PTAC unit when installing it into the wall cavity. It’s important to make sure that the PTAC unit is leveled correctly so that the airflow is even throughout the room. An improperly leveled unit can lead to uneven temperatures and sub-par performance from your AC system.
3. Improper Electrical Connections:
It’s also important to make sure that all electrical connections are properly installed and wired in accordance with local codes when installing a PTAC unit. Improper electrical wiring can lead to dangerous situations, including fire hazards or unstable performance from your AC system.
By following these tips, you can help ensure that your PTAC installation goes as smoothly as possible. Having the right tools, making sure all measurements are correct, and double-checking all electrical connections will help you achieve success with your installation.
Conclusion
Installing a Ptac unit is not an intimidating task. With the right tools and materials, anyone with some basic skills should be able to install their unit quickly and easily. You may need assistance completing the job, but if you follow these simple steps, you can increase the energy efficiency of your space and have complete control over its temperatures—all from the comfort of your own home.
A properly-installed Ptac system offers convenience, reliability, and comfort without paying exorbitant prices for professional installation.
Hopefully, this blog post provided a helpful overview of how to install PTAC unit to get started. However, we always recommend consulting with a professional if you are unsure or uncomfortable taking on any more challenging installations yourself.