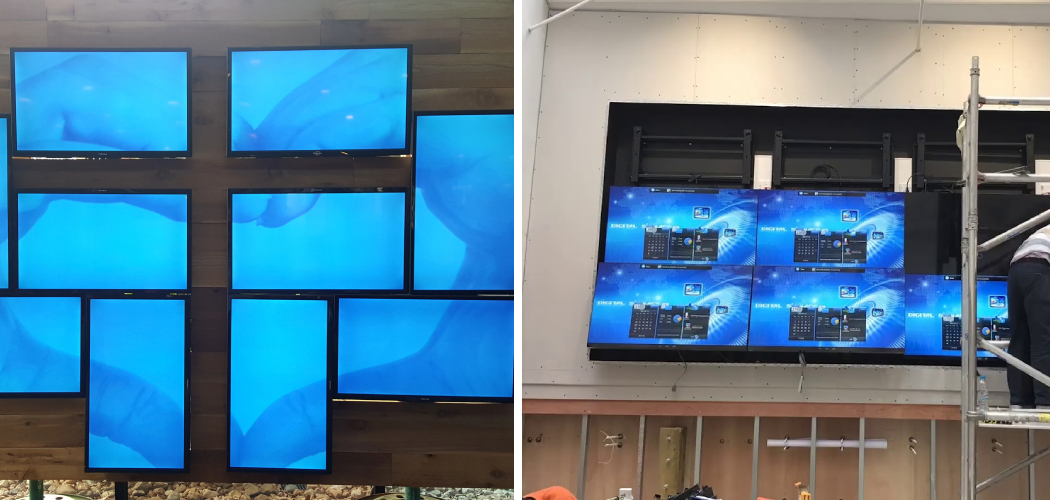
Are you looking for a unique way to showcase your business or presentation? A video wall can be an excellent solution. Video walls can display multiple images in an eye-catching, impactful way that catches attention. With their increased popularity, however, come concerns about how to install one correctly and safely.

Installing a video wall can transform the look and feel of any business, allowing customers to be immersed in visuals that catch their eye. Whether it’s for a retail space or an art gallery, video walls are increasingly popular as more and more people try them out. But if you’re unsure how to install one yourself, don’t worry!
In this blog post, we’re breaking down the steps needed for how to install video wall so everyone can take advantage of its stunning visual appeal!
What Will You Need?
Before you start, it’s important to know what supplies are necessary to install a video wall. Here’s a quick list of items required:
- Video wall mountings (e.g., tiltable or fixed)
- Flat panel displays
- Video connectors (HDMI, VGA, DVI, etc.)
- Surge protector
- Mounting hardware
- Video wall processor (optional)
Once you have these items on hand, you’re ready to start!
10 Easy Steps on How to Install Video Wall
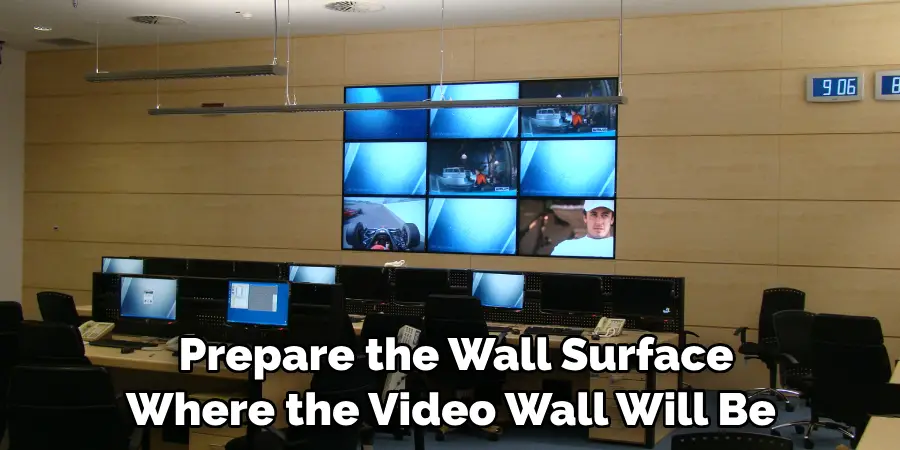
Step 1: Preparing The Wall Surface
The first step is to prepare the wall surface where the video wall will be installed. Ensure your wall surface is clean and clear of any debris, dust, and dirt that could interfere with the video wall installation. If there are any protruding objects, be sure to remove them so they won’t get in the way.
Step 2: Marking The Wall Surface
Once the surface is ready, you can begin to mark the area where you plan to install your video wall. Using a measuring tape and level, measure out the size of your video wall and use a pencil or marker to make small dots on the walls at each corner. These dots will serve as guides for positioning your mounting brackets accurately.
Step 3: Attaching Mounting Brackets
The next step is to attach the mounting brackets securely to the wall. Ensure they are lined up correctly with your marked dots on the wall before drilling in any screws or bolts needed for secure attachment. Check that all brackets are level before moving on to the next step.
Step 4: Connecting Displays To The Mounts
Once your brackets are securely mounted, you can connect the displays to the mounts. Using the appropriate video connectors (HDMI, VGA, DVI, etc.), connect each display to its corresponding mount before moving on to step 5. Be careful not to overtighten the connections and to double-check that each is securely connected before proceeding.
Step 5: Securing The Displays With Bolts
To ensure that your displays remain in place, you must secure them with bolts or screws. This will keep your video wall from moving around or becoming unbalanced over time due to wear and tear. Be sure to make all connections as tight as possible for maximum security.
Step 6: Installing A Video Wall Processor
If you have a video wall processor, now is the time to install it. This device allows for easier manipulation of multiple displays and helps ensure that your video wall looks its best. As each setup is unique, make sure to read the instructions carefully before installing.
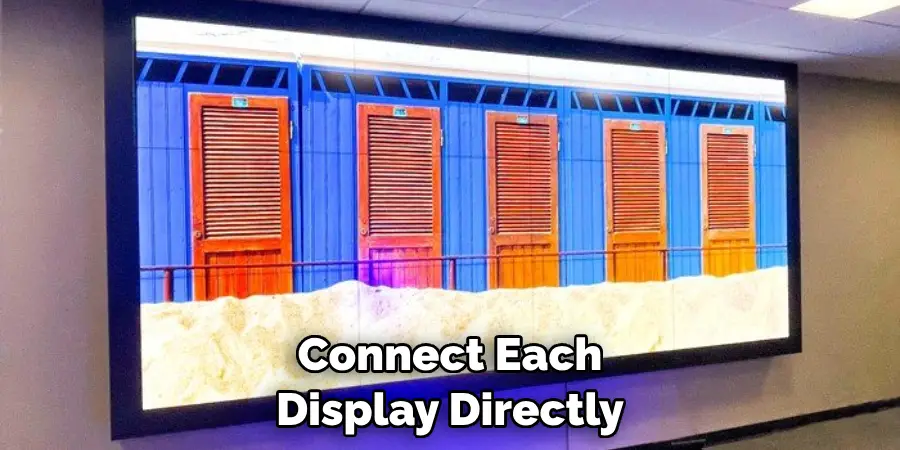
Step 7: Testing The Connections
Now we’re getting close to the end! Before finalizing the installation process, you’ll want to test the connections to ensure all components work properly. Connect each display directly to a power source and run any necessary tests or diagnostic checks if needed. Ensure that all connections are secure and functioning correctly before moving on.
Step 8: Installing Surge Protection
Installing surge protection is essential for safeguarding your video wall from power surges and other electrical issues. Ensure your surge protector is rated correctly and connected securely before moving on to the next step. Don’t forget to plug in the video wall processor (if you have one!) as well.
Step 9: Connecting To A Power Source
When connecting your video wall to a power source, ensure it is properly grounded and that all components have dedicated outlets. This will help ensure that your video wall runs smoothly and safely for years to come. Keep in mind that some video wall processors will require special power cords, so be sure to read the instructions carefully.
Step 10: Enjoy Your Video Wall!
Once you’ve completed all of the steps above, it’s time to start enjoying your new video wall! Test out different images, designs, and videos to get used to how everything looks on your displays and make any necessary adjustments. With some patience and knowledge, you can now enjoy the beautiful visuals of a professionally installed video wall in your business or home.
We hope this blog helped provide all the steps needed how to install a video wall! As always, please contact us if you have any questions or need further advice. We’re here to help you every step of the way and make sure your video wall installation succeeds!
5 Additional Tips and Tricks
1. Make sure you have properly calculated the size and quantity of screens you need for your video wall. This is to ensure that all of the displays will fit within the space required.
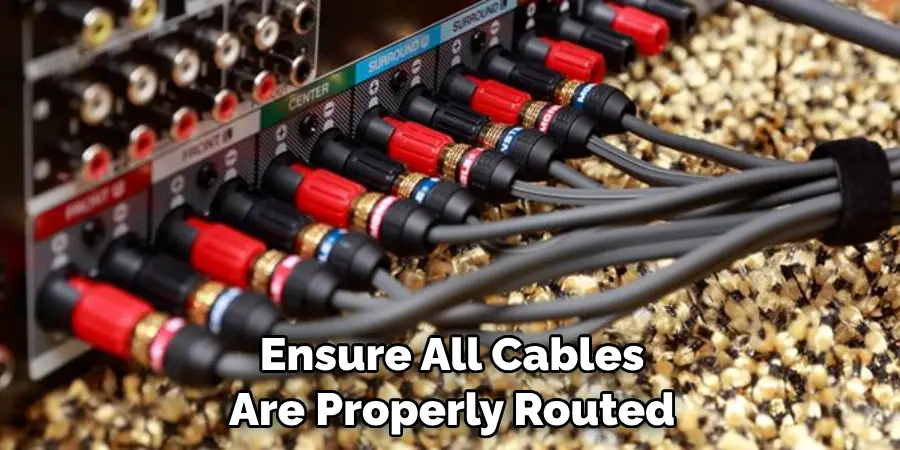
2. ensure all cables are properly routed and connected when installing your video wall. It’s important to install all cables before mounting any monitors or components to avoid any problems in the future.
3. Keep in mind the viewing angle when setting up your video wall; if it’s too high, people may be unable to see it from a comfortable distance, while if it’s too low, its visibility might suffer.
4. Consider setting up multiple access points to control and monitor your video wall from different locations easily.
5. Mounting brackets are essential when installing a video wall; make sure to use the right mounting bracket for each display for the best results. Always check that the bracket is securely installed before placing any monitors on it.
These tips will help you ensure your video wall installation goes smoothly and looks great in the end! With proper planning and preparation, you can create an eye-catching setup that will impress you.
5 Things You Should Avoid
1. Make sure that you don’t forget to calculate the total power requirements when installing your video wall. Having too much or too little power can cause major problems, so plan your setup before beginning properly.
2. Avoid using regular cables and connectors for video wall installations; always use specialized cables designed specifically for this purpose.
3. Don’t overlook the importance of calibrating each display correctly; if one display is brighter than another, it will throw off the entire look of the video wall and detract from its overall impact.
4. Try not to mount displays too close together; adequate spacing between monitors is critical for a successful installation and providing viewers with an optimal viewing experience.
5. Don’t skimp on quality when buying components for your video wall; cheaper materials may have trouble dealing with the heat generated by all of the displays, so make sure to invest in reliable components that will last over time.
Remember these tips while installing your video wall, and you’ll be sure to create an impressive setup that stands out from the rest! Proper planning and careful consideration allow your installation process to go quickly and smoothly.
How Are Video Walls Connected?
Video walls are connected by using specialized cables and connectors. The most common type of cables used for video walls are HDMI, DVI-D, DisplayPort, VGA, and Component Video.
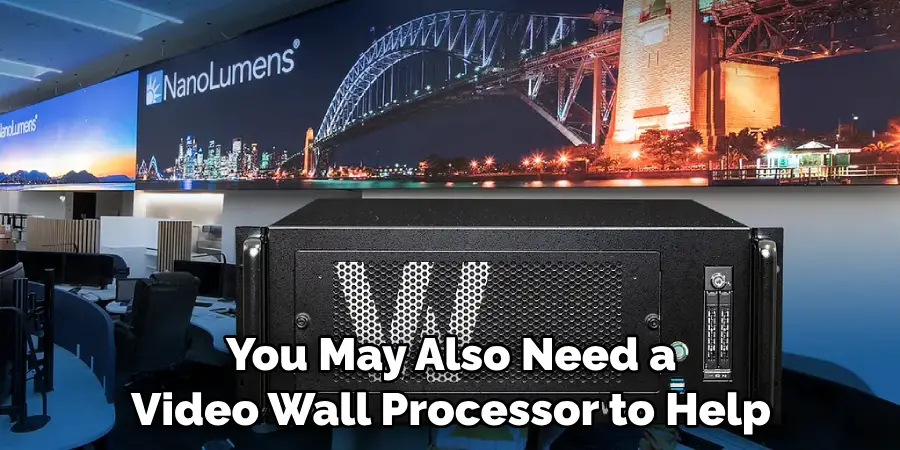
Depending on the number of displays you have in your setup, you must use different cables to connect them all together properly. In addition to these cables, you may also need a video wall processor to help control the visuals and images displayed on the monitors. This device sends the right signals to each monitor to be viewed simultaneously as one large display.
With a video wall processor, you’ll easily adjust brightness levels, colors, and other image settings.
Conclusion
How to install video wall can be an intimidating task, but it is worth the effort. Not only does installing a video wall add an eye-catching addition to any space, but it also allows for versatile media consumption and collaboration. With these steps, you should feel confident tackling this undertaking.
Just remember to plan ahead and consider factors such as weight load capacity to ensure efficient setup and safe operation of the system. If everything goes according to plan, you can sit back and enjoy your new state-of-the-art video wall installation!
To get the most out of your new system, be sure to take it slow when familiarizing yourself with all its features. There’s probably something even more advanced waiting around the corner, so don’t be afraid to brush up on newer models in the future.
By doing so, you can get the very best out of your video wall setup and turn any space into a sophisticated multimedia hub!