
A beautiful old dresser can be the centerpiece of a room, but its charm quickly fades when you have to wrestle with a stuck drawer.

That frustrating jiggle and pull is a common issue with vintage or even just well-used furniture. The good news is that you don’t have to live with it. Fixing sticky drawers is a simple, satisfying DIY project that can restore your furniture’s function and make your daily routine much smoother.
This guide on how to make old dresser drawers slide easier will walk you through everything you need to know to get those drawers gliding effortlessly again.
What Will You Need?
Before you begin, gather these simple tools and materials. Having everything on hand will make the process quick and efficient.
- A vacuum cleaner with a hose attachment
- Clean, dry cloths or rags
- Mild soap and water (optional)
- Sandpaper (medium-grit, around 120-150)
- A candle (paraffin wax), bar of soap, or specialized furniture wax/paste
- Screwdriver (if hardware needs tightening or removal)
- Nylon drawer slide tape (optional, for a more modern solution)
10 Easy Steps on How to Make Old Dresser Drawers Slide Easier
Follow these steps carefully to transform your sticky, stubborn drawers into smoothly gliding components. This process is designed for traditional wood-on-wood drawer systems common in older furniture.

Step 1: Empty and Remove the Drawer
First, empty the drawer you plan to work on. Removing all the contents makes it lighter and easier to handle. Once empty, pull the drawer out of the dresser frame as far as it will go.
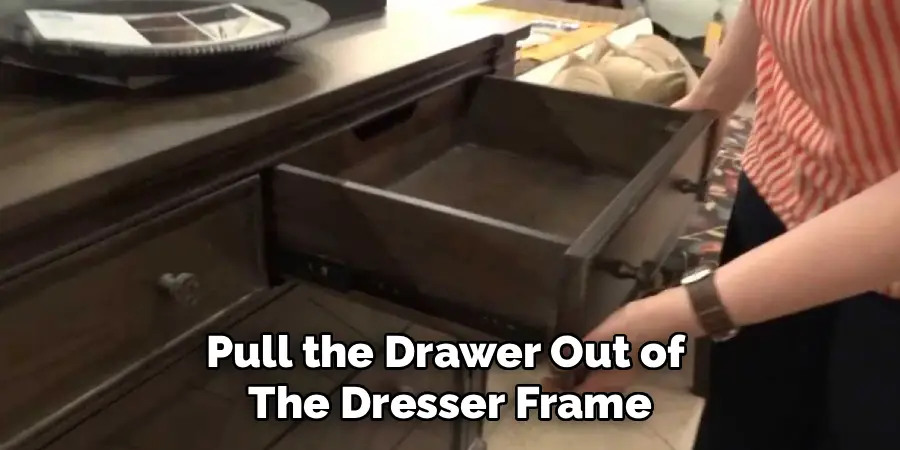
To remove it completely, you may need to lift the front end slightly to clear the small wooden stop, or “kicker,” that prevents it from falling out. Place the drawer on a clean, flat surface where you have room to work.
Step 2: Thoroughly Clean All Contact Points
Over time, dust, grit, and grime build up on the surfaces where the drawer slides. This debris creates friction and is often the primary cause of sticking. Use a vacuum cleaner with a hose and brush attachment to thoroughly clean the inside of the dresser cavity.
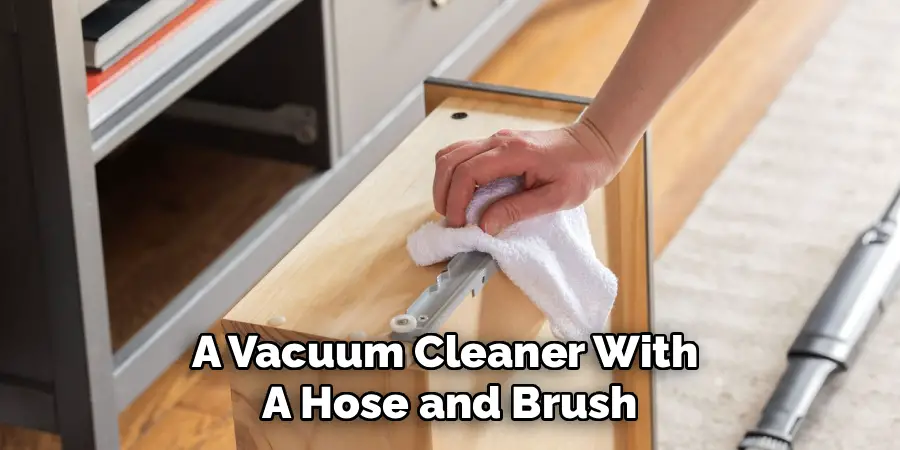
Pay close attention to the tracks or runners on the frame. Next, turn the drawer upside down and vacuum the bottom edges and any grooves that make contact with the frame. For any stubborn, caked-on grime, use a damp cloth with a small amount of mild soap to wipe the surfaces clean, then dry them completely with a clean rag.
Step 3: Inspect for Damage
With all surfaces clean, it’s time for a close inspection. Look for any signs of damage on both the drawer and the dresser frame. Check for splintered wood, deep gouges, or loose joints. On the drawer, examine the bottom edges and the central guide rail, if it has one.
On the dresser frame, inspect the horizontal runners that support the drawer. Also, check for any loose nails or screws that might be snagging the drawer as it moves.
Step 4: Tighten Loose Hardware
If your inspection revealed any loose hardware, now is the time to fix it. Use a screwdriver to tighten any screws on the drawer pulls or handles, as a wobbly handle can cause you to pull the drawer unevenly.

If the drawer has metal slide components, check to see if any screws have come loose and tighten them. Similarly, check the dresser frame for any loose structural components or nails that could obstruct the drawer’s path and secure them.
Step 5: Sand the Sliding Surfaces
Next, address any roughness on the wood-on-wood contact points. Take a piece of medium-grit sandpaper (around 120-grit is ideal) and gently sand all the surfaces that touch. This includes the bottom edges of the drawer and the wooden runners inside the dresser frame.
The goal is not to remove a lot of wood but simply to smooth out any rough patches, splinters, or minor imperfections that could be causing friction. Always sand in the direction of the wood grain to avoid scratching the surface.
Step 6: Wipe Away Sanding Dust
After sanding, you will have created fine wood dust. It is crucial to remove this completely, as it can act like grit and make the sticking problem worse. Use a clean, dry cloth or a tack cloth to wipe down all the surfaces you just sanded.
You can also give the areas another quick pass with the vacuum cleaner to ensure no dust is left behind. The surfaces should feel smooth and be perfectly clean.
Step 7: Lubricate the Contact Points
This is the most important step for achieving a smooth glide. You need to apply a lubricant to reduce friction between the wooden surfaces. You have several great options. The most traditional and easily accessible is a simple wax candle. Rub the candle generously along the bottom edges of the drawer and on the tracks inside the dresser.
A dry bar of soap works in the same way. Alternatively, you can use specialized products like paraffin wax blocks, beeswax sticks, or a clear paste wax designed for furniture. Apply a thin, even layer of your chosen lubricant to all contact points.
Step 8: Work the Lubricant In
Once the lubricant is applied, don’t just put the drawer back. You need to work the wax or soap into the wood grain. Re-insert the drawer into its slot and slide it back and forth several times. You should immediately feel a significant improvement.
This movement helps to distribute the lubricant evenly and creates a slick, low-friction surface. If it still feels a little tight, don’t hesitate to pull the drawer out again and apply another layer of lubricant to any spots that seem to be sticking.
Step 9: Consider Nylon Drawer Tape (Optional)
For a more durable and modern fix, consider using self-adhesive nylon drawer slide tape. This product provides an ultra-smooth plastic surface for the drawer to glide on, virtually eliminating wood-on-wood friction.
To apply it, cut the tape to the length of the wooden runners on the dresser frame. Peel off the backing and press it firmly into place. This is an excellent long-term solution, especially for drawers that are used frequently.
Step 10: Test and Repeat
Finally, re-insert your drawer and test its movement. It should now slide in and out with minimal effort. If you’ve worked on multiple drawers, repeat this process for each one. Regular maintenance, such as reapplying wax every six months to a year, will keep your drawers functioning perfectly and preserve the life of your furniture.
5 Things You Should Avoid
When tackling this project, be mindful of these common mistakes to ensure you get the best results without causing any harm.
- Using Oily Lubricants: Avoid using cooking oil, WD-40, or other petroleum-based lubricants. These can soak into the wood, attract more dust and dirt, and may eventually damage or stain the finish.
- Aggressive Sanding: Do not use a power sander or very coarse sandpaper. The goal is to smooth, not reshape, the wood. Over-sanding can alter the drawer’s fit, making it loose and wobbly.
- Forcing a Stuck Drawer: Never try to force a drawer that is completely jammed. You risk breaking the drawer, the handle, or the dresser frame itself. Instead, investigate the cause—it might be an object that has fallen behind the drawer.
- Ignoring Swollen Wood: If your home is very humid, the wood may have swollen. This is a common cause of sticky drawers. Address the root cause by using a dehumidifier in the room rather than just sanding down the swollen wood.
- Skipping the Cleaning Step: It’s tempting to jump straight to lubrication, but applying wax over a layer of dust and grime will only create a sticky paste that can make the problem worse. A thorough cleaning is essential.
Frequently Asked Questions
What is the Best Thing to Use on Old Wooden Drawers to Make Them Slide?
The best, most traditional, and effective lubricant is paraffin wax, often found in a simple unscented candle. It creates a durable, slick surface without attracting dirt or damaging the wood. A dry bar of soap or specialized furniture paste wax is also an excellent alternatives that provide long-lasting results.
Why Do My Wooden Drawers Get Stuck in the Summer?
Wood naturally expands and contracts with changes in humidity. During humid summer months, wood absorbs moisture from the air and swells. This expansion can make the drawers too tight for their openings, causing them to stick. Using a dehumidifier in the room can help manage this issue.
Can I Add Modern Drawer Slides to an Old Dresser?
Yes, it is possible to retrofit an old dresser with modern ball-bearing or roller slides, but it’s an advanced project. It often requires precise measurements and modifications to the drawer and dresser frame to accommodate the hardware. For most people, lubricating the existing wood-on-wood system is a much simpler and effective solution.
Conclusion
A dresser with drawers that refuse to open properly doesn’t have to be a source of daily annoyance or a candidate for replacement.
As you’ve seen, restoring their smooth function is a straightforward and rewarding task that requires just a little time and a few basic materials. By cleaning, sanding, and lubricating the contact surfaces, you can breathe new life into your old furniture, making it more functional, safe, and beautiful.
Hopefully, the article on how to make old dresser drawers slide easier has given you the confidence and knowledge to tackle this DIY project.