If you are looking for an easy way to add a touch of automation to your home, programming an autonomous desk is the perfect solution. An autonomous desk is essentially a combination of robotic hardware components and code that allows it to move around with minimal input from its user. Not only can this be used as a practical space-saver or multi-use system, but it can also be employed as a decorative and interactive technology feature in any room.

Autonomous desks allow a user to interact with their environment in ways that are both intuitive and unique. With our step-by-step instructions, anyone can program an autonomous desk to make it an invaluable asset while at home or in the office. Now is the best time to learn new coding skills, so why not create your own autonomously operated smart machine? Read on for more information about how to program autonomous desk!
What are the Benefits of an Autonomous Desk?
Autonomous desks have a number of advantages that make them appealing for both practical and leisurely purposes. For starters, they can be used to save space in the home or office since they can move around in small areas that are not accessible by other furniture.
This is especially useful if you work from home and don’t have the luxury of dedicated office space. Autonomous desks can also be programmed to adjust their position when needed, allowing users to switch quickly between activities or tasks without moving furniture around.
Furthermore, autonomous desks can be used as interactive pieces that add a touch of technology and decoration to any living or working area. Programming them for certain movements and light displays can create an environment that is both fun and functional.
What Will You Need?
To program an autonomous desk, you will need the following:
- A computer or laptop with a USB port and coding software.
- The correct cables for connecting the components of the autonomous desk.
- An electric drill, screws, and dowels securely attach the hardware components to the desk’s base.
- Programming code that is compatible with your hardware setup (for example, Python for Raspberry Pi).
Once you have all of these components, you are ready to get started.
10 Easy Steps on How to Program Autonomous Desk
Step 1. Connect the Components:
First, connect the components of your autonomous desk. This includes connecting the motors, sensors, and power supply. Be careful not to mix up the cables, and make sure they are securely connected.
Step 2. Secure the Hardware:
Secure the hardware components of your autonomous desk to the base using screws and dowels. This is necessary for stability and will ensure that your desk can move around as programmed. Because this is a delicate process, it’s best to take your time and double-check all connections.

Step 3. Install Software:
Install the coding software onto your computer or laptop, then upload any necessary packages or libraries for programming the autonomous desk (for example, Python for Raspberry Pi). You can also use a cloud-based platform, such as Microsoft Azure or AWS, to store and manage your code. It is important that you keep the software updated to ensure maximum compatibility with your hardware.
Step 4. Program Code:
Create a program in your chosen language that defines how the desk should respond to input from its sensors and motors. Be sure to include basic instructions such as how much power to apply when moving in different directions, how far it should move before stopping, etc.
Step 5. Test Out Your Code:
Test out your code by connecting the autonomous desk to a power source and running it with the programmed instructions. Adjust your code as necessary until you are satisfied with how it performs. Remember to save your changes before disconnecting the desk from its power source!
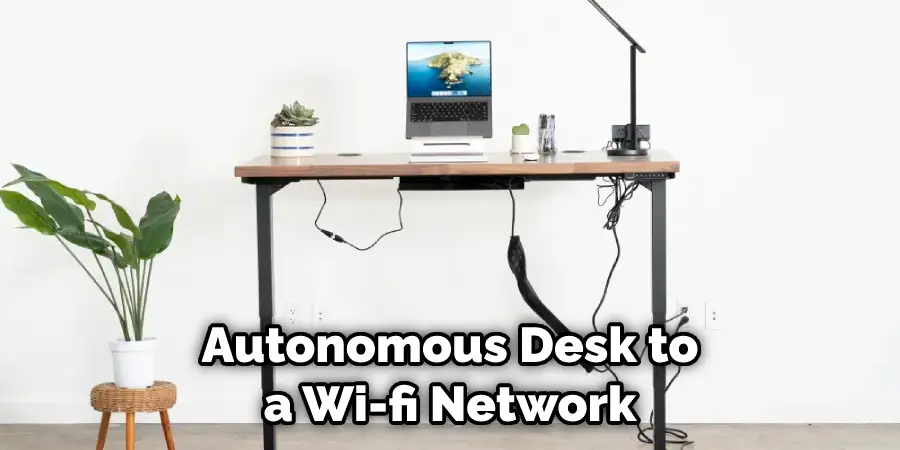
Step 6. Connect Wi-Fi:
Connect the autonomous desk to a Wi-Fi network so that it can receive commands remotely from any compatible device. This will allow you to control its movements from anywhere in your home or office. Be careful to secure the network with a strong password.
Step 7. Add Lights and Sounds:
Add lights, sounds, and other interactive features to your autonomous desk to make it more engaging and entertaining when in use. Use programming languages such as Python for Raspberry Pi to do this. If you want to make it even more advanced, you can equip the desk with voice recognition capabilities.
Step 8. Create Interactivity:
Create interactive programs that allow users to interact with the desk in various ways. For example, how the desk responds when someone approaches it or how it can move around autonomously without being prompted by commands. It is up to you how creative you want to get with this.
Step 9. Save and Run Your Program:
Save your program once you are satisfied with how it works, and then run it on the autonomous desk to see how it performs. Make sure all components are connected correctly before running the program. Otherwise, it may not work as intended.
Step 10. Enjoy!
Finally, enjoy your newly programmed autonomous desk! Use it for practical purposes such as working from home or having fun with its interactive features to make any environment more enjoyable and engaging. With an autonomous desk at your disposal, you can make your living or working space into something truly unique.

Congratulations! You have now successfully programmed an autonomous desk. With the right knowledge and tools, you, too can add a touch of technology to any environment. Have fun and enjoy how simple it is to program the desk for various tasks – from its movement to interactive features.
5 Additional Tips and Tricks
- Utilize Available Resources. There are a variety of tutorials and how-to videos online that can help you get up to speed quickly when it comes to programming an autonomous desk.
- Make sure your code is organized and readable. This may seem like an obvious task, but ensuring your code is neat, concise, and easy to understand will save time in the long run if you ever need to make adjustments or debug any issues you have encountered.
- Don’t Be Afraid to Experiment With Different Coding Languages. It’s important to find the language that works best for you so that programming is more enjoyable in the process.
- Test Your Program. Before fully integrating it into a workspace environment using a simulator – this will help catch any mistakes and help you troubleshoot more efficiently.
- Join Online Communities to Share Your Progress. And ask questions if you run into issues. There are a variety of forums where people who have gone through the same process you’re currently in can offer helpful advice and tips to improve your experience.
By following these tips, you’ll be well on your way to success when it comes to programming an autonomous desk!
5 Things You Should Avoid
- Don’t Forget to Turn Off the Power Supply: It is essential that you always remember to turn off the power supply before making adjustments or tinkering with how your autonomous desk works. This can help prevent electrical shock, malfunctions, and other safety issues.
- Avoid Programming Too Many Features at Once: When it comes to programming an autonomous desk, try not to overload yourself with too many features all at once. Programming one feature at a time will make sure everything is properly set up and running smoothly.
- Take Your Time When Setting Up: If you rush through how to program an autonomous desk, chances are you’ll end up with glitches in how it functions or worse — complete system failure! Always take your time to double-check how everything is set up, as this can help you save a lot of headaches in the long run.
- Keep the Desk Clear of Objects: Make sure that desks and other surfaces around your autonomous desk are kept free from clutter. This will help make it easier for the autonomous system to move without any obstacles getting in its way.
- Avoid Using Outdated Technology: If you’re using an older model when programming how an autonomous desk works, be aware that it may not be able to handle all the features available on newer models. It’s important to check compatibility before using outdated technology with how an autonomous desk functions.

Following these simple tips can help ensure that how you program an autonomous desk goes as smoothly as possible. It’s important to remember that how an autonomous desk works is only as efficient and reliable as how it is programmed.
Conclusion
Programming an autonomous desk is an exciting prospect. Not only does a computerized desk make it easier to adjust someone’s workspace based on their preferences, but it also creates more efficient workflows and can save a business both time and money.
However, programming such a complicated piece of equipment can be daunting, particularly for those with less technical experience. Fortunately for those without any coding background, several options exist that make it possible to customize the desk without needing to write any code.
With these tools in hand, anybody can create an exciting and individualized workspace that will maximize efficiency and productivity. Hopefully, the article on how to program autonomous desk has given you the knowledge and confidence to create your own unique workspace.