Thanks to this article on how to raise desk chair height, there is no need to suffer from a bad back anymore. With just a few simple steps, you can have your chair at the perfect height for your body and sit comfortably all day long. Keep reading for tips and tricks to customize your chair to fit you perfectly!
We all know that sitting down for long periods is not suitable for our health, but sometimes we can’t help it. For example, if you have a desk job or like to work at your computer in your free time, you know how important it is to have a comfortable chair.
But what happens when your chair is too low, and your back starts to hurt? Or what if you are too tall for your chair and your feet don’t reach the ground? This is where knowing how to raise desk chair height comes in handy!
Why It Is Essential to Adjust the Desk Chair’s Height
The desk chair’s seat should be at a height where the feet are flat on the ground and the thighs are parallel to the floor. The general rule of thumb is to sit in the chair and have a 2-finger gap between the front edge of the seat and the back of your knees.
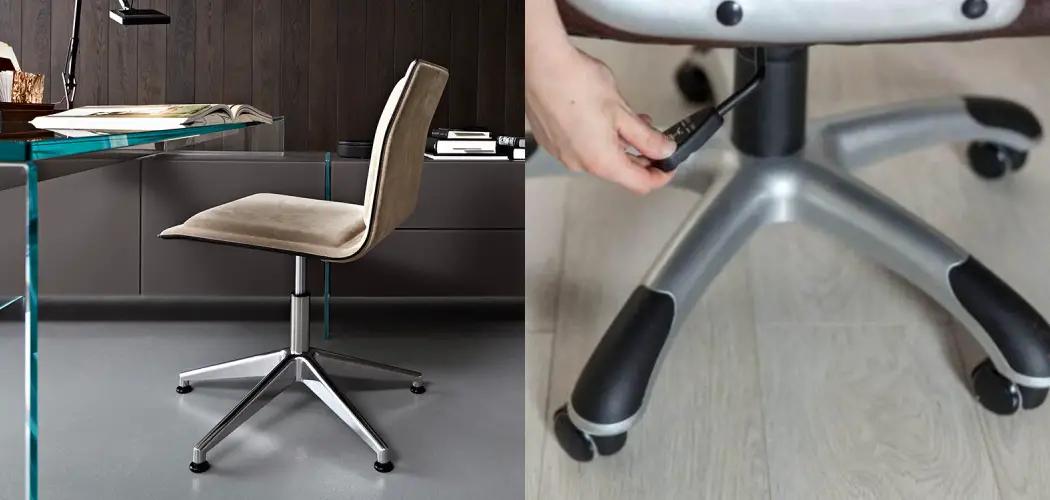
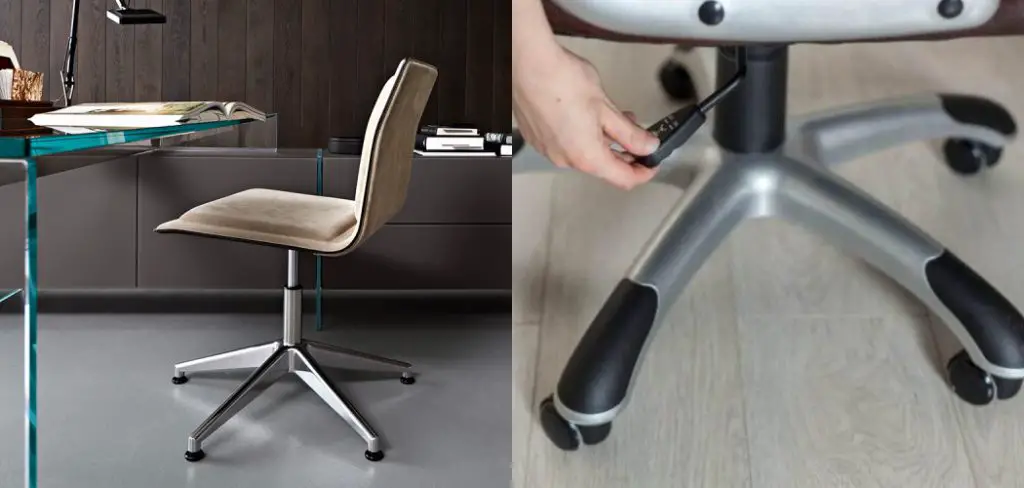
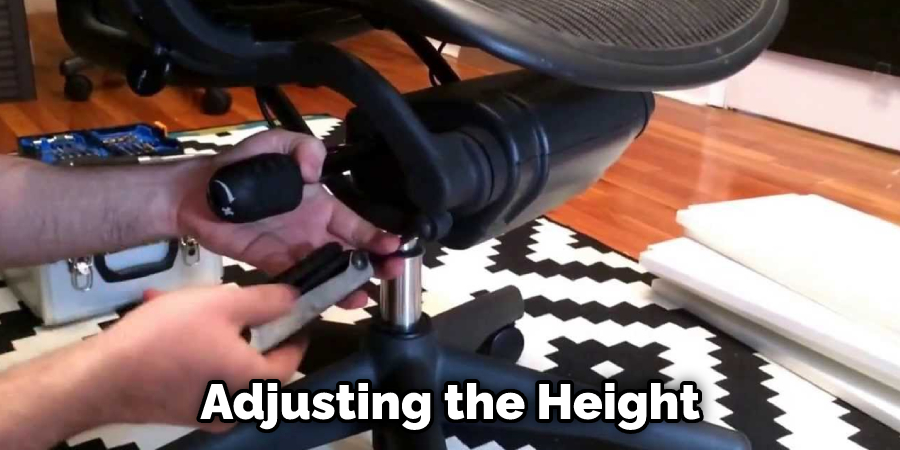
To adjust the height of most chairs, there is a gas lift beneath the seat that you can press down on to lower the chair or pull up on to raise it. Once you’ve found your ideal height, make sure to adjust the backrest to support your lower back.
Having your desk chair at the right height is essential because it helps improve your posture and prevent back pain. For example, when sitting in a chair that’s too low, you may hunch over your desk, which can lead to rounded shoulders and neck pain.
On the other hand, if your chair is too high, you may end up slouching in your seat, which puts strain on your lower back. By adjusting your desk chair to the proper height, you can help yourself stay comfortable and avoid any potential health issues.

A Detailed Guide on How to Raise Desk Chair Height
Method 1: Use a Footrest
A footrest is a small, elevated platform on which you can place your feet while sitting in a chair. It raises your feet off the ground, which increases your legs and hips, and ultimately helps to improve your posture.
There are many different types of footrests available on the market. Still, this article will focus on two of the most popular: adjustable and non-adjustable.
Adjustable footrests are great because they allow you to customize the height of the platform to suit your needs. Non-adjustable footrests, on the other hand, are fixed at one height and cannot be adjusted.
If you decide to go with an adjustable footrest, get one that is sturdy and won’t wobble when you put your feet on it. You also want to ensure that the platform is large enough to fit your feet comfortably.
Step 1: Choosing the Right Footrest
The first step is to choose the right footrest for your needs. If you’re unsure which one to get, ask a salesperson for help or look for reviews online.
Once you’ve decided on a footrest, the next step is to determine the best way to use it.
Step 2: Adjusting the Height of the Footrest
If you have an adjustable footrest, the next step is to adjust the height of the platform. To do this, loosen or tighten the knob or lever that controls the height.
When adjusting the height, make sure that the platform is at a comfortable level for you. It should be high enough to elevate your feet but not so high that your legs are at an awkward angle.
If you’re using a non-adjustable footrest, skip this step.
Step 3: Putting Your Feet on the Footrest
Once you’ve adjusted the height of the platform, it’s time to put your feet on the footrest. To do this, place your feet on the platform and make any final adjustments.
You may need to experiment with different positions to find the one most comfortable for you. For example, you might prefer to have your feet parallel or slightly apart.
Once you’ve found a comfortable position, make any final adjustments to the height of the platform.
Step 4: Enjoying Your Improved Posture
Once you’ve placed your feet on the footrest, you should notice an improvement in your posture. Your hips and legs will be elevated, taking pressure off your lower back.
You may also find that it’s easier to breathe when your legs are elevated. This is because the elevation helps open up your chest and allows more room for your lungs to expand.
If you have an adjustable footrest, you can experiment with different heights to find the one that is most comfortable for you.
Step 5: Using the Footrest as Needed
You can use the footrest as often or as little as you like. If you find that your posture improves after using it for a while, you can start to use it less frequently.
On the other hand, if you find that your posture deteriorates when you stop using the footrest, you can start to use it more often.
Method 2: Use a Lumbar Support
If you spend a lot of time sitting, you may find that your lower back starts to hurt. This is because your spine is not in its natural alignment when you’re sitting down.
Lumbar support can help alleviate this pain by supporting your lower back and keeping your spine in its natural alignment.
There are many different types of lumbar supports available on the market, but for this article, we will focus on two of the most popular styles:
- Lumbar supports that attach to the back of your chair
- Lumbar supports that you can wear
Step 1: Determine Which Type of Lumbar Support You Need.
If you spend a lot of time sitting in one particular chair, it may be more convenient for you to get lumbar support that attaches to the back of your chair. These supports typically have adjustable straps that allow you to customize the fit.
On the other hand, if you don’t have a specific chair that you use most of the time, or if you switch between sitting and standing throughout the day, then wearable lumbar support may be ideal for you. These supports are usually made from breathable materials and can be easily removed when not needed.
Step 2: Choose the Right Size.
When choosing lumbar support, it’s essential to make sure that you select the correct size. If the support is too big, it may not be very comfortable to wear. And if it’s too small, it may not provide sufficient support for your lower back.
Step 3: Place the Lumbar Support in the Correct Position.
Once you have your lumbar support, placing it in the correct position is essential. For lumbar support that attaches to the back of your chair, you should adjust the straps so that the reliance is placed right above your waistline.
For wearable lumbar support, you should position it, so it sits snugly against your lower back.
Step 4: Enjoy Your Newfound Comfort!
By following these steps, you can easily find the perfect lumbar support to help relieve pain in your lower back. With a little trial and error, you’ll be able to find a position that feels comfortable for you and provides the support you need.
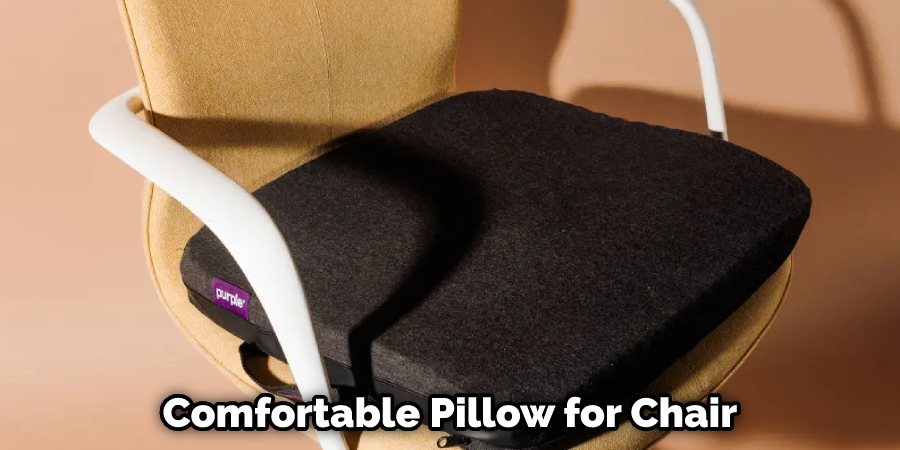
Method 3: Sit on a Pillow
If you don’t have an adjustable office chair, you can still do a few things to improve your seating position. One option is to sit on a pillow. This will help raise your hips and bring you closer to your work surface level.
Pillows come in various sizes and shapes, so it’s essential to choose one that will be comfortable for you to sit on for extended periods. A good rule of thumb is selecting a pillow roughly the same size as your seat cushion. You may also consider investing in a lumbar support pillow to help keep your back correctly aligned while sitting.
Step 1: Determine What Size Pillow You Need
The first step is to determine what size pillow you need. A good rule of thumb is selecting a pillow roughly the same size as your seat cushion. If you are unsure, you can always measure your seat cushion and use that as a guide.
Step 2: Select a Comfortable Pillow
Once you know what size pillow you need, it’s time to select a comfortable one. A wide variety of pads are available on the market, so take some time to find one that suits your needs. Consider things like the pillow’s firmness and whether or not you want it to be hypoallergenic.
Step 3: Place the Pillow on Your Chair
Once you have your pillow, it’s time to put it on your chair. The best way to do this is to place it in the center of your seat cushion and sit down on it. You may need to adjust the pillow a few times to get it positioned correctly, but once you have it where you want it, you’re ready to start working.
If you spend a lot of time sitting at a desk, you know that discomfort can set in pretty quickly. One way to combat this is by raising the height of your desk chair. This can be done in several ways, but one of the simplest is using a pillow. By following the steps above, you can easily add a bit of extra height to your chair, making it more comfortable to work at your desk.
Conclusion
If you are having difficulty raising your desk chair height, it is best to consult with a professional. A furniture specialist can help identify the issue and recommend a solution. Frequently, all that is needed is a simple adjustment to the desk chair’s height. We hope this article on how to raise desk chair height will help you. Thanks for reading!