In this blog post, we are going to walk you through the process of how to take apart office chair cylinder. This can be a great way to fix a squeaky office chair or clean it out if it’s accumulated dust and dirt over time. Although the process may seem daunting initially, it’s quite simple and only takes a few minutes to complete. So, if your office chair needs some TLC, read on for instructions on how to take it apart.

Why It’s Important to Take Apart Your Office Chair Cylinder
Before we jump into the nitty-gritty of how to take apart your office chair cylinder, it’s important to understand why this process is so important. Office chair cylinders are designed to be durable and long-lasting, but they can still become damaged over time. The most common type of damage is due to wear and tear, which can cause the cylinder to become squeaky or difficult to adjust.
Additionally, dust and dirt can build up inside the cylinder, making it difficult for the chair to operate smoothly. Taking apart your office chair cylinder regularly will help ensure that it stays in good condition and continues to work properly. If you notice any damage, it’s important to take action immediately to fix the problem before it gets worse.
Things You’ll Need
To take apart your office chair cylinder, you will need the following items:
- A screwdriver
- A hammer
- A pry bar
- A bucket or other container
- A rag
- Soap and water (optional)
Step by Step How to Take Apart Office Chair Cylinder
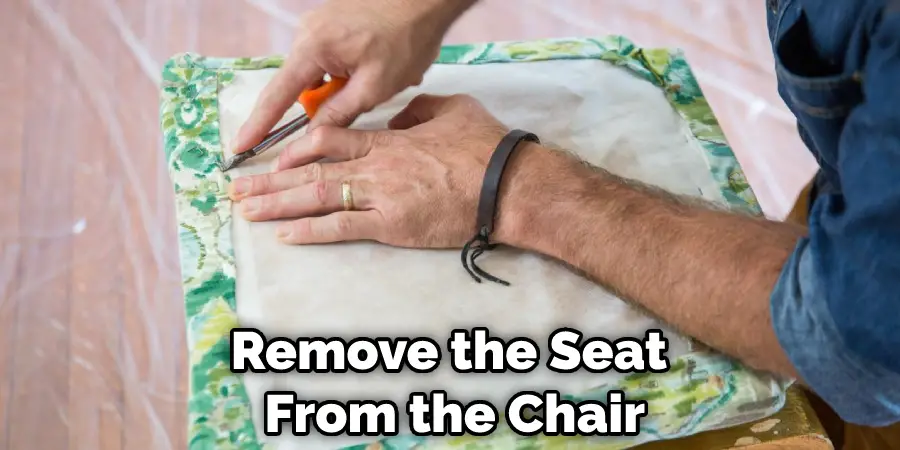
1. Remove the Seat From the Chair.
The first step is to remove the seat from the chair. To do this, locate the screws that hold the seat in place and remove them with a screwdriver. Once the screws are removed, you should be able to lift the seat off of the chair. If the seat is stuck, you may need to use a pry bar to loosen it.
2. Unscrew the Cylinder Cover.
Once the seat is removed, you will see the cylinder cover. The cover is typically held in place by two screws. Use a screwdriver to remove the screws and set the cover aside. To do this, look for the manufacturer’s logo or name on the cover. There should be a small hole next to the logo. Insert the tip of the screwdriver into the hole and turn it clockwise to loosen the screws. If the cover is not labeled, look for two small holes on opposite sides of the cover.
3. Unscrew the Cylinder Base.
The next step is to remove the cylinder base. The base is located at the bottom of the chair and is typically held in place by four screws. Use a screwdriver to remove the screws and then lift off the base. To do this, you will need to unscrew the cylinder base from the chair. Again, the base is located at the bottom of the chair and is typically held in place by four screws.
4. Remove the Piston From the Cylinder.
The piston is located inside the cylinder and is attached to the gas lift. To remove it, unscrew the gas lift from the base of the chair. Once the gas lift is removed, you should be able to pull the piston out of the cylinder. If the piston is stuck, you can use a pry bar to loosen it.
5. Remove the Gas Lift From the Chair.
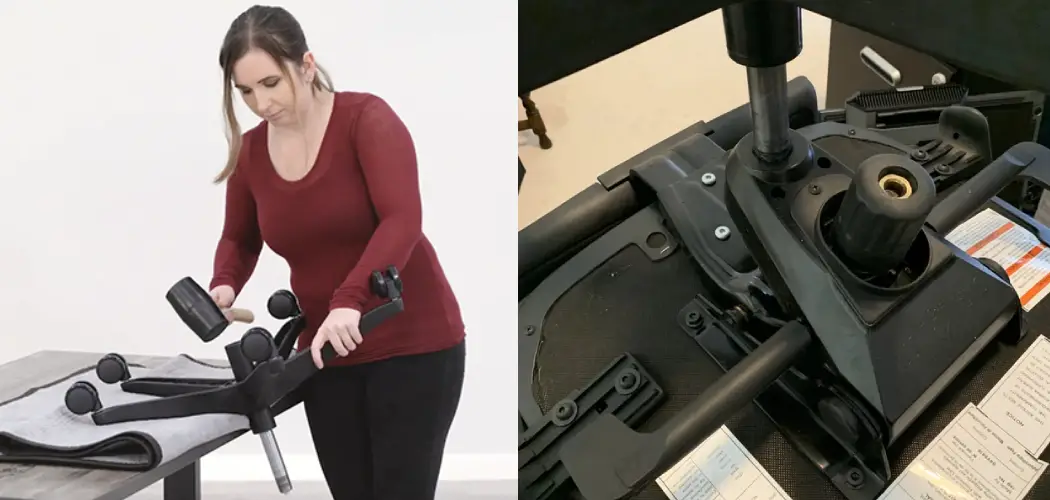
The gas lift is located at the bottom of the chair and is attached to the piston. To remove it, unscrew the gas lift from the base of the chair. Then, use a flathead screwdriver to pry the gas lift out of the piston. If the gas lift is stuck, you can try spraying it with WD-40 or heating it up with a hair dryer.
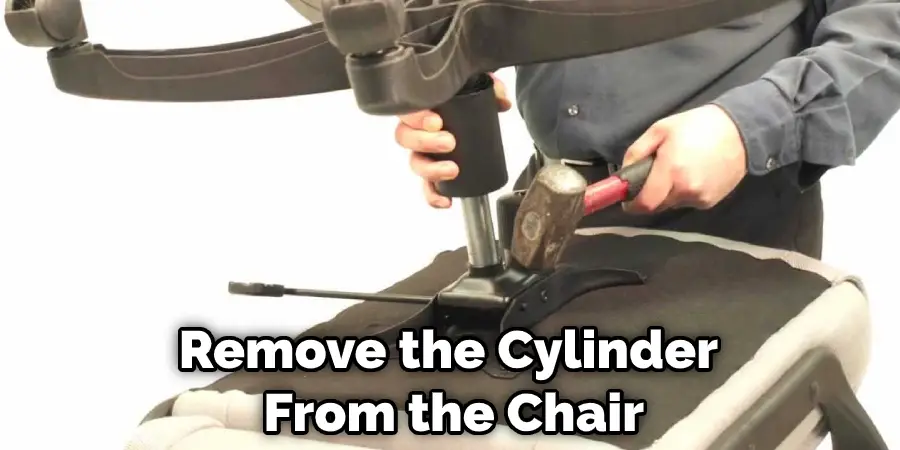
6. Remove the Cylinder From the Chair.
The cylinder is located at the bottom of the chair and is attached to the base. To remove it, first, unscrew the cylinder from the base. Then, remove the piston from the cylinder by unscrewing it. Finally, pull the cylinder out of the chair. If the chair has a gas lift, the gas lift may also need to be removed.
7. Inspect the Cylinder.
Once you have removed the cylinder from the chair, take a look at it to see if there is any damage. If the cylinder is damaged, you will need to replace it. Otherwise, proceed to the next step. Cylinder damage can include cracks, dents, or scratches.
8. Clean the Cylinder.
If the cylinder is not damaged, you can clean it with soap and water. You can also use a mild cleaner such as rubbing alcohol. First, remove any dirt or debris from the surface of the cylinder. Then, wet a rag with your chosen cleaner and wipe down the cylinder. Be sure to rinse the cylinder off with water when you’re finished.
9. Dry the Cylinder.
Once you have cleaned the cylinder, be sure to dry it off completely. You can use a rag or a paper towel for this. Wet cylinders can cause rusting, so it’s important to make sure the cylinder is completely dry before moving on. If you’re in a hurry, you can also use a hairdryer to speed up the drying process.
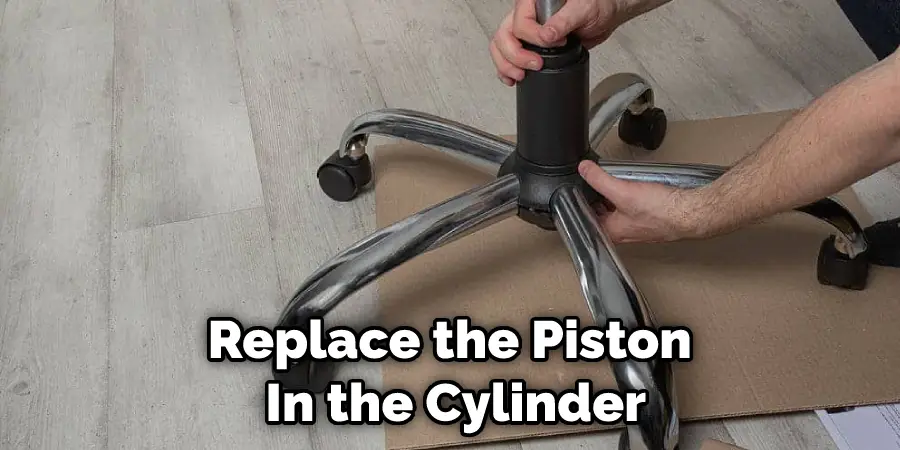
10. Reassemble the Chair.
Once the cylinder is dry, you can begin to reassemble the chair. First, replace the piston in the cylinder and screw it in place. Next, screw the base of the chair back into the cylinder. Finally, reattach the seat and any other parts that were removed. Your chair should now be as good as new. If you have any questions or concerns, be sure to consult the owner’s manual.
How Much Does Office Chair Cylinder Replacement Cost?
The cost of office chair cylinder replacement will vary depending on the type of chair you have and where you have it done. Typically, the cost will be between $50 and $100. However, it’s always best to check with your specific chair manufacturer for an accurate estimate. If you need to replace the gas lift on your chair, the cost will be between $10 and $20.
How Often Should I Replace My Office Chair Cylinder?
It’s generally recommended that you replace your office chair cylinder every two to five years. However, this will vary depending on your chair type and how often you use it. If you notice any damage to the cylinder, such as cracks or dents, it’s best to replace it as soon as possible.
Tips and Warnings on How to Take Apart Office Chair Cylinder
Tips:
1. Always use the right tools when taking apart your office chair cylinder. The wrong tools can damage the chair and make it more difficult to put back together.
2. Be careful not to lose small parts when taking apart your office chair cylinder. These parts are essential for the proper chair functioning and can be difficult to replace if lost.
3. Make sure to take note of how the parts are assembled before taking apart your office chair cylinder. This will make it easier to put back together and avoid any mistakes.
Warnings:
1. Never force any parts when taking apart your office chair cylinder. If a part is stuck, gently try to loosen it with another tool before giving up and taking the chair to a professional.
2. Avoid using power tools when taking apart your office chair cylinder. These can damage the chair and make it more difficult to put back together.
3. Be careful not to strip any screws when taking apart your office chair cylinder. This will make it more difficult to put the chair back together and can damage the parts.
Conclusion
Now that you know how to take apart office chair cylinder, it’s time for you to start the repair. Be sure to have all of your tools and replacement parts ready before getting started. If you have any problems or questions, feel free to reach out to us for help. We’re always happy to assist our customers in whatever way we can. Thanks for following along with us today as we showed you how to take apart an office chair cylinder!