
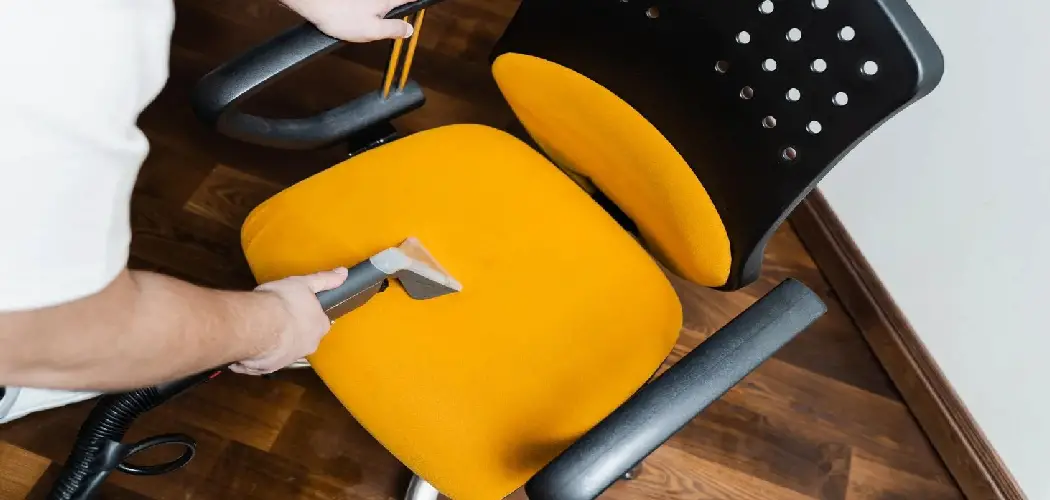
Your desk chair is one of the most used pieces of furniture in your home or office, yet it rarely makes the cleaning list. Over time, sweat, skin oils, food crumbs, and dust build up on the seat, backrest, and armrests — often without you even noticing. That gradual buildup affects both hygiene and the appearance of your workspace.
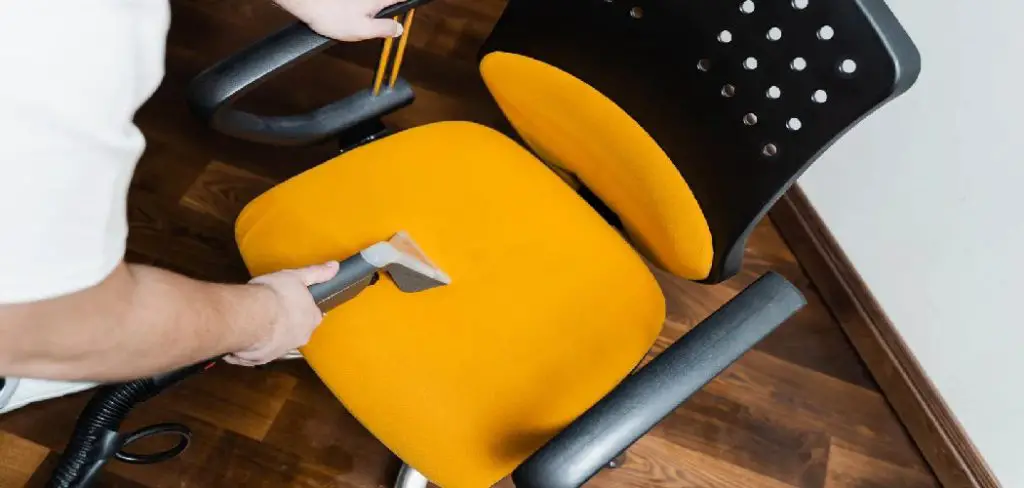
Knowing how to clean desk chair surfaces properly keeps your chair looking good, smelling fresh, and lasting longer. It also reduces the amount of bacteria and allergens you’re exposed to every single day while you work. Whether your chair is fabric, mesh, leather, or faux leather, the process is straightforward and doesn’t require expensive products.
Why Cleaning A Desk Chair Matters
Most people clean their desks, keyboards, and floors regularly but skip the chair entirely. That’s a problem, because the average office chair is used for six to eight hours a day, five days a week. That’s a lot of contact time for bacteria, allergens, and grime to accumulate on a single surface.
A dirty chair can contribute to skin irritation, respiratory issues from dust buildup, and persistent odors that make your workspace unpleasant. On a practical level, neglected upholstery breaks down faster — fabric frays, foam compresses unevenly, and leather cracks when it’s not maintained. Regular cleaning extends the life of your chair significantly, protecting your investment whether it’s a basic office model or a high-end ergonomic seat. A clean chair also simply makes your workspace feel more professional and comfortable to spend time in every day.
Step-By-Step Guide To How To Clean Desk Chair
Step 1: Check The Care Label And Identify Your Chair Material
Before applying any cleaning product, locate the care label on your chair — typically found on the underside of the seat cushion. This label uses standard codes: “W” means water-based cleaners are safe, “S” means solvent-only cleaners should be used, “W/S” allows both, and “X” means vacuuming only with no liquid cleaners.

Identifying your chair’s material is equally important. Fabric, mesh, leather, faux leather, and vinyl all respond differently to cleaning agents. Using the wrong product can cause discoloration, staining, or damage to the upholstery. Take sixty seconds to check both the label and the material before you start — it saves you from costly mistakes and ensures the cleaning process actually works.
Step 2: Gather Your Cleaning Supplies
Having everything ready before you start makes the process faster and more consistent. For most fabric or mesh chairs, you’ll need a vacuum with an upholstery attachment, a spray bottle, mild dish soap or upholstery cleaner, warm water, microfiber cloths, and a soft-bristled brush. For leather or faux leather, swap the upholstery cleaner for a leather-safe cleaner and add a leather conditioner for the final step.
Avoid using bleach, harsh chemical sprays, or abrasive scrubbers on any chair material. These products can strip protective coatings, fade color, and weaken fabric fibers over time. Stick to gentle, purpose-appropriate cleaners and you’ll get great results without risking damage to the chair’s surface or structure.
Step 3: Vacuum The Entire Chair First
Start every cleaning session with a thorough vacuuming before applying any liquid. Use an upholstery attachment to go over the seat, backrest, armrests, and the gaps between cushion edges and the chair frame. These crevices trap crumbs, hair, dust, and debris that would turn into muddy smears if you applied cleaner over them.
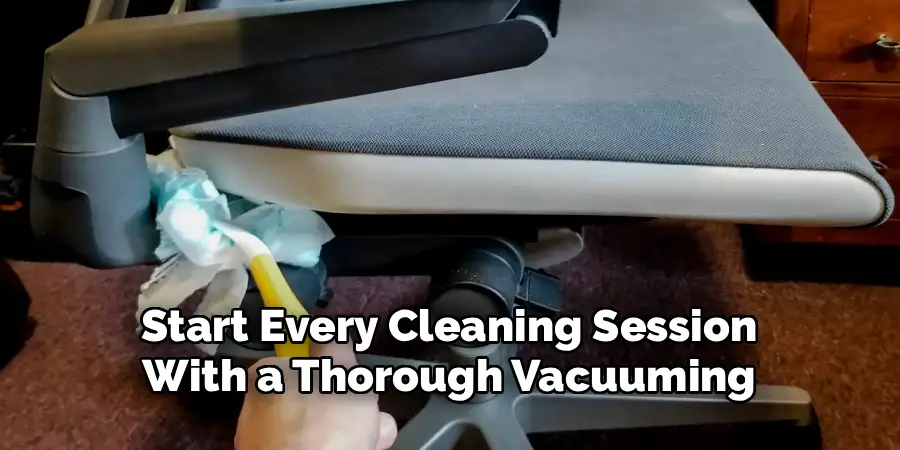
Pay extra attention to the seams and stitching lines on fabric chairs, as well as the small perforations on mesh backrests. A crevice tool or a soft brush attachment works well for these tighter areas. Vacuuming first also lifts loose fibers and fluffs the fabric slightly, making the deep-cleaning steps that follow significantly more effective on embedded dirt and oils.
Step 4: Spot-Treat Stains Before A Full Clean
Address any visible stains before you do an all-over clean. Mix a small amount of mild dish soap with warm water in a spray bottle and lightly mist the stained area — don’t saturate it. Gently work the solution into the stain using a soft cloth or brush, moving from the outer edge inward to prevent spreading.
Blot rather than scrub, as aggressive rubbing can push the stain deeper into the fabric or damage the surface fibers. For older or stubborn stains, a dedicated upholstery stain remover is a better choice than increasing the amount of soap you’re applying. Allow the spot-treated areas to sit for two to three minutes before moving on to the full surface cleaning step.
Step 5: Clean The Seat And Backrest
This is the core of the process when you want to know how to clean desk chair upholstery properly. For fabric chairs, lightly mist the entire seat and backrest with your cleaning solution and work it in gently using a microfiber cloth in circular motions. Avoid over-wetting — the fabric should feel damp, not soaked.
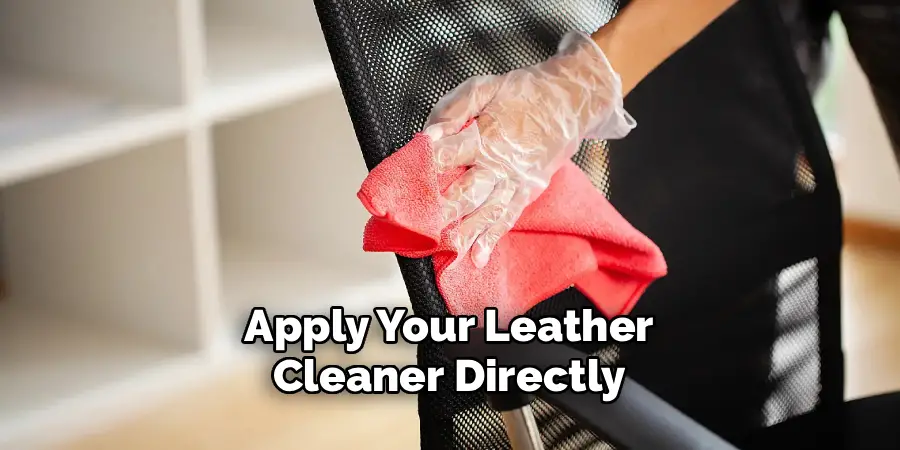
For leather or faux leather chairs, apply your leather cleaner directly to the cloth rather than spraying it onto the surface, then wipe in long, even strokes following the grain of the material. After cleaning, use a separate damp cloth to wipe away any soap residue. Leaving cleaner on the surface can attract more dirt over time, so a clean rinse wipe is always worth doing.
Step 6: Wipe Down The Frame, Armrests, And Base
The hard surfaces of your chair — the plastic or metal frame, armrests, adjustment levers, and five-star base — collect grime just as much as the upholstery does. These areas are touched constantly and often overlooked during cleaning. A damp microfiber cloth with a small amount of all-purpose cleaner handles most of the buildup efficiently.
Pay attention to the armrest tops and any textured plastic surfaces, as these trap oils and residue in their surface texture. Use a cotton swab or soft toothbrush to get into the recessed areas around buttons and adjustment mechanisms. Wipe the caster wheels and the underside of the base as well — dust accumulates heavily there and can eventually affect how smoothly the chair rolls across your floor.
Step 7: Allow The Chair To Dry Completely
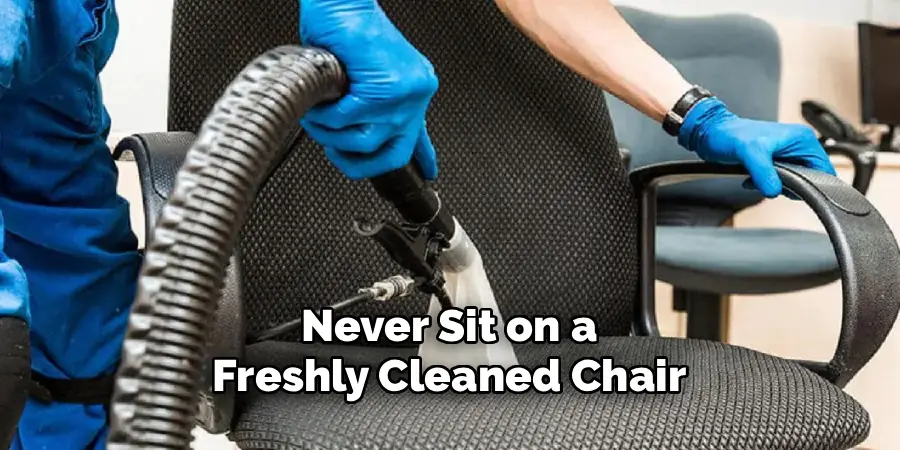
Never sit on a freshly cleaned chair before it’s fully dry, especially if the upholstery is fabric. Moisture trapped under your weight can encourage mildew growth and create unpleasant odors. Place the chair in a well-ventilated area or near a fan and allow at least two to four hours of drying time, or longer for heavily saturated fabric.
For leather chairs, apply a leather conditioner once the surface is dry to restore moisture and prevent cracking. This final step is what separates a basic clean from a genuinely thorough one. Understanding how to clean desk chair materials at this level — including the finishing care — keeps your chair in excellent condition for years rather than months. Check the chair once fully dry for any missed spots before returning it to use.
Frequently Asked Questions
How Often Should I Clean My Desk Chair?
A light clean — vacuuming and wiping down hard surfaces — is worth doing every one to two weeks for a regularly used chair. A deeper clean involving upholstery washing and conditioning should be done every one to three months depending on how much the chair is used. High-traffic chairs in office environments may need monthly deep cleaning to stay hygienic and presentable throughout the year.
Can I Use A Steam Cleaner On My Desk Chair?
Steam cleaners work well on fabric and mesh chairs and are effective at killing bacteria without chemicals. However, avoid using steam on leather or faux leather, as the heat and moisture can cause cracking and warping. Always check your chair’s care label first, and keep the steam head moving rather than holding it in one place to prevent heat damage to the upholstery fibers.
What Is The Best Way To Remove Sweat Stains From A Fabric Chair?
A mixture of equal parts white vinegar and water applied with a clean cloth works well on sweat stains. Apply it gently to the affected area and let it sit for five minutes before blotting dry. For more stubborn staining, a dedicated enzyme-based upholstery cleaner breaks down the organic compounds in sweat more effectively than standard soap solutions without damaging the fabric.
How Do I Get Rid Of A Bad Smell From My Office Chair?
Sprinkle a light layer of baking soda over the upholstery and leave it for at least thirty minutes — or overnight for stronger odors — before vacuuming it off thoroughly. Baking soda neutralizes rather than masks odors, making it far more effective than air fresheners. For persistent smells, a light mist of diluted white vinegar followed by proper drying also eliminates odor-causing bacteria from the fabric surface.
Will Cleaning Products Damage The Color Of My Chair?
Using the correct product for your specific material minimizes any risk of color change. Always test any new cleaner on a small, hidden area of the chair — such as the back of the seat base — and wait a few minutes before checking for discoloration. Avoid high-alcohol products on colored fabric and harsh solvents on dyed leather, as both can cause fading or uneven patches when applied without testing first.
Conclusion
A clean desk chair makes your workspace healthier, more comfortable, and more professional to spend time in. The key steps are simple: check your material, vacuum first, treat stains early, clean each surface with the right product, wipe down the hard components, and always let everything dry fully before use.
Make it a habit to vacuum your chair weekly and do a full clean every month or two. Once you know how to clean desk chair surfaces correctly — upholstery, frame, armrests, and all — it becomes a quick and confident routine rather than an overlooked chore. Your chair is worth the effort, and your workspace will be noticeably better for it.
