
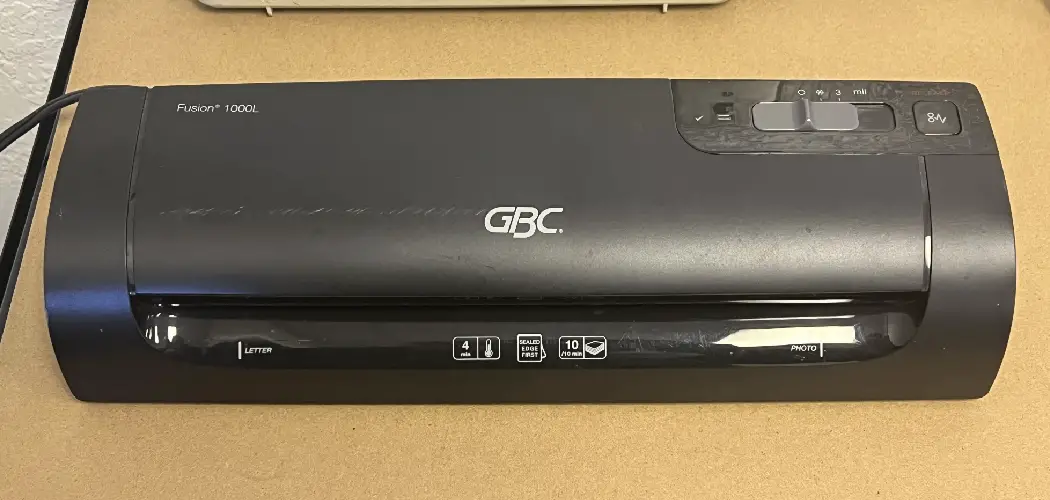
A laminator jam always seems to happen at the worst possible moment — right before a presentation, during a busy print run, or when you’re trying to protect an important document. The machine stops, the pouch gets stuck, and suddenly a simple task turns into a frustrating standstill.
The good news is that most jams are completely fixable without calling a technician. Knowing how to fix a jammed office laminator saves you time, protects your equipment, and gets your workflow back on track within minutes. This guide covers everything you need: from powering down safely to clearing the jam, cleaning the rollers, and preventing the problem from happening again.
Whether you’ve never touched a laminator before or you’ve just run into this problem for the first time, these steps will walk you through the process clearly and confidently
Why Laminator Troubleshooting Matters
A jammed laminator doesn’t just interrupt one task — it can stall an entire office workflow, especially when laminators are shared across departments. Understanding how to troubleshoot and clear jams quickly keeps downtime to a minimum and extends the life of the machine.
Laminators that are left jammed or forced open without proper care can suffer damaged rollers, warped heating elements, or torn pouches that are difficult to remove. These issues lead to costly repairs or full replacements that could easily have been avoided.
Learning basic troubleshooting also reduces dependence on external support. Instead of waiting for IT or a repair technician, you or a colleague can resolve most jams in under ten minutes. That kind of self-sufficiency improves confidence, reduces frustration, and keeps shared equipment in better condition over time. Prevention strategies learned during troubleshooting also help reduce how often jams occur in the first place.
Step-By-Step Guide To Fixing A Jammed Office Laminator
Step 1: Turn Off The Machine Immediately
The moment you notice a jam, switch the laminator off. Continuing to run the machine while a pouch is stuck puts excessive strain on the rollers and can cause the film to melt further onto the heating elements, making removal much harder.
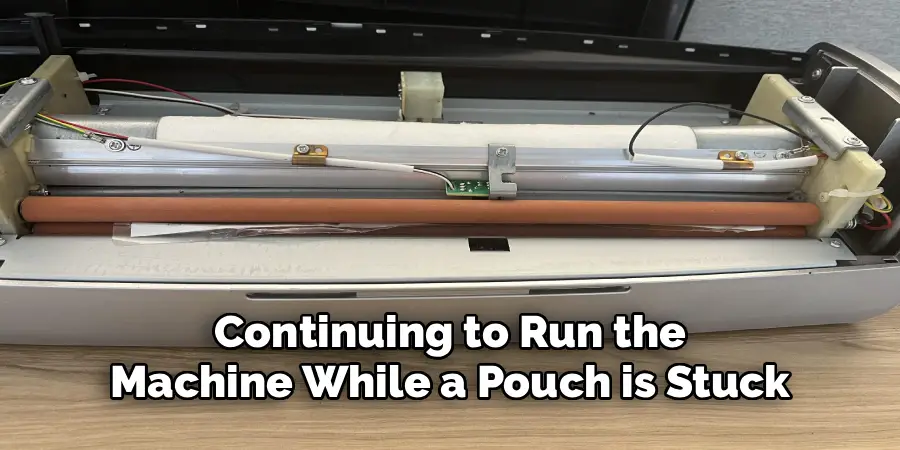
Once the machine is off, unplug it from the wall outlet before you do anything else. This prevents accidental restarts and allows the rollers to cool down safely. Most laminators retain heat for several minutes after being switched off, so give it at least five to ten minutes before opening any panels or attempting to touch internal components.
Step 2: Let The Rollers Cool Down Completely
Attempting to remove a jammed pouch while the rollers are still hot is one of the most common mistakes people make. Hot rollers can burn your hands, and the softened laminate film is far more likely to tear and leave fragments stuck inside the machine if pulled while warm.
Wait until the exterior of the machine feels cool to the touch before proceeding. If your model has a temperature indicator light, wait until it signals that the machine has fully cooled. Patience at this stage prevents the jam from becoming significantly worse and protects both you and the equipment from unnecessary damage.
Step 3: Use The Reverse Function If Available
Many modern office laminators include a reverse function — often labeled “Rev” or marked with a backward arrow on the control panel. This feature is designed specifically for situations where a pouch gets stuck mid-feed, and it’s often the quickest way to resolve a straightforward jam.
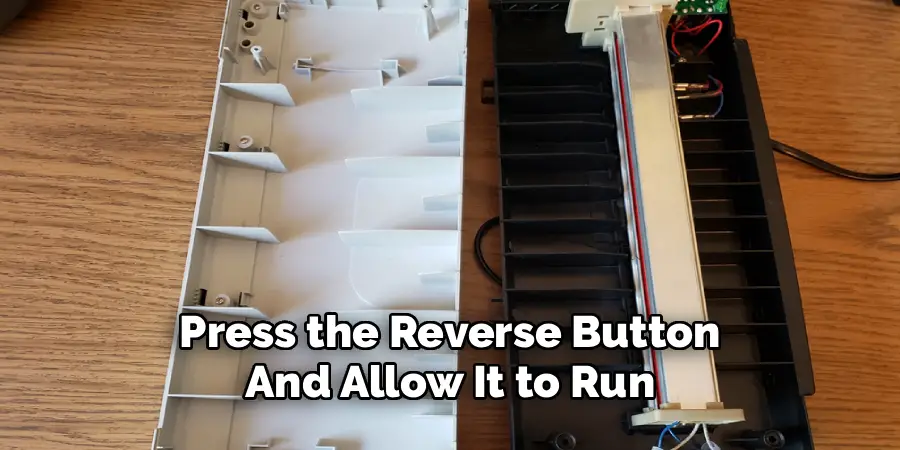
With the machine cooled and still powered on, press the reverse button and allow it to run for several seconds. The rollers will spin backward, gently feeding the stuck pouch back out through the entry slot. If the pouch begins to move, keep the reverse running until it’s fully clear. Avoid pulling on the pouch manually while the reverse function is active, as this can cause tearing inside the mechanism.
Step 4: Manually Remove The Stuck Pouch
If the reverse function doesn’t release the jam — or if your model doesn’t have one — manual removal is the next step. Open any access panels on the machine as directed by your model’s user manual. Most laminators have a release lever or latch on the side or bottom that separates the roller assembly for easier access.
Grip the visible edge of the stuck pouch with both hands and pull slowly and evenly, keeping as close to a straight angle as possible. Avoid sharp jerks or diagonal pulling, which are likely to tear the film and leave fragments behind. If the pouch tears during removal, note where the pieces are so you can clear them in the next step.
Step 5: Clear Any Remaining Film Or Debris
After removing the main portion of the jammed pouch, inspect the roller area carefully for any torn film fragments, adhesive residue, or debris. Small pieces of laminate left inside the machine will cause the next pouch to jam almost immediately, so this step is worth taking slowly and thoroughly.
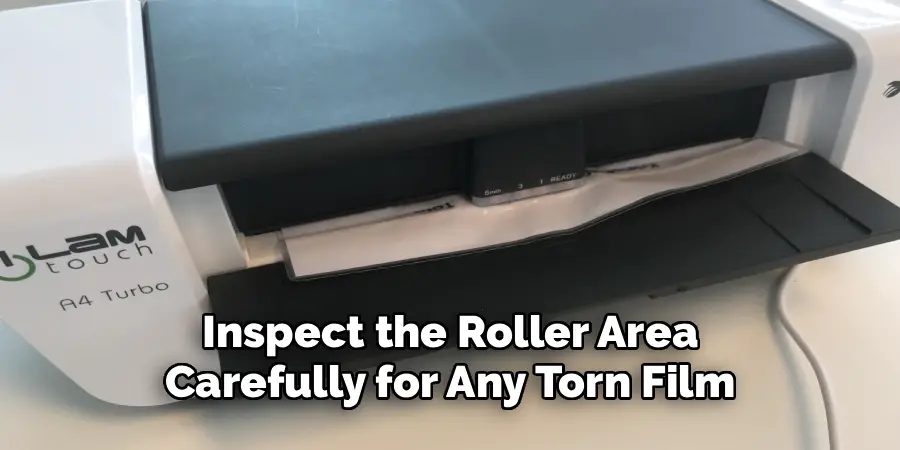
Use a pair of plastic tweezers or a soft, lint-free cloth to remove any visible fragments. Never use metal tools inside the roller area, as they can scratch or dent the rollers and affect laminating quality. For sticky adhesive residue, a small amount of isopropyl alcohol applied to a soft cloth works well — wipe gently and allow the area to dry completely before reassembling.
Step 6: Clean The Rollers Before Restarting
Even after a successful jam removal, the rollers may have picked up adhesive residue or film particles that will affect performance on the next run. Cleaning them properly before restarting the machine is a step that’s easy to skip but well worth doing.
With the machine still unplugged and cooled, use a lint-free cloth lightly dampened with isopropyl alcohol to wipe each roller surface. Rotate the rollers manually — if your model allows it — to access the full surface area. Allow everything to dry completely before plugging the machine back in. This is also a good time to inspect the rollers visually for any flat spots, scratches, or uneven wear that might indicate a deeper mechanical issue.
Step 7: Test With A Carrier Sheet And Adjust Your Settings
Before going back to normal use, run a test lamination with a carrier sheet — a folded piece of plain paper or a dedicated carrier — rather than a document you care about. This confirms the rollers are feeding evenly, the film is tracking straight, and the machine is operating normally after the jam.
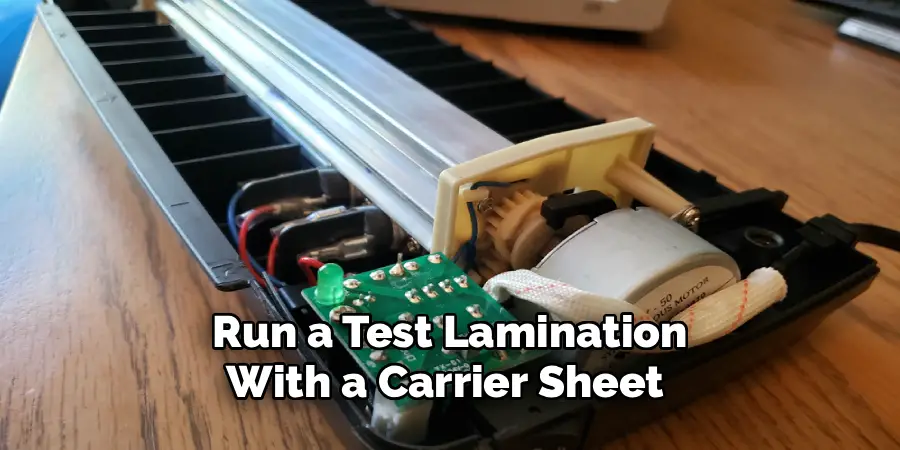
If the test run goes smoothly, you’re ready to resume work. This is also the right moment to review what may have caused the jam in the first place. Overfilling a pouch, using the wrong pouch thickness for your heat setting, or feeding documents at an angle are the most common causes. Knowing how to fix a jammed office laminator is valuable, but adjusting your technique to prevent future jams is what saves the most time in the long run. Similarly, always ensuring your machine is properly warmed up before feeding pouches reduces the risk significantly.
Frequently Asked Questions
Why Does My Laminator Keep Jamming Even After I Clear It?
Repeated jams after clearing usually point to one of three causes: using pouch film that’s too thick for your machine’s heat setting, feeding documents before the laminator has fully warmed up, or inserting the pouch at a slight angle. Check that your pouch thickness matches your machine’s specifications and always let the ready light confirm the machine is at the correct temperature before feeding.
Can I Use A Laminator That Has Melted Film On The Rollers?
Running a laminator with melted film residue on the rollers will cause immediate quality problems and likely another jam. Clean the rollers thoroughly with isopropyl alcohol on a lint-free cloth before using the machine again. If the film has hardened significantly and won’t come off with gentle cleaning, contact the manufacturer or a service technician to avoid causing permanent roller damage.
Is It Safe To Reach Inside The Laminator To Remove A Jam?
It is safe to reach inside a laminator only after it has been switched off, unplugged, and fully cooled — typically after waiting at least ten minutes. Never reach into a hot laminator, as the rollers and heating elements retain significant heat and can cause burns. Use plastic tweezers rather than fingers when retrieving small fragments near the roller mechanism.
What Pouch Thickness Should I Use For Standard Documents?
For standard office documents printed on regular copy paper, a 3 mil to 5 mil laminating pouch is appropriate and works with most entry-level and mid-range office laminators. Thicker pouches — 7 mil to 10 mil — offer more rigidity and durability but require a higher heat setting. Always check your machine’s specifications to confirm the maximum pouch thickness it supports before purchasing supplies.
How Often Should I Clean My Office Laminator?
For light to moderate use, cleaning the rollers once a month with a lint-free cloth and isopropyl alcohol is sufficient. If your laminator is used heavily — processing dozens of pouches per day — clean it weekly or whenever you notice adhesive buildup or reduced feed quality. Running a cleaning sheet designed for laminators through the machine is also a quick, low-effort way to maintain roller cleanliness between deeper cleaning sessions.
Conclusion
Dealing with a stuck laminating pouch is frustrating, but it’s a problem with a clear solution. The key steps are straightforward: power down immediately, let the machine cool, use the reverse function if available, remove the pouch carefully, clean the rollers, and test before resuming normal use.
With these steps in hand, you’re fully equipped the next time a laminating session hits a snag. Start by bookmarking this guide or sharing it with colleagues who use the same machine — having a shared reference makes the process faster for everyone.
Understanding how to fix a jammed office laminator is a practical skill that protects your equipment, keeps your office running efficiently, and gives you the confidence to handle one of the most common laminator problems without outside help.
